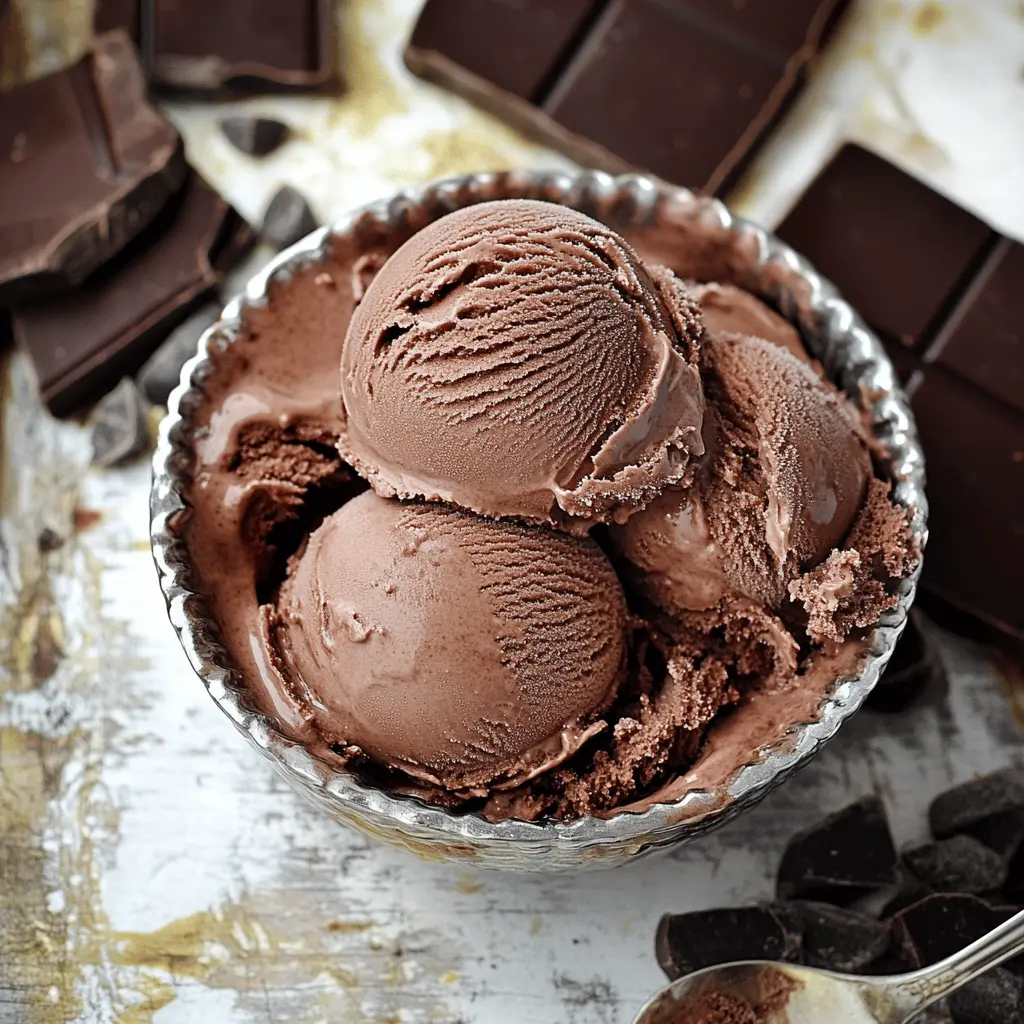
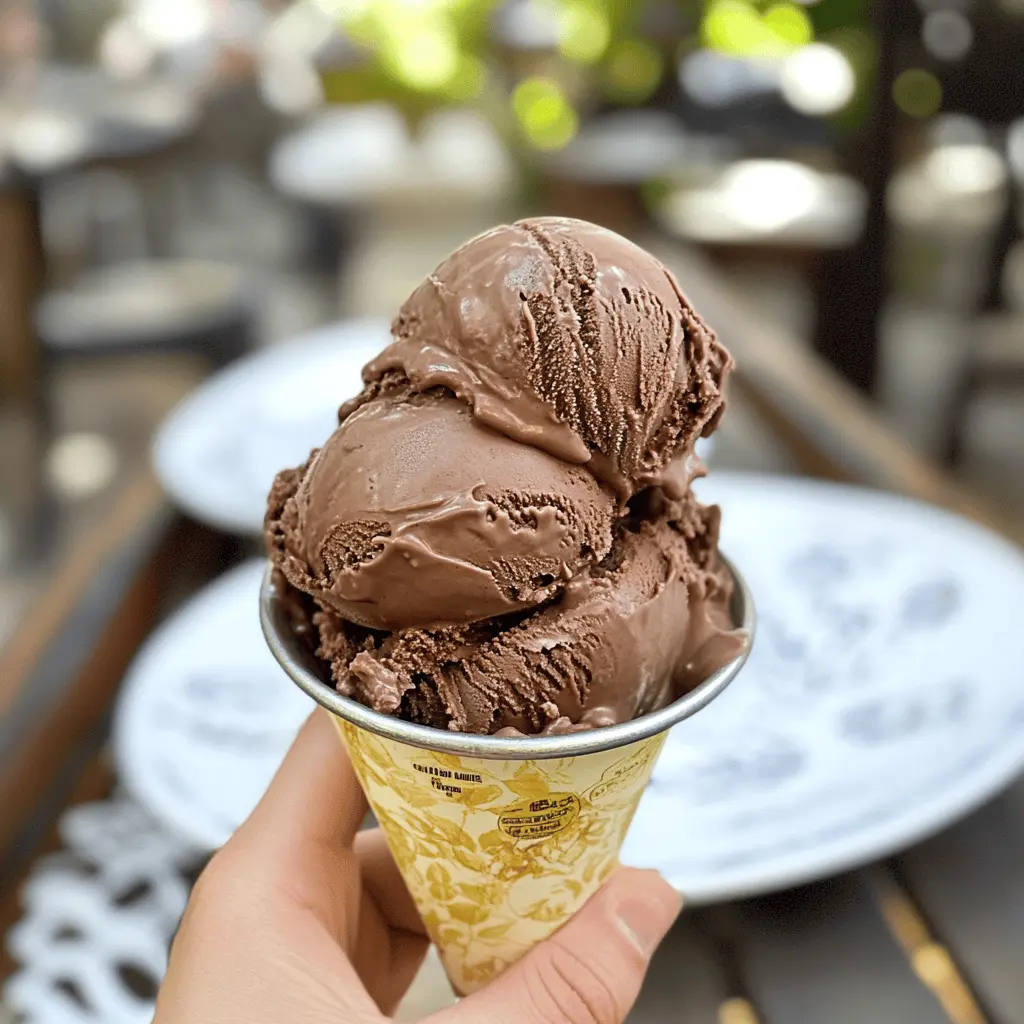
This Easy Classic Chocolate Ice Cream is a rich and creamy treat that will make your taste buds dance! With simple ingredients like cocoa powder and milk, it’s a breeze to whip up.
Making ice cream at home is like having a sweet party in your kitchen! I love scooping this dessert into bowls topped with sprinkles or chocolate sauce—yum! 🍦
Key Ingredients & Substitutions
Heavy Cream: This ingredient gives the ice cream its rich, creamy texture. If you’re looking for a lighter option, you could use half and half, but the texture may be less creamy.
Whole Milk: Whole milk helps balance the creaminess. If you need a dairy-free option, try using almond milk or coconut milk, but remember that it may change the flavor profile a bit.
Granulated Sugar: Traditional white sugar works perfectly here. If you prefer a healthier option, you could substitute with coconut sugar or even agave syrup, but adjust the amount as needed.
Unsweetened Cocoa Powder: This is key for that chocolate flavor! If you have dark chocolate cocoa powder, you can use that for a richer taste. You can also try using Dutch-processed cocoa for a slightly different flavor.
Vanilla Extract: This adds a lovely depth of flavor. If you’re out, vanilla bean or even a splash of chocolate extract can work well as substitutes.
How Do I Get the Best Texture When Churning Ice Cream?
Churning is an important step to create smooth and creamy ice cream. It’s all about incorporating air into the mixture while it freezes. Here are some tips:
- Ensure your ice cream maker bowl is fully frozen before using. It should be in the freezer for at least 24 hours.
- Don’t overfill the ice cream maker—leave some space for the mixture to expand as it churns.
- Churn until the mixture reaches a soft-serve texture, then place it in the freezer for a few hours to harden.
By following these tips, you’ll get that perfect, scoopable texture to enjoy your homemade chocolate ice cream!

Easy Classic Chocolate Ice Cream
Ingredients You’ll Need:
- 2 cups heavy cream
- 1 cup whole milk
- 3/4 cup granulated sugar
- 1/2 cup unsweetened cocoa powder
- 1/4 teaspoon salt
- 1 teaspoon pure vanilla extract
How Much Time Will You Need?
This delicious chocolate ice cream takes about 15 minutes to prepare and then a bit of wait time. You’ll need at least 1 hour to chill the mixture before churning, plus 2-4 hours for freezing after making it. Although it takes a little time, the result is totally worth it!
Step-by-Step Instructions:
1. Mixing the Dry Ingredients:
In a medium mixing bowl, start by whisking together the cocoa powder, sugar, and salt. Make sure they are combined well; this helps the flavors to blend nicely in your ice cream.
2. Combining with Milk:
Next, slowly pour in the whole milk. As you add the milk, keep whisking continuously. This ensures that the cocoa and sugar fully dissolve and gives your ice cream a smooth consistency.
3. Adding Cream and Vanilla:
Now it’s time for the heavy cream and vanilla extract! Stir these ingredients into the mixture until everything is well incorporated. You should have a rich chocolate mixture ready to go.
4. Chilling the Mixture:
Cover the bowl with plastic wrap or a lid, and place it in the refrigerator. Let it chill for at least 1 hour. This step is important as it helps the ice cream freeze better later.
5. Churning the Ice Cream:
After it’s chilled, pour the mixture into your ice cream maker. Follow the manufacturer’s instructions, usually churning for about 20-25 minutes, until it reaches a soft-serve texture.
6. Freezing to Firm Up:
Once it’s churned, transfer your ice cream to an airtight container. Smooth the top, seal it well, and pop it into the freezer for 2-4 hours. This step will help it firm up, making it perfect for scooping!
7. Serve and Enjoy:
Once your ice cream is ready, scoop it into bowls or cones. You can enjoy it plain or top it with chocolate sauce, nuts, or sprinkles. Enjoy your homemade classic chocolate ice cream with family and friends!

FAQ for Easy Classic Chocolate Ice Cream
Can I Use Low-Fat Milk Instead of Whole Milk?
While you can use low-fat milk, it may affect the creaminess of the ice cream. For the best texture and flavor, whole milk or a combination of whole milk and cream is recommended.
How Long Can I Store This Ice Cream?
You can store the ice cream in an airtight container in the freezer for up to 2-3 weeks. Be sure to let it sit at room temperature for a few minutes before scooping, as it can become quite hard when frozen.
What If I Don’t Have an Ice Cream Maker?
No problem! You can still make this ice cream without one. Simply pour the mixture into a shallow dish, freeze it, and stir every 30 minutes with a fork for about 3-4 hours until you achieve a smooth, creamy texture.
Can I Add Mix-Ins Like Chunks of Chocolate or Nuts?
Absolutely! If you’d like to add mix-ins, fold them in during the last few minutes of churning, or right before transferring the ice cream to the container. Mini chocolate chips, crushed nuts, or cookie chunks work wonderfully!


