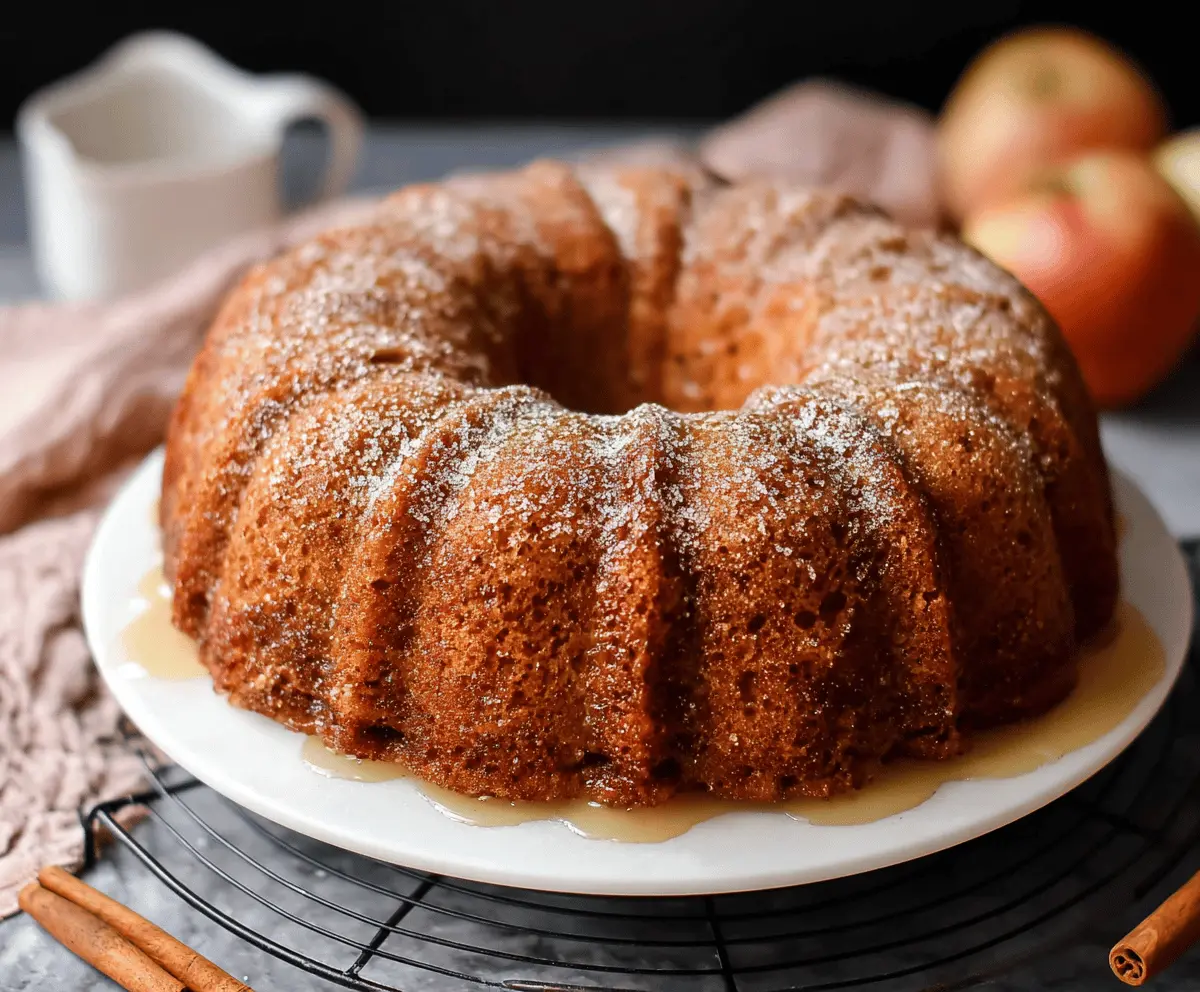
This Apple Cider Bundt Cake is a cozy treat packed with warm spices and sweet apple flavor. Its soft texture makes it a perfect dessert for any fall gathering!
I’m always excited to bake this cake because the smell of apples and cinnamon fills my kitchen. A simple dusting of powdered sugar on top, and it’s ready to impress your friends!
Key Ingredients & Substitutions
All-Purpose Flour: This is the base of your cake. If needed, you can substitute half with whole wheat flour for added flavor, but the texture may be slightly denser.
Brown Sugar: While the recipe uses granulated sugar, I sometimes swap in brown sugar for extra moisture and a hint of caramel flavor. Just use the same amount!
Apple Cider: Fresh apple cider provides the best flavor. If you can’t find it, apple juice works, but it might not be as rich in taste.
Apples: Granny Smith apples are great for their tartness, but feel free to use any firm apple like Honeycrisp orFuji. Even a mix can make it interesting!
Sour Cream: For a lower-fat version, Greek yogurt is a fantastic substitute and will still keep the cake moist.
How Do You Ensure a Perfectly Baked Bundt Cake?
Baking a Bundt cake can be a little tricky, especially to ensure it doesn’t stick to the pan. Here are some tips:
- Grease the Pan Well: Use butter or non-stick spray, then sprinkle flour or cocoa powder (if you’re using chocolate cakes) in the pan to help it release easily.
- Check for Doneness: Start checking at 50 minutes with a toothpick. If it comes out clean with a few crumbs, it’s done!
- Cool Properly: Let it cool in the pan for 15 minutes before turning it out. This helps it firm up, making it easier to remove without breaking.
With these tips, you’ll have a beautifully baked Bundt cake that’s ready to impress! Enjoy baking!
Apple Cider Bundt Cake
Ingredients You’ll Need:
For the Cake:
- 3 cups all-purpose flour
- 1 teaspoon baking powder
- 1 teaspoon baking soda
- 1/2 teaspoon salt
- 2 teaspoons ground cinnamon
- 1/2 teaspoon ground nutmeg
- 1/4 teaspoon ground cloves (optional)
- 1 cup unsalted butter, softened
- 2 cups granulated sugar
- 3 large eggs
- 1 teaspoon vanilla extract
- 1 1/2 cups apple cider (preferably fresh or unfiltered)
- 1/4 cup sour cream or plain yogurt
- 1 cup peeled, cored, and finely chopped apples (like Granny Smith or Honeycrisp)
- Powdered sugar for dusting
For the Apple Cider Glaze (optional):
- 1 1/2 cups powdered sugar
- 4-5 tablespoons apple cider
How Much Time Will You Need?
This recipe takes about 20 minutes to prepare and about 50 to 60 minutes to bake. After baking, let the cake cool for about 15 minutes before serving. In total, you will need approximately 1 hour and 45 minutes for the entire process, including cooling time!
Step-by-Step Instructions:
1. Preheat Oven and Prepare Pan:
Start by preheating your oven to 350°F (175°C). Grease and flour a Bundt pan thoroughly, making sure to get into all the grooves. This will prevent the cake from sticking when you try to remove it later!
2. Mix the Dry Ingredients:
In a medium bowl, whisk together the flour, baking powder, baking soda, salt, cinnamon, nutmeg, and optional ground cloves. Set this mixture aside while you work on the wet ingredients.
3. Cream the Butter and Sugar:
In a large bowl, use an electric mixer to cream the softened butter and granulated sugar. Beat them together for about 3-5 minutes until the mixture is light and fluffy. This step is crucial for a fluffy cake!
4. Add the Eggs and Vanilla:
Add the eggs one at a time, making sure to mix well after each one. Stir in the vanilla extract until everything is combined nicely.
5. Combine the Wet Ingredients:
In a separate small bowl, mix the apple cider and sour cream (or yogurt) together until smooth. This adds moisture and flavor to your cake.
6. Alternate Adding Dry and Wet Ingredients:
Gradually add the flour mixture to the butter mixture in three parts, alternating with the apple cider mixture (so one part flour, one part cider, and repeat, ending with flour). Mix just until blended—don’t overmix or your cake can be tough!
7. Fold in the Apples:
Gently fold the chopped apples into the batter using a spatula. This adds delicious bursts of apple flavor in every slice!
8. Bake:
Pour the batter evenly into your prepared Bundt pan. Bake in the preheated oven for about 50-60 minutes. Check for doneness by inserting a toothpick into the center; it should come out clean or with a few moist crumbs.
9. Cool the Cake:
Once baked, let the cake cool in the pan for approximately 15 minutes. Then, gently invert it onto a wire rack to cool completely. This helps retain its moisture.
10. Prepare the Glaze (Optional):
For an optional glaze, whisk together powdered sugar and apple cider in a small bowl until smooth. If it’s too thick, add a bit more cider; if too thin, add more powdered sugar until you reach your desired consistency.
11. Glaze and Serve:
Once the cake has cooled, drizzle the glaze over the top or simply dust the cake with powdered sugar for a lighter finish. Slice, serve, and enjoy this wonderful fall treat!
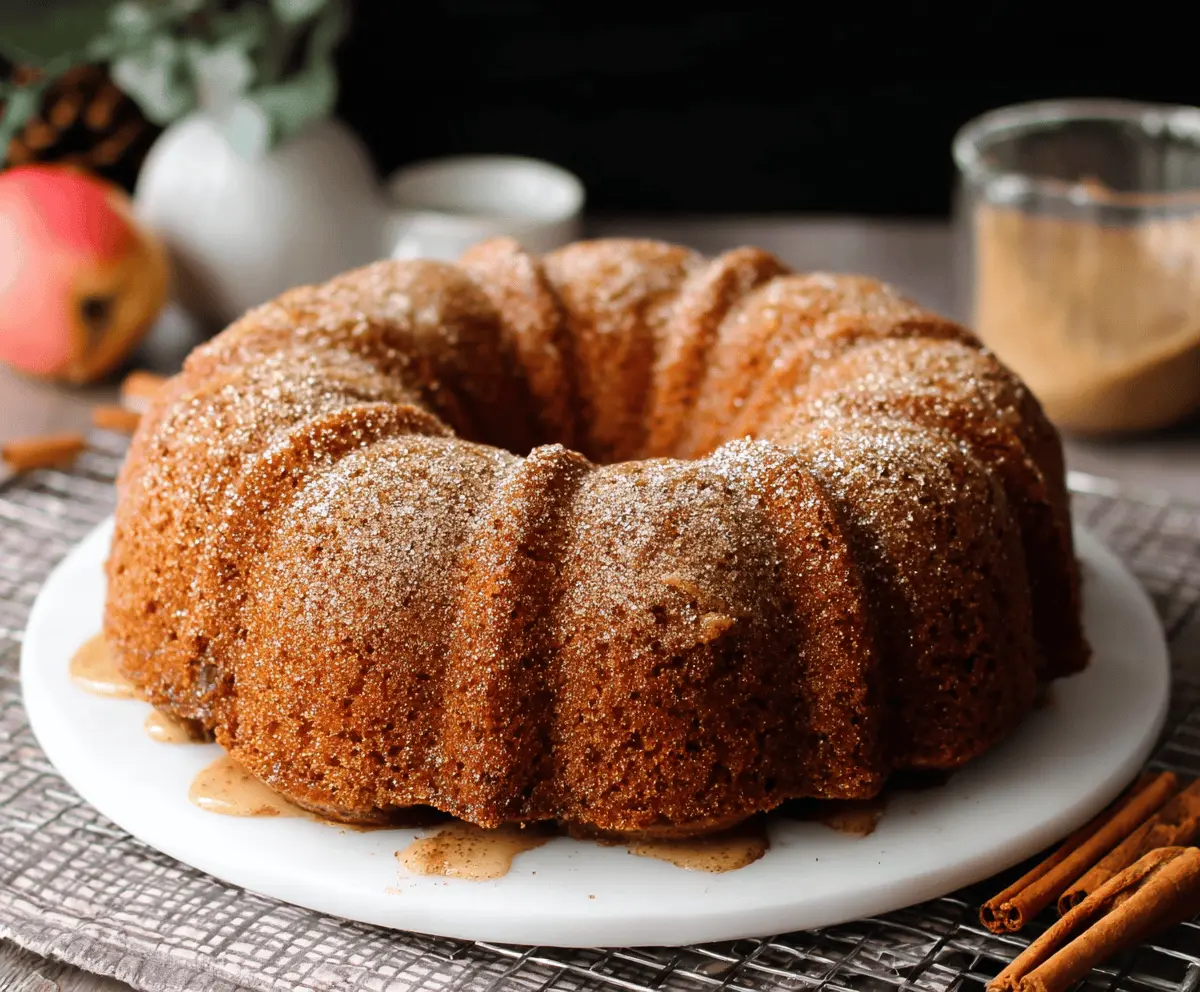
This cake is moist and tender with a lovely apple cider flavor and warm spice notes—a perfect dessert that not only looks impressive but is sure to bring smiles to your table!
Can I Use a Different Type of Apple for This Cake?
Absolutely! While Granny Smith and Honeycrisp are great choices for their balance of sweetness and tartness, you can use any firm apple like Fuji or Braeburn. Feel free to mix varieties for added flavor!
What If I Don’t Have Sour Cream?
If you don’t have sour cream, plain Greek yogurt is a perfect substitute and will give the cake a nice moisture. You can also use buttermilk if you have that on hand.
Can I Make This Cake in Advance?
Yes! The cake can be made a day or two ahead of time. Just wrap it tightly in plastic wrap and keep it at room temperature. If you add the glaze, do it right before serving for the best presentation.
How Do I Store Leftovers?
Store any leftover cake in an airtight container at room temperature for up to 3 days or in the refrigerator for up to a week. You can also freeze slices for up to 2 months—just make sure to wrap them well! Thaw overnight in the fridge before enjoying.