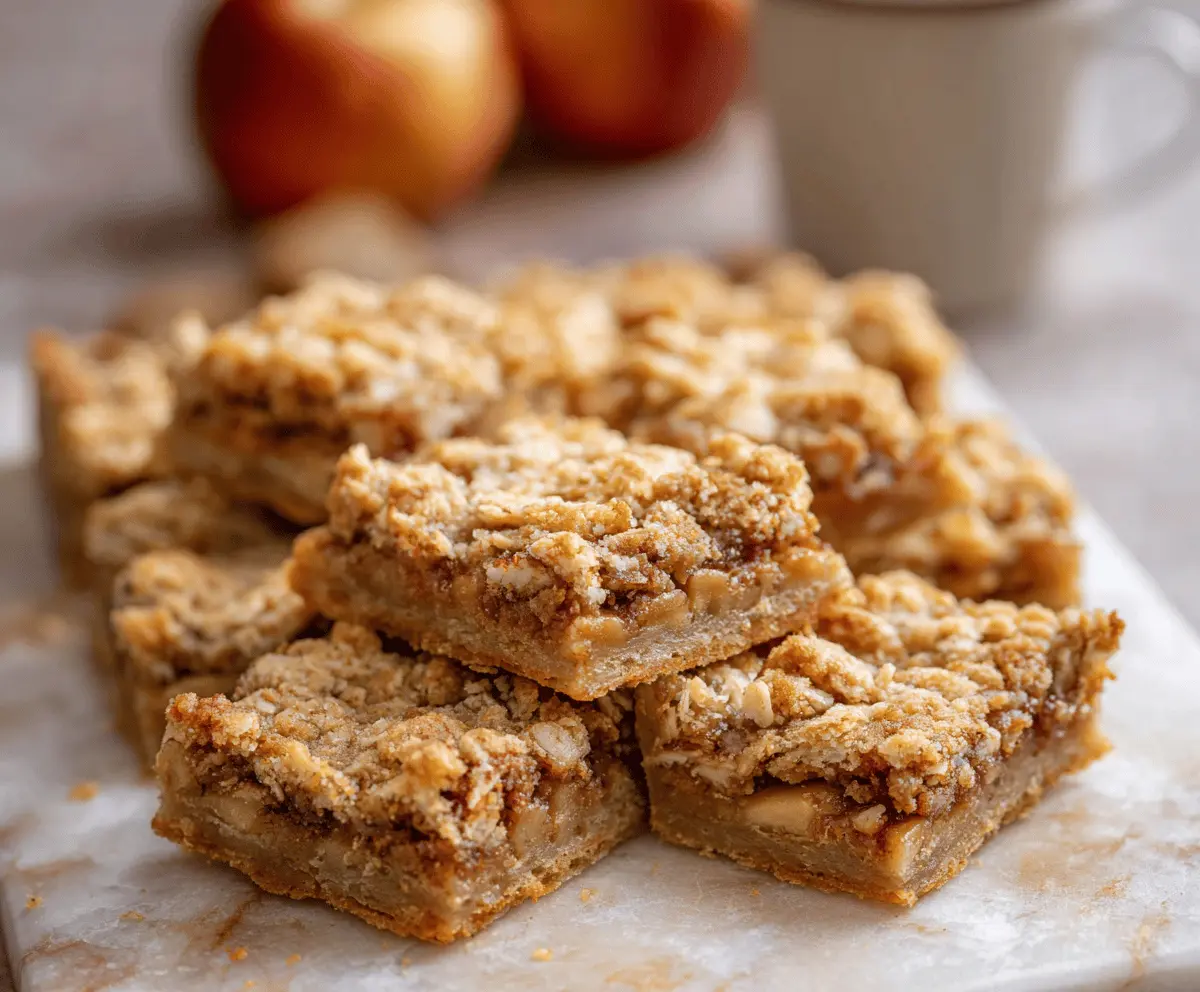
These Apple Crisp Bars are a delicious treat with sweet, tender apples and a crunchy topping. They’re perfect for dessert or a snack!
I love how easy they are to make, and they fill the kitchen with the smell of baked apples. Serve them warm with a scoop of ice cream for extra yum! 🍏🍦
Key Ingredients & Substitutions
All-Purpose Flour: This is the base for your bars. You can swap it with a gluten-free flour blend if needed, but make sure to check the blend’s measurements since they vary greatly.
Old-Fashioned Rolled Oats: They give a nice texture! Quick oats can be a substitute, but the bars will be less chewy and more soft. I prefer rolled oats for that classic crisp texture.
Apples: Granny Smith offers a nice tartness, while Honeycrisp adds sweetness. If you can’t find those, any firm apple will do, like Fuji or Braeburn. Mixing different varieties can add flavor depth!
Butter: Unsalted butter is great as it lets you control the salt level. In a pinch, you can use margarine or coconut oil, but the flavor might slightly change.
Ground Cinnamon: It’s essential for warmth and flavor! If you’re not a big fan of cinnamon, consider using nutmeg or allspice for a different twist.
What’s the Best Way to Prepare the Apples for Baking?
Getting your apples ready is key to these bars’ deliciousness. Properly prep them to ensure they’re sweet and tender in the oven. Here’s how to do it:
- Start by peeling and coring your apples, then chop them finely. The smaller the pieces, the more they’ll mix with the topping.
- Toss them with granulated sugar, vanilla extract, and lemon juice. The lemon juice not only adds flavor but helps keep apples from browning.
- Let them sit for a few minutes to draw out some moisture and flavor before spreading them over your crust.
This simple prep makes a big difference in flavor and texture! Enjoy it and happy baking.
How to Make Apple Crisp Bars
Ingredients You’ll Need:
For the Base and Topping:
- 2 cups all-purpose flour
- 1 1/4 cups old-fashioned rolled oats
- 1 cup light brown sugar, packed
- 1/2 teaspoon baking soda
- 1/2 teaspoon salt
- 1 teaspoon ground cinnamon
- 1 cup (2 sticks) unsalted butter, cold and cut into chunks
For the Apple Filling:
- 3 large apples (such as Granny Smith or Honeycrisp), peeled, cored, and finely chopped
- 1/4 cup granulated sugar
- 1 teaspoon vanilla extract
- Juice of half a lemon
Optional:
- Powdered sugar for dusting
How Much Time Will You Need?
This recipe will take about 15 minutes to prepare, plus 40-45 minutes of baking time. After that, you’ll need to let the bars cool completely before cutting them, which may take an additional 30 minutes. All together, you’re looking at about 1.5 hours from start to finish!
Step-by-Step Instructions:
1. Preheat the Oven:
Start by preheating your oven to 350°F (175°C). While the oven heats, grab a 9×13 inch baking pan and line it with parchment paper or grease it lightly to prevent sticking.
2. Mix the Dry Ingredients:
In a large mixing bowl, combine the all-purpose flour, rolled oats, brown sugar, baking soda, salt, and ground cinnamon. Give it a good stir until everything is well mixed.
3. Combine with Butter:
Add the cold butter chunks into the bowl with the dry ingredients. Now it’s time to create that crumbly texture! Use a pastry cutter, two forks, or your fingers to cut the butter into the mixture until you have coarse crumbs with some small pea-sized pieces.
4. Form the Base:
Take about 1 1/2 cups of this crumb mixture and set it aside for later as your topping. Press the rest of the mixture evenly into the bottom of your prepared baking pan to create a solid crust.
5. Prepare the Apple Filling:
In another bowl, toss the chopped apples with granulated sugar, vanilla extract, and lemon juice. Make sure the apples are well-coated with these ingredients; this helps enhance their flavor!
6. Layer the Apples:
Spread the apple mixture evenly over the crust in the pan. Make sure to distribute them evenly so every bar has a delicious filling!
7. Add the Topping:
Now, take the reserved crumb mixture and sprinkle it generously over the apples, creating a nice crumble topping.
8. Bake:
Pop the pan into your preheated oven and bake for 40-45 minutes, or until the topping turns golden brown and the apples are tender. Your kitchen will smell fantastic during this time!
9. Cool and Cut:
Once baked, remove the pan from the oven and let it cool completely on a wire rack. This cooling time is essential for the bars to set up properly. It should take about 30 minutes.
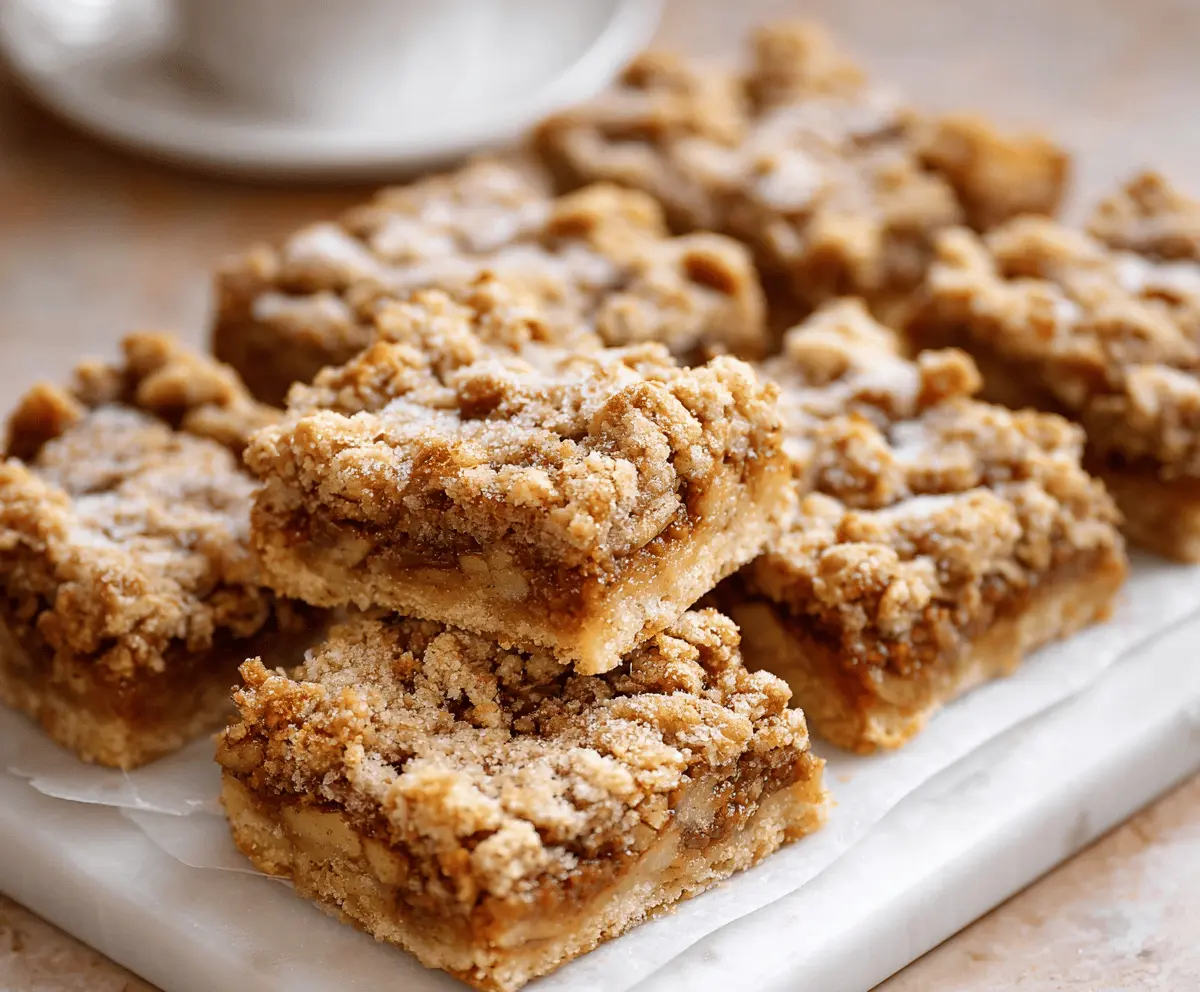
10. Serve:
After cooling, it’s time to cut into bars. For an elegant touch, you can dust the top with powdered sugar before serving. Enjoy your Apple Crisp Bars warm or at room temperature, and they’ll be perfect as a dessert or a special snack!
These Apple Crisp Bars are sure to be a hit whether you’re serving them to your family or bringing them to a gathering. Enjoy every bite! 🍏✨
Can I Use Different Types of Apples for This Recipe?
Absolutely! While Granny Smith and Honeycrisp are great choices for their balance of sweetness and tartness, you can use any firm apples like Fuji or Braeburn. Mixing different varieties can also add a delightful flavor complexity to your bars!
How Can I Make These Apple Crisp Bars Gluten-Free?
To make these bars gluten-free, simply substitute the all-purpose flour with a gluten-free flour blend. Be sure to choose a blend that is specifically formulated for baking to achieve the best texture!
Can I Prepare the Apple Crisp Bars Ahead of Time?
Yes! You can prepare the bars a day in advance. Just bake them and let them cool completely before covering them tightly and storing them in the fridge. When you’re ready to serve, you can enjoy them cold or warmed slightly in the oven.
How Should I Store Leftover Apple Crisp Bars?
Store any leftovers in an airtight container in the refrigerator for up to 5 days. If you want to keep them for a longer time, you can freeze them in a freezer-safe container for up to 2 months. Just thaw in the fridge overnight before enjoying!