
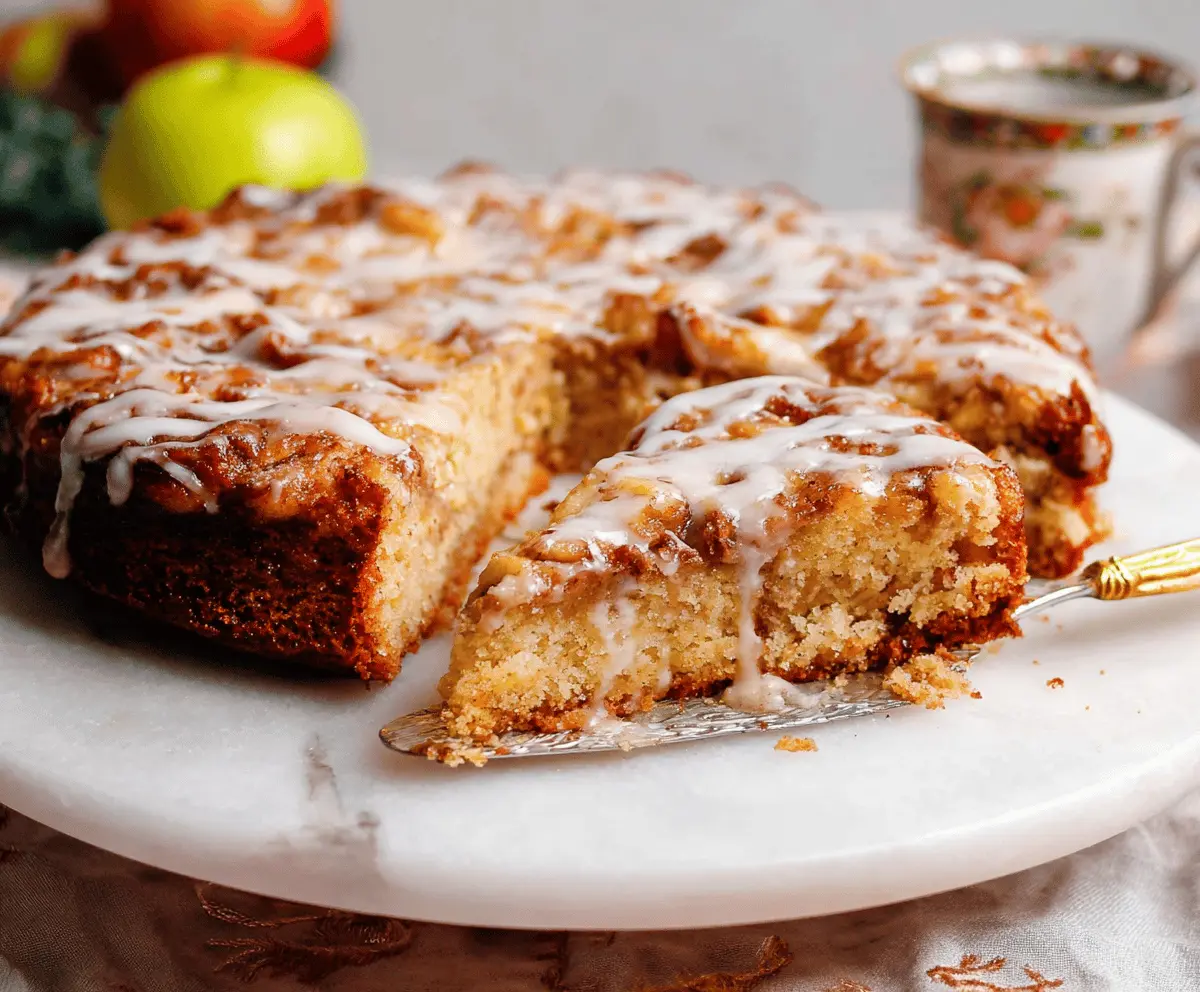
This Apple Fritter Cake is a sweet treat packed with chunks of juicy apples and warm spices. It’s like having a donut and cake all in one delicious bite!
Honestly, who can resist the combo of apples and cinnamon? I love serving it warm with a sprinkle of powdered sugar on top. It’s the perfect comfort food to share—or keep all to yourself! 😄
Key Ingredients & Substitutions
Apples: Tart apples like Granny Smith are perfect for their balance of sweetness and acidity, which really bring this cake to life. If you prefer, you can use Honeycrisp or Fuji apples for a sweeter taste.
Sour Cream: I love using sour cream in this recipe because it makes the cake extra moist. If you don’t have any, plain yogurt is a great substitute. You could also try buttermilk for a tangy twist!
Spices: Cinnamon is essential for that warm flavor, but don’t skip on the nutmeg and cloves if you can! If cloves aren’t your thing, feel free to leave them out or substitute with a little more cinnamon.
Glaze: The glaze is where you really get that sweet finish. If you want it less sweet, you can cut down on the powdered sugar or use a powdered sugar substitute if you’re watching your sugar intake.
What’s the Best Way to Ensure My Cake Doesn’t Overmix?
Overmixing can lead to a dense cake, so it’s best to mix just until the ingredients come together. Here are my tips:
- Start by blending the dry ingredients separately, then add them gradually to the wet mixture.
- Use a rubber spatula or wooden spoon to gently fold in the apples at the end. This avoids excessive mixing.
- Keep an eye on the batter! Stop mixing as soon as you don’t see dry flour. A few lumps are perfectly fine.
This technique will help keep your Apple Fritter Cake light and fluffy, just like the delicious fritters we all love!
Apple Fritter Cake
Ingredients You’ll Need:
For the Cake:
- 2 cups all-purpose flour
- 1 1/2 tsp baking powder
- 1/2 tsp baking soda
- 1/2 tsp salt
- 1 1/2 tsp ground cinnamon
- 1/2 tsp ground nutmeg
- 1/4 tsp ground cloves (optional)
- 1/2 cup granulated sugar
- 1/2 cup brown sugar, packed
- 1/2 cup unsalted butter, melted and cooled
- 2 large eggs
- 1 tsp vanilla extract
- 1 cup sour cream or plain yogurt
- 1 1/2 cups peeled, cored, and chopped apples (about 2 medium apples, preferably tart apples like Granny Smith)
For the Glaze:
- 1 cup powdered sugar
- 2-3 tbsp milk or cream
- 1/2 tsp vanilla extract
- 1/4 tsp ground cinnamon (optional)
How Much Time Will You Need?
This delightful cake will take you about 20 minutes to prepare, and then you’ll bake it for 40-50 minutes. After that, let it cool for about 10 minutes in the pan before transferring it to a wire rack. Altogether, set aside about an hour and a half to enjoy your creation deliciously!
Step-by-Step Instructions:
1. Prepare the Oven and Pan:
First, preheat your oven to 350°F (175°C). While that’s heating up, grab a 9-inch round cake pan or a springform pan and grease and flour it to prevent any sticking. This will make it easier to remove your cake later!
2. Mix the Dry Ingredients:
In a medium bowl, pour in the flour, baking powder, baking soda, salt, cinnamon, nutmeg, and optional cloves. Whisk everything together until well combined. This ensures an even distribution of flavors throughout the cake.
3. Prepare the Wet Mixture:
In a large bowl, combine the granulated sugar, brown sugar, and melted butter. Mix until it’s smooth and well blended. Then, add the eggs one at a time, mixing well after each addition. Don’t forget to add in the vanilla extract for that extra flavor!
4. Combine with Sour Cream:
Next, stir in the sour cream (or yogurt) until everything is nicely mixed. This is where your cake gets its moist texture, so make sure it’s all combined!
5. Mix the Dry into the Wet:
Now it’s time to gently add the dry ingredient mix to the wet blend. Stir everything just until combined, being careful not to overmix—lumpy batter is perfectly okay!
6. Add the Apples:
Carefully fold in the chopped apples, ensuring they’re distributed evenly throughout the batter. You want those lovely apple chunks in every bite!
7. Bake the Cake:
Pour the batter into your prepared pan, smoothing the top with a spatula. Pop it in the oven and let it bake for about 40-50 minutes. To check if it’s done, stick a toothpick in the middle; it should come out clean when the cake is ready.
8. Cool Down:
Once the cake is baked, take it out of the oven and let it cool in the pan for about 10 minutes. After that, transfer it to a wire rack to cool completely. Just resist the temptation to eat it right away!
9. Make the Glaze:
While your cake cools, whisk together the powdered sugar, milk or cream, vanilla extract, and optional cinnamon in a small bowl until it’s smooth. It should be pourable but not too runny.
10. Drizzle and Serve:
Once the cake has cooled, drizzle the glaze generously over the top. Slice yourself a piece, and if you like, warm it slightly or serve with a scoop of vanilla ice cream for that extra indulgence.
This Apple Fritter Cake captures the classic flavors and textures of apple fritters in a delightful cake form. Enjoy every bite of this scrumptious treat!
Can I Use Different Types of Apples for This Cake?
Absolutely! While Granny Smith apples are a great choice for their tartness, you can also use Honeycrisp, Fuji, or any other variety you enjoy. Just keep in mind that sweeter apples will make the cake sweeter!
How Should I Store Leftovers?
Store any leftover cake in an airtight container at room temperature for up to 3 days. If you want to keep it longer, you can refrigerate it for about a week. Just remember to bring it back to room temperature before serving for the best flavor and texture!
Is It Possible to Make This Cake Ahead of Time?
Yes, you can bake the cake a day in advance. Just let it cool completely, wrap it tightly in plastic wrap, and store it at room temperature. You can glaze it right before serving to keep it fresh!
Can I Freeze the Apple Fritter Cake?
Definitely! Wrap the cooled cake tightly in plastic wrap and then in aluminum foil, or store it in an airtight container. It will keep well in the freezer for up to 3 months. Thaw it overnight in the fridge before serving.