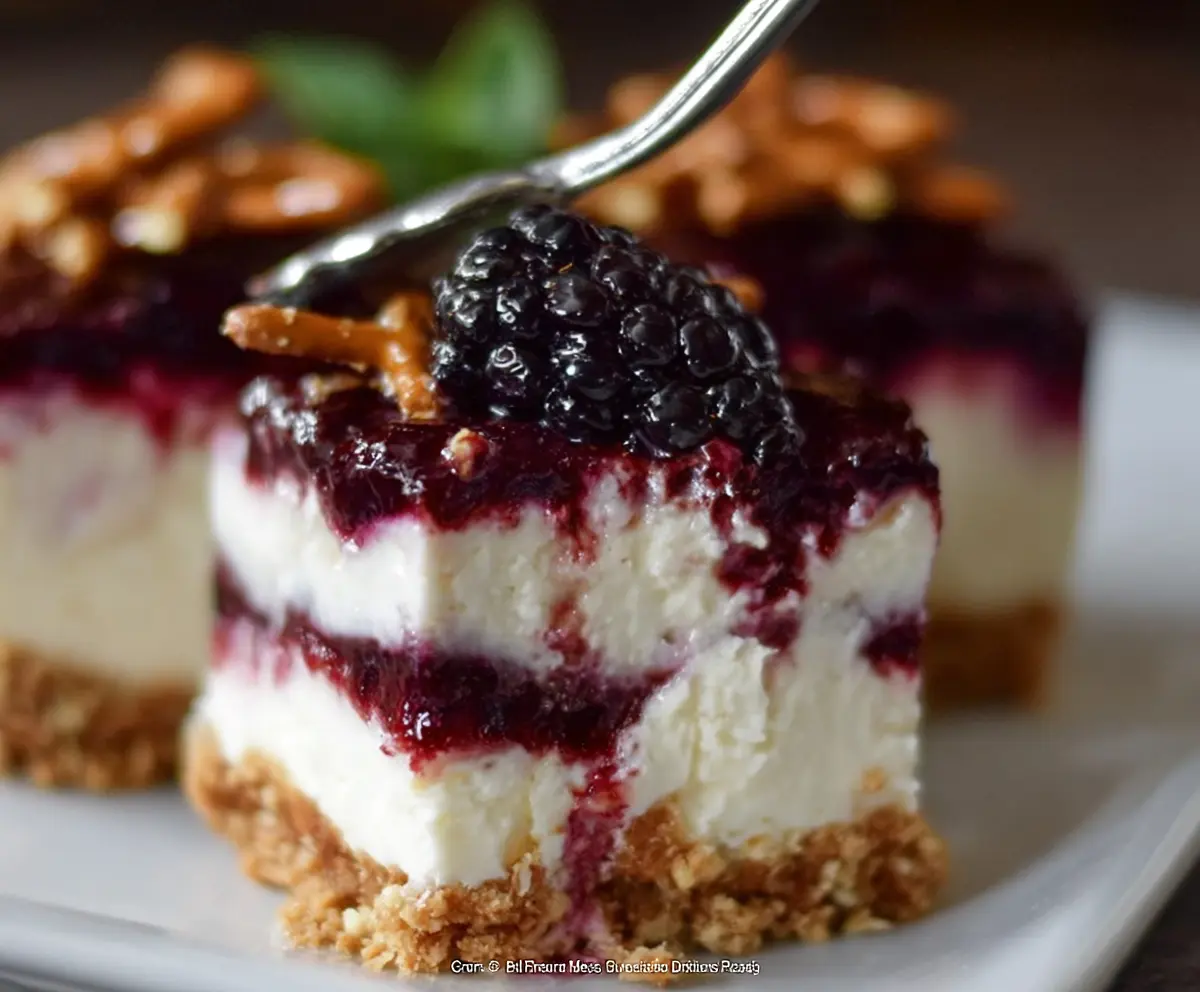
This Blackberry Pretzel Dessert is a fun treat with a salty-sweet twist! The crunchy pretzel crust pairs perfectly with the creamy filling and tangy blackberry topping.
Whenever I make this, I can’t help but munch on those pretzels! They add a unique taste that keeps everyone coming back for seconds. Plus, it’s super easy to whip up—a win-win!
Key Ingredients & Substitutions
Pretzels: The crushed pretzels form the crust and add a nice salty crunch. If pretzels aren’t available, crushed graham crackers or vanilla wafers can work well as a sweeter alternative.
Cream Cheese: This ingredient creates the smooth base of your dessert. If you’re looking for a lighter option, you can use low-fat cream cheese or even Greek yogurt, but the texture may vary slightly.
Heavy Whipping Cream: Used to make the cream layer fluffy, this is key to achieving that light texture. For a healthier choice, try using coconut cream. Just chill a can of full-fat coconut milk and scoop out the cream after it solidifies.
Blackberries: Fresh blackberries are my favorite for their vibrant flavor, but you can substitute them with raspberries or blueberries if you prefer. Just keep in mind that sweetness levels may differ.
How Do I Achieve the Perfect Creamy Texture?
The cream layer is what makes this dessert special, so it’s important to get it right! Start by making sure your cream cheese is softened to room temperature, as this helps it blend smoothly with the powdered sugar.
- Beat cream cheese and powdered sugar together well to eliminate lumps.
- Ensure your bowl and cream are chilled when whipping; this promotes thickening.
- Fold in the whipped cream gently to avoid deflating it.
This will result in a light, airy, and delicious cream layer that pairs beautifully with the crunchy pretzel crust and tart blackberry topping! Enjoy your dessert experience!
How to Make Blackberry Pretzel Dessert
Ingredients You’ll Need:
For the Crust:
- 2 cups pretzels, crushed
- 1/2 cup unsalted butter, melted
- 1/4 cup granulated sugar
For the Cream Layer:
- 16 oz (450g) cream cheese, softened
- 1 cup powdered sugar
- 2 cups heavy whipping cream
- 1 tsp vanilla extract
For the Blackberry Layer:
- 2 cups blackberries, fresh or thawed if frozen
- 1/2 cup granulated sugar
- 2 tbsp cornstarch
- 2 tbsp water
How Much Time Will You Need?
This delicious Blackberry Pretzel Dessert takes about 20 minutes of active preparation time and requires at least 4 hours in the refrigerator to set. So, while it’s a quick to put together, make sure you plan ahead for the chilling time!
Step-by-Step Instructions:
1. Preparing the Crust:
First, preheat your oven to 350°F (175°C). In a medium bowl, mix together the crushed pretzels, melted butter, and 1/4 cup of granulated sugar until everything is well combined. This mixture will form your base crust. Next, press it firmly into the bottom of a 9×9-inch baking pan. It’s important to pack it down tightly!
2. Baking the Crust:
Now, pop the baking pan into the oven and bake the crust for 8-10 minutes until it’s golden and fragrant. Once done, remove it from the oven and let it cool completely while you prepare the next layers.
3. Making the Cream Layer:
In a large mixing bowl, beat the softened cream cheese and powdered sugar together until the mixture is smooth and creamy. This is a key component for deliciousness! In another chilled bowl, whip the heavy cream and vanilla extract until stiff peaks form. Then, gently fold this whipped cream into the cream cheese mixture until it’s fully incorporated. Be careful not to deflate the mixture!
4. Assembling the Layers:
Spread half of the creamy mixture evenly over the cooled pretzel crust. This is where the magic starts. Next, you’ll prepare the blackberry layer.
5. Preparing the Blackberry Layer:
In a small saucepan, combine the blackberries and 1/2 cup of granulated sugar. Cook over medium heat until the berries start to release their juice and the mixture begins to simmer. In a small bowl, mix the cornstarch with the water to create a slurry. Gradually stir this slurry into the simmering blackberry mixture. Cook for an additional 1-2 minutes while stirring constantly until the mixture thickens, then remove it from heat and let it cool slightly.
6. Final Layering:
Spread half of the cooled blackberry mixture evenly over the cream layer. Then, repeat the process by layering the remaining cream mixture on top, followed by the rest of the blackberry mixture. Get ready for some delightful textures!
7. Chilling:
Cover your dessert with plastic wrap and refrigerate it for at least 4 hours, or until it’s completely set. This step is crucial, as it allows all the flavors to meld together beautifully.
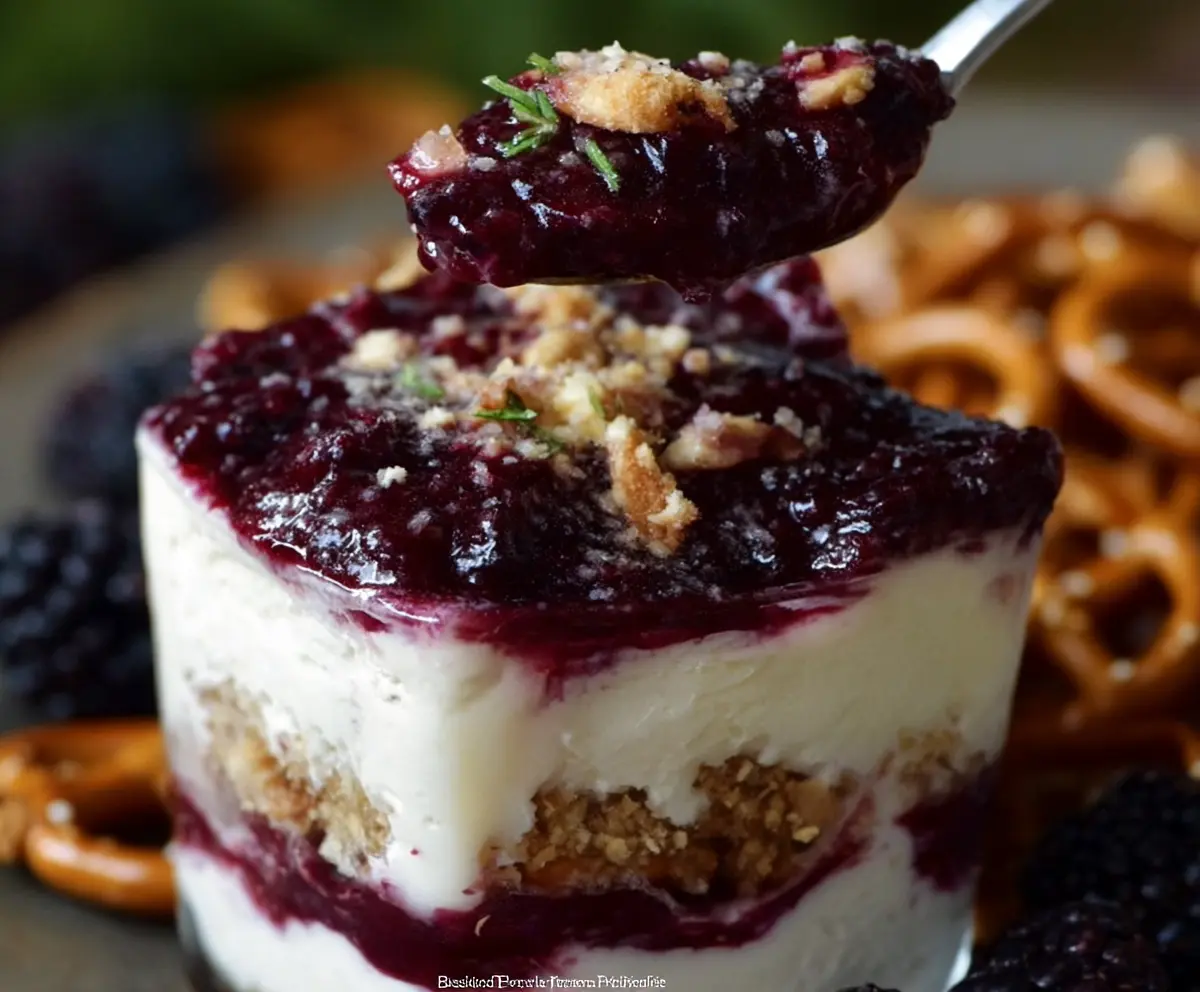
8. Serving:
When you’re ready to serve, feel free to garnish your Blackberry Pretzel Dessert with whole blackberries and a sprinkle of additional crushed pretzels for that extra crunch. Enjoy the delicious balance of sweet, tart, creamy, and salty flavors!
Can I Use Different Fruits for the Blackberry Layer?
Absolutely! While blackberries are delicious, you can substitute them with other berries such as raspberries, blueberries, or strawberries. Just keep in mind that the sweetness and tartness will vary, so you may want to adjust the sugar accordingly.
What If I Can’t Find Unsalted Butter?
If you only have salted butter on hand, you can use it! Just reduce the additional salt in the recipe. It may affect the overall flavor slightly, but the dessert will still taste great.
Can I Make This Dessert Gluten-Free?
Yes! To make this dessert gluten-free, use gluten-free pretzels for the crust. Be sure to check the labels of all other ingredients to ensure they’re gluten-free as well!
How Long Can I Store Leftovers?
Leftovers can be stored in an airtight container in the refrigerator for up to 3-4 days. Enjoy it chilled, as it tastes best after setting in the fridge!