
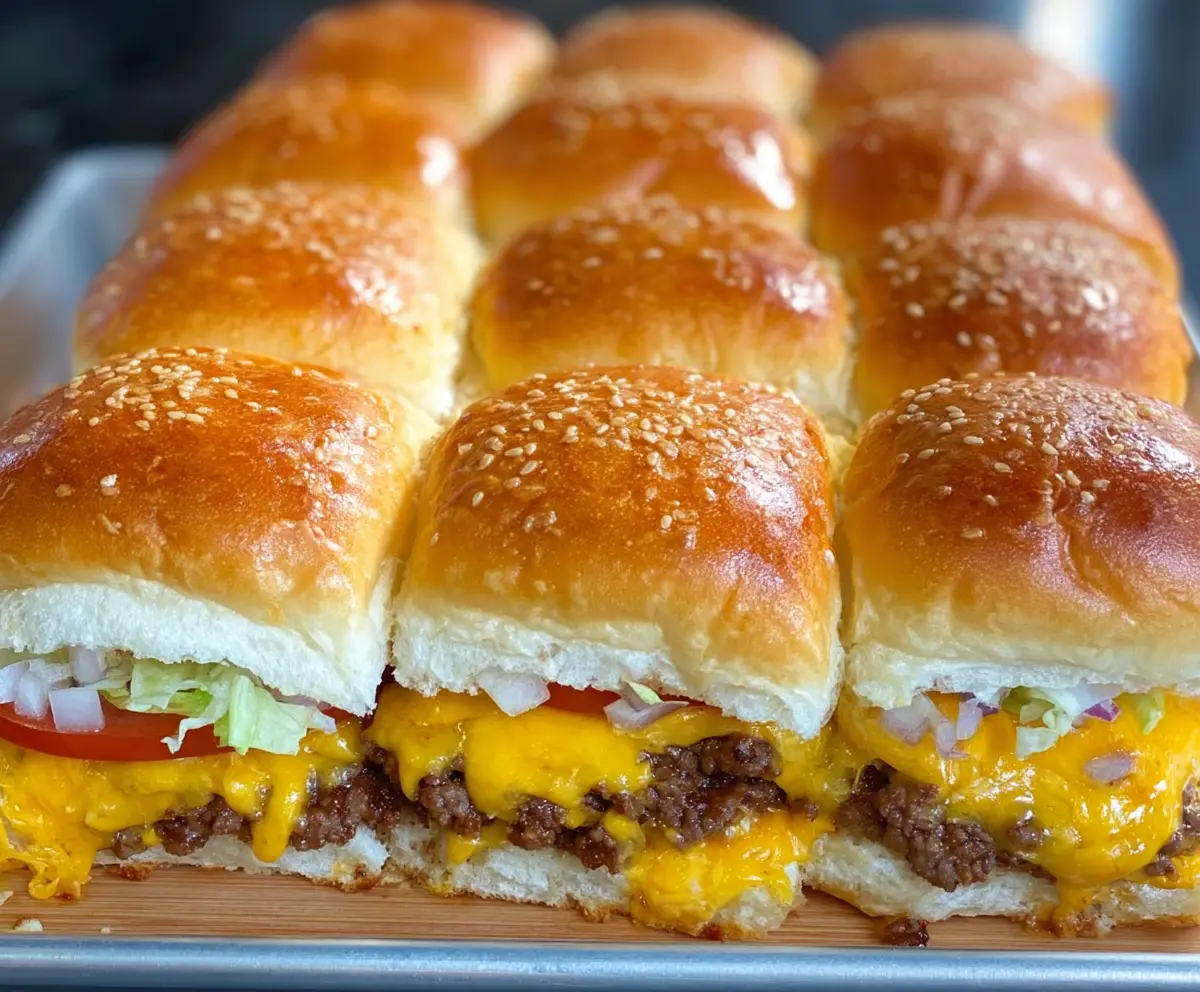
These cheeseburger sliders are tiny burgers packed with flavor, nestled in sweet Hawaiian rolls. They’re perfect for parties or a fun family dinner!
I love how easy they are to make! Just cook the beef, add some cheese, and let the rolls get all toasty and warm. You’ll have everyone coming back for seconds! 🍔
Key Ingredients & Substitutions
Hawaiian Rolls: These sweet rolls are the star of the show! If you’re looking for a lower-sugar option, any soft white rolls can work. You might also try slider rolls made from whole wheat for a healthier twist.
Ground Beef: I recommend an 80/20 blend because the fat keeps it juicy. If you want a leaner option, use 90/10, or if you’re feeling adventurous, ground turkey or chicken can also be delicious!
Cheddar Cheese: Sharp cheddar adds great flavor. If you’re not a fan, try Monterey Jack or pepper jack for a spicier kick. Vegan cheese can be a good substitute if you need a dairy-free option.
Worcestershire Sauce: This adds depth to the beef. If you’re out, soy sauce is a pretty good stand-in. For a gluten-free option, look for gluten-free soy sauce or liquid aminos.
How Do I Get the Perfectly Cooked Beef for Sliders?
Cooking the ground beef right is key to tasty sliders. Start by heating your skillet to medium-high heat. This is hot enough to get a nice browning on the beef, which adds great flavor. Don’t overcrowd the pan; cook in batches if needed. Here’s how:
- Cook the beef until it’s fully browned, about 7-10 minutes. Break it apart as it cooks to ensure even cooking.
- Drain any excess grease to avoid soggy sliders. You want the beef juicy, not greasy!
- Season it well with salt and pepper while cooking for maximum flavor.
This method gives you flavorful sliders that everyone will love! Enjoy your cheeseburger sliders! 🍔
How to Make Cheeseburger Sliders With Hawaiian Rolls
Ingredients You’ll Need:
- Hawaiian Rolls: 1 (12-count) package
- Ground Beef: 1 ½ lbs (80/20 blend for juiciness)
- Worcestershire Sauce: 1 tablespoon
-
Seasonings:
- 1 teaspoon garlic powder
- 1 teaspoon onion powder
- Salt and pepper to taste
- Cheese: 8 oz sharp cheddar cheese, shredded
- Mayo: 4 tablespoons
- Mustard: 2 tablespoons yellow mustard (optional)
- Onion: 1 small red onion, thinly sliced
- Pickles: 1 dill pickle, sliced (optional)
- Butter: 2 tablespoons unsalted butter, melted
- Sesame Seeds: 1 tablespoon (optional, for topping)
How Much Time Will You Need?
This delicious recipe takes about 15 minutes to prep and 20-25 minutes to cook. In total, you’re looking at around 40-45 minutes from start to finish, making it perfect for a quick and tasty dinner or a party feast!
Step-by-Step Instructions:
1. Preheat and Prepare Your Baking Sheet:
First, preheat your oven to 350°F (175°C). While that’s heating up, line a baking sheet with foil or parchment paper—this will make cleanup a breeze later on!
2. Slice the Rolls:
Take your package of Hawaiian rolls and slice them in half horizontally with a sharp knife. You want to create a top and bottom layer. Once sliced, place the bottom half on your prepared baking sheet.
3. Spread the Sauces:
Evenly spread the mayonnaise over the bottom layer of the rolls. If you enjoy a bit of tang, now’s the time to add a thin layer of mustard on top of the mayo!
4. Prepare the Beef Mix:
In a large mixing bowl, combine the ground beef with Worcestershire sauce, garlic powder, onion powder, salt, and pepper. Mix everything together gently, being careful not to overwork the meat to keep it tender.
5. Cook the Beef:
Heat a large skillet over medium-high heat. Once hot, add the seasoned ground beef, breaking it apart as it cooks. Stir frequently until it’s browned and fully cooked through, which should take about 7-10 minutes. Drain any excess grease to keep the sliders from being soggy.
6. Assemble the Sliders:
Now, spread the cooked beef evenly over the mayo-coated bottom half of the rolls. Make sure to distribute it well! Next, sprinkle shredded cheddar cheese generously over the beef while it’s still warm so the cheese melts slightly.
7. Add Onions and Pickles:
Top the cheese with thin slices of red onion and dill pickles, if using them. This adds the perfect crunch and flavor!
8. Cover and Butter:
Place the top half of the Hawaiian rolls over everything. Brush the melted butter generously over the top of the rolls, and sprinkle sesame seeds on top if you like!
9. Bake the Sliders:
Tent the sliders loosely with foil and bake them in the preheated oven for about 15 minutes, until warmed through and the cheese has melted. After that, remove the foil and bake for an additional 5 minutes to toast the tops a little.
10. Slice and Enjoy:
Once baked, let the sliders cool for a few minutes before slicing them between the rolls. Serve warm and enjoy your gooey, savory cheeseburger sliders, perfect for parties, game days, or a fun family dinner!
Can I Use Ground Turkey Instead of Beef?
Yes, ground turkey is a great alternative if you’re looking for a leaner protein! Just keep in mind that turkey can be drier, so consider adding a bit more sauce or mixing in some finely chopped onions for moisture.
How Can I Make This Recipe Gluten-Free?
To make these sliders gluten-free, you can use gluten-free Hawaiian rolls or other gluten-free slider buns. Additionally, ensure that your Worcestershire sauce is gluten-free, as some brands may contain gluten.
Can I Freeze the Sliders?
Absolutely! You can freeze the fully assembled sliders before baking. Just wrap them tightly in plastic wrap and foil, and they should last up to 2-3 months. When ready to bake, thaw them in the refrigerator overnight and then bake as directed.
What Are Some Good Toppings or Add-Ins?
Feel free to get creative! Try adding toppings like crispy bacon, jalapeños, or different kinds of cheese. You can also mix in chopped green peppers or mushrooms with the meat for added flavor and texture!