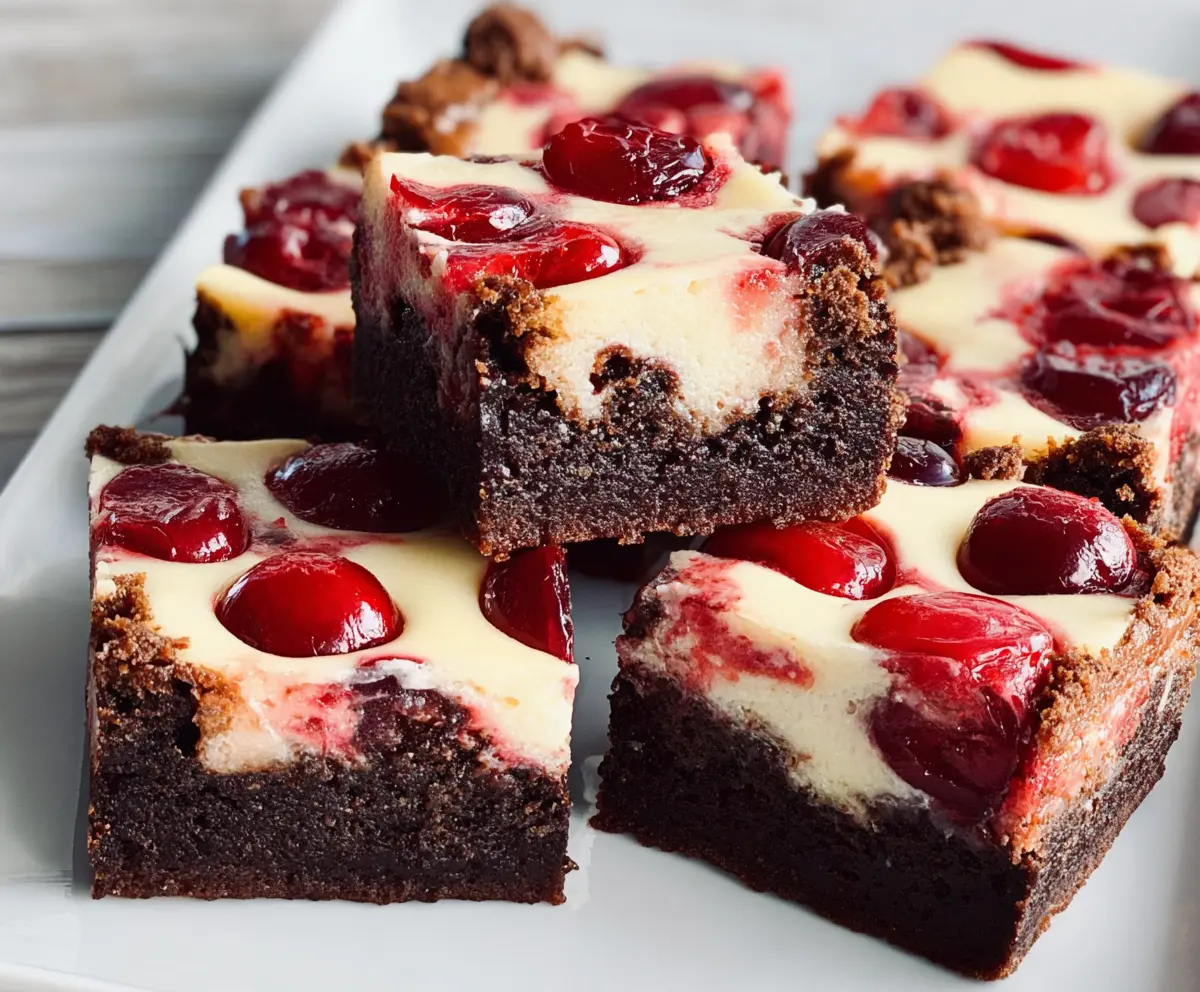
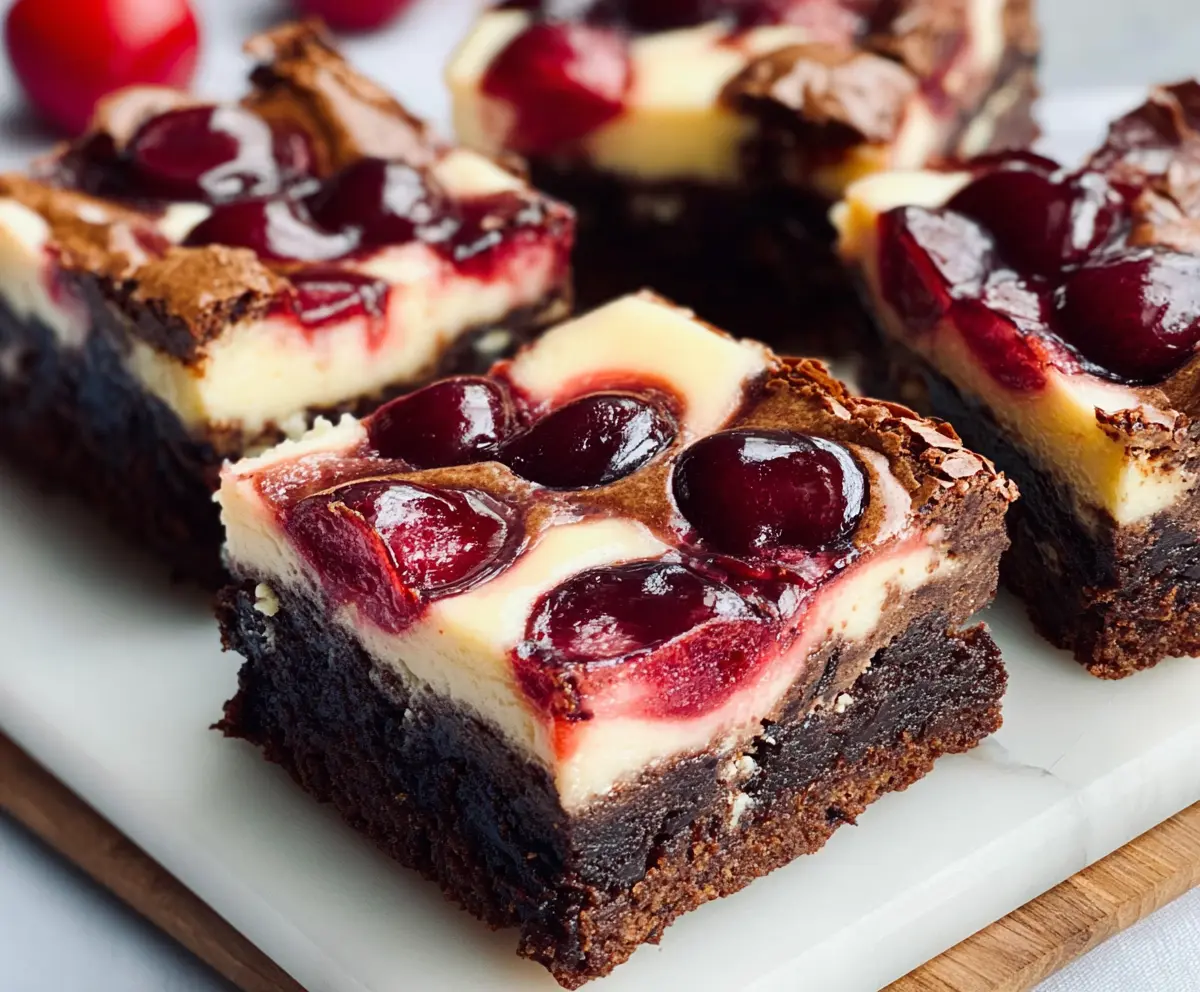
These Cherry Cheesecake Brownies are a yummy treat that combines rich chocolatey brownies with creamy cheesecake and sweet cherries on top. Perfect for any dessert lover!
Honestly, who can resist that cherry topping? I always make extra to sneak a few bites before serving. 🍒 Plus, they’re super easy to whip up and impress friends!
Key Ingredients & Substitutions
Unsalted Butter: This adds richness to the brownie layer. If you’re out of unsalted butter, you can use salted butter—just reduce the added salt in the recipe.
Granulated Sugar: Provides sweetness and helps achieve a rich texture. Brown sugar can be used instead for a slightly caramel flavor.
Cocoa Powder: Unsweetened cocoa gives those brownies their chocolate flavor. If you prefer a more intense chocolate kick, try a dark cocoa powder instead.
Cream Cheese: Essential for that creamy cheesecake layer. If you need a lighter option, you can use Neufchâtel cheese, which has a lower fat content.
Cherries: Maraschino cherries are sweet and easy to find, but you can use fresh pitted cherries for a tart contrast! Feel free to mix it up with other fruits like blueberries or raspberries too.
How Can I Make Sure My Cheesecake Layer is Smooth?
The trick to a creamy cheesecake layer is to properly soften the cream cheese before mixing. Cold cream cheese can lead to lumps in your mixture. Here’s how to achieve a smooth texture:
- Remove cream cheese from the fridge at least 30 minutes before using. Let it come to room temperature.
- Beat the cream cheese alone before adding sugar. This helps break it down.
- Mix on medium speed until it is smooth and free of lumps, then add sugar and mix until creamy.
By following these steps, you should get a velvety cheesecake layer on top of your brownies!
Cherry Cheesecake Brownies
Ingredients You’ll Need:
For Brownie Layer:
- 1/2 cup (115g) unsalted butter, melted
- 1 cup (200g) granulated sugar
- 2 large eggs
- 1 tsp vanilla extract
- 1/3 cup (35g) unsweetened cocoa powder
- 1/2 cup (65g) all-purpose flour
- 1/4 tsp salt
- 1/4 tsp baking powder
For Cheesecake Layer:
- 8 oz (225g) cream cheese, softened
- 1/4 cup (50g) granulated sugar
- 1 large egg
- 1/2 tsp vanilla extract
For Cherry Topping:
- About 3/4 cup jarred maraschino cherries or fresh pitted cherries, halved
How Much Time Will You Need?
This recipe takes about 15 minutes of prep time and around 40 minutes to bake. After baking, it’s a good idea to chill the brownies for at least 2 hours before serving, allowing them to set nicely in the fridge. So, in total, you’ll need about 3 hours, but most of that time is hands-off while they cool and chill!
Step-by-Step Instructions:
1. Preheat the Oven:
Begin by preheating your oven to 325°F (163°C). Grease an 8×8 inch baking pan or line it with parchment paper for easy removal later. This little step makes it so much easier when it’s time to cut those brownies.
2. Make the Brownie Batter:
In a medium-sized bowl, combine the melted butter with the granulated sugar. Mix well until fully incorporated. Then, whisk in the eggs and vanilla extract until smooth and fluffy. This will add some wonderful flavor to your brownie base!
3. Combine Dry Ingredients:
Next, sift in the cocoa powder, all-purpose flour, salt, and baking powder into the wet mixture. Carefully stir it together until just combined. Be gentle; you don’t want to overmix as it can make the brownies tough!
4. Spread the Brownie Base:
Pour the brownie batter into your prepared pan and use a spatula to spread it evenly. Make sure the layer is nice and smooth so it bakes evenly.
5. Prepare the Cheesecake Layer:
In a separate bowl, beat the softened cream cheese with granulated sugar using an electric mixer until it’s smooth and creamy. Add in one egg and the vanilla extract, mixing until everything is well blended. This cheesecake layer is going to be so delicious!
6. Layer the Cheesecake Mixture:
Carefully pour the cheesecake mixture over the brownie layer. Use a spatula to spread it gently, creating an even top layer.
7. Add the Cherry Topping:
Now, it’s time for the cherries! Gently press the cherry halves into the cheesecake layer, spacing them out nicely. This adds a beautiful pop of color and flavor to your brownies!
8. Bake:
Place the pan in your preheated oven and bake for 35-40 minutes. You’ll know they’re done when the cheesecake layer is set but still has a little jiggle in the center. Keep an eye on them toward the end to make sure they don’t overbake.
9. Cool Down:
Once out of the oven, let the brownies cool completely in the pan on a wire rack. After they’ve cooled at room temperature, pop them in the fridge for at least 2 hours. This helps the layers to set properly.
10. Slice and Serve:
When you’re ready to enjoy, lift the brownies out of the pan using the parchment paper. Cut them into squares and serve them up to your friends and family! They will be so impressed!
11. Enjoy:
Take a moment to admire your delicious creation, then dig in! You’ve got a beautiful brownie base topped with smooth cheesecake and juicy cherries. They’re perfect for any occasion!
These Cherry Cheesecake Brownies are not only a treat for the eyes but also for the taste buds. Enjoy making and sharing this delightful dessert!
Can I Use Other Fruits Instead of Cherries?
Absolutely! You can substitute cherries with other fruits like blueberries, raspberries, or strawberries. Just make sure to wash and prepare them properly, and adjust the sweetness if needed!
How Should I Store Leftover Brownies?
Store any leftovers in an airtight container in the refrigerator. They will stay fresh for about 4-5 days. You can also freeze them for up to 3 months—just make sure to wrap them tightly to prevent freezer burn!
Can I Make the Brownies Gluten-Free?
Yes, you can! Simply replace all-purpose flour with a 1:1 gluten-free baking blend. Make sure the blend contains xanthan gum, or add a little for better texture.
What Should I Do If My Brownies Turn Out Too Gooey?
If your brownies are too gooey after baking, it may be due to undercooking. Next time, bake them a bit longer, checking for doneness by ensuring the cheesecake layer is set but still has a slight jiggle. You can also refrigerate them longer to help firm them up!