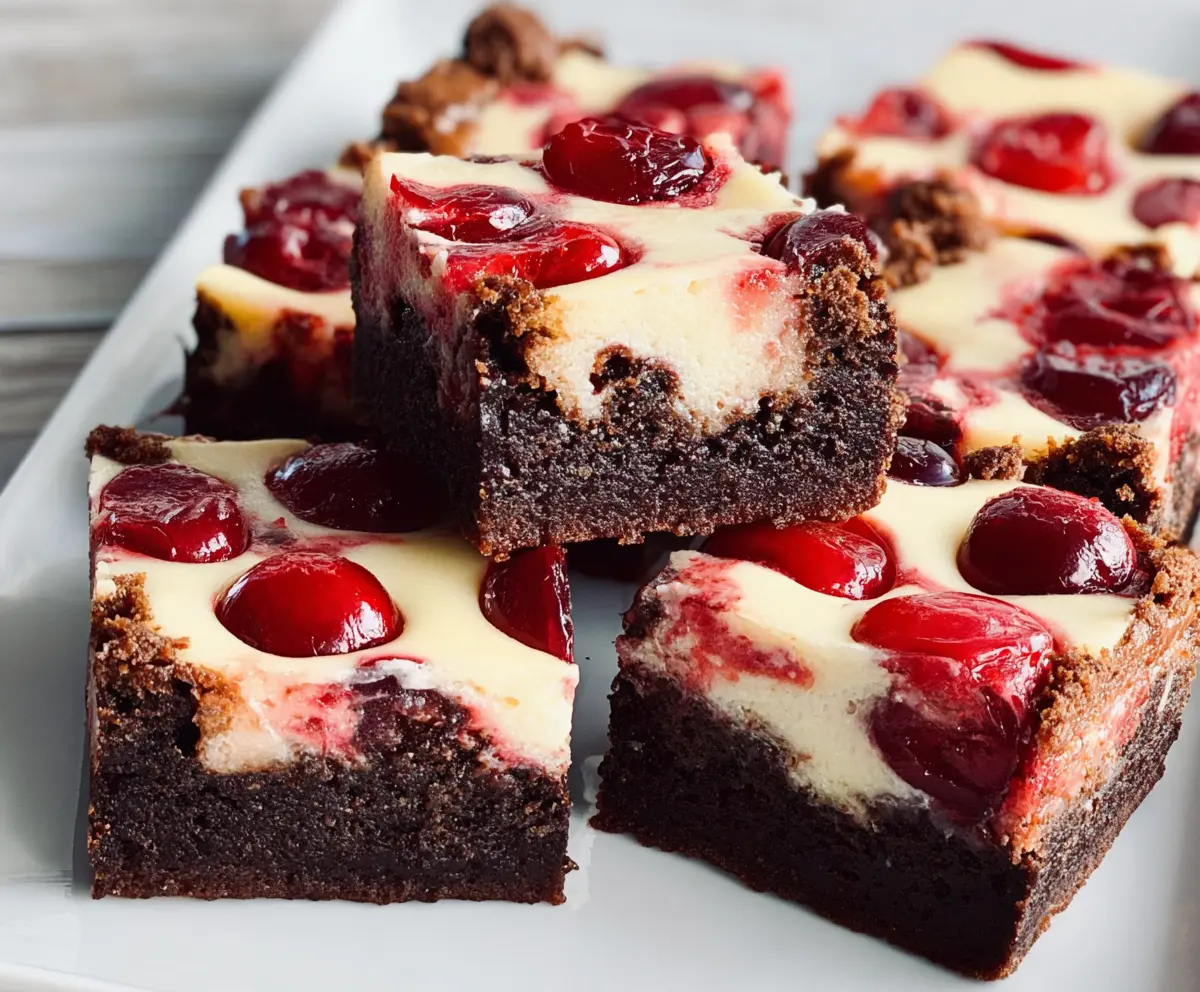
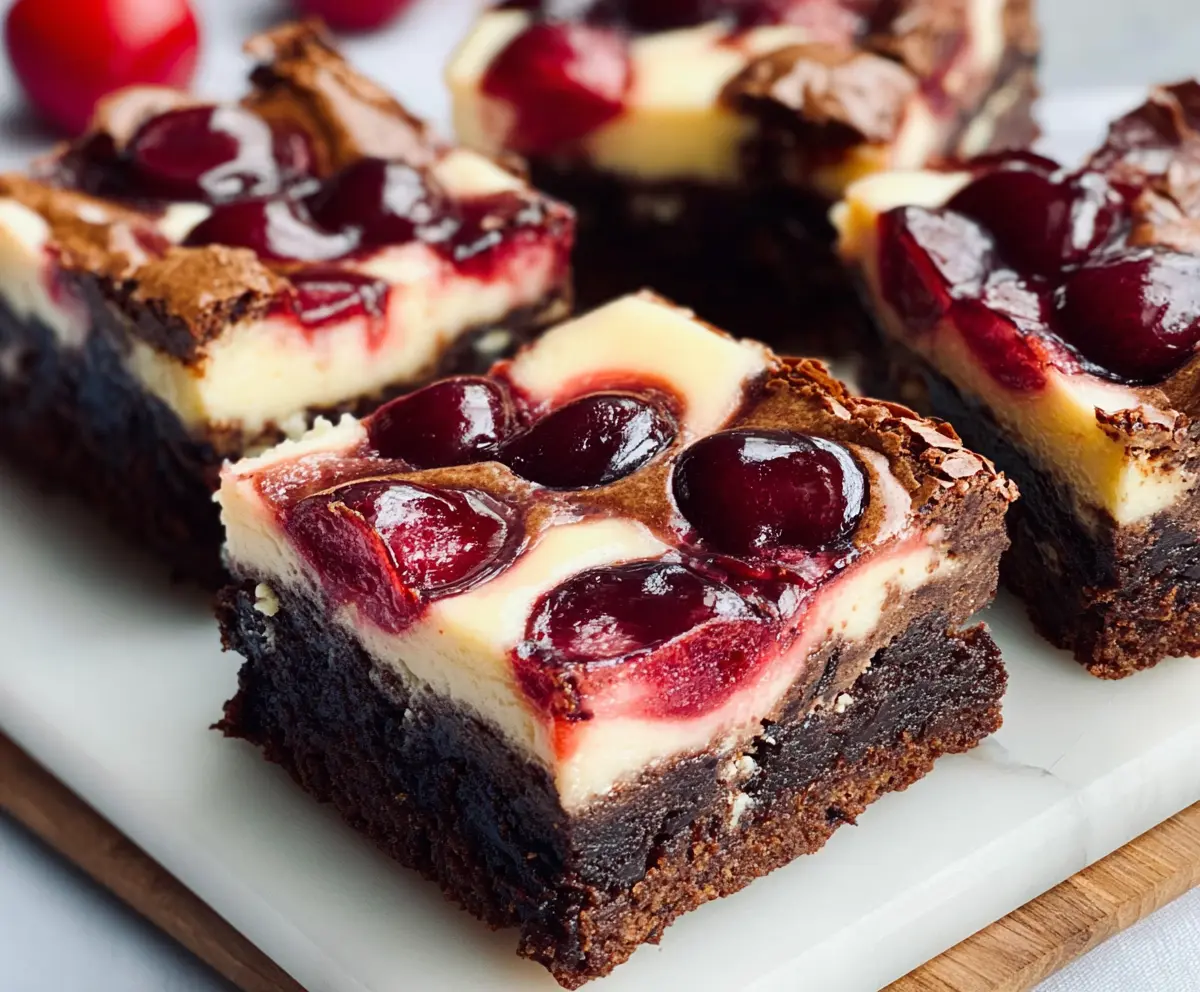
These Cherry Cheesecake Brownies are a delightful mix of rich chocolate and creamy cheesecake, topped with sweet cherries. They look fancy but are super easy to make!
Your family will think you’re a dessert genius when you serve these. I mean, who doesn’t love a brownie with a cherry on top? It’s like a party on a plate! 🎉
Key Ingredients & Substitutions
Unsalted Butter: This is essential for a rich flavor. If you’re looking for a dairy-free option, you can use coconut oil or a vegan butter substitute, which works well in baking too.
Semi-Sweet Chocolate: The star of the brownie layer! If you want something sweeter, use milk chocolate. For a darker flavor, go for dark chocolate or bittersweet. Make sure any substitutes are similar in weight for the best results.
Cream Cheese: You can swap regular cream cheese with Neufchâtel for lower fat. Vegan cream cheese is a great substitute if you’re dairy-free, but check its consistency for best results.
Pitted Cherries: Fresh cherries are fantastic, but if they’re out of season, use canned or frozen cherries. They can add a nice tangy sweetness too. If you can’t have cherries, blueberries or raspberries work well in this recipe!
How Do I Get the Best Swirl in My Cheesecake Layer?
The marbling technique is important for both look and taste. Follow these tips to nail it!
- Use a knife or a skewer to gently swirl the cheesecake mixture into the brownie layer. Don’t overdo it; a few swirls should create beautiful patterns!
- Make sure the cheesecake mixture isn’t too thick; it should spread easily. If it feels stiff, give it a quick mix to lighten it up.
- Press the cherries into the batter gently after swirling to keep them from sinking too much. This way, they’ll stay visible and wonderful!
These tips will help you create an eye-catching dessert that tastes as good as it looks. Enjoy your baking!
Cherry Cheesecake Brownies
Ingredients You’ll Need:
For the Brownie Layer:
- 1/2 cup (115g) unsalted butter
- 8 oz (225g) semi-sweet chocolate, chopped
- 1 cup (200g) granulated sugar
- 2 large eggs
- 1 teaspoon vanilla extract
- 3/4 cup (95g) all-purpose flour
- 1/4 cup (25g) unsweetened cocoa powder
- 1/4 teaspoon salt
For the Cheesecake Layer:
- 8 oz (225g) cream cheese, softened
- 1/4 cup (50g) granulated sugar
- 1 large egg
- 1/2 teaspoon vanilla extract
For the Topping:
- 1 cup pitted cherries (fresh or jarred preserves), halved or whole if small
How Much Time Will You Need?
This recipe takes about 20 minutes of prep time and 35-40 minutes of baking time, plus at least 2 hours for chilling. In total, you’re looking at around 3 hours before you can enjoy these sumptuous brownies!
Step-by-Step Instructions:
1. Prepare Your Oven and Pan:
First, preheat your oven to 325°F (163°C). Grab an 8×8 inch (20×20 cm) square baking pan. You can either grease it with some butter or line it with parchment paper. If you use parchment, leave some hanging over the edges; this makes it easier to lift the brownies out later!
2. Make the Brownie Base:
In a microwave-safe bowl or a double boiler, melt the butter and chopped chocolate together, stirring until it’s all smooth and combined. Take it off heat and let it cool slightly.
3. Mix the Wet Ingredients:
In another medium bowl, whisk together the granulated sugar and the eggs until they are well combined. Add in the vanilla extract. Pour in the melted chocolate mixture and whisk everything until it’s nice and smooth.
4. Combine Dry Ingredients:
In a separate bowl, sift together the flour, cocoa powder, and salt. Now, fold this mixture gently into the wet ingredients. Do it lightly; you don’t want to overmix it!
5. Pour the Brownie Batter:
Take your brownie batter and pour it evenly into your prepared pan. Spread it out so it forms an even layer across the bottom.
6. Make the Cheesecake Layer:
In a clean bowl, beat the softened cream cheese until it’s smooth and creamy. Then add in the sugar, egg, and vanilla extract. Mix until everything is fully blended and creamy.
7. Swirl the Cheesecake Mixture:
Spoon dollops of the cheesecake mixture over the brownie layer in the pan. With a knife or skewer, gently swirl the cheesecake into the brownie batter to create a lovely marbled effect.
8. Add the Cherries:
Evenly distribute the halved cherries on top of the mixture. If they’re a little too big, you can gently press them into the batter so they’re nestled nicely.
9. Bake the Brownies:
Now, pop the pan into your preheated oven and bake for about 35-40 minutes. You’ll know they’re done when the cheesecake layer is set, and the edges of the brownies start to pull away from the sides of the pan.
10. Cool and Chill:
Take the brownies out of the oven and let them cool completely in the pan on a wire rack. After they’ve cooled down, cover them with plastic wrap or foil and pop them in the fridge for at least 2 hours. This helps them set even more!
11. Slice and Serve:
Once your brownies are chilled, gently lift them out of the pan by the parchment paper overhang. Slice them into squares and serve. You can enjoy them chilled or at room temperature. Get ready to savor that rich, creamy cheesecake swirled with the fudgy brownie and tart cherries on top!
Can I Use Different Fruits Instead of Cherries?
Absolutely! If cherries aren’t your thing or are out of season, you can substitute with blueberries, raspberries, or even diced strawberries. Just ensure the fruit is pitted or cut into manageable pieces to avoid any surprises in each bite!
Can These Brownies Be Made Gluten-Free?
Yes! To make these brownies gluten-free, simply substitute the all-purpose flour with a gluten-free flour blend. Make sure the blend contains xanthan gum to help with the structure!
How Should I Store Leftover Brownies?
Store any leftovers in an airtight container in the fridge for up to 5 days. For longer storage, you can freeze them! Wrap them individually in plastic wrap and place them in a freezer bag. They’ll keep well for up to 3 months. Just thaw them in the fridge before serving!
Can I Make This Recipe Ahead of Time?
Definitely! You can make the brownies a day in advance and store them in the fridge. They actually taste better the next day as the flavors have time to meld. Just remember to let them come to room temperature before serving for the best texture!