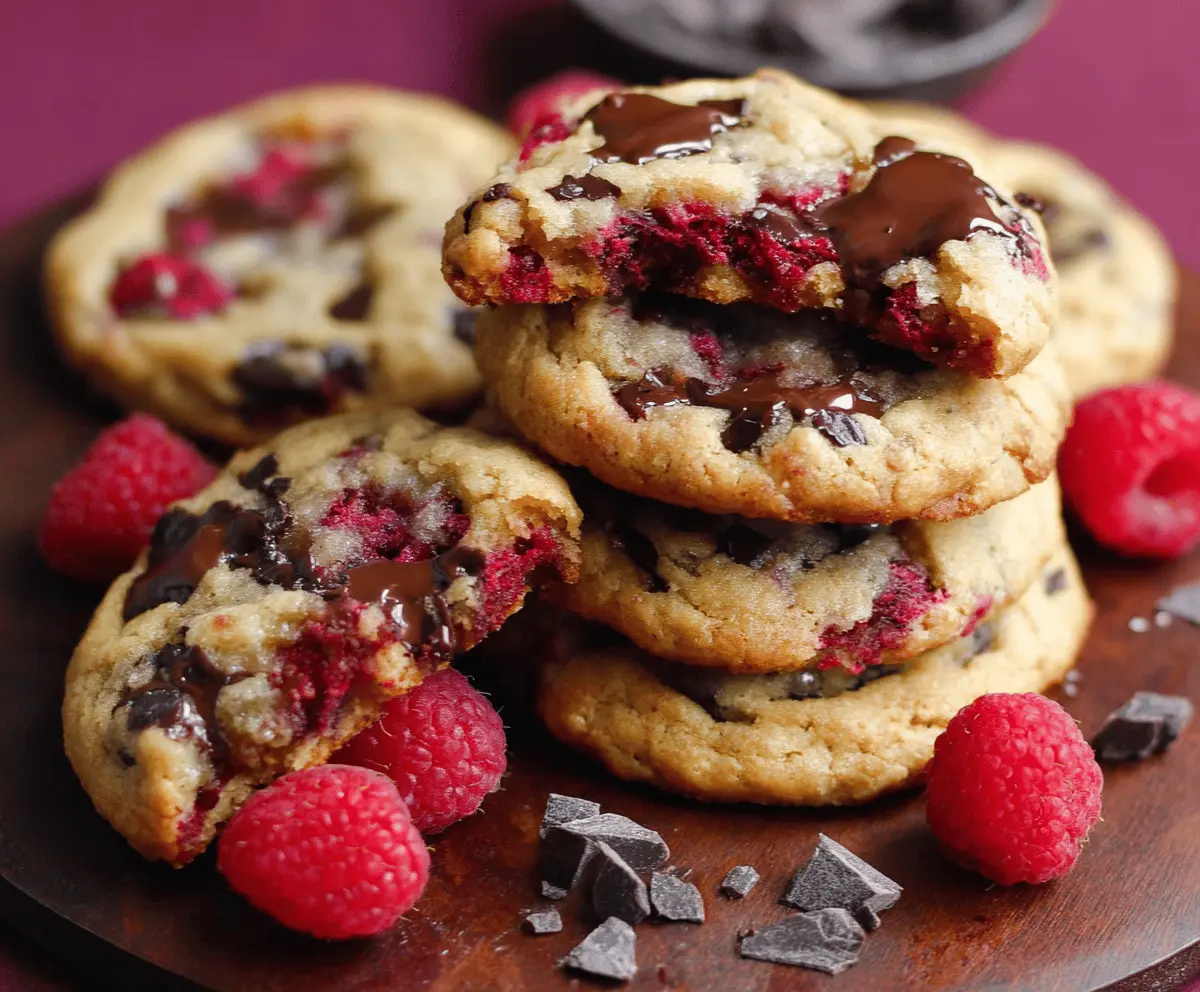
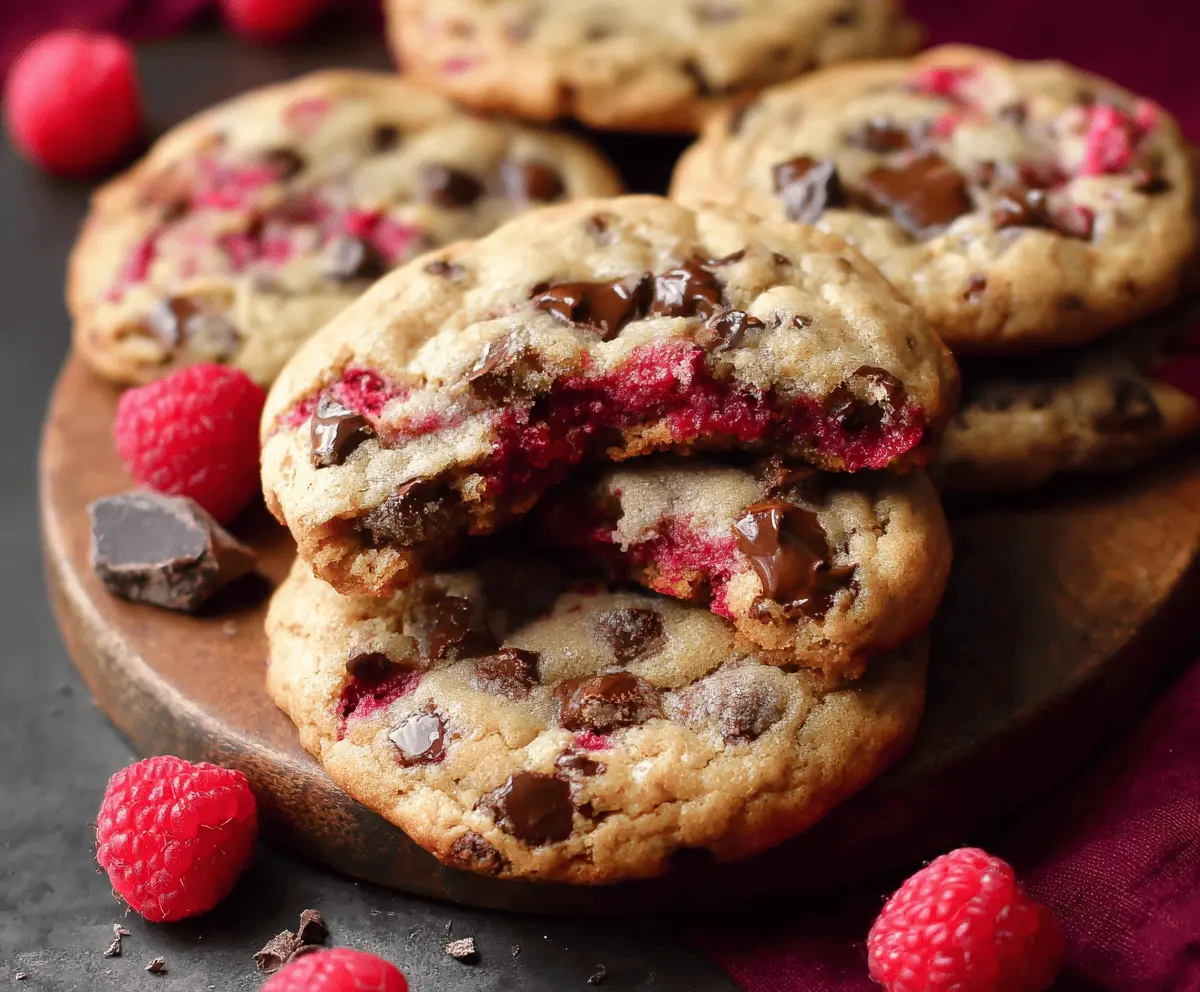
These chewy raspberry chocolate chip cookies are a perfect treat! With sweet raspberries and rich chocolate chips in every bite, they balance fruity and decadent flavors wonderfully.
Who can resist the combo of chocolate and berries? I always keep an eye out to make sure I save some for later, but I often end up munching through the batch! 😋
Baking these cookies is so fun! Just mix up the ingredients, add the chocolate and raspberries, and you’re set for a delicious snack that everyone will love!
Key Ingredients & Substitutions
Unsalted Butter: Softened butter gives these cookies a rich flavor and chewy texture. If you’re out, you can use margarine or coconut oil, but the taste may slightly differ.
Sugars: A mix of granulated and brown sugar creates that perfect balance. If you’re looking to cut down on sugar, you could use stevia, but if you opt for all brown, your cookies will be more caramel-like.
Fresh Raspberries: The star of the cookie! If they’re not in season, feel free to use frozen raspberries, just be sure to thaw and drain them beforehand to reduce excess moisture.
Chocolate Chips: I love using semisweet chocolate, but dark, white, or even milk chocolate works too. If you’re dairy-free, look for vegan chocolate chips instead.
How Can I Keep My Cookies Chewy?
To achieve that perfect chewy texture in your cookies, follow these essential steps:
- Don’t overmix the dough when adding dry ingredients. This keeps cookies tender.
- Bake until the edges are just golden but the centers look a bit underbaked. They’ll firm up as they cool.
- Use room temperature ingredients, especially butter, to ensure a good blend without overworking the dough.
- Let the cookies cool on the baking sheet for a few minutes before transferring them to a wire rack. This helps them set perfectly.
Chewy Raspberry Chocolate Chip Cookies
Ingredients You’ll Need:
- 1 cup (227g) unsalted butter, softened
- 3/4 cup (150g) granulated sugar
- 3/4 cup (165g) packed light brown sugar
- 2 large eggs
- 1 1/2 teaspoons vanilla extract
- 2 1/4 cups (281g) all-purpose flour
- 1 teaspoon baking soda
- 1/2 teaspoon salt
- 1 cup (175g) semisweet or dark chocolate chunks or chips
- 1 cup fresh raspberries, gently rinsed and patted dry
How Much Time Will You Need?
This delightful recipe will take about 15 minutes to prepare and 10-12 minutes to bake. With a quick cooldown time of about 5 extra minutes on the baking sheet, you’re looking at just around 30-35 minutes in total before you can dig into these delicious cookies!
Step-by-Step Instructions:
1. Preheat the Oven:
Start by preheating your oven to 350°F (177°C). This is an important step, as it ensures your cookies will bake evenly. While the oven is heating up, line two baking sheets with parchment paper or silicone baking mats to prevent sticking.
2. Cream Butter and Sugars:
In a large mixing bowl, use an electric mixer to cream together the softened butter, granulated sugar, and brown sugar. Mix until it’s light and fluffy—this will take about 3-4 minutes. This step is crucial for creating a nice fluffy texture in your cookies!
3. Add Eggs and Vanilla:
Next, beat in the eggs one at a time. Make sure to mix well after each egg! Once they’re fully incorporated, stir in the vanilla extract until the mixture is smooth and combined.
4. Combine Dry Ingredients:
In a separate bowl, take the time to whisk together the all-purpose flour, baking soda, and salt. This ensures that the baking soda is evenly distributed throughout your flour, which will help the cookies rise properly later.
5. Mix Wet and Dry Ingredients:
Now, gradually add the dry mixture to your wet mixture. Mix until it’s just combined—be careful not to overmix! It’s okay if there are a few small lumps.
6. Add Chocolate Chips:
Gently fold the chocolate chunks or chips into the dough. This is where all the gooey chocolatey goodness begins!
7. Fold in Raspberries:
Carefully fold in the fresh raspberries. Take your time with this step to keep the berries intact, as you don’t want them to bleed too much juice into the batter.
8. Shape the Cookies:
Using a tablespoon, drop rounded portions of cookie dough onto the prepared baking sheets. Make sure to space them about 2 inches apart to allow for spreading while baking.
9. Bake Them Up:
Place your baking sheets in the preheated oven and bake for 10-12 minutes. Keep an eye on them—look for lightly golden edges with soft centers. They will continue to cook a little after you take them out!
10. Cool and Enjoy:
After baking, remove the cookies from the oven and let them cool on the baking sheet for about 5 minutes. This resting period allows them to firm up. Then, transfer them to a wire rack to cool completely. Enjoy your luscious chewy cookies with a glass of milk or as a sweet treat any time of day!
Dig in and savor every delicious bite with those wonderful bursts of fresh raspberry and chocolate goodness! 🎉
Can I Use Frozen Raspberries Instead of Fresh?
Yes, you can use frozen raspberries! Just make sure to thaw and drain them before adding to the dough to minimize excess moisture, which can affect the cookie texture.
How Do I Store Leftover Cookies?
Store leftover cookies in an airtight container at room temperature for up to 3 days. For longer storage, you can freeze them in a freezer-safe bag for up to 3 months. Just thaw at room temperature when you’re ready to enjoy!
Can I Substitute the Butter with Coconut Oil?
Absolutely! You can substitute unsalted butter with coconut oil at a 1:1 ratio. Just make sure it’s melted and slightly cooled before mixing it in, as this will help maintain the dough consistency.
What’s the Best Way to Keep My Cookies Soft and Chewy?
To keep your cookies soft and chewy, avoid overbaking them! Pull them out of the oven when the edges are lightly golden but the centers still look slightly underbaked. They will firm up as they cool!