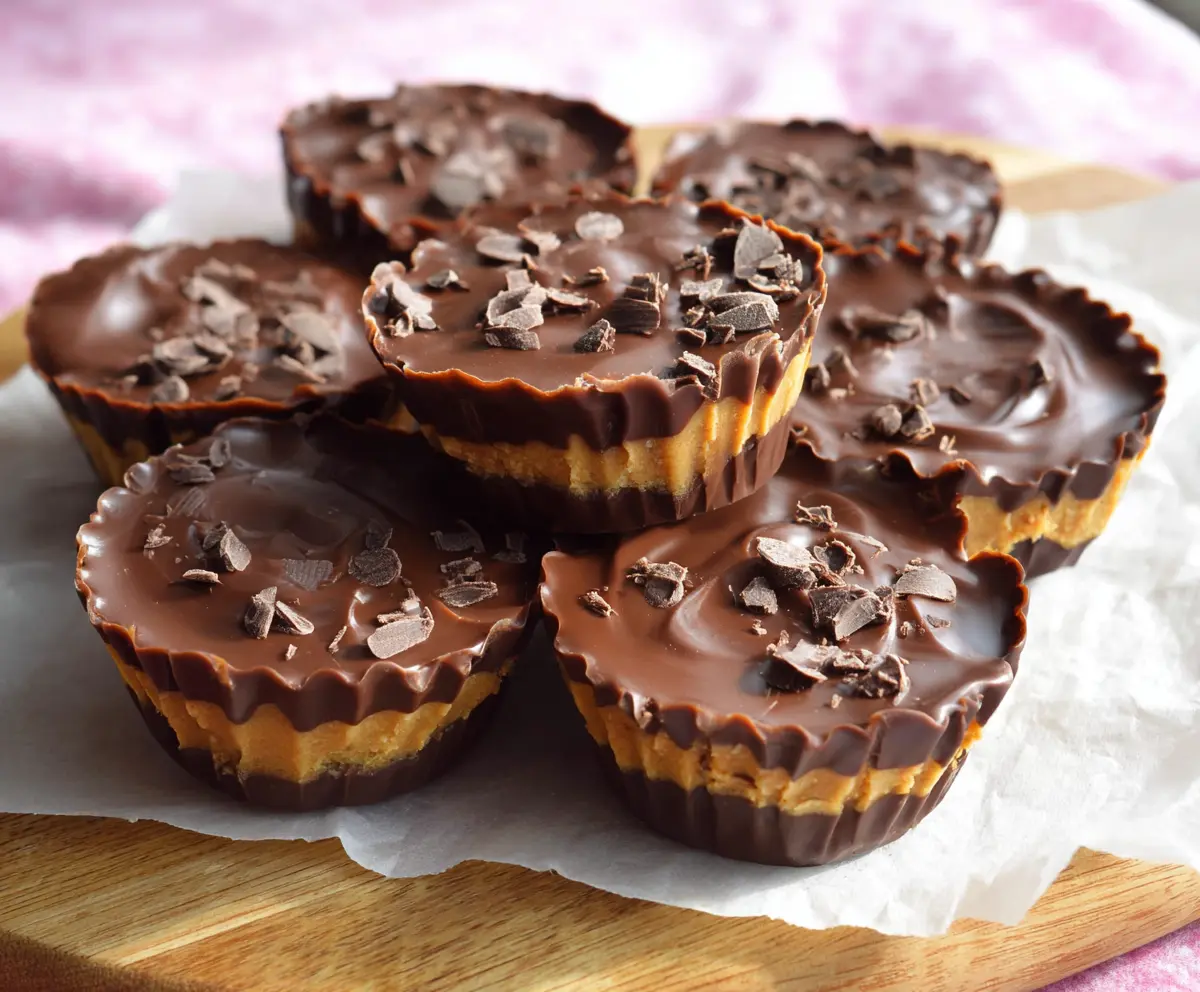
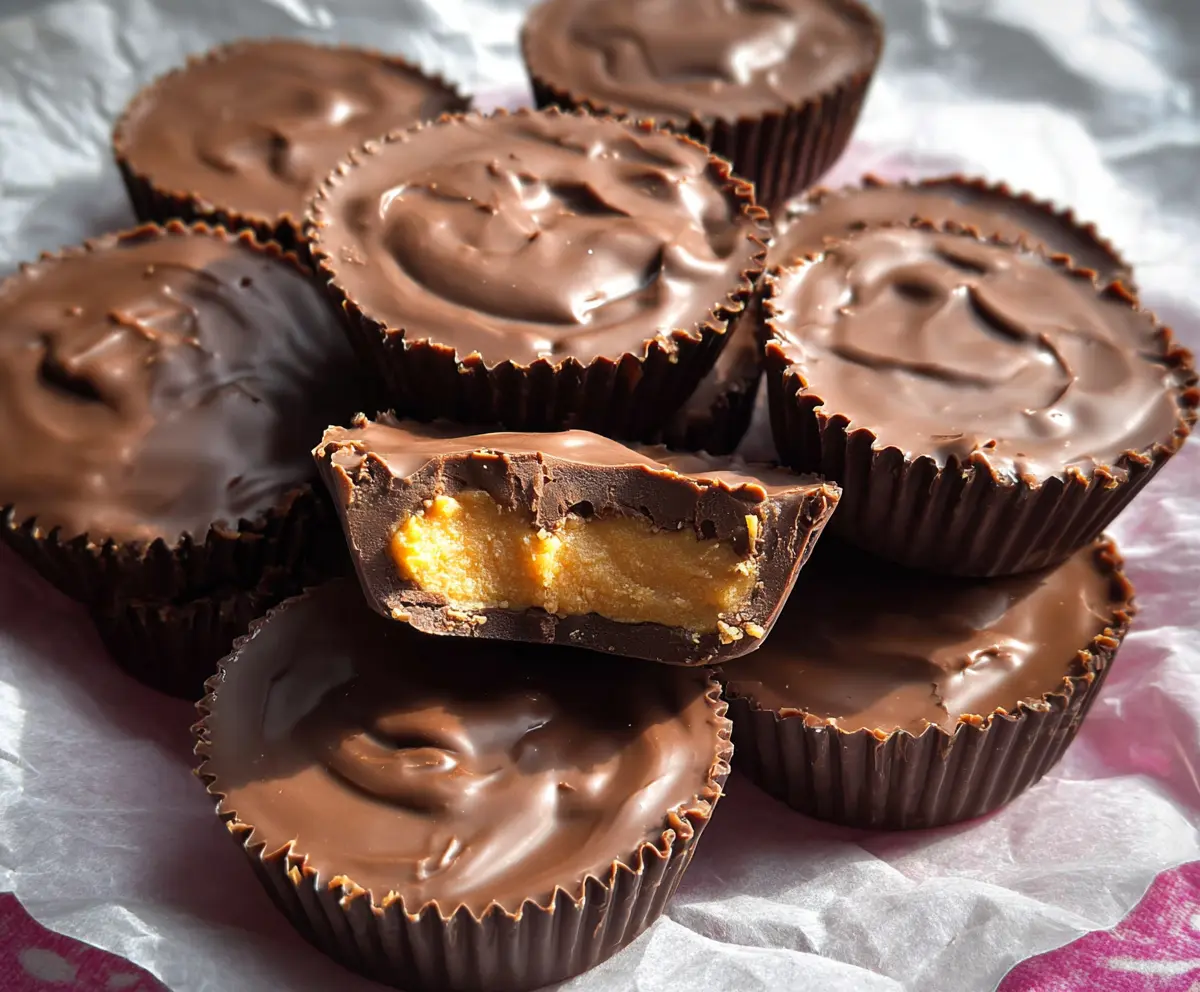
These Chocolate Peanut Butter Cups are a sweet treat you’ll love! With a rich chocolate shell and creamy peanut butter filling, they’re hard to resist.
I could eat these all day! Just pop them in the fridge to set, and they’re ready for an on-the-go snack or dessert. Trust me, one bite will leave you smiling! 😋
Key Ingredients & Substitutions
Creamy Peanut Butter: Natural peanut butter is my favorite since it has just two ingredients: peanuts and salt. If you’re allergic, try sunflower seed butter or almond butter as a great alternative!
Unsalted Butter: Using unsalted butter gives you better control over the sweetness. If you want a dairy-free option, coconut oil or vegan butter works well here.
Brown Sugar: Brown sugar adds a nice caramel flavor. If you don’t have it, white sugar is a fine substitute, just remember that it won’t add the same depth of flavor.
Chocolate Chips: Semisweet is popular for its balanced sweetness, but dark chocolate adds a nice richness. If you prefer white chocolate, go for it! Just adjust the sweetness in the filling accordingly.
How Can You Ensure Your Chocolate is Smooth and Glossy?
Getting smooth, glossy chocolate is key for these cups! Here’s a simple technique:
- Melt chocolate in short bursts of 30 seconds in a microwave-safe bowl. Stir well between each interval. This prevents burning.
- If you want extra smoothness, mix in vegetable oil! It helps the chocolate maintain its sheen and makes it easier to work with.
After spreading the melted chocolate in the muffin cups, chill them in the fridge to set. This step is crucial! It keeps the chocolate from seeping into the peanut butter when layered.
With these tips, your Chocolate Peanut Butter Cups will turn out perfectly every time! Enjoy your delicious treats!
How to Make Chocolate Peanut Butter Cups
Ingredients You’ll Need:
- 1 cup creamy peanut butter (preferably natural or smooth)
- 1/4 cup unsalted butter, softened
- 1/4 cup packed brown sugar
- 1 1/2 cups powdered sugar, sifted
- 2 cups semisweet or dark chocolate chips
- 2 tablespoons vegetable oil (optional, for smoother chocolate)
- Chocolate shavings or chopped chocolate (for garnish, optional)
How Much Time Will You Need?
This recipe takes about 15 minutes to prepare and then at least 1 hour to chill in the fridge. In total, you’re looking at about 1 hour and 15 minutes before you can dig in!
Step-by-Step Instructions:
1. Prepare the Muffin Tin:
Start by lining a 12-cup muffin tin with paper liners. If you have silicone cupcake molds, those work great too—just set them aside for later.
2. Melt the Chocolate:
In a microwave-safe bowl, combine 1 1/2 cups of chocolate chips with vegetable oil if you’re using it. Melt the mixture in the microwave in 30-second intervals, stirring well in between, until the chocolate is smooth and glossy. This is the base layer of your cups!
3. Create the Chocolate Base:
Using a spoon, add about 1 to 1 1/2 teaspoons of the melted chocolate into the bottom of each muffin cup. Spread it gently to cover the base evenly. Pop the tray into the refrigerator for about 10 minutes to let the chocolate set.
4. Make the Peanut Butter Filling:
While the chocolate is cooling, prepare your peanut butter filling. In a mixing bowl, blend the creamy peanut butter, softened butter, and brown sugar until it’s as smooth as a cloud! Then, gradually add the powdered sugar, mixing until everything is combined and the mixture is firm enough to scoop.
5. Assemble the Cups:
Take the muffin tin out of the fridge. Scoop a level tablespoon of the peanut butter mixture into each cup on top of the chilled chocolate base, smoothing the top with the back of the spoon.
6. Add the Final Chocolate Layer:
Melt the remaining 1/2 cup of chocolate chips in the same way you did before. Once melted, spoon this chocolate over the peanut butter layer, making sure to cover it completely.
7. Garnish and Chill:
If you’d like, sprinkle some chocolate shavings or chopped chocolate on top for decoration! Then, return the muffin tin to the refrigerator for at least 1 hour, or until the cups are completely firm.
8. Serve and Enjoy:
Once the cups are set, carefully remove them from the liners and enjoy your delicious homemade chocolate peanut butter cups! Keep any leftovers in an airtight container in the fridge. Sharing is optional — they’re that good!
These delightful treats are perfect for snacking, sharing, or gifting to friends and family. Enjoy every creamy, chocolatey bite!
Can I Use Natural Peanut Butter Instead of Creamy?
Yes, natural peanut butter works great! Just make sure it’s well-stirred to combine the oils evenly. It may alter the consistency slightly, but the flavor will still be delicious!
How Do I Store Leftover Peanut Butter Cups?
Store any leftovers in an airtight container in the fridge for up to one week. They also freeze well! Just wrap each cup individually and keep them in the freezer for up to 3 months.
Can I Substitute Other Nut Butters?
Absolutely! Almond butter or cashew butter can be used as alternatives to peanut butter. Just keep in mind that the flavor profile will change slightly based on the nut butter you choose!
What Can I Use Instead of Chocolate Chips?
If you don’t have chocolate chips, you can chop up a chocolate bar into small pieces. Just be sure it’s a good quality chocolate for the best flavor!