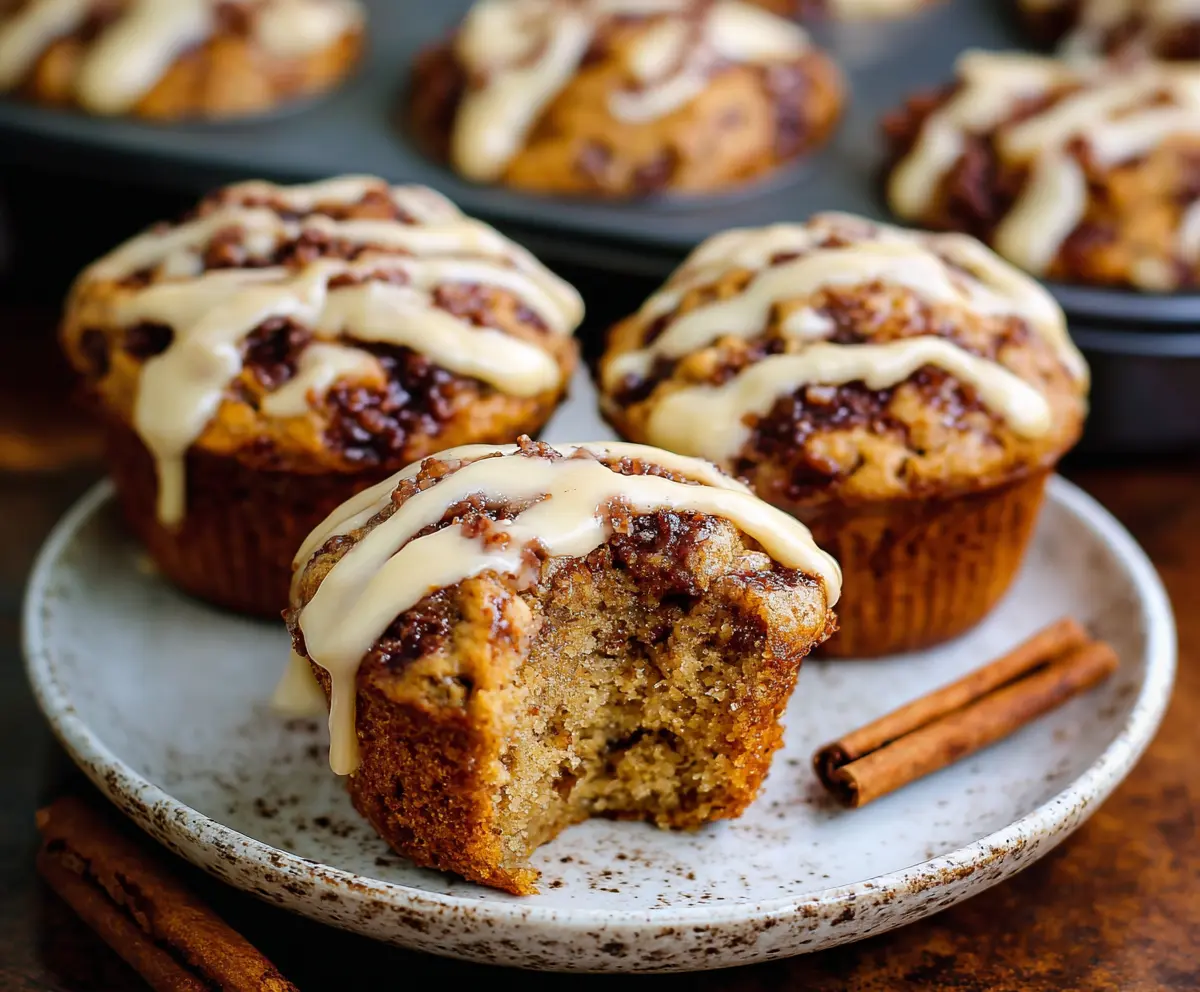
These Cinnamon Roll Protein Muffins are a tasty way to start your day! Packed with protein and swirled with delicious cinnamon, they’re fluffy and sweet, just like a cinnamon roll!
Who doesn’t love a muffin that’s good for you? I like to grab one on busy mornings, and they’re perfect with a cup of coffee. They’re a warm hug for your taste buds! 😊
Key Ingredients & Substitutions
Almond Flour: This flour adds a nutty flavor and keeps the muffins gluten-free. If you don’t have almond flour, you can use oat flour or a gluten-free all-purpose flour instead.
Protein Powder: Vanilla protein powder enhances the taste. If you prefer a different flavor, chocolate or unflavored work too. You can skip it and add more flour, but the protein boost will be lost.
Maple Syrup or Honey: Both sweeteners add moisture and sweetness. If you’re looking for a low-sugar option, try using a sugar-free syrup or a small amount of stevia instead.
Coconut Oil: It brings richness to the muffins. Butter can be used as a substitute, giving a different flavor profile while still keeping them delicious!
How Do I Get a Beautiful Cinnamon Swirl in My Muffins?
Creating that lovely cinnamon swirl is simple, but it requires just a little technique. Here’s how to do it right:
- Separate the cinnamon mixture and muffin batter as directed.
- Fill the muffin tins halfway with batter for a solid base.
- Add the cinnamon swirl mixture on top—don’t skip this! It’s key for flavor.
- Top with more batter, then use a toothpick or knife to gently swirl it together. Don’t overmix; you want to see the swirls!
Following these steps will help ensure that you get those beautiful, tasty swirls every time! Enjoy your baking!
Cinnamon Roll Protein Muffins
Ingredients You’ll Need:
For the Muffins:
- 1 ½ cups almond flour
- ½ cup vanilla or unflavored protein powder
- 1 teaspoon baking powder
- 1 teaspoon ground cinnamon
- ¼ teaspoon salt
- 3 large eggs
- ⅓ cup unsweetened almond milk (or any milk)
- ¼ cup maple syrup or honey
- 2 teaspoons vanilla extract
- ¼ cup melted coconut oil or butter
For the Cinnamon Swirl:
- ¼ cup brown sugar or coconut sugar
- 2 teaspoons ground cinnamon
- 2 tablespoons melted butter
For the Glaze:
- ¼ cup cream cheese, softened
- 2 tablespoons powdered sugar or your favorite sweetener
- 1 tablespoon milk
- ½ teaspoon vanilla extract
How Much Time Will You Need?
This recipe takes about 15 minutes to prepare and 18-22 minutes to bake, plus a bit of cooling time. Altogether, you’ll need around 40 minutes before these delightful muffins are ready to enjoy!
Step-by-Step Instructions:
1. Preheat the Oven:
Start by preheating your oven to 350°F (175°C). While that’s heating, you can prepare your muffin tin by lining it with paper liners or greasing it well.
2. Mix the Dry Ingredients:
In a medium bowl, add the almond flour, protein powder, baking powder, ground cinnamon, and salt. Give it a good stir with a whisk to combine everything evenly.
3. Prepare the Wet Ingredients:
In a large bowl, crack the eggs and whisk them together. Then add the almond milk, maple syrup, vanilla extract, and melted coconut oil. Mix everything until it’s smooth and well combined.
4. Combine Wet and Dry Mixtures:
Now, it’s time to combine! Pour the dry ingredients into the wet ingredients and stir it gently just until everything comes together. Don’t overmix; a few lumps are okay!
5. Make the Cinnamon Swirl:
In a small bowl, mix the brown sugar, cinnamon, and melted butter. This will create a yummy swirl that adds flavor to your muffins!
6. Assemble the Muffins:
Fill each muffin cup about halfway with the muffin batter. Then, drop about half a teaspoon of the cinnamon mixture on top. Top with more muffin batter until the cups are nearly full. Using a toothpick or knife, swirl the cinnamon mixture gently into the batter to create a beautiful swirl pattern.
7. Bake the Muffins:
Place the muffin tin in the preheated oven and bake for 18-22 minutes, or until a toothpick inserted into the center of a muffin comes out clean. Once they’re done, remove them from the oven and let them cool in the tin for a few minutes before transferring them to a wire rack to cool completely.
8. Prepare the Glaze:
While your muffins are cooling, let’s make the glaze. In a small bowl, beat together the softened cream cheese, powdered sugar, milk, and vanilla extract until smooth and creamy.
9. Drizzle the Glaze:
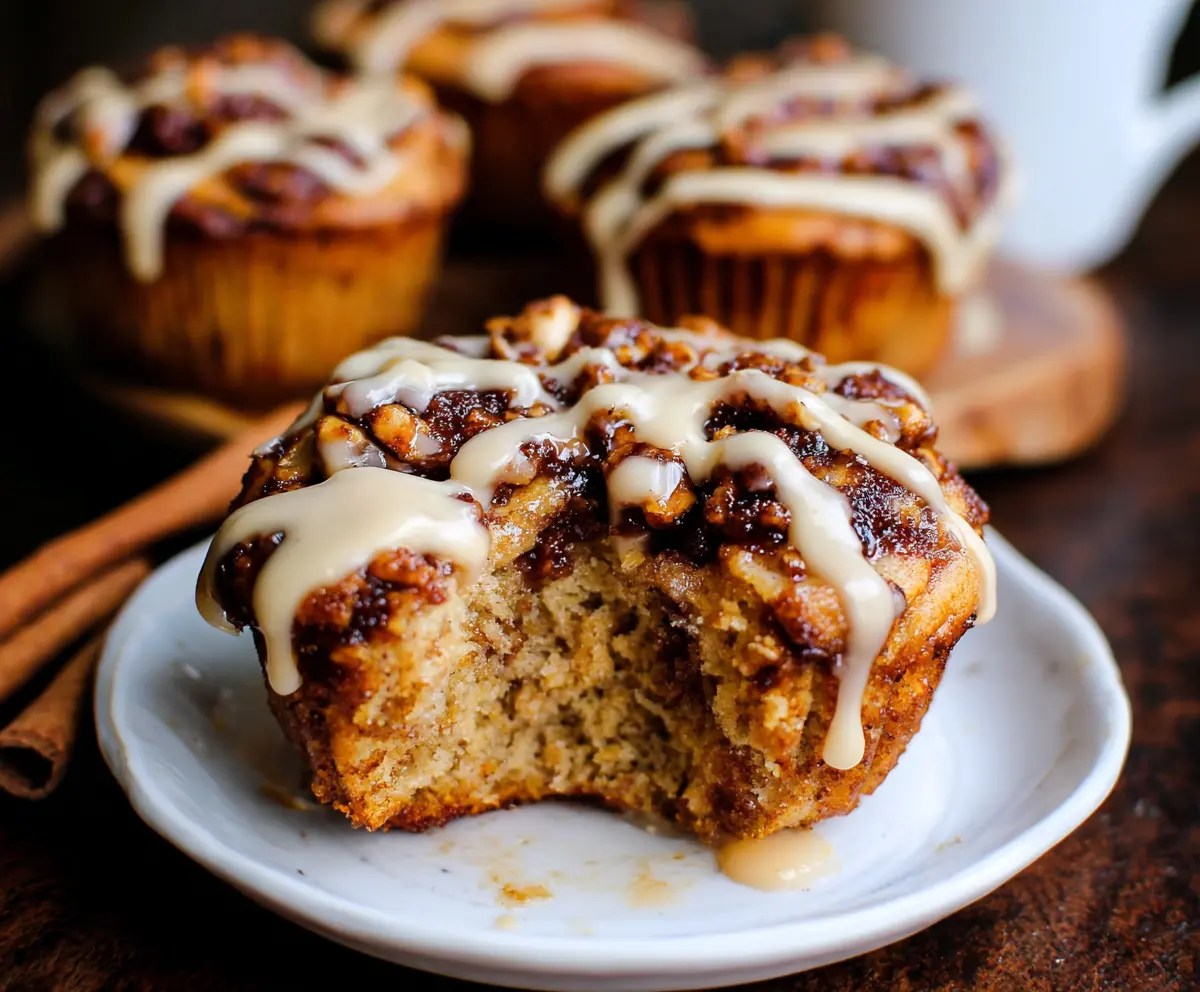
Once the muffins are cool, drizzle the cream cheese glaze over the top of each muffin. It’s the perfect finishing touch!
10. Time to Enjoy:
These Cinnamon Roll Protein Muffins are best enjoyed warm or at room temperature. They make a great breakfast or snack option packed with protein and delicious flavor!
Happy baking! Enjoy your delightful muffins! 😊
Can I Substitute Almond Flour for Another Type of Flour?
Yes! You can use oat flour or a gluten-free all-purpose flour if you don’t have almond flour. Keep in mind that this may slightly change the texture, but they’ll still taste great!
Can I Use Egg Replacers for This Recipe?
Absolutely! You can use flaxseed meal or chia seeds in place of the eggs. Mix 1 tablespoon of flaxseed meal or chia seeds with 3 tablespoons of water, let it sit for a few minutes until it thickens, and use it as a substitute for each egg.
How Should I Store Leftover Muffins?
Store leftover muffins in an airtight container at room temperature for up to 3 days. For longer storage, place them in the fridge or freeze them. To freeze, wrap each muffin individually in plastic wrap and then place them in a freezer bag. They can be thawed overnight in the fridge or warmed in the microwave.
Can I Skip the Glaze?
Of course! If you prefer a lighter snack, you can enjoy the muffins without the glaze. They’re still delicious on their own, especially with the cinnamon swirl inside!