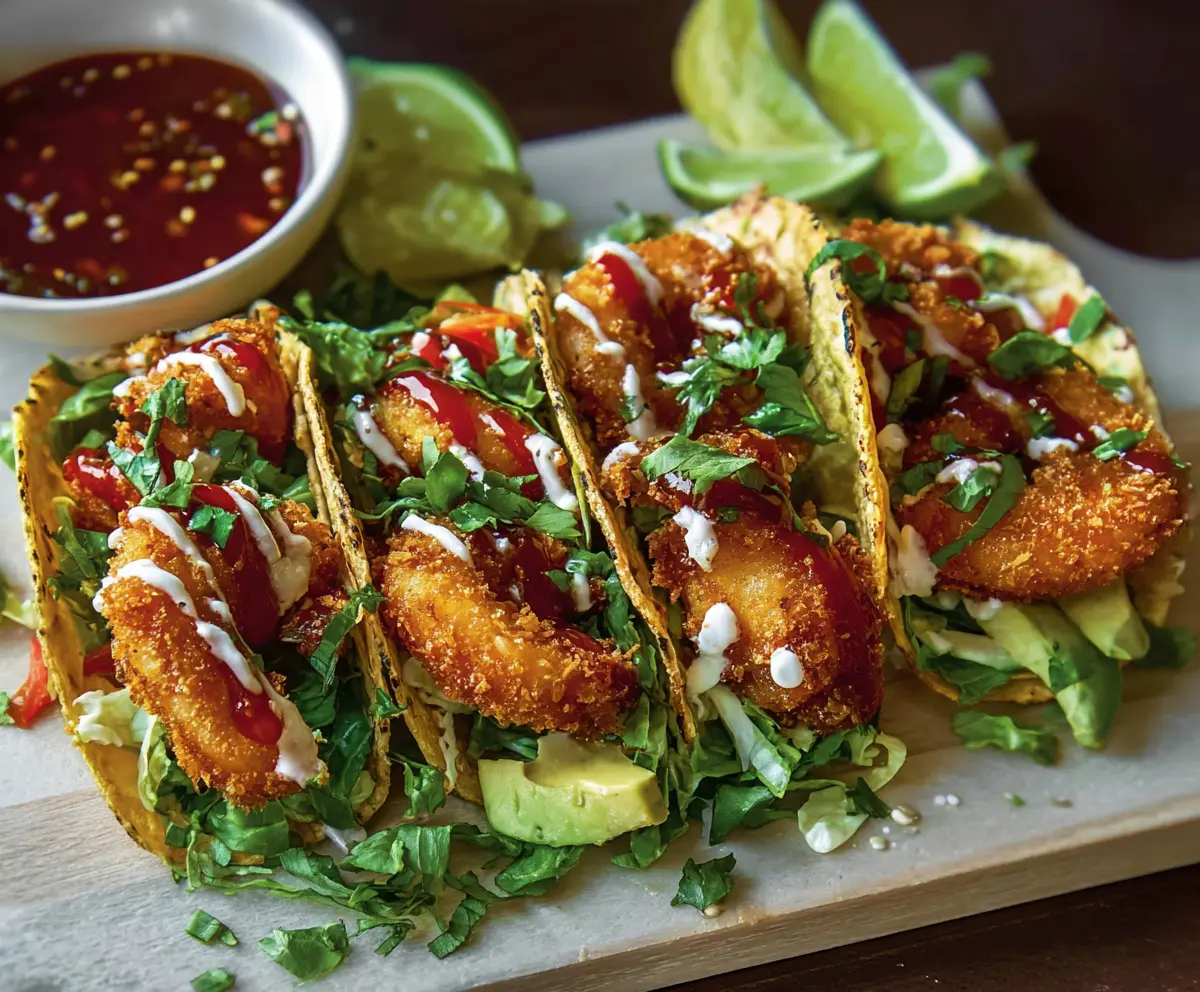
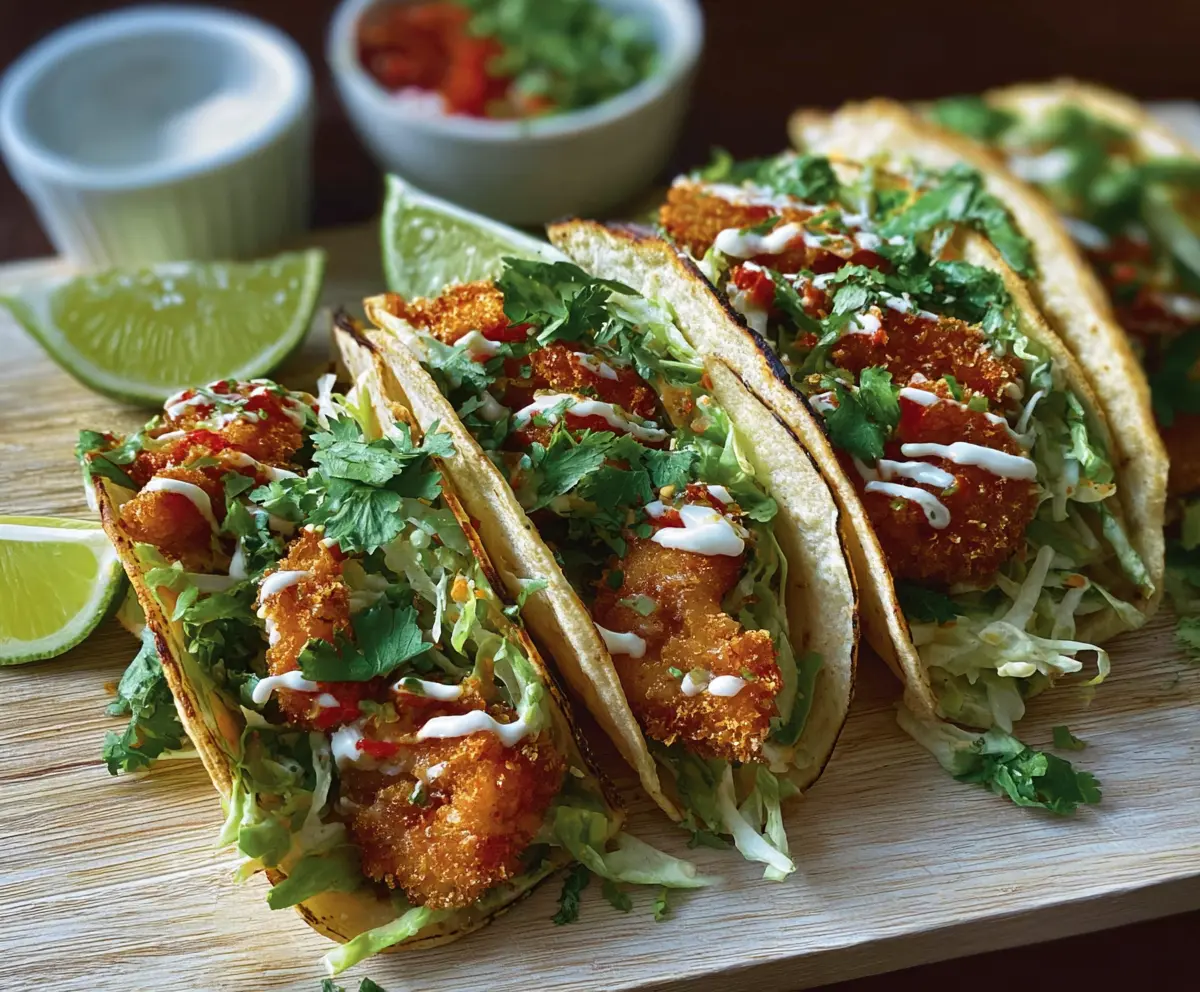
These crispy coconut shrimp tacos are a fun twist on your typical taco! Juicy shrimp are coated with crunchy coconut flakes and tucked into warm tortillas.
Top them off with fresh slaw and a drizzle of zesty sauce, and you’ve got a meal that’s both yummy and easy to make. And let’s be real, who doesn’t love tacos? 🌮
I enjoy these tacos with a side of lime wedges for that tangy kick. They are perfect for a quick dinner or a fun gathering with friends. Give them a try!
Key Ingredients & Substitutions
Shrimp: Using medium-sized shrimp is ideal for this recipe. You can use frozen shrimp; just be sure to thaw them properly. If you’re looking for a vegetarian option, consider using breaded and fried eggplants or cauliflower florets instead.
Coconut: Sweetened shredded coconut adds a delicious flavor and texture. If you’re keen on a healthier option, unsweetened coconut flakes can work, but the end result will be less sweet. You can also use crushed cornflakes for crunch!
Panko Breadcrumbs: These Japanese-style breadcrumbs are key for that crispy texture. If you’re gluten-free, look for gluten-free panko or crush gluten-free crackers to use as a substitute.
Tortillas: Either corn or flour tortillas work great. I personally love corn tortillas for their flavor! If you’re gluten-free, opt for corn tortillas.
How Do You Achieve Perfectly Crispy Shrimp?
Frying shrimp to the perfect crispiness can be tricky, but with some simple steps, you’ll master it! Start by setting up a dredging station with flour, eggs, and the coconut-panko mixture like a production line.
- Coat shrimp evenly in flour first. This helps the egg stick.
- Don’t rush the frying—once the oil is hot enough, fry in small batches to maintain temperature. This avoids steaming instead of frying!
- Check shrimp after 2-3 minutes. They should be golden brown and cooked through (opaque).
Give these tips a go, and you’ll have delightful crispy coconut shrimp every time! 🦐
Crispy Coconut Shrimp Tacos
Ingredients You’ll Need:
- 1 lb medium shrimp, peeled and deveined
- 1/2 cup all-purpose flour
- 1 teaspoon salt
- 1/2 teaspoon black pepper
- 2 large eggs
- 1 cup panko breadcrumbs
- 1 cup sweetened shredded coconut
- Vegetable oil, for frying
- 8 small corn or flour tortillas
- 2 cups shredded lettuce
- 1 ripe avocado, sliced
- Fresh cilantro, chopped (for garnish)
- Lime wedges (for serving)
- 1/2 cup sour cream
- 1 tablespoon lime juice
- 1 teaspoon honey
- Hot sauce or sweet chili sauce (optional)
How Much Time Will You Need?
This recipe takes about 30 minutes of prep and cooking time. You can whip these tasty tacos up in a jiffy, making them perfect for a quick weeknight dinner or a fun weekend treat!
Step-by-Step Instructions:
1. Prepare the Dredging Station:
Start by setting up three shallow dishes. In the first dish, mix the flour, salt, and black pepper together. In the second dish, whisk the eggs until smooth. In the third dish, combine the panko breadcrumbs and shredded coconut. This setup will help you coat the shrimp easily!
2. Coat the Shrimp:
Take each shrimp and dip it first in the flour mixture, shaking off any excess. Next, dunk it in the beaten eggs, making sure it’s fully coated. Finally, roll it in the coconut-panko mixture, pressing lightly to make sure it sticks well. Repeat this step for all shrimp.
3. Fry the Shrimp:
Heat about 1 inch of vegetable oil in a large skillet over medium-high heat. Once the oil is hot (around 350°F or 175°C), carefully add the shrimp in batches, being careful not to overcrowd the pan. Fry them for about 2-3 minutes per side, or until they are golden brown and crispy. Use a slotted spoon to transfer the fried shrimp to a paper towel-lined plate to drain any excess oil.
4. Make the Sauce:
While frying the shrimp, mix together the sour cream, lime juice, and honey in a small bowl. Stir until smooth to create a zesty drizzle sauce for your tacos.
5. Warm the Tortillas:
In a dry skillet or microwave, warm the tortillas for a few seconds until they are soft and pliable. This step makes it easier to fold and fill them later.
6. Assemble Your Tacos:
To build your tacos, place a generous handful of shredded lettuce on each tortilla. Add a few slices of avocado, and top with 2-3 crispy coconut shrimp to finish off your masterpiece.
7. Add the Finishing Touches:
Drizzle the zesty lime sauce over the top. For an extra kick, feel free to add hot sauce or sweet chili sauce if you like a bit of heat. Garnish with fresh cilantro and set aside some lime wedges for a zesty squeeze when serving.
8. Serve and Enjoy:
Your crispy coconut shrimp tacos are ready to be devoured! Serve them with lime wedges on the side for a bright, fresh finish. Enjoy every crunchy, zesty bite!
Can I Use Frozen Shrimp in This Recipe?
Absolutely! Just be sure to thaw the frozen shrimp completely before starting. You can do this by placing them in the refrigerator overnight or by using a quick-thaw method by submerging them in cold water for about 15 minutes. Pat them dry before coating to ensure the breading sticks well.
What Can I Substitute for Panko Breadcrumbs?
If you don’t have panko breadcrumbs, regular breadcrumbs can work as well, but the texture won’t be as crispy. For a gluten-free option, try crushed gluten-free crackers or cornflakes! Just ensure whatever you use is finely crushed for even coating.
How Do I Store Leftovers?
Leftover tacos can be stored in an airtight container in the refrigerator for up to 2 days. However, for best texture, it’s recommended to store the shrimp, tortillas, and toppings separately and assemble just before eating. Reheat the shrimp in an oven or air fryer to keep them crispy!
Can I Prepare This Recipe Ahead of Time?
You can prep the shrimp and bread them in advance, but it’s best to fry them just before serving for ultimate crispiness. You can also make the sauce ahead of time and store it in the fridge. Just give it a quick stir before drizzling!