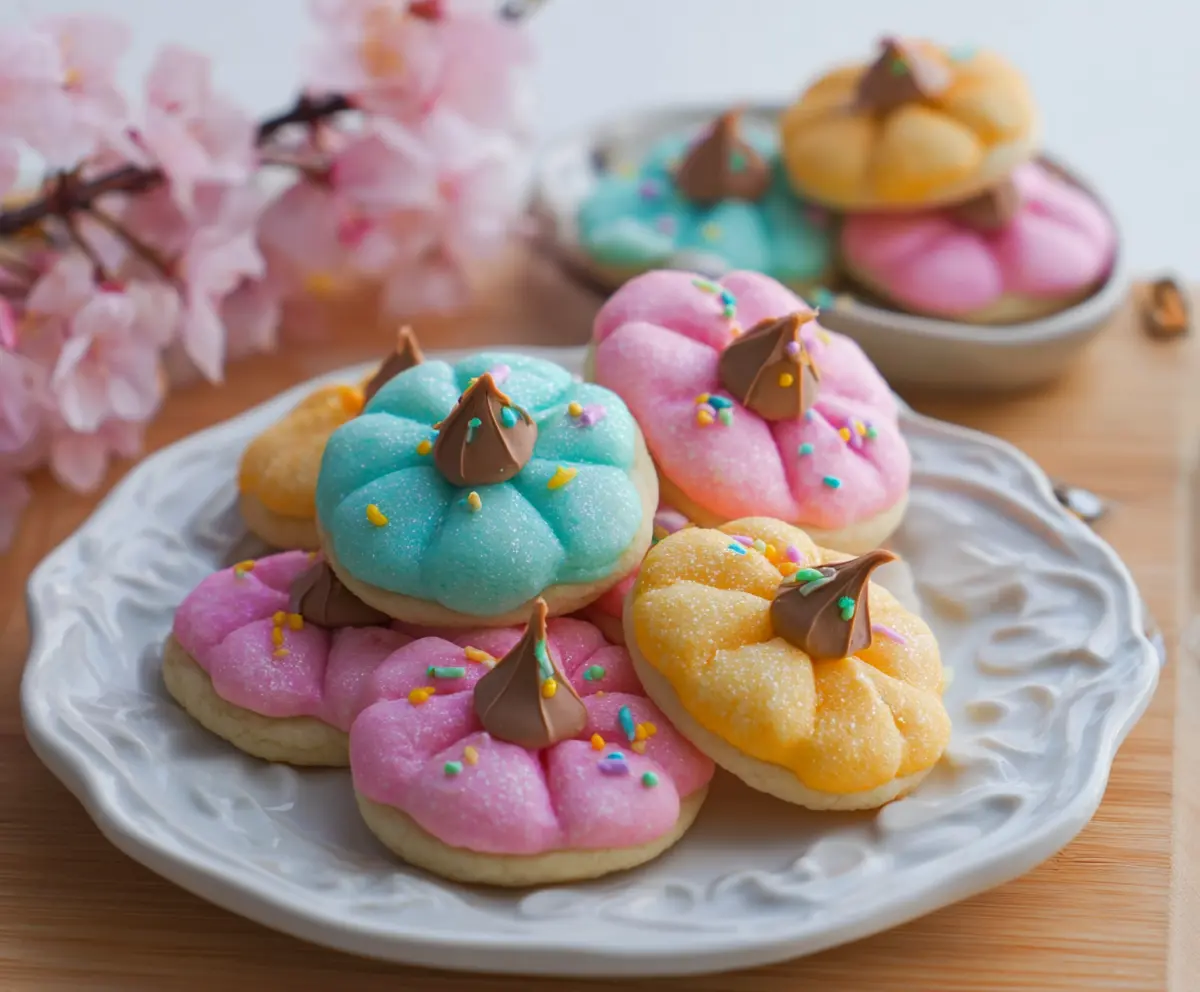
Easter Blossom Cookies are colorful treats that are perfect for spring! These sweet cookies are soft and chewy, with a chocolate candy on top that adds a fun pop of flavor.
Baking these cookies is a joyful activity, especially when kids get to help place the candies! I love enjoying them with a cup of milk; they make my snack time feel special and festive. 🐰🌸
Key Ingredients & Substitutions
All-purpose flour: This is the base of your cookies. If you’re looking for a gluten-free option, you can use a 1:1 gluten-free flour blend instead. Just ensure it’s designed for baking!
Butter: Unsalted butter is best because it allows you to control the saltiness. If you’re in a pinch, you can use margarine or a plant-based butter alternative, but the flavor might be slightly different.
Granulated sugar: This adds sweetness and helps create a lovely texture. You can experiment with coconut sugar or brown sugar, but keep in mind these will affect the color and richness of the cookies.
Food coloring: You can use natural food dyes if you prefer a more organic approach. Beet juice can give a pink hue, while turmeric can achieve yellow. However, the colors might not be as vivid as synthetic dyes.
Chocolate kisses: If you want to switch things up, you could use other chocolates like peanut butter cups or even fruity candies for a more unique center.
What’s the Best Way to Ensure My Cookies Have the Right Texture?
Getting the texture just right can be tricky. A few tips can help you achieve soft cookies that hold their shape:
- Cream your butter and sugar: Make sure to cream them until it’s light and fluffy; this helps incorporate air for a delicate texture.
- Don’t overmix: When combining the flour and wet ingredients, mix just until everything is combined. Overmixing can lead to tough cookies.
- Chill the dough: If you find your dough is too soft to handle after coloring, chilling it in the fridge for about 30 minutes can make it easier to roll out.
- Check your baking time: Keep an eye on the cookies as they bake. Removing them when the edges are golden ensures a soft center.

Delicious Easter Blossom Cookies
Ingredients You’ll Need:
For the Cookie Dough:
- 2 ¾ cups all-purpose flour
- 1 teaspoon baking powder
- ½ teaspoon salt
- 1 cup unsalted butter, softened
- 1 ½ cups granulated sugar, divided
- 1 large egg
- 1 teaspoon vanilla extract
- 2-3 tablespoons milk
For the Decorations:
- Food coloring (pink, blue, yellow)
- Chocolate kisses or similar chocolate candy for the center
- Rainbow sprinkles
How Much Time Will You Need?
This total recipe will take about 30 minutes of active prep time, plus an additional 10-12 minutes for baking. Allow for cooling time afterward, so set aside about an hour to complete everything. It’s a fun and colorful project for any gathering!
Step-by-Step Instructions:
1. Prepare Your Oven and Baking Sheets:
Start by preheating your oven to 350°F (175°C). While it’s heating, line your baking sheets with parchment paper to make cleanup easier and to prevent sticking.
2. Mix the Dry Ingredients:
In a medium bowl, whisk together the all-purpose flour, baking powder, and salt. This helps ensure your cookies rise properly and have a consistent texture.
3. Cream Butter and Sugar:
In a large bowl, add softened butter and 1 cup of granulated sugar. Beat them together with a mixer until the mixture is light and fluffy. This might take about 3-5 minutes.
4. Combine with Egg and Vanilla:
Add the egg and vanilla extract to the creamed butter and sugar. Beat until everything is well combined and smooth.
5. Add Flour Mixture and Milk:
Gradually mix the flour mixture into the wet ingredients. Alternate this with adding the 2-3 tablespoons of milk until a soft dough forms— it should be soft but not sticky.
6. Color the Dough:
Divide the dough into three equal portions. Tint each portion separately with a different food coloring—pink, blue, and yellow—until fully combined and vibrant in color.
7. Roll Out the Dough:
Roll each colored dough between two sheets of parchment paper to about a ¼ inch thickness. This makes it easy to cut out shapes without the dough sticking.
8. Cut and Shape the Cookies:
Using a small round cookie cutter, cut out circles from each colored dough. Place them on the prepared baking sheets. Use the back of a spoon or your fingers to gently press grooves into each circle, creating a flower petal effect.
9. Add Sweet Decorations:
Sugar the tops of each cookie generously, then place a chocolate kiss in the center of each one. Finish by adding a few rainbow sprinkles around the chocolate kiss to resemble flower pollen.
10. Bake and Cool:
Bake the cookies in your preheated oven for 10-12 minutes or until the edges start to turn golden. Once they are ready, remove them from the oven and let them cool on the baking sheet for 5 minutes before transferring to a wire rack to cool completely.
11. Serve and Enjoy:
Once fully cooled, your colorful Easter Blossom Cookies are ready to be served! Perfect for sharing during festive celebrations, or to simply enjoy at home.
Can I Use Different Types of Flour for This Recipe?
Yes! You can substitute all-purpose flour with a gluten-free flour blend if needed. Just make sure it’s designed for baking to maintain texture and structure.
How Can I Store Leftover Cookies?
Keep leftover cookies in an airtight container at room temperature for up to 4 days. If you want to store them longer, they can be frozen for up to 3 months. Just make sure to separate layers with parchment paper to prevent sticking!
What If the Dough is Too Sticky?
If the dough feels sticky and hard to work with, you can chill it in the refrigerator for about 30 minutes. This will make it easier to roll and cut without sticking!
Can I Make These Cookies Without Food Coloring?
Absolutely! If you prefer not to use food coloring, you can skip that step entirely. The cookies will still look and taste great. For a natural option, consider using spices like turmeric or beet root powder for color.