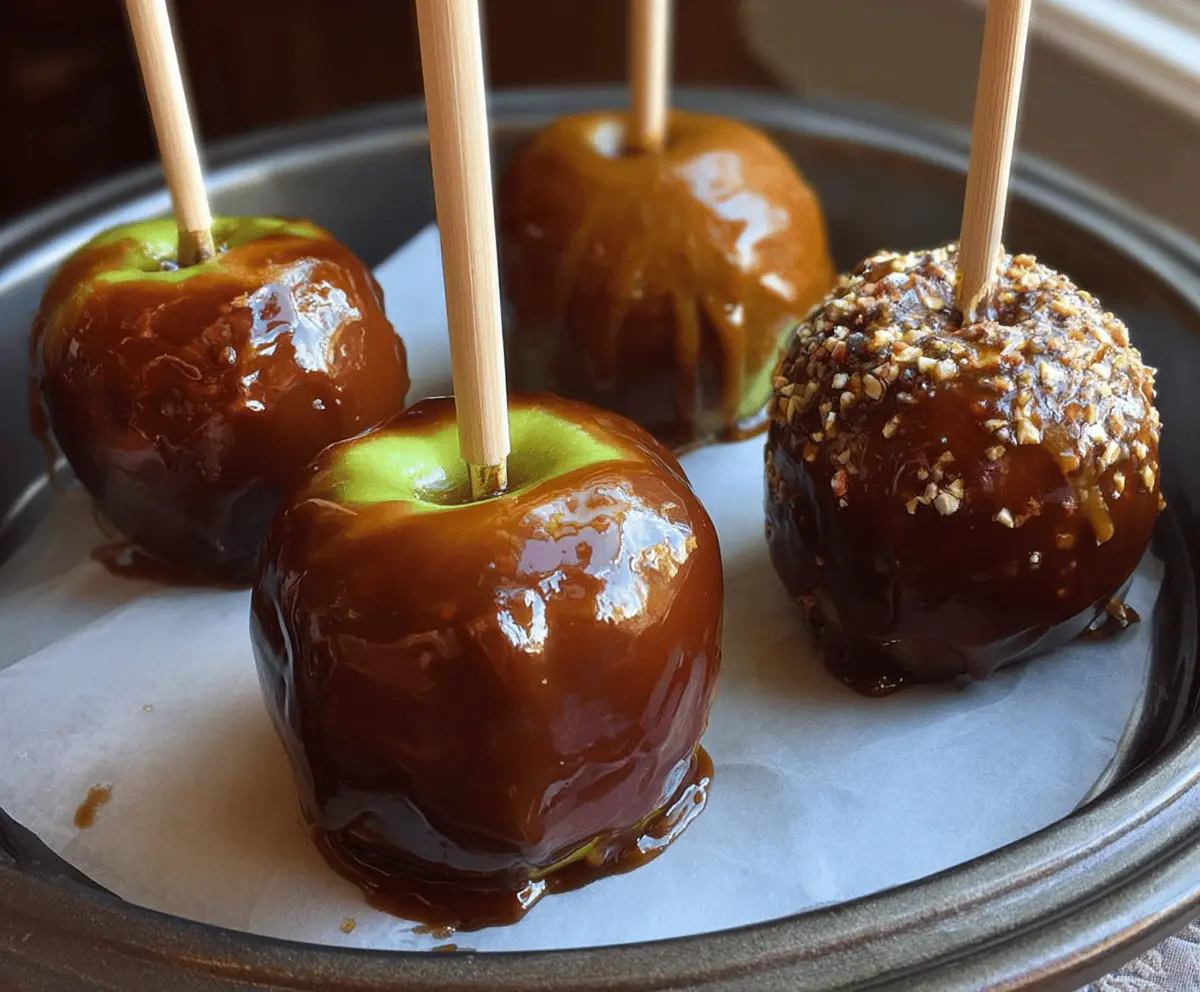
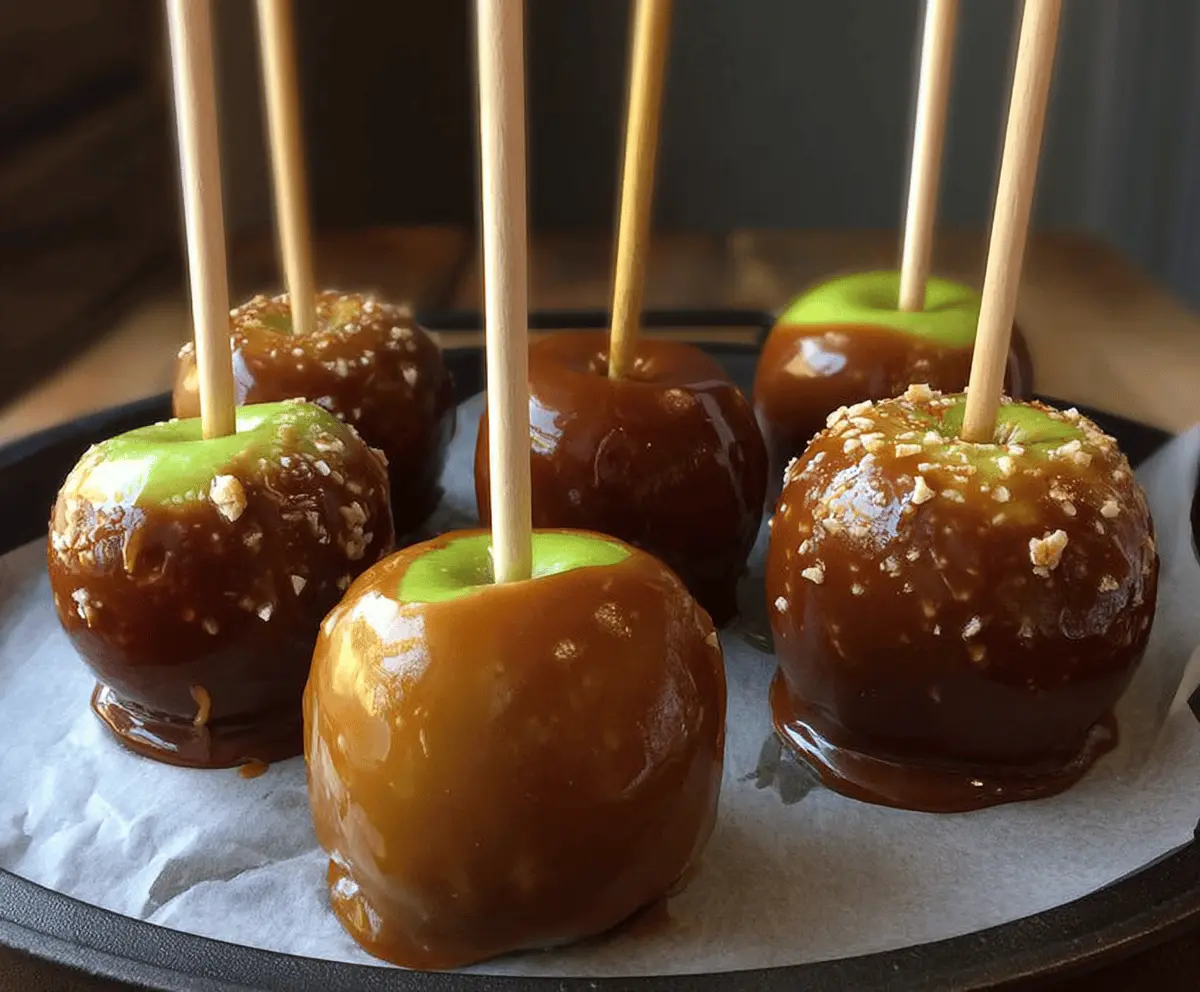
These gluten-free caramel apples are a sweet treat that’s perfect for fall! Juicy apples are covered in rich, gooey caramel, making every bite a sticky delight.
Making them is so simple! Just grab some apples, dip them in warm caramel, and let them cool. Who knew something so yummy could be this easy? I can’t resist adding nuts on top for extra crunch! 🍏🍬
Key Ingredients & Substitutions
Apples: Granny Smith apples are great for their tartness, which pairs perfectly with sweet caramel. If you prefer sweeter apples, Fuji or Honeycrisp can work well too!
Butter: Unsalted butter gives you full control over the saltiness of the caramel. If you’re dairy-free, try using vegan butter instead for a similar effect.
Corn Syrup: This helps keep the caramel smooth and prevents crystallization. If you want to avoid corn syrup, use brown rice syrup or honey as a substitute, but keep in mind it alters the flavor slightly.
Sweetened Condensed Milk: This is key for creamy caramel. For a dairy-free option, look for plant-based sweetened condensed milk varieties available in stores.
How Do You Achieve the Perfect Caramel Texture?
The key to perfect caramel is getting the temperature just right. Use a heavy-bottomed saucepan to prevent hot spots and stir constantly while cooking to avoid burning.
- Start heating your mixture over medium heat, stirring until it comes to a gentle boil.
- Use a candy thermometer and keep an eye on the temperature. You’re looking for the firm ball stage (245°F or 118°C).
- Once it reaches that temperature, remove it from the heat quickly. This ensures the caramel will harden nicely when it cools.
- If your caramel isn’t thickening properly, it might need a few more minutes on the heat—just be patient!
Remember, practice makes perfect when it comes to caramel, so don’t be discouraged if it takes a few tries!
How to Make Gluten Free Caramel Apples
Ingredients You’ll Need:
- 6 medium green apples (Granny Smith work well)
- 2 cups granulated sugar
- 1 cup unsalted butter (2 sticks)
- 1 cup light corn syrup
- 1 (14 oz) can sweetened condensed milk (ensure gluten free)
- 1 tsp vanilla extract
- 1 cup chopped nuts (optional, for coating)
- Wooden sticks or skewers
How Much Time Will You Need?
This recipe takes about 30 minutes of active preparation time. However, allow some extra time for the caramel to cool and set, which usually takes about 30 minutes to 1 hour before enjoying your delicious treats!
Step-by-Step Instructions:
1. Prepare the Apples:
Start by washing and thoroughly drying your apples. This helps the caramel stick better. Remove the stems from each apple and insert wooden sticks into the top center of each apple, making them easy to hold and dip later.
2. Get Your Baking Sheet Ready:
Line a baking sheet with parchment paper or a silicone baking mat. This will be where you place your finished caramel apples to cool and set without sticking.
3. Make the Caramel:
In a heavy-bottomed saucepan, combine the granulated sugar, butter, corn syrup, and sweetened condensed milk. Cook over medium heat, stirring constantly until the butter melts and the mixture begins to boil. This is where the magic happens!
4. Check That Temperature:
Using a candy thermometer, continue cooking the mixture, stirring frequently until it reaches the firm ball stage at 245°F (118°C). This step is critical to getting the right caramel texture.
5. Add Some Flavor:
Once the caramel reaches the desired temperature, remove it from the heat and stir in the vanilla extract for extra flavor. Be careful, as the mixture is very hot!
6. Dip Those Apples:
Now comes the fun part! Working quickly, dip each apple into the warm caramel, making sure to turn it to coat evenly. Let any excess caramel drip off before moving on to the next apple.
7. Add the Crunch (Optional):
If you want to add some extra flair, roll or sprinkle the caramel-coated apples with chopped nuts right after dipping.
8. Cool and Set:
Place each caramel-covered apple on the lined baking sheet. Let them cool and harden at room temperature for about 30 minutes to 1 hour.
9. Store Your Treats:
Once set, store the caramel apples in a cool place or in the refrigerator until you’re ready to serve. Enjoy your sweet, sticky gluten-free caramel apples!
These treats are perfect for a fall gathering, Halloween, or simply enjoying with family and friends. Dig in and savor every bite! 🍏🍬
Can I Use Different Types of Apples?
Absolutely! While Granny Smith apples are popular for their tartness, feel free to use any apples you prefer. Fuji, Honeycrisp, or Gala apples will also work well for a sweeter taste.
What If My Caramel Is Too Thick?
If your caramel thickens too much, you can add a splash of cream or milk while gently reheating it over low heat until it’s easier to dip the apples. This will help achieve a smoother consistency.
How Should I Store Leftover Caramel Apples?
Store any leftover caramel apples in an airtight container in the refrigerator. They should keep well for up to 3 days. Make sure they are in a single layer to avoid them sticking to one another!
Can I Make This Recipe Dairy-Free?
Yes! You can substitute the unsalted butter with a dairy-free butter alternative and look for a dairy-free sweetened condensed milk to make your caramel apples completely dairy-free. Enjoy your treats without any compromises!