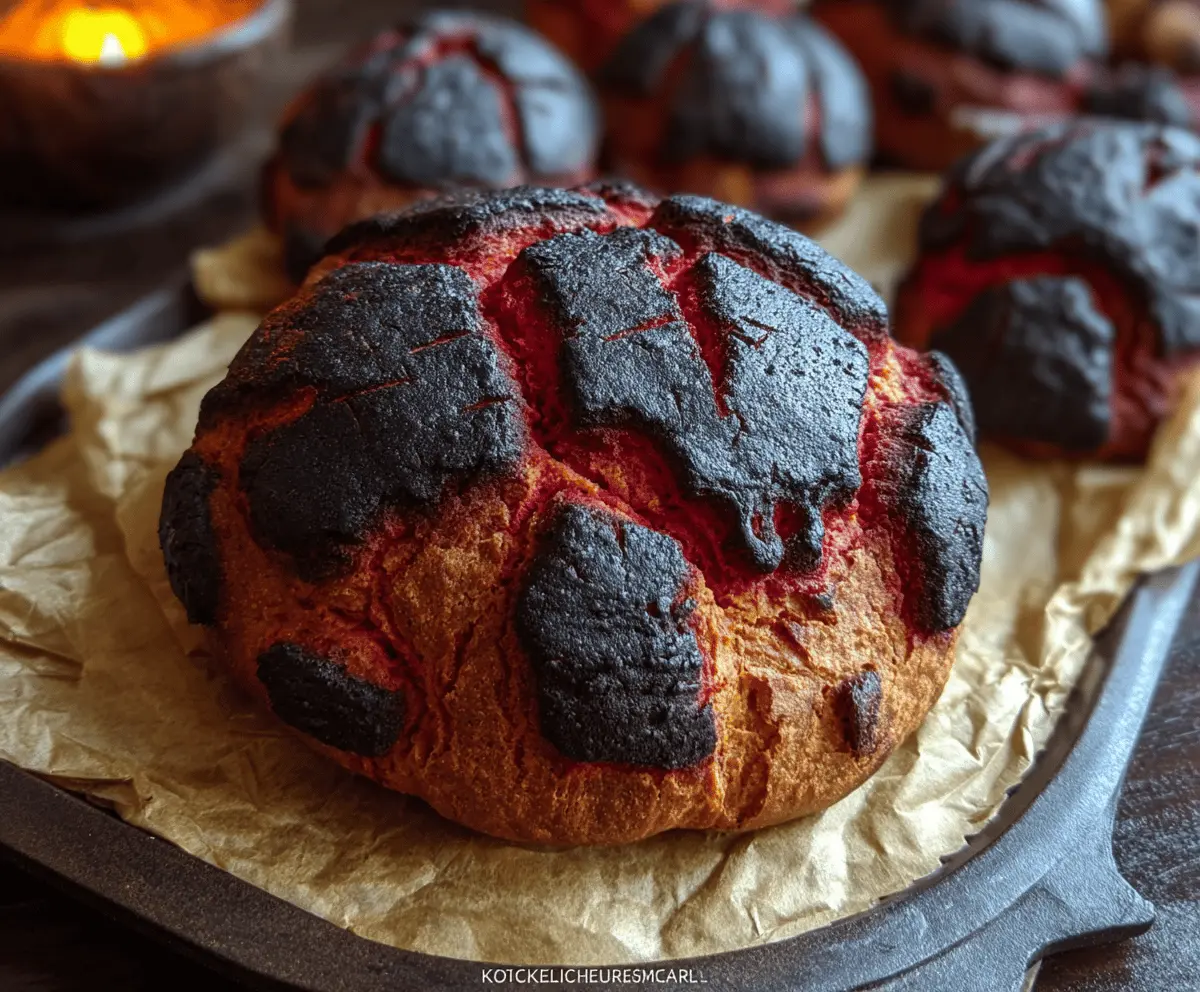
Halloween Brimstone Bread is a fun and spooky treat for the season! This bread gets its vibrant orange color from pumpkin puree, making it perfect for a Halloween gathering.
Baking this bread fills my kitchen with warm, cozy scents—just what you need on a chilly October day! I love to serve it fresh with butter or cream cheese. Yum!
Key Ingredients & Substitutions
All-Purpose Flour: This is your main ingredient for structure. If looking for gluten-free options, consider using a 1:1 gluten-free flour blend, though the texture may vary slightly.
Active Dry Yeast: Essential for leavening. If you have instant yeast on hand, you can use the same amount without proofing it first.
Black Cocoa Powder: This is key for the “charred” look. If you can’t find it, regular cocoa powder can work, but will give a lighter color. For a deeper flavor, you could use a mix of cocoa powder and food coloring.
Red Food Coloring: To create the fiery effect. Feel free to swap for beet juice for a natural option, but it may change the flavor slightly.
Olive Oil or Butter: I prefer olive oil for its flavor, but melted butter can add richness. Either choice will work, so pick what you enjoy!
How Do I Get the Perfect Crust on My Bread?
Creating that perfectly crusty bread can be a bit tricky, but with a few tips, you’ll get it right.
- High Heat: Preheat your oven fully! The high temperature helps develop a nice crust.
- Steam: Adding steam during baking can create a crispy crust. You can put a metal pan in the oven while it preheats and add boiling water to it just before baking.
- Scoring: Don’t skip making deep cuts on the top! This allows the bread to expand and break in controlled ways, enhancing the crust.
With these tips, your Halloween Brimstone Bread will look fantastic and have the perfect crunchy exterior!
Halloween Brimstone Bread
Ingredients You’ll Need:
- 3 1/2 cups all-purpose flour
- 2 tsp active dry yeast
- 1 1/4 tsp salt
- 1 1/4 cups warm water (about 110°F / 43°C)
- 1 tbsp sugar
- 1 tsp black cocoa powder (for the “charred” effect)
- 1 tsp red food coloring
- 2 tbsp olive oil or melted butter
How Much Time Will You Need?
This delightful Halloween Brimstone Bread takes about 2 to 2.5 hours to prepare and bake. You’ll need about 15 minutes for the prep work, 1-2 hours for rising the dough, and then about 20-25 minutes in the oven. The waiting can be the hardest part, but trust me, it’s worth it!
Step-by-Step Instructions:
1. Prepare the Yeast Mixture:
In a small bowl, combine the warm water and sugar. Sprinkle the active dry yeast on top and let it sit for about 5-7 minutes until it becomes frothy. This shows the yeast is alive and ready to go!
2. Combine the Dry Ingredients:
In a large mixing bowl, whisk together the flour and salt. This helps to ensure even distribution of the ingredients for the best flavor.
3. Mix Together:
Pour the frothy yeast mixture and olive oil (or melted butter) into the bowl with the flour. Stir it all together until a sticky dough starts to form.
4. Knead the Dough:
Turn the dough out onto a lightly floured surface. Knead it for about 8-10 minutes until it feels smooth and elastic. This step helps develop the gluten, giving your bread a nice texture.
5. First Rise:
Place the kneaded dough in a greased bowl and cover it with a cloth. Let it rise in a warm place for 1-2 hours, or until it doubles in size. Patience is key here!
6. Prepare the Topping:
While waiting for the dough to rise, mix the black cocoa powder with a little water to form a thick paste. Add the red food coloring until you achieve a deep fiery red-orange color. This will mimic the spooky brimstone effect.
7. Shape the Loaves:
Once the dough has risen, gently punch it down to release the air. Divide the dough into small rounds and shape them into loaves or rolls. Place them on a parchment-lined baking tray.
8. Second Rise:
Cover the shaped loaves with a cloth and let them rest for another 30-45 minutes. This helps them rise just a bit more before baking.
9. Preheat the Oven:
While the loaves are resting, preheat your oven to 450°F (232°C). This high heat is perfect for creating that crusty exterior.
10. Score the Loaves:
Using a sharp knife, make deep cuts on the top of each loaf. This not only adds to the spooky look but allows the bread to expand while baking.
11. Apply the Topping:
Generously spread the black chili-like paste over the tops and into the cuts. This will give your bread the eerie brimstone look!
12. Bake the Bread:
Place the baking tray in the oven and bake for 20-25 minutes, or until the bread is crusty and has a nice blackened appearance on top. The smell will be amazing!
13. Cool:
Once baked, remove the bread from the oven and let it cool on a wire rack. This helps maintain the crusty exterior while cooling.
14. Serve:
Your Halloween Brimstone Bread is now ready to be served! It’s great as a spooky centerpiece or with a side of butter or savory spreads. Enjoy!
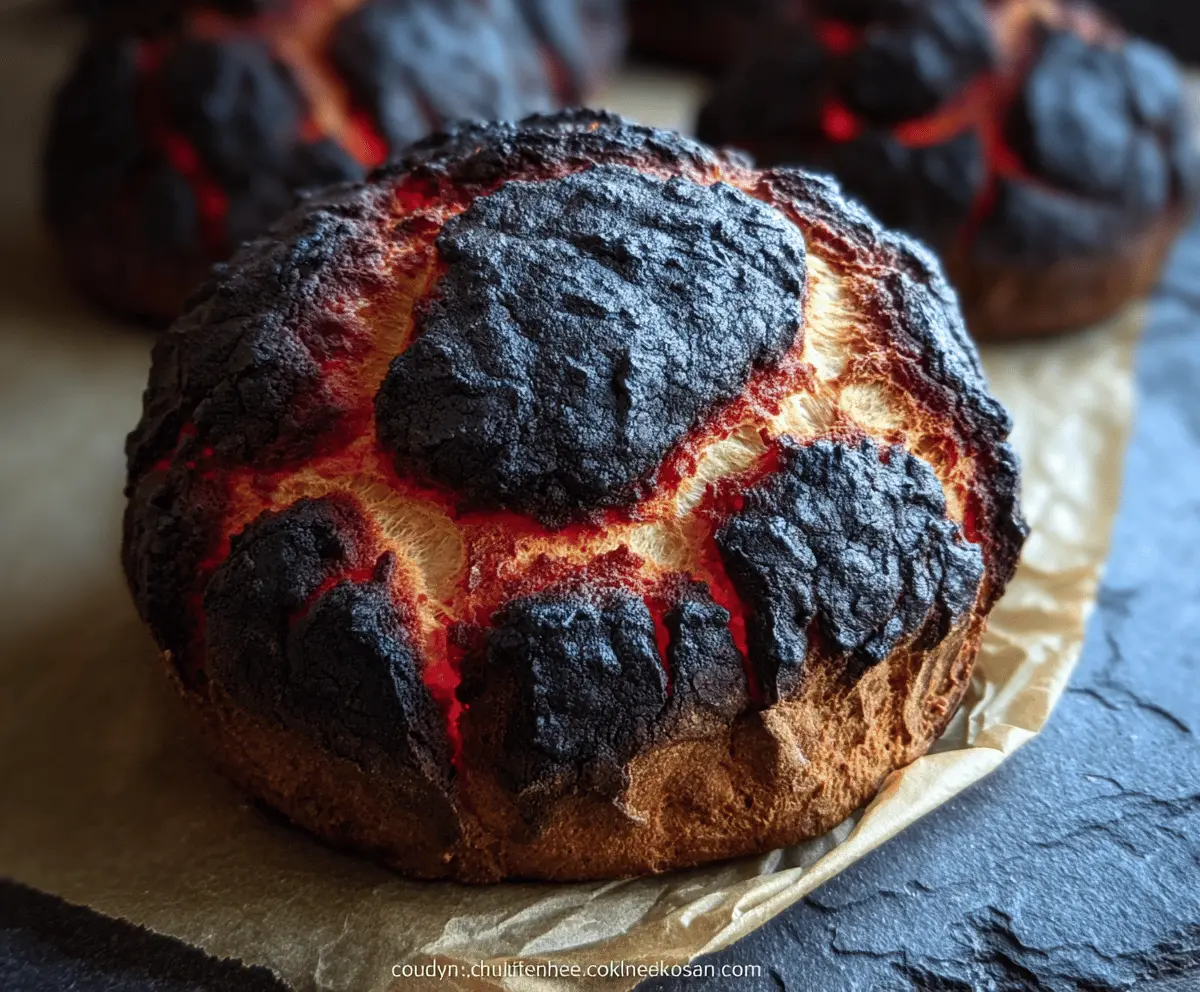
With its cracked, blackened crust and fiery red highlights, this bread is sure to impress all your Halloween guests!
Can I Use Whole Wheat Flour Instead of All-Purpose Flour?
Yes, you can substitute whole wheat flour! Just keep in mind that it may result in a denser bread. If you want a lighter loaf, consider using half whole wheat and half all-purpose flour to balance the texture.
How Do I Know if My Dough Has Risen Enough?
The dough should double in size. You can gently poke it with your finger; if the indentation remains, it’s ready to be punched down. If it springs back quickly, give it a little more time.
What Should I Do If My Bread Overbakes?
If your bread gets too dark on the outside, you can cover it loosely with aluminum foil during the last few minutes of baking to reduce browning while allowing it to cook through.
Can I Make This Bread Ahead of Time?
Absolutely! After shaping the loaves, you can refrigerate them for up to 24 hours before baking. Just let them come to room temperature and rise again before popping them in the oven to bake.