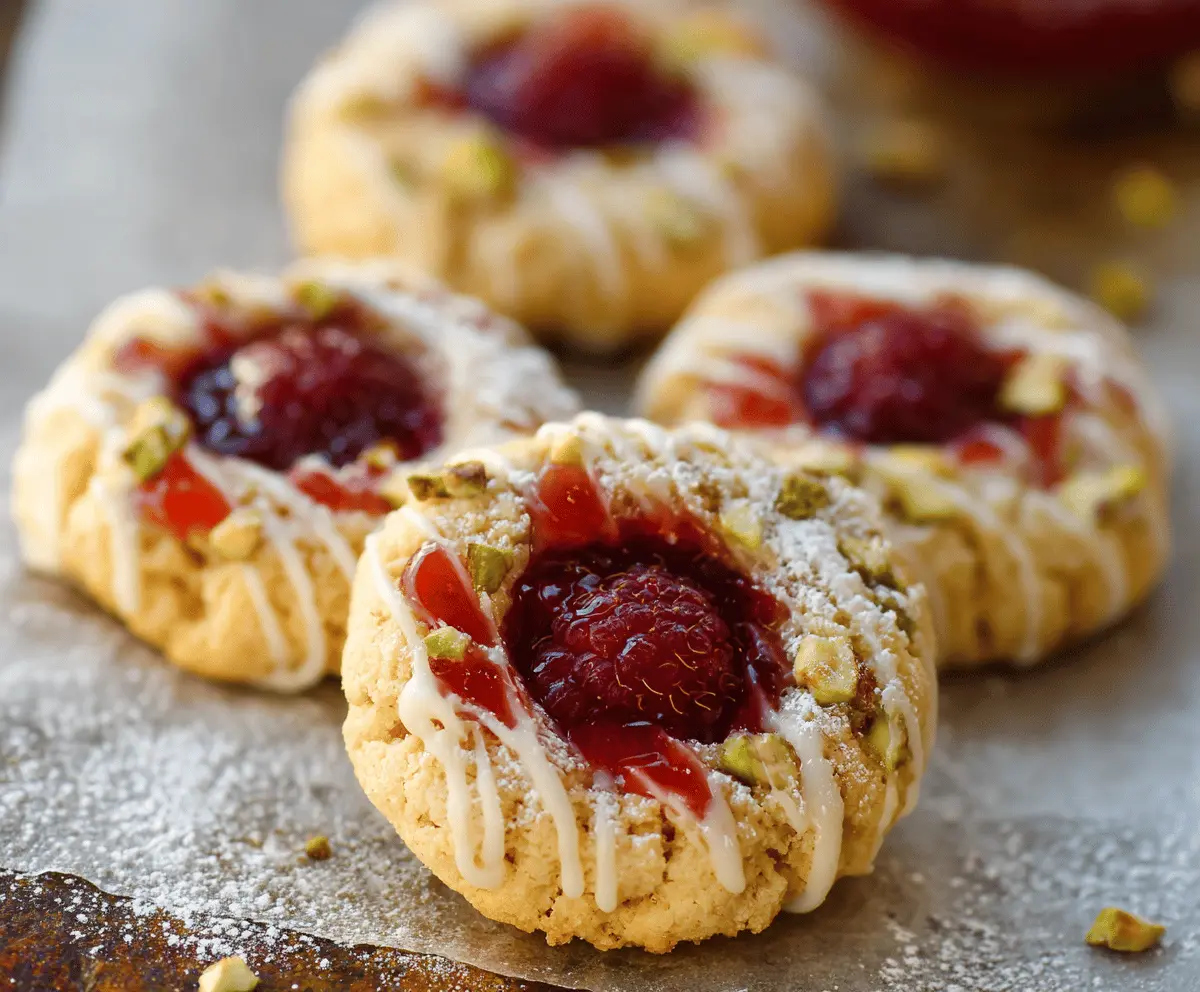
These Italian Raspberry Thumbprint Cookies are sweet and tender little treats filled with delicious raspberry jam. They have a lovely crumbly texture that melts in your mouth!
You can’t go wrong with these cookies! The jam center makes them a fun surprise. I love serving them with tea, and I can’t resist sneaking a few before they even cool down!
Key Ingredients & Substitutions
Unsalted Butter: This is essential for a tender texture. I love using European-style butter for extra richness. If you need a dairy-free option, try using coconut oil or a vegan butter substitute.
Granulated Sugar: This sweetens the cookies and helps with structure. You can replace it with coconut sugar for a more natural option, but the color and texture will differ slightly.
Egg Yolks: They add moisture and richness. If you want to keep it egg-free, try using unsweetened applesauce or flaxseed meal mixed with water as a substitute.
Raspberry Jam: This gives the cookies their fruity flavor. Any berry jam works well, like blueberry or strawberry. I love to use homemade jam if I have some on hand!
Pistachios: These add crunch and a nutty flavor. If you have nut allergies, sunflower seeds or pumpkin seeds can be a great alternative. Just chop them up to mimic the texture.
What’s the Best Way to Shape the Cookie Indentations?
Making the perfect thumbprint indentation is key for holding the jam. Here’s how to get it right:
- After rolling your dough into balls, lightly dust your thumb with flour to prevent sticking.
- Press your thumb straight down into the center of each ball, making a deep enough well to hold the jam but not so deep that it touches the baking sheet.
- If you prefer, you can also use the back of a small spoon to create the indentation for a more uniform shape.
By following these tips, you’ll be able to achieve perfect thumbprints every time! Enjoy baking these delightful cookies!
Italian Raspberry Thumbprint Cookies
Ingredients You’ll Need:
- Butter: 1 cup (2 sticks) unsalted butter, softened
- Sugar: 1/2 cup granulated sugar
- Eggs: 2 large egg yolks
- Vanilla: 1 teaspoon vanilla extract
- Flour: 2 cups all-purpose flour
- Salt: 1/4 teaspoon salt
- Raspberry Jam: 1/2 cup raspberry jam or preserves
- Fresh Raspberries: One for each cookie
- Pistachios: 1/2 cup finely chopped pistachios
- Powdered Sugar: 1/2 cup for dusting
- Icing Sugar: 1/2 cup (additional) for icing drizzle
- Milk or Lemon Juice: 1-2 tablespoons for icing drizzle
How Much Time Will You Need?
This delightful cookie recipe takes about 30 minutes of prep time and 15-18 minutes of baking time. After baking, let them cool completely for the best flavor and texture. So, you’d want about 1 hour total before you can enjoy these scrumptious treats!
Step-by-Step Instructions:
1. Preheat and Prepare:
Start by preheating your oven to 350°F (175°C). Then, line a baking sheet with parchment paper to keep your cookies from sticking.
2. Cream the Butter and Sugar:
In a large bowl, cream the softened butter and granulated sugar together. Use a hand mixer or a stand mixer to beat them until the mixture is light and fluffy. This step is crucial for a tender cookie.
3. Mix in the Wet Ingredients:
Add the egg yolks and vanilla extract to the butter mixture. Mix until everything is fully incorporated and smooth.
4. Combine Dry Ingredients:
In a separate bowl, whisk together the all-purpose flour and salt. This helps distribute the salt and prevents clumping.
5. Form the Dough:
Gradually add the dry ingredient mixture to the wet ingredients, mixing on low speed until a crumbly dough forms. Don’t overmix; it should come together nicely!
6. Shape the Cookies:
Using your hands, roll the dough into 1-inch balls and place them a few inches apart on the prepared baking sheet.
7. Create the Indentations:
Press your thumb or the back of a spoon into the center of each dough ball to create an indentation. Be gentle but firm enough to form a good well for the jam.
8. Add the Raspberry Jam:
Fill each indentation with about 1/2 teaspoon of raspberry jam, making sure not to overfill.
9. Top with Fresh Raspberries:
Place one fresh raspberry on top of the jam in each cookie for added flavor and a nice touch!
10. Coat the Edges:
Sprinkle the chopped pistachios around the edges of the jam, lightly pressing them into the dough to adhere.
11. Bake the Cookies:
Put the baking sheet in the preheated oven and bake for 15-18 minutes or until the edges just start turning golden. Keep an eye on them!
12. Cool the Cookies:
Once baked, remove the cookies from the oven and let them cool completely on a wire rack.
13. Make the Icing Drizzle:
While the cookies cool, prepare the icing drizzle by mixing the additional powdered sugar with enough milk or lemon juice to reach a smooth drizzling consistency.
14. Drizzle and Dust:
Once the cookies are fully cooled, drizzle the icing over each cookie, then lightly dust them with powdered sugar to finish.
15. Serve and Enjoy:
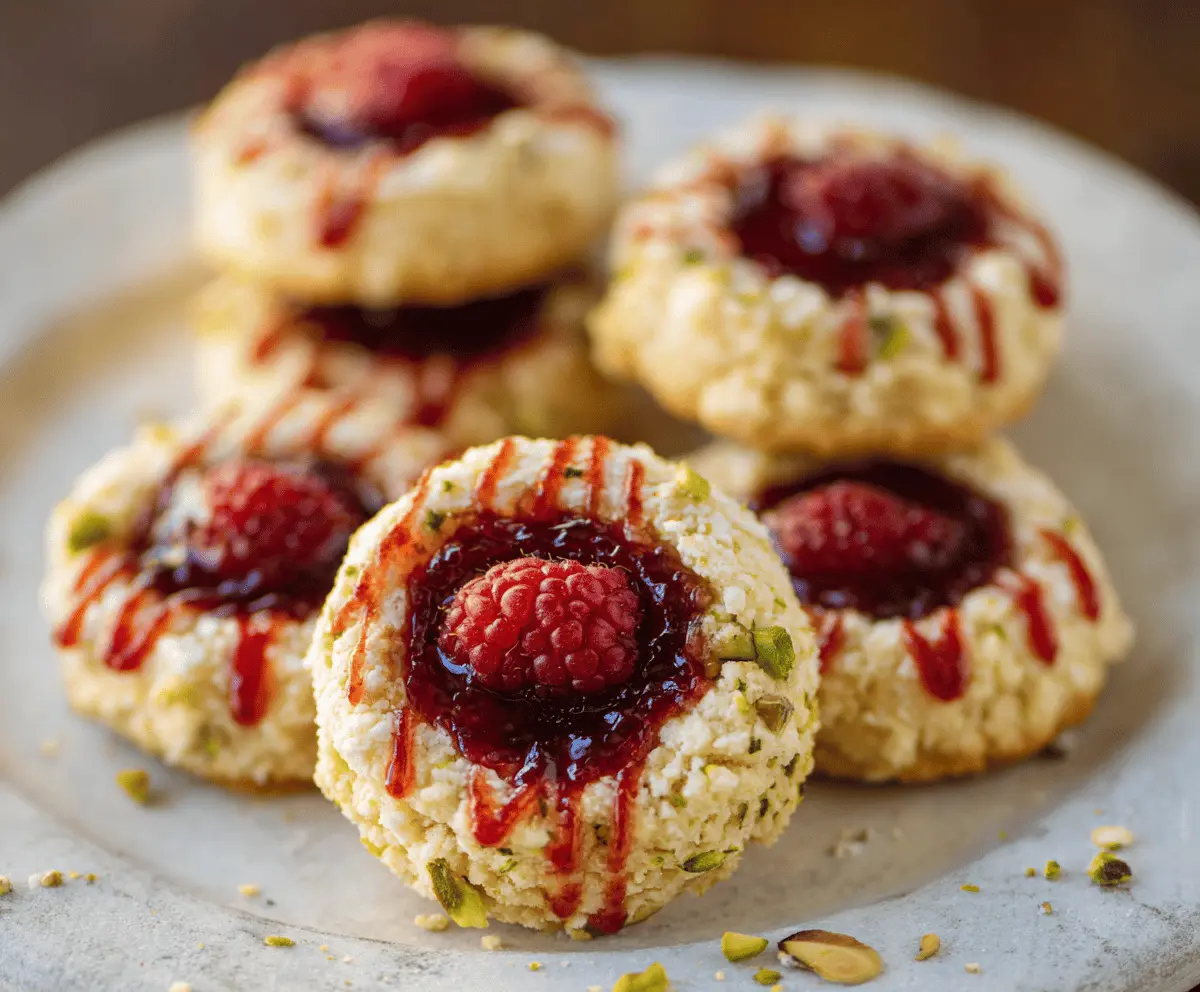
These beautiful thumbprint cookies are now ready to be served! Enjoy the fruity flavor, crunchy pistachios, and crispy texture with a cup of tea or coffee!
With their buttery, tender crumb and sweet raspberry flavor, these Italian Raspberry Thumbprint Cookies are perfect for special occasions or just a treat for yourself. Happy baking!
Can I Use Different Jams for This Recipe?
Absolutely! While raspberry jam is traditional, feel free to use any fruit jam or preserves you like. Strawberry, apricot, or blueberry work wonderfully and add your personal twist to the cookies.
How Can I Make These Cookies Gluten-Free?
You can substitute the all-purpose flour with a 1:1 gluten-free flour blend. Look for one that includes xanthan gum for the best results in texture and rise!
What’s the Best Way to Store Leftover Cookies?
To keep them fresh, store leftover cookies in an airtight container at room temperature for up to 3 days. You can also refrigerate them for a week or freeze for up to 3 months—just make sure they’re well-wrapped!
Can I Prepare the Dough in Advance?
Yes, you can make the dough ahead of time! Just wrap it tightly in plastic wrap and refrigerate it for up to 3 days. When you’re ready to bake, let it sit at room temperature for about 15-20 minutes before shaping and baking.