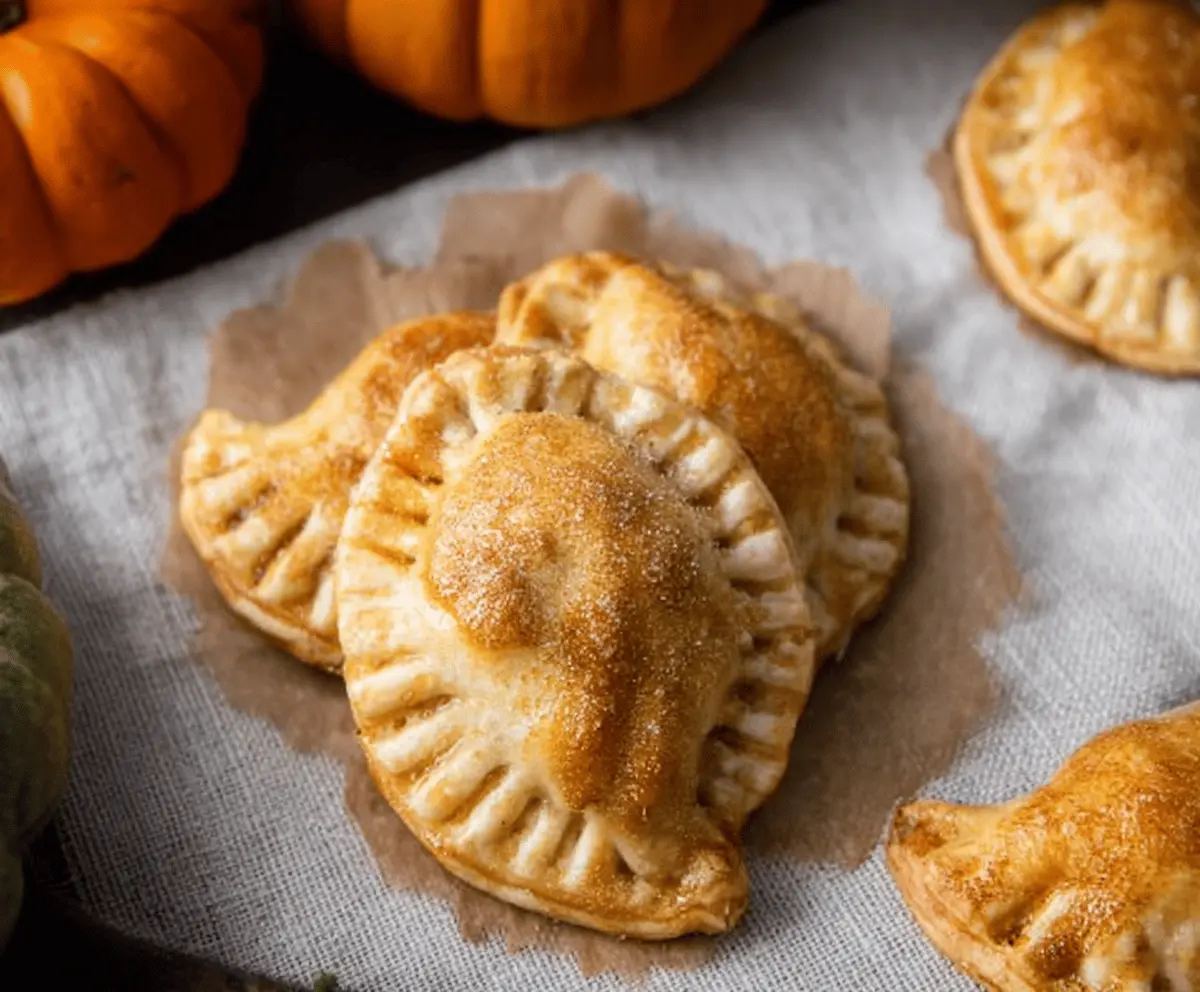
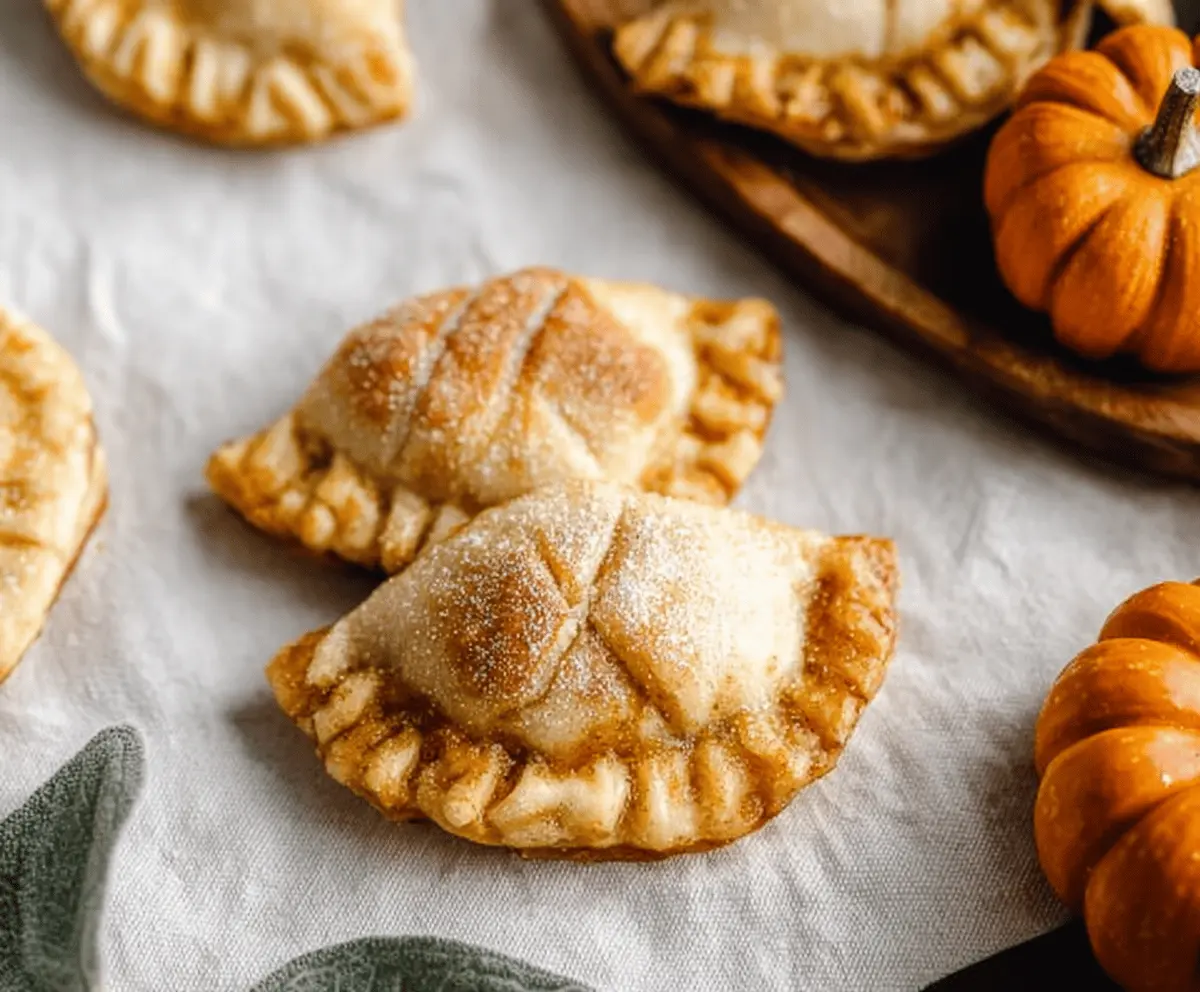
These mini pumpkin hand pies are the perfect treat for fall! With a flaky crust and a sweet, spiced pumpkin filling, they’re just the right size for snacking.
Who can resist a little pie you can hold in your hand? I love popping these into my lunch or serving them at gatherings. They give you all the cozy vibes without all the fuss!
Key Ingredients & Substitutions
Pie Crusts: Refrigerated pie crusts make these pies quick and easy. If you want a homemade option, you can use your favorite pie crust recipe. For a gluten-free version, look for gluten-free pie crusts at the store.
Pumpkin Puree: Canned pumpkin is convenient and consistent. If you’re feeling adventurous, you can use roasted and pureed fresh pumpkin or butternut squash for a different taste.
Spices: The mix of cinnamon, ginger, nutmeg, and cloves gives the filling a warm flavor profile. If you don’t have one of these spices, feel free to adjust or omit. Even a pumpkin spice blend works great!
Sweeteners: Granulated and brown sugars create depth in flavor. You could try using maple syrup or honey for a natural alternative, but adjust the amount of other liquids accordingly.
How Do You Ensure Your Hand Pies Are Perfectly Sealed?
Sealing your hand pies well is key to keeping the filling inside and achieving those beautifully golden edges. After placing the filling on the dough, fold it over carefully.
- Press the edges together gently but firmly to avoid breaking the dough.
- Use a fork to crimp the edges—this not only seals them but creates a nice decorative edge.
- Don’t forget to add steam slits on top before baking; this lets steam escape and prevents soggy crusts.
Using these tips, you’ll have hand pies ready to impress anyone who tries them!

Mini Pumpkin Hand Pies
Ingredients You’ll Need:
- Pie Crust: 1 package (2 sheets) refrigerated pie crusts
-
Pumpkin Filling:
- 1 cup canned pumpkin puree
- 1/2 cup granulated sugar
- 1/4 cup brown sugar, packed
- 1 teaspoon ground cinnamon
- 1/2 teaspoon ground ginger
- 1/4 teaspoon ground nutmeg
- 1/4 teaspoon ground cloves
- 1/4 teaspoon salt
- 1 tablespoon cornstarch
- 1 teaspoon vanilla extract
-
For the Finish:
- 1 egg, beaten (for egg wash)
- 2 tablespoons granulated sugar (for sprinkling on top)
How Much Time Will You Need?
This delightful recipe takes approximately 15 minutes for prep and another 20-25 minutes for baking. So, in about 40-45 minutes, you’ll have delicious hand pies ready to enjoy!
Step-by-Step Instructions:
1. Preheat the Oven:
Begin by preheating your oven to 375°F (190°C). While it’s heating up, line a baking sheet with parchment paper. This helps prevent the pies from sticking and makes for easy cleanup!
2. Prepare the Filling:
In a medium bowl, whisk together the pumpkin puree, granulated sugar, brown sugar, ground cinnamon, ground ginger, ground nutmeg, ground cloves, salt, cornstarch, and vanilla extract. Mix until everything is smooth and well blended. This sweet, spiced filling will be the star of your hand pies!
3. Roll Out the Dough:
On a lightly floured surface, roll out the pie crusts to smooth them a bit if needed. Use a round cutter (about 4 inches in diameter) to cut out circles of dough. Gather excess dough, roll it out, and continue cutting until you have enough circles.
4. Fill the Pies:
Take one circle of dough and place about 1-2 teaspoons of the pumpkin filling in the center. Be careful not to overfill! It’s important to leave room for sealing the edges.
5. Seal the Hand Pies:
Fold the dough circle over the filling, creating a half-moon shape. Press the edges firmly together. To make sure the filling stays inside, you can crimp the edges with a fork for a nice pattern, too!
6. Get Ready to Bake:
Place each hand pie on your prepared baking sheet. Brush the tops with the beaten egg wash to give them a lovely golden color as they bake. Then, sprinkle a bit of granulated sugar on top for extra sweetness.
7. Make Some Slits:
Using a sharp knife, make a small slit or two on top of each pie. This allows steam to escape and prevents your pies from bursting while they bake.
8. Bake:
Pop the baking sheet in the preheated oven and bake for 20-25 minutes, or until the pies are golden brown. The aroma will fill your kitchen with the scent of fall!
9. Cool and Enjoy:
Once baked, remove the hand pies from the oven and let them cool slightly on the baking sheet. They’re delicious warm or at room temperature, making them perfect for sharing or enjoying all on your own!
These mini pumpkin hand pies are a delightful treat filled with a creamy, spiced pumpkin filling and wrapped in a flaky crust—sure to bring you all the cozy vibes of autumn!

Can I Use Fresh Pumpkin Instead of Canned?
Absolutely! If using fresh pumpkin, make sure to roast it until tender, then puree it until smooth. Drain any excess moisture to avoid a soggy filling.
How Should I Store Leftover Hand Pies?
Store any leftover hand pies in an airtight container in the fridge for up to 3 days. You can also freeze them for longer storage—just make sure to let them cool completely before freezing!
Can I Make the Filling in Advance?
Yes, you can prepare the pumpkin filling a day ahead. Just keep it in an airtight container in the fridge. When you’re ready to assemble your hand pies, give it a good stir before using.
What Can I Use Instead of Egg Wash?
If you prefer a vegan option or don’t have eggs, brush the tops with a mixture of almond milk and a bit of maple syrup. It will give a nice shine and sweetness without the egg!