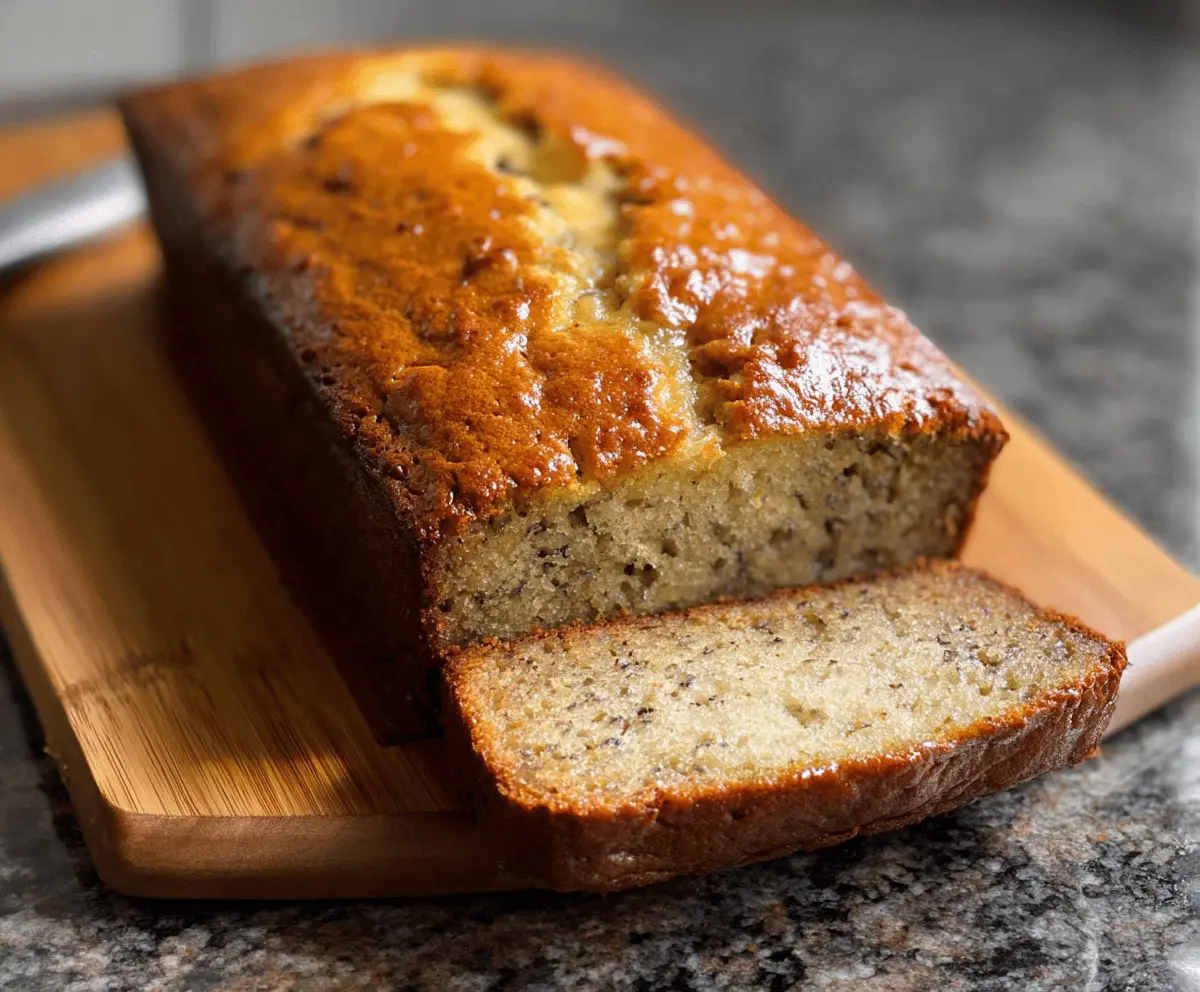
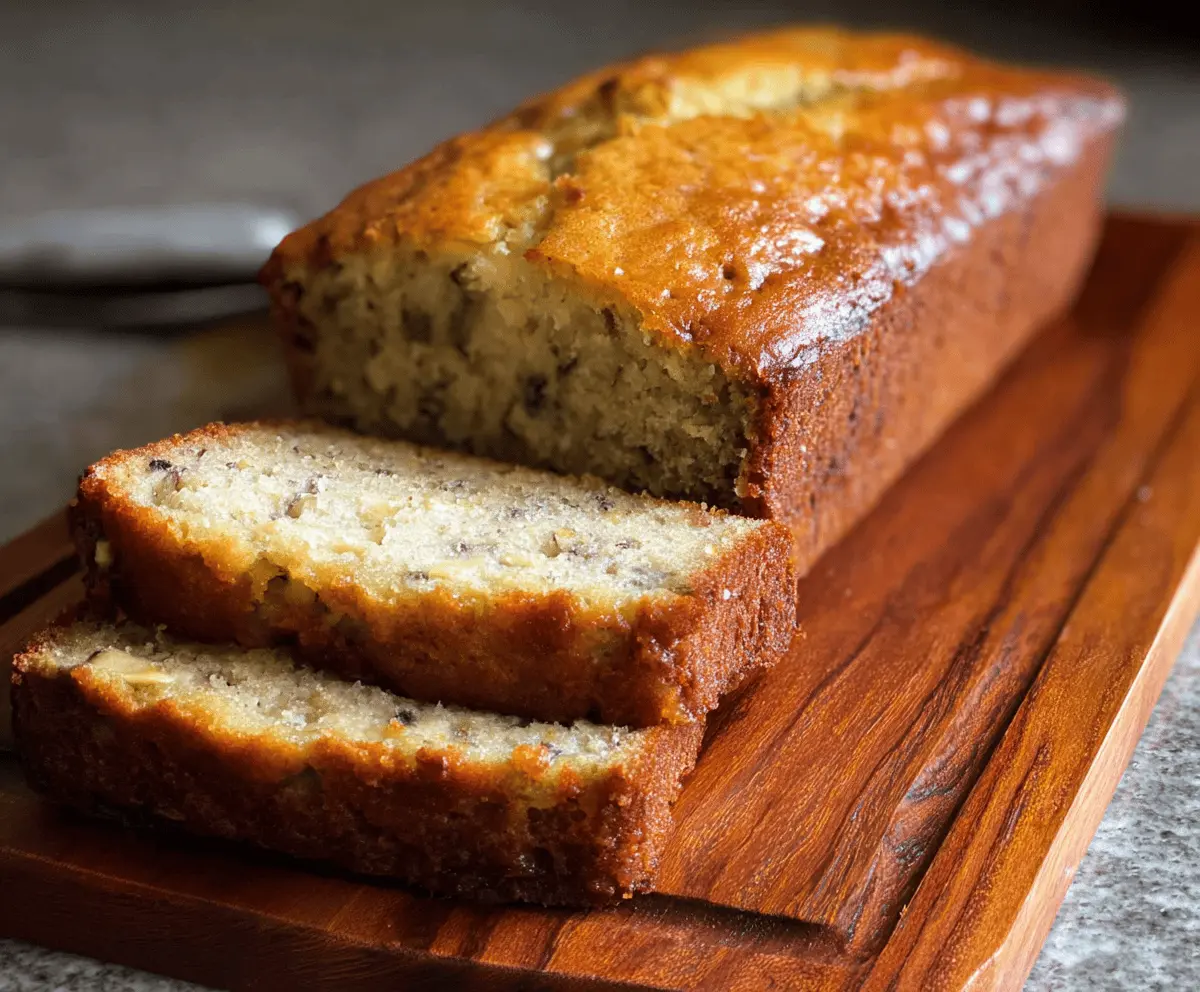
This moist buttermilk banana bread is a tasty treat that’s perfect for breakfast or snack time. With ripe bananas and a splash of buttermilk, it turns out fluffy and delicious!
Don’t be surprised if it disappears quickly—everyone loves it! I like to enjoy it warm with a touch of butter spread on top. Yum! 🍌❤️
Key Ingredients & Substitutions
Bananas: Use very ripe bananas; they are sweeter and easier to mash. If you don’t have ripe bananas, you can speed up the ripening by placing them in a paper bag with an apple or another banana.
Buttermilk: This ingredient helps keep the banana bread moist. If you don’t have buttermilk, mix 1 cup of regular milk with 1 tablespoon of lemon juice or vinegar and let it sit for 5 minutes.
Flour: All-purpose flour is standard for this recipe. If you’re looking for a gluten-free option, you could use a 1:1 gluten-free flour blend. Just be sure it contains xanthan gum!
Butter: I love using unsalted butter for its rich flavor. You can substitute with melted coconut oil if you prefer a dairy-free version.
How Do You Ensure Your Banana Bread is Moist and Not Dry?
To keep your banana bread moist, it’s crucial to not overmix the batter. Overmixing can lead to tough bread. Here’s how to do it right:
- Combine your wet and dry ingredients until just blended; it’s okay if there are a few lumps. This avoids toughening the batter.
- Make sure your bananas are very ripe as they provide moisture and flavor. The riper the better!
- Don’t skip the cooling step. Allow your bread to cool in the pan for about 10 minutes before transferring it to a wire rack to cool completely. This helps keep the bread moist.
By following these tips, you’ll be on your way to baking the perfect moist buttermilk banana bread every time!

How to Make Moist Buttermilk Banana Bread
Ingredients You’ll Need:
Wet Ingredients:
- 2 to 3 very ripe bananas (about 1 to 1½ cups mashed)
- 1 cup buttermilk
- 2 teaspoons lemon juice or white vinegar (to sour the buttermilk if using regular milk)
- ¾ cup unsalted butter, melted and cooled slightly
- 2 large eggs
- 1 teaspoon vanilla extract
Dry Ingredients:
- 2 ½ cups all-purpose flour
- 1 teaspoon baking soda
- ½ teaspoon baking powder
- ½ teaspoon salt
- 1 teaspoon ground cinnamon (optional)
For Sweetness:
- 1 cup granulated sugar
- ½ cup brown sugar, packed
How Much Time Will You Need?
This recipe takes about 15 minutes of prep time and around 60 to 70 minutes to bake. After baking, let the bread cool for about 10 minutes in the pan before transferring to a wire rack to cool completely. Altogether, you should plan for about 1.5 to 2 hours to enjoy your delicious banana bread!
Step-by-Step Instructions:
1. Preheat and Prepare the Pan:
Start by preheating your oven to 350°F (175°C). While it heats up, grease and flour a 9×5-inch loaf pan, or you can line it with parchment paper for easy removal later.
2. Prepare the Buttermilk:
If you’re using regular milk, combine it with lemon juice or vinegar in a small bowl to make your own buttermilk. Let it sit for about 5 minutes until it thickens slightly.
3. Combine the Dry Ingredients:
In a medium-sized bowl, whisk together the flour, baking soda, baking powder, salt, and cinnamon (if you’re using it). Mix well to ensure the leavening agents are evenly distributed.
4. Mash the Bananas:
In a large mixing bowl, use a fork or potato masher to mash the ripe bananas until mostly smooth—some small lumps are okay!
5. Mix in the Wet Ingredients:
Add the homemade buttermilk, melted butter, granulated sugar, brown sugar, eggs, and vanilla extract into the mashed bananas. Stir everything together until well combined.
6. Combine Dry and Wet Mixtures:
Gradually add the dry ingredients to the banana mixture. Stir gently until just combined, being careful not to overmix. A few lumps are perfectly fine—this keeps your bread light and fluffy!
7. Pour and Smooth the Batter:
Pour the batter into your prepared loaf pan. Use a spatula to smooth the top if needed, ensuring the batter is evenly distributed.
8. Bake the Bread:
Place the loaf pan in the preheated oven and bake for 60 to 70 minutes, or until a toothpick inserted into the center comes out clean. Keep an eye on it after the 50-minute mark, as baking times can vary!
9. Cool and Transfer:
Once done, remove the bread from the oven and let it cool in the pan for about 10 minutes. Then, carefully transfer it to a wire rack to cool completely.
10. Slice and Enjoy:
Once cooled, slice your moist buttermilk banana bread and enjoy it plain or with a spread of butter. It’s perfect for breakfast, a snack, or dessert!
This recipe yields a tender, delicious banana bread that will have everyone coming back for seconds! Enjoy every bite! 🍌❤️

FAQ for Moist Buttermilk Banana Bread Recipe
Can I Use Frozen Bananas in This Recipe?
Absolutely! Just make sure to thaw them completely before mashing. You can quickly thaw them in the microwave or leave them in the fridge overnight. Drain any excess liquid before adding them to the batter to prevent a soggy bread.
Can I Substitute the Buttermilk?
Yes, if you don’t have buttermilk, you can use regular milk mixed with 1 tablespoon of lemon juice or vinegar. Let it sit for about 5 minutes to sour before using it in the recipe.
How Should I Store Leftover Banana Bread?
Store leftover banana bread in an airtight container at room temperature for up to 3 days. For longer storage, you can wrap it tightly in plastic wrap and refrigerate it for up to a week, or freeze slices for up to 3 months. Just make sure to let it thaw in the fridge before enjoying!
Can I Add Nuts or Chocolate Chips?
Yes, feel free to mix in ½ to 1 cup of chopped nuts (like walnuts or pecans) or chocolate chips for an extra flavor boost! Just fold them into the batter just before pouring it into the loaf pan. Enjoy customizing your banana bread!