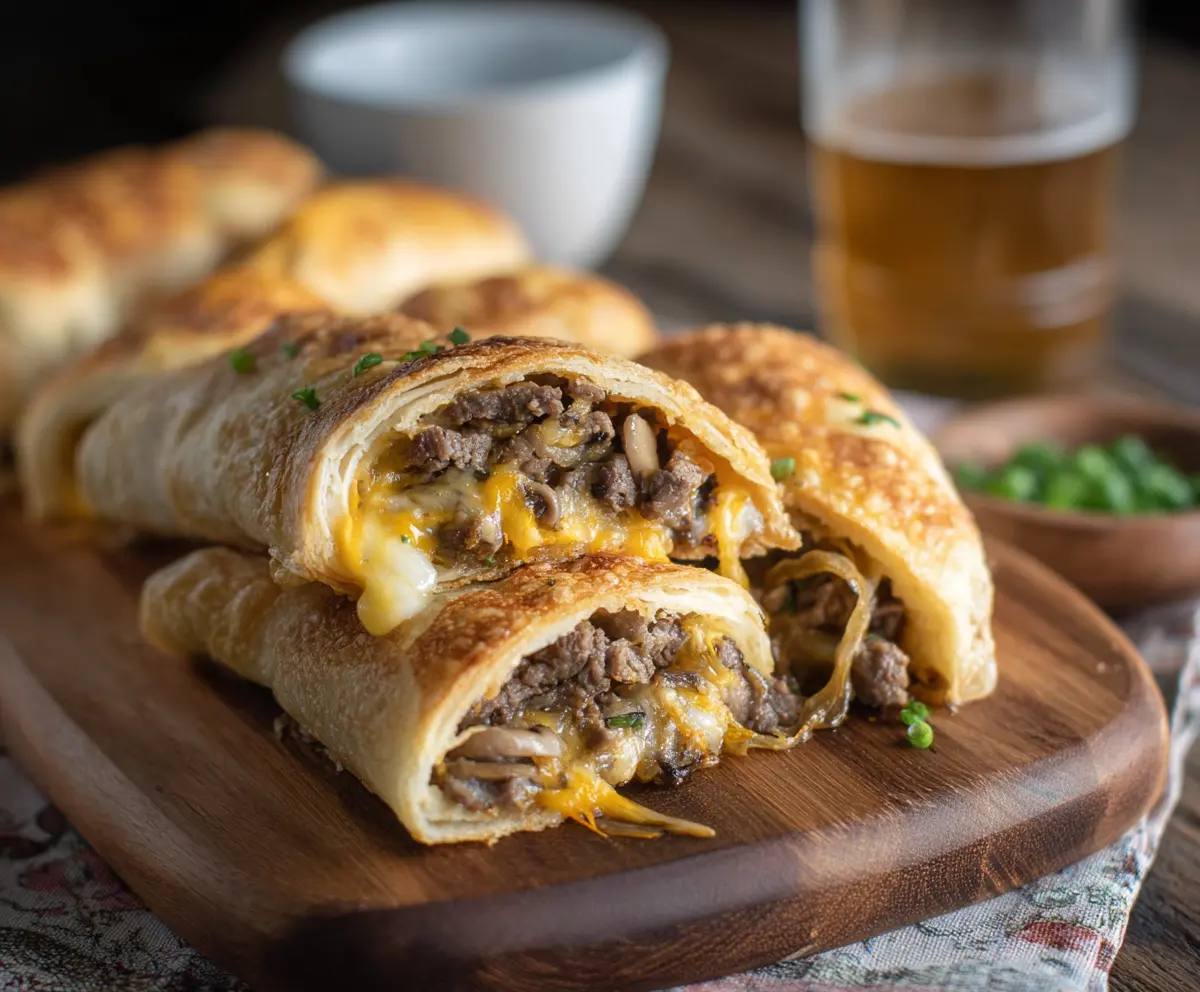
Philly Cheesesteak Roll Ups are a fun twist on the classic sandwich! They feature tender steak, melted cheese, and tasty peppers rolled up in soft bread—what’s not to love?
These are perfect for game day snacks or a cozy dinner. I usually pair them with some dipping sauce for extra flavor. Trust me, you’ll want to make a double batch! 🧀🥖
Key Ingredients & Substitutions
Ribeye Steak: Ribeye adds rich flavor, but you can also use sirloin or flank steak for a leaner option. If you want to skip red meat altogether, try thinly sliced chicken or mushrooms for a vegetarian version.
Cheese: Cheddar is fantastic for meltiness, but for a classic Philly taste, mix cheddar with provolone or use only provolone. If you’re looking for a dairy-free option, there are great plant-based cheeses available!
Mushrooms & Onions: These add moisture and depth to the filling. You can swap mushrooms for bell peppers or zucchini if you prefer, and onion can be replaced with shallots for a sweeter taste.
Crescent Roll Dough: Using crescent roll dough makes these quick. If you can’t find it, you can use puff pastry sheets instead. For a low-carb option, consider using tortillas or lettuce wraps!
How Can I Make Sure My Roll Ups Are Golden and Crispy?
Getting that perfect golden crust on your roll ups is key! Here are some tips to achieve great results:
- Preheat your oven fully before baking for even cooking.
- Brush the tops with melted butter or an egg wash (1 beaten egg mixed with a splash of water) before baking.
- Space them out on the baking sheet to ensure proper heat circulation.
- If using puff pastry, remember to follow the directions on the package for the best results!
Let them cool slightly before serving, but just enough to avoid burning your mouth on the hot cheese!

Philly Cheesesteak Roll Ups
Ingredients You’ll Need:
For the Filling:
- 1 pound thinly sliced ribeye steak or sirloin, chopped into small pieces
- 1 small onion, thinly sliced
- 1 cup mushrooms, sliced
- 1 cup shredded cheddar cheese (or a mix of cheddar and provolone)
- 1 tablespoon olive oil
- Salt and black pepper, to taste
- 1/2 teaspoon garlic powder
- 1/2 teaspoon paprika (optional)
For the Dough:
- 1 package refrigerated crescent roll dough or puff pastry sheets
- 2 tablespoons butter, melted (for brushing)
For Garnish:
- Chopped chives or parsley for garnish (optional)
How Much Time Will You Need?
This recipe takes about 10 minutes for prep and 15-20 minutes for baking. Overall, you should be enjoying these delicious roll ups in about 30-35 minutes!
Step-by-Step Instructions:
1. Preheat the Oven:
First things first, preheat your oven to 375°F (190°C). While it warms up, line a baking sheet with parchment paper to prevent sticking. This makes for an easy cleanup later!
2. Cook the Vegetables:
In a large skillet, heat the olive oil over medium heat. Toss in the sliced onions and mushrooms, stirring occasionally. Sauté these until they are soft and lightly browned, which should take about 5-7 minutes. They’ll smell so good!
3. Add the Steak:
Now, add the chopped steak to the skillet, and season it with salt, black pepper, garlic powder, and paprika (if you’re using it). Cook for about 4-5 minutes, stirring frequently, until the steak is just cooked through. Remove the pan from heat once done.
4. Prepare the Dough:
Unroll the crescent roll dough on a clean, flat surface. If you’re using the crescent dough, separate it into triangles. For puff pastry, simply cut it into rectangles. Either way, you’re getting ready to make some tasty roll-ups!
5. Fill the Dough:
Spoon the steak mixture evenly onto each piece of dough. Don’t be shy with the filling! Once that’s done, sprinkle a generous amount of shredded cheese over the top of the filling to make it cheesy and delicious.
6. Roll It Up:
Now for the fun part! Roll up each piece tightly, starting at the wide end if you’re using crescent triangles. Make sure to seal the edges well so that the filling doesn’t escape while baking.
7. Brush and Bake:
Place the roll-ups seam side down on the prepared baking sheet. Brush the tops with melted butter to achieve that beautiful golden color when they bake. Now pop them in the oven!
8. Bake to Perfection:
Bake in your preheated oven for 15-20 minutes, or until the dough is golden brown and the cheese is gooey and bubbly. Your kitchen will smell amazing!
9. Let Cool and Garnish:
Once done, take them out and let them cool for a few minutes. This makes them easier to handle! If you’d like, sprinkle some chopped chives or parsley on top for a lovely finish.
10. Serve and Enjoy:
Serve these tasty roll-ups warm, paired with your favorite dips like ketchup, ranch, or spicy mayo. Enjoy every cheesy bite of your Philly Cheesesteak Roll Ups!
Your delicious Philly Cheesesteak Roll Ups are ready to be shared (or not!) with family and friends. Dig in and enjoy the cheesy goodness!
Can I Use Different Types of Meat?
Absolutely! While ribeye and sirloin are traditional choices, you can use chicken, pork, or even ground beef if you prefer. Just make sure to adjust the cooking time based on the meat you choose!
How Can I Make These Roll Ups Vegetarian?
To make a vegetarian version, simply replace the steak with a mixture of sautéed veggies such as bell peppers, zucchini, or even some canned black beans for protein. Add plenty of cheese for that creamy texture!
What’s the Best Way to Store Leftovers?
Store any leftovers in an airtight container in the fridge for up to 3 days. To reheat, pop them in the oven at 350°F (175°C) for about 10-15 minutes until warmed through, ensuring they stay crispy.
Can I Freeze Philly Cheesesteak Roll Ups?
Yes, these roll ups freeze well! Prepare them as directed, then place them on a baking sheet and freeze until solid. Transfer to a freezer-safe bag or container. Bake from frozen at 375°F (190°C) for 20-25 minutes when ready to enjoy!