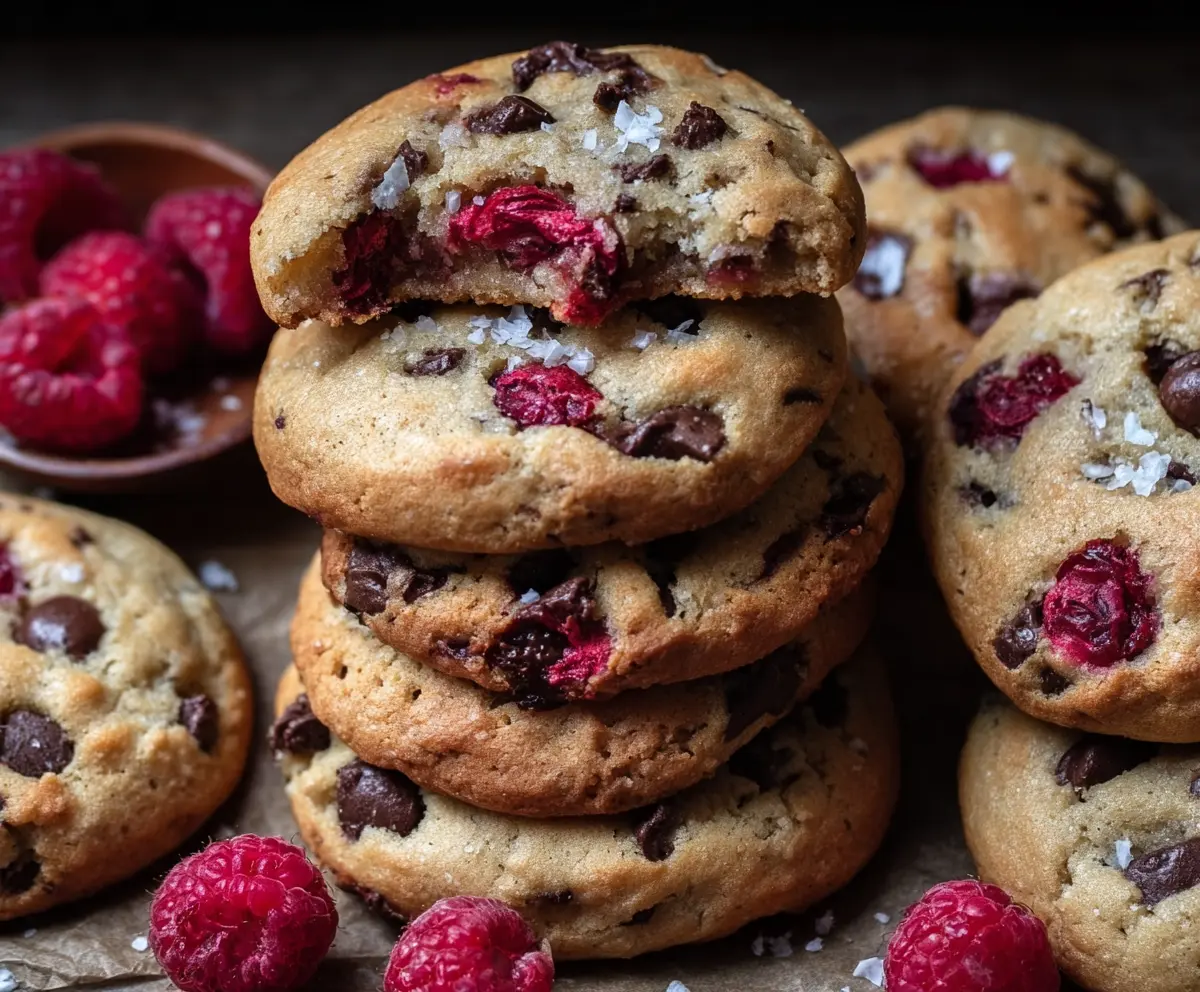
These raspberry and chocolate chip cookies are a yummy treat! With sweet raspberries and melty chocolate chips, they offer a fun twist on the classic cookie we all love.
Every bite is a delightful mix of fruity and chocolatey goodness. I love making these when I want to impress my friends—it’s a treat they never forget! 🍪❤️
Key Ingredients & Substitutions
All-Purpose Flour: This is your base for the cookies. You can substitute with a 1:1 gluten-free flour blend if you need a gluten-free option. I’ve tried it, and it works just as well!
Butter: Unsalted butter gives you control over salt levels. You can swap it with coconut oil or vegetable oil, but you’ll need to adjust to ensure a good texture.
Brown Sugar: It adds moisture and rich flavor. If you run out, you can mix white sugar with a bit of molasses for a quick substitute, or just use white sugar if needed.
Chocolate Chips: Semisweet chocolate is great, but feel free to switch to dark chocolate or even white chocolate chips! I sometimes use a mix of different types for extra flavor.
Fresh Raspberries: You can use frozen raspberries, but make sure to thaw and drain them to avoid excess moisture. This change can slightly alter the texture but still keeps the flavor!
How Do You Get the Perfect Texture for Your Cookies?
The key to soft, chewy cookies is in the mixing and baking time. Here’s how to achieve that perfect texture:
- Do not overmix the dough after adding flour. Mix until just incorporated to keep them tender.
- Watch the baking time closely. Pull them out of the oven when the edges are golden and the center looks slightly underbaked; they will continue to cook on the baking sheet.
- Let cookies cool on the sheet for a bit; this helps them firm up while still being soft inside.
With these tips, your cookies will turn out deliciously every time! Enjoy baking these tasty treats!

Raspberry And Chocolate Chip Cookies
Ingredients You’ll Need:
- 2 1/4 cups all-purpose flour
- 1/2 teaspoon baking soda
- 1/2 teaspoon salt
- 3/4 cup unsalted butter, melted and slightly cooled
- 1 cup brown sugar, packed
- 1/2 cup granulated sugar
- 1 tablespoon vanilla extract
- 1 large egg plus 1 egg yolk, at room temperature
- 1 cup semisweet chocolate chips
- 1 cup fresh raspberries (firm and ripe)
- Flaky sea salt, for sprinkling (optional)
How Much Time Will You Need?
This delicious recipe takes about 15 minutes for prep and 12-15 minutes for baking. After that, let the cookies cool for another 5 minutes on the baking sheet. Overall, you’ll need about 35-40 minutes before you can enjoy these sweet treats!
Step-by-Step Instructions:
1. Preheat and Prepare Your Baking Sheet:
Start by preheating your oven to 325°F (163°C). While it’s heating up, line your baking sheets with parchment paper or silicone baking mats. This will prevent the cookies from sticking.
2. Mix the Dry Ingredients:
In a medium bowl, whisk together the all-purpose flour, baking soda, and salt. This will help ensure everything is evenly mixed, which is key for the right texture. Once mixed, set it aside for later.
3. Combine the Wet Ingredients:
In a large mixing bowl, combine the melted butter, brown sugar, and granulated sugar. Mix this with a spoon or hand mixer until it’s well combined and smooth—this will create a nice creamy base for your cookies!
4. Add the Eggs and Vanilla:
Next, add the vanilla extract, large egg, and egg yolk to the butter-sugar mixture. Mix until it becomes light and creamy, adding flavor and richness to your cookies.
5. Combine Dry and Wet Ingredients:
Gradually add the dry ingredients to the wet mixture. Stir gently with a spatula or spoon until everything is just combined. It’s important to not overmix; this helps keep the cookies soft.
6. Fold in Chocolate Chips and Raspberries:
Gently fold in the chocolate chips until they’re evenly distributed. Then, carefully add in the fresh raspberries, being cautious not to smash them too much. We want to keep those lovely berry pieces whole!
7. Scoop Out the Dough:
Using a cookie scoop or tablespoon, scoop out about 2 tablespoons of cookie dough for each cookie and place them onto the prepared baking sheets. Make sure to space them about 2 inches apart as they will spread while baking.
8. Add Flaky Sea Salt:
If you like a little crunch and saltiness, now’s the time to sprinkle a tiny bit of flaky sea salt on top of each cookie.
9. Bake the Cookies:
Place the baking sheets in the preheated oven. Bake for 12-15 minutes, or until the edges are golden but the centers still look a bit soft. This helps ensure they’ll have that chewy texture.
10. Cool and Enjoy:
Once baked, remove the cookies from the oven and let them cool on the baking sheet for 5 minutes. After that, carefully transfer them to a wire rack to cool completely. Now you’re ready to enjoy your soft, chewy cookies filled with sweet raspberries and melty chocolate chips!
Happy baking! 🍪💖
Can I Use Frozen Raspberries Instead of Fresh?
Yes, you can use frozen raspberries! Just make sure to thaw and drain them first to avoid excess moisture in the dough. Frozen raspberries might break down more, so handle them gently when folding into the cookie batter.
What Can I Substitute for Brown Sugar?
If you’re out of brown sugar, you can use white sugar instead. For a similar taste, add 1 tablespoon of molasses to every cup of white sugar you use. This will help mimic the flavor and moisture of brown sugar!
How to Store Leftover Cookies?
Store any leftover cookies in an airtight container at room temperature for up to 3 days. If you’d like to keep them longer, you can freeze them! Just place them in a freezer-safe bag for up to 2 months. To enjoy, thaw them at room temperature for a while.
Can I Make the Dough Ahead of Time?
Absolutely! You can prepare the dough in advance and refrigerate it for up to 3 days. Just make sure to cover it tightly with plastic wrap. When ready to bake, scoop and bake the dough directly from the fridge—just add an extra minute or two to the baking time!