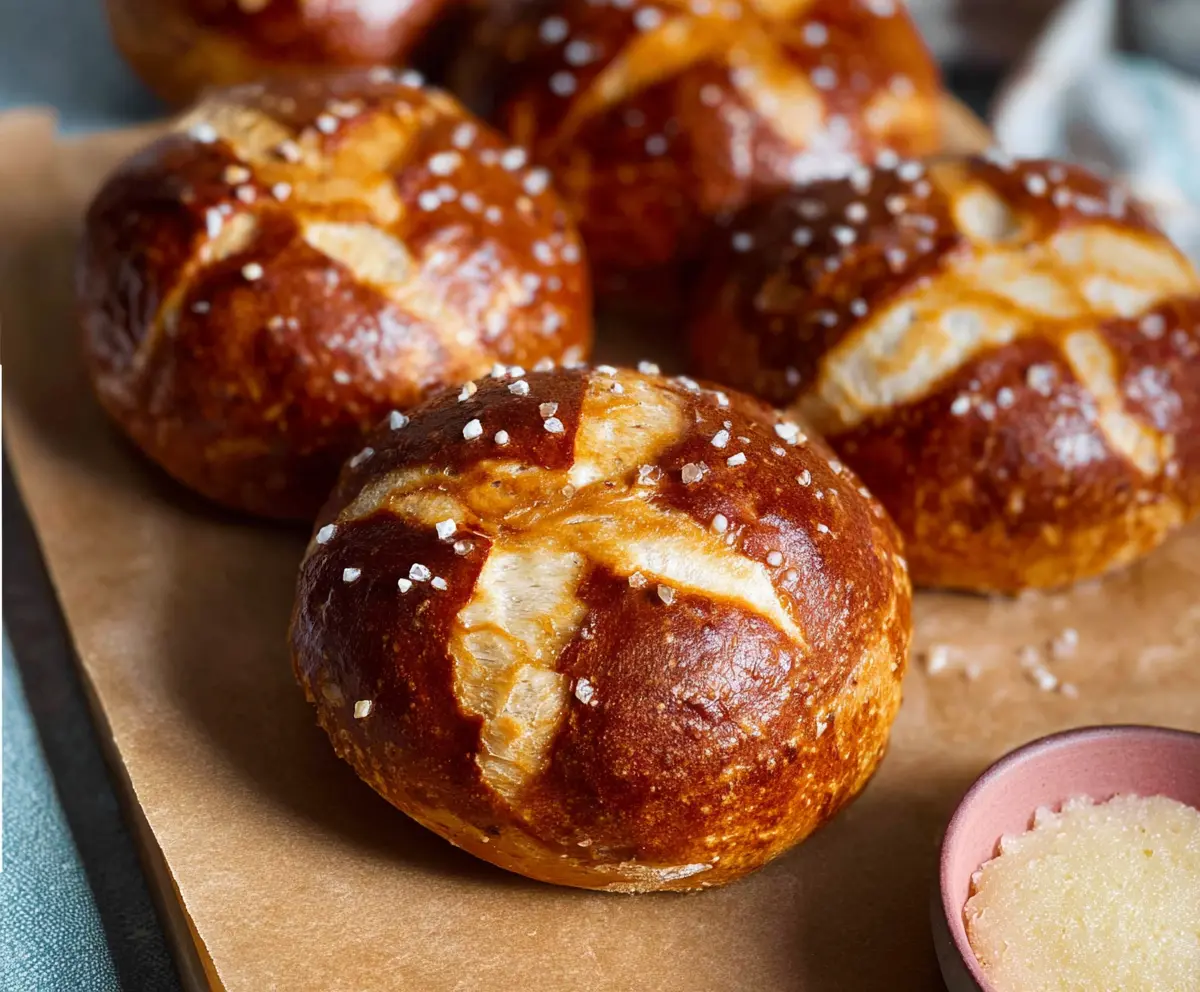
These Sourdough Discard Pretzel Buns are soft, chewy, and full of flavor! Made with your sourdough starter leftovers, they’re a fun way to reduce waste and enjoy fresh bread.
Everyone loves a good pretzel! 🍞 I love using them for burgers or just topping them with some butter and salt. They’re super easy to make, and the kids love helping shape them!
Key Ingredients & Substitutions
Sourdough Discard: This is the star of the recipe! It adds flavor and moisture. If you don’t have sourdough discard, you can use all-purpose flour and water instead, but it won’t have the unique taste.
Instant Yeast: Instant yeast is quick and easy to use. If you only have active dry yeast, you can use it too! Just activate it in warm water first with a bit of sugar for about 5-10 minutes before adding it to the mixture.
Butter: Unsalted butter gives the best flavor, but you can use salted butter if you prefer. You might want to reduce the additional salt a bit. For dairy-free, vegetable oil or coconut oil works as a substitute!
All-Purpose Flour: All-purpose flour is best for texture. If you’re gluten-free, try a gluten-free flour blend, but the texture will vary.
How Do I Get That Perfect Pretzel Crust?
The key to that delicious pretzel crust is the boiling step. This gives the buns their chewy texture and lovely brown color.
- Bring your water and baking soda to a rolling boil—this creates the perfect environment for the crust.
- Gently boil each bun for 30 seconds. Make sure not to overcrowd the pot; you can do this in batches.
- After boiling, place the buns back on the baking sheet and score the tops. This helps the dough expand nicely in the oven.
With patience and practice, you’ll achieve that classic pretzel crust that everyone loves!
How to Make Sourdough Discard Pretzel Buns
Ingredients You’ll Need:
- For the Dough:
- 1/2 cup (120 g) sourdough discard (unfed starter)
- 1 cup (240 ml) warm water (about 105°F/40°C)
- 1 tbsp granulated sugar
- 2 tsp instant yeast
- 3 cups (360 g) all-purpose flour
- 2 tsp salt
- 4 tbsp (55 g) unsalted butter, melted and cooled
- Coarse pretzel salt for sprinkling
- For Boiling:
- 8 cups (2 liters) water
- 1/3 cup (80 g) baking soda
How Much Time Will You Need?
This recipe takes about 2 to 2.5 hours in total, including 1-2 hours for the dough to rise and about 30-40 minutes for preparing, boiling, and baking. The result is totally worth the wait!
Step-by-Step Instructions:
1. Mixing the Ingredients:
In a large mixing bowl, combine the warm water, granulated sugar, and instant yeast. Give it a gentle stir and let it sit for about 5 minutes until it becomes foamy. This means the yeast is alive and ready to work its magic!
2. Preparing the Dough:
Add the sourdough discard, flour, salt, and melted butter to the foamy yeast mixture. Use a wooden spoon or the dough hook attachment of a stand mixer to stir everything together until a shaggy dough forms.
3. Kneading:
Lightly flour a clean surface and knead the dough for about 8-10 minutes until it feels smooth and elastic. If you have a stand mixer, you can use the dough hook to knead for 6-8 minutes instead. When you’re done, the dough should bounce back when poked!
4. First Rise:
Shape the dough into a ball and place it in an oiled bowl. Cover it with a clean towel or plastic wrap, and let it rise in a warm place until it doubles in size, which should take about 1 to 2 hours.
5. Shaping the Buns:
Once the dough has risen, punch it down to release the air. Turn it out onto a lightly floured surface and divide it into 6-8 equal pieces. Roll each piece into a smooth, round bun and place them on a parchment-lined baking sheet. Cover loosely and let them rest while you preheat your oven.
6. Prepping to Boil:
Preheat your oven to 450°F (230°C). In a large pot, bring the water and baking soda to a rolling boil. This is the secret step that gives pretzel buns their unique crust!
7. Boiling the Buns:
Carefully boil each bun one at a time for about 30 seconds, making sure to turn them halfway for even cooking. Use a slotted spoon to remove them and place back on the parchment-lined baking sheet.
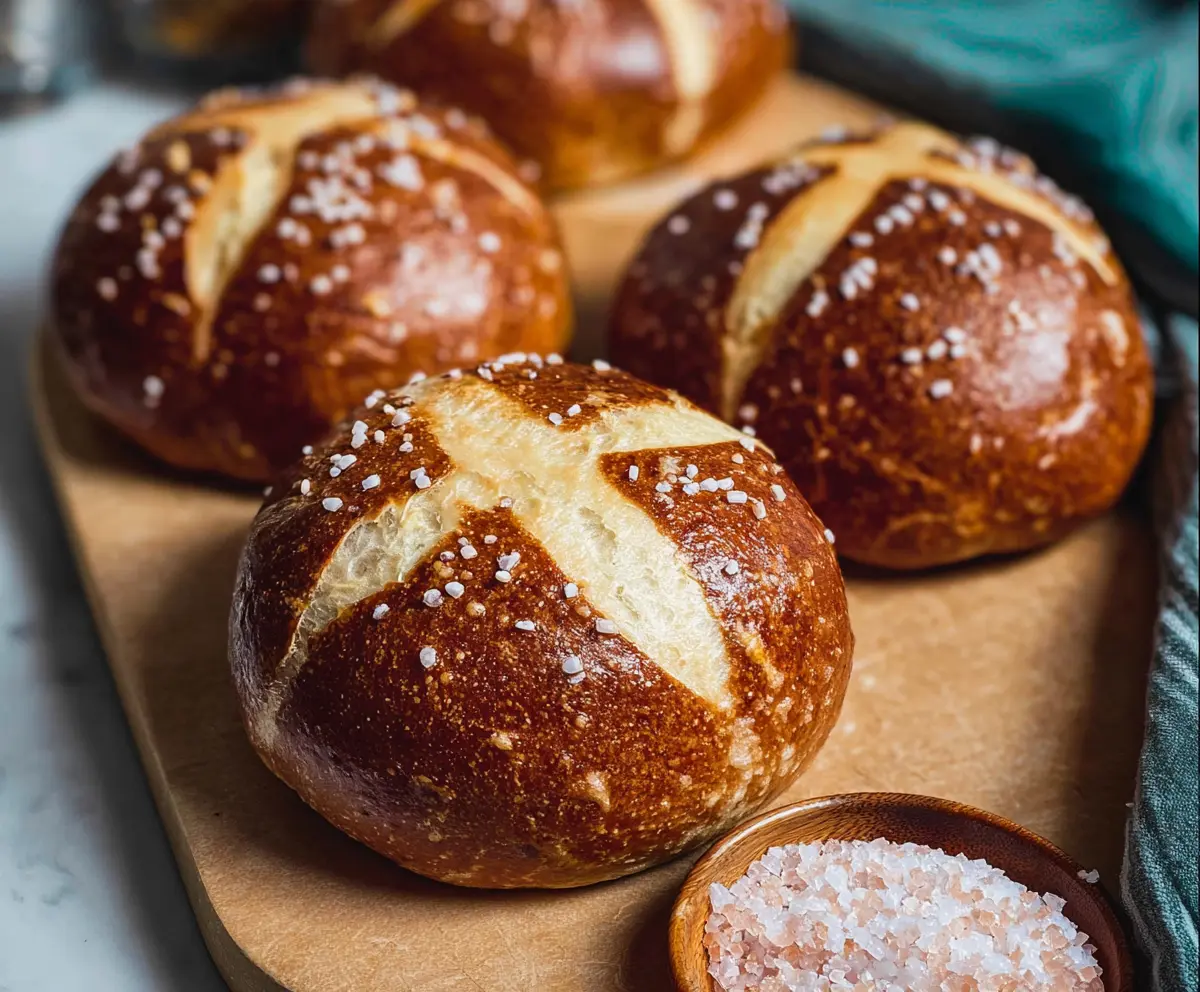
8. Scoring and Salting:
Using a sharp knife or razor blade, score an “X” on the top of each bun. This helps them expand beautifully in the oven. Sprinkle coarse pretzel salt generously over each bun.
9. Baking:
Pop the buns into the preheated oven and bake for 15-18 minutes or until they are a deep, golden brown. Your kitchen will smell amazing!
10. Cooling and Enjoying:
Once baked, remove the buns from the oven and let them cool slightly on a wire rack. Serve warm, perhaps with butter, or use them for your favorite sandwiches!
Enjoy these delightful pretzel buns! They are not only delicious but also a fantastic way to use up your sourdough discard. Happy baking!
Can I Use Regular Yeast Instead of Instant Yeast?
Yes, you can substitute active dry yeast for instant yeast. Just be sure to activate it in warm water with a little sugar for about 5-10 minutes before adding it to the dough mixture!
How Should I Store Leftover Pretzel Buns?
Store any leftovers in an airtight container at room temperature for up to 3 days. For longer storage, you can freeze them! Just wrap each bun tightly in plastic wrap and place them in a freezer bag. They’ll keep well for about a month.
What If I Don’t Have Sourdough Discard?
You can use all-purpose flour and water instead, but keep in mind that you will lose the unique flavor and tang that the sourdough discard provides. A rough substitute ratio is 1/2 cup of flour and 1/4 cup of water for each 1/2 cup of sourdough discard.
Can I Make These Pretzel Buns ahead of Time?
Absolutely! You can shape the buns and store them in the refrigerator, covered, for up to 24 hours before boiling and baking. Just let them sit at room temperature for about 30 minutes before boiling to ensure even cooking.