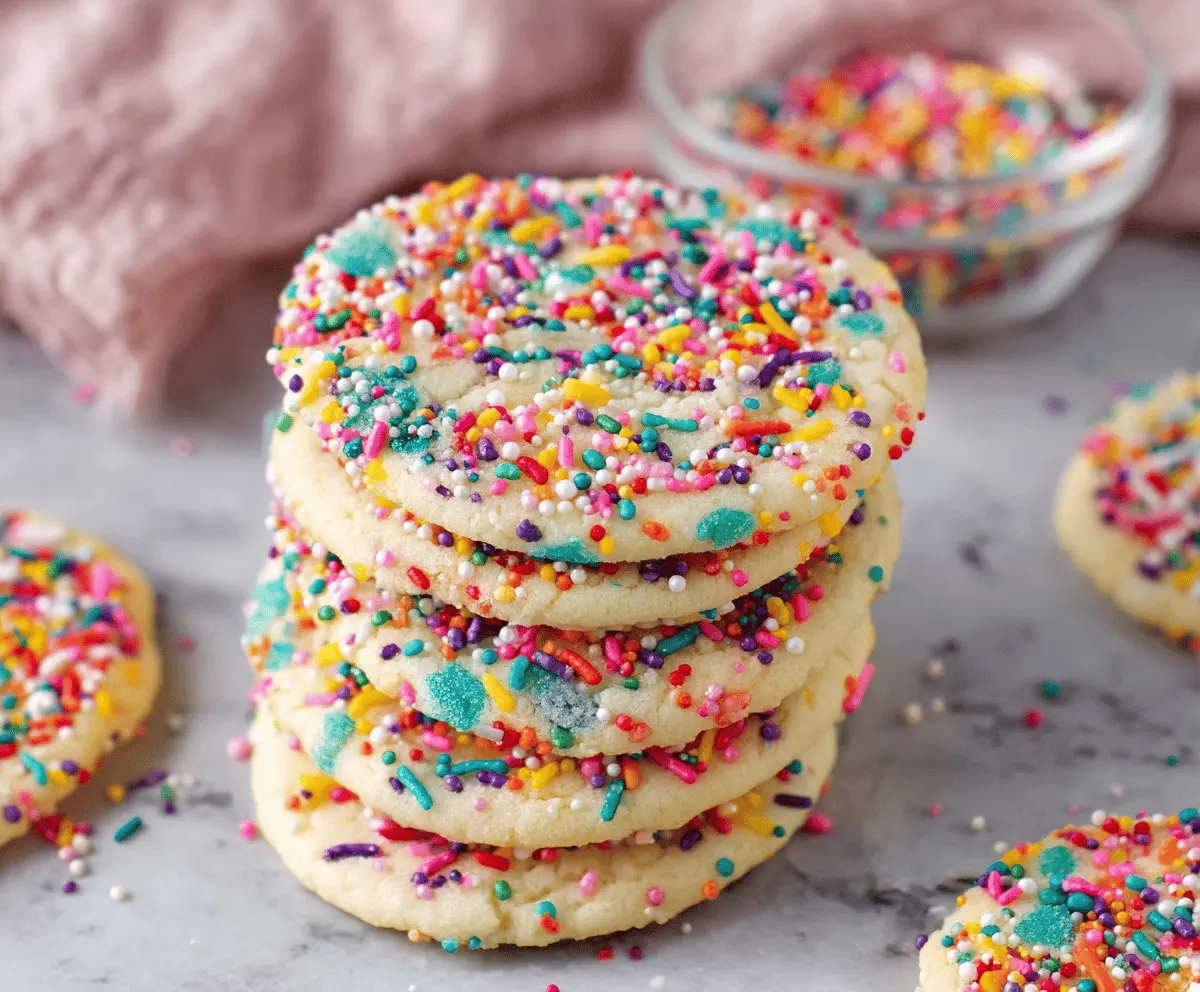
These sprinkle sugar cookies are a fun treat that everyone loves! They are soft, sweet, and covered in colorful sprinkles, making them perfect for any celebration.
Who can resist the sight of cheerful cookie sprinkles? I always bake a batch for birthdays, and they disappear in no time. Happy baking! 🎉
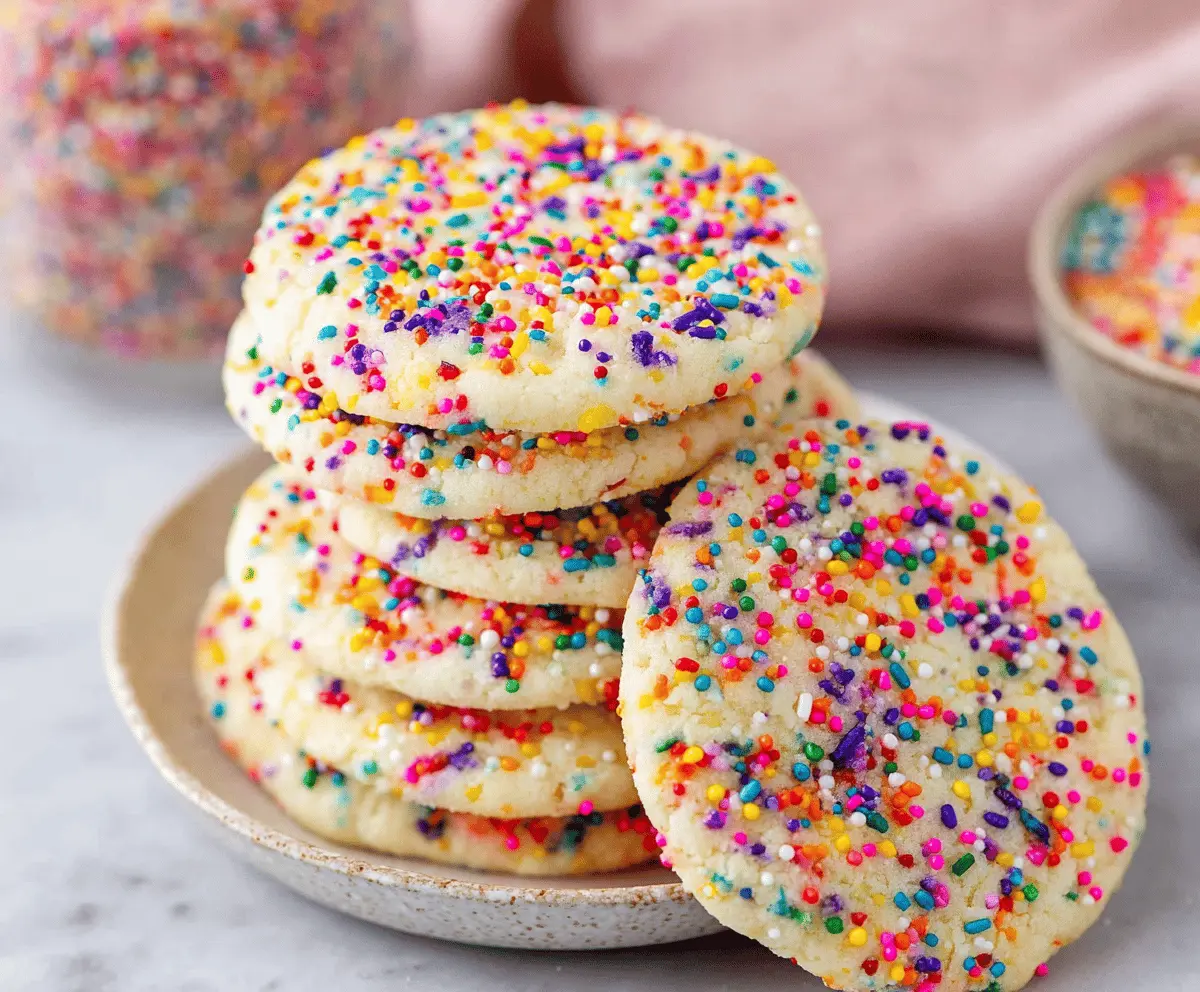
Making these cookies is super easy—just mix, bake, and enjoy! I love how they brighten up any day with their sweetness and fun colors!
Key Ingredients & Substitutions
Unsalted Butter: Using unsalted butter gives you control over the saltiness of your cookies. If you’re in a pinch, you can substitute with margarine or coconut oil, but butter really adds that rich flavor!
Granulated Sugar: This is essential for sweetness and texture. Brown sugar can replace part of it for a chewier texture. If you’re cutting back on sugar, try using a sugar substitute like monk fruit or stevia, but follow the package instructions as they vary.
Egg: The egg adds moisture and helps bind everything. For a vegan option, you can use 1/4 cup unsweetened applesauce, a flax egg (1 tablespoon flaxseed meal mixed with 3 tablespoons water), or a commercial egg replacer.
Vanilla Extract: This is my go-to for added flavor. If you’re out, almond extract is a great alternative, just use half the amount as it’s stronger.
Sprinkles: Use your favorite sprinkles for that colorful touch! You can also opt for nonpareils, jimmies, or confetti for different looks. If sprinkles aren’t available, you could also add mini chocolate chips for a different twist.
How Do You Ensure Perfectly Soft Cookies?
The key to soft, delicious cookies is not over-baking them. Here are some tips:
- Keep an eye on the baking time and take them out when the edges look set but the centers are still soft.
- Let them cool on the baking sheet—this helps them firm up without getting dry.
- Don’t skip the egg or substitute it with too much dry ingredient. This can make the dough too heavy.
Follow these tips, and you’ll have delightfully soft sprinkle sugar cookies to enjoy! Happy baking!
How to Make Sprinkle Sugar Cookies
Ingredients You’ll Need:
- 1 cup (2 sticks) unsalted butter, softened
- 1 cup granulated sugar
- 1 large egg
- 1 teaspoon vanilla extract
- 2 teaspoons baking powder
- 3 cups all-purpose flour
- 1/4 teaspoon salt
- 1/2 cup colorful sprinkles (plus extra for rolling)
How Much Time Will You Need?
This delicious sprinkle sugar cookie recipe requires about 15 minutes of preparation time and 8-10 minutes of baking time. Don’t forget to let your cookies cool down for about 5 minutes on the baking sheet before moving them—this helps them firm up while still being perfectly soft inside!
Step-by-Step Instructions:
1. Preheat and Prep:
Start by preheating your oven to 350°F (175°C). While the oven is heating up, get your baking sheets ready by lining them with parchment paper. This will prevent the cookies from sticking.
2. Cream the Butter and Sugar:
In a large bowl, take your softened butter and granulated sugar, and use a mixer to cream them together. Beat until the mix is light and fluffy—this should take about 2-3 minutes.
3. Add Egg and Vanilla:
Next, crack in the egg and pour in the vanilla extract. Mix until everything is well combined and smooth.
4. Combine Dry Ingredients:
In a separate bowl, whisk together the flour, baking powder, and salt. This helps to evenly distribute the baking powder and salt throughout the flour.
5. Make the Dough:
Slowly add the dry mixture to the butter mixture. Stir just until a soft dough forms—be careful not to overmix, or your cookies could turn out tough!
6. Add the Sprinkles:
Now, gently fold in 1/2 cup of colorful sprinkles to the dough. This is where the fun begins as the colors start to pop!
7. Shape the Cookies:
Using a tablespoon, scoop small portions of dough and roll them into balls in your hands. Then, take the remaining sprinkles and spread them out on a plate. Roll each dough ball in the sprinkles to coat them evenly.
8. Bake the Cookies:
Place the sprinkle-coated dough balls on the parchment-lined baking sheets, spacing them about 2 inches apart. Lightly flatten each ball with your palm or the bottom of a glass.
9. Time to Bake:
Bake the cookies in your preheated oven for 8-10 minutes, keeping an eye on them. The edges should look set, but the centers will still be soft—this is what you want for that perfect cookie texture!
10. Cool and Enjoy:
When they’re done, let the cookies cool on the baking sheet for about 5 minutes. After that, transfer them to a wire rack to cool completely. Now you’re ready to munch on these delightful, colorful sprinkle sugar cookies!
Enjoy them with your favorite beverage or serve them up for your next gathering. Happy baking!
Can I Use Margarine Instead of Butter?
Yes, you can use margarine if you need a dairy-free option. However, butter gives the cookies a rich flavor and perfect texture, so if possible, stick with it for the best results!
How Can I Make These Cookies Gluten-Free?
You can substitute all-purpose flour with a gluten-free flour blend that’s designed for baking. Make sure it contains xanthan gum to help with binding. You may need to adjust the amount of flour slightly, so be sure to check the packaging!
Can I Freeze the Dough?
Yes, you can freeze the cookie dough! Just roll the dough into balls and place them on a baking sheet in the freezer until solid. Then transfer them to an airtight container or freezer bag. When you’re ready to bake, just pop them in the oven straight from the freezer, adding a couple of extra minutes to the baking time.
What’s the Best Way to Store Leftover Cookies?
Store leftover cookies in an airtight container at room temperature for up to 5 days. For longer storage, you can freeze the cooled cookies in a freezer bag for up to three months. Just thaw them at room temperature before enjoying again!