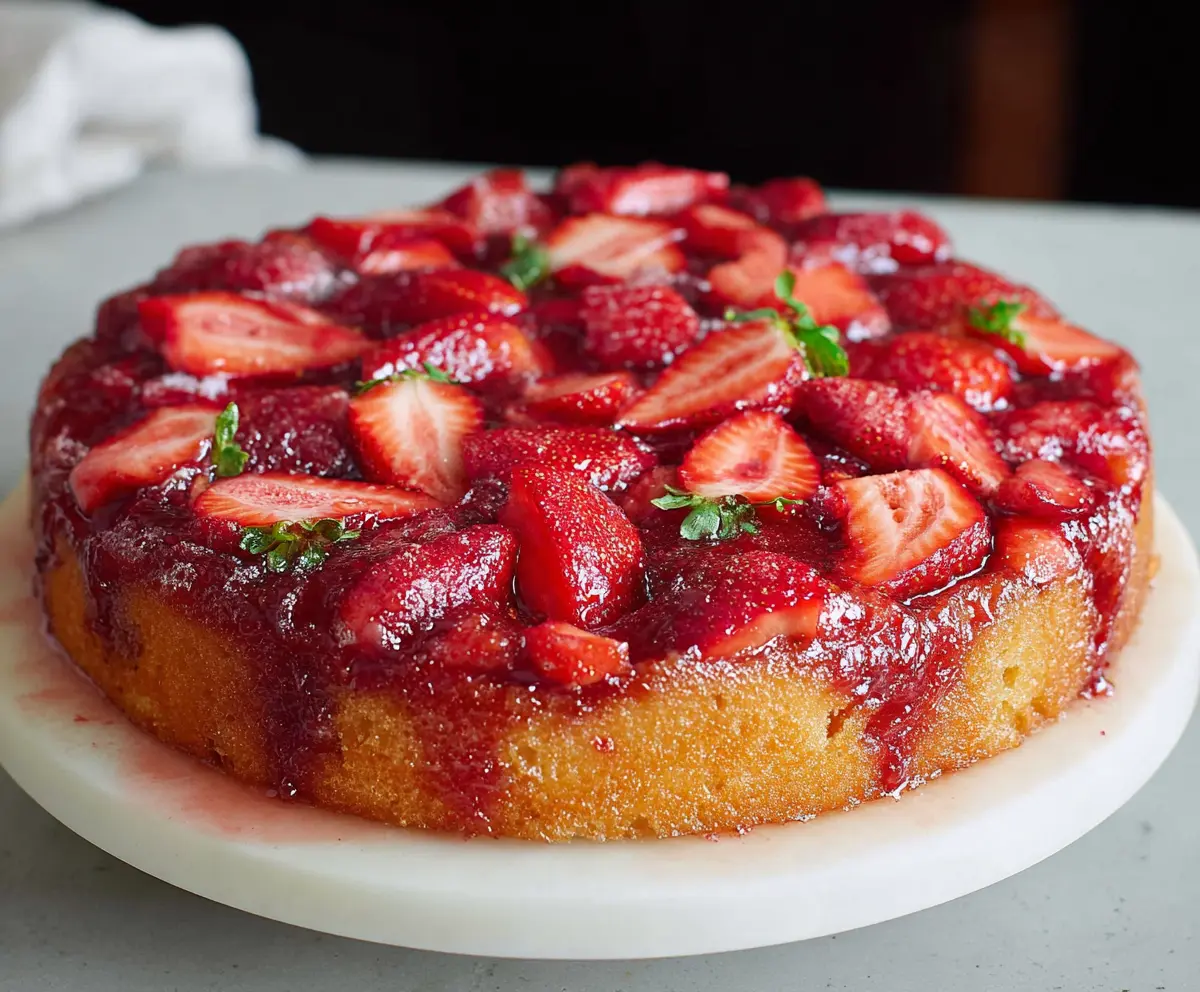
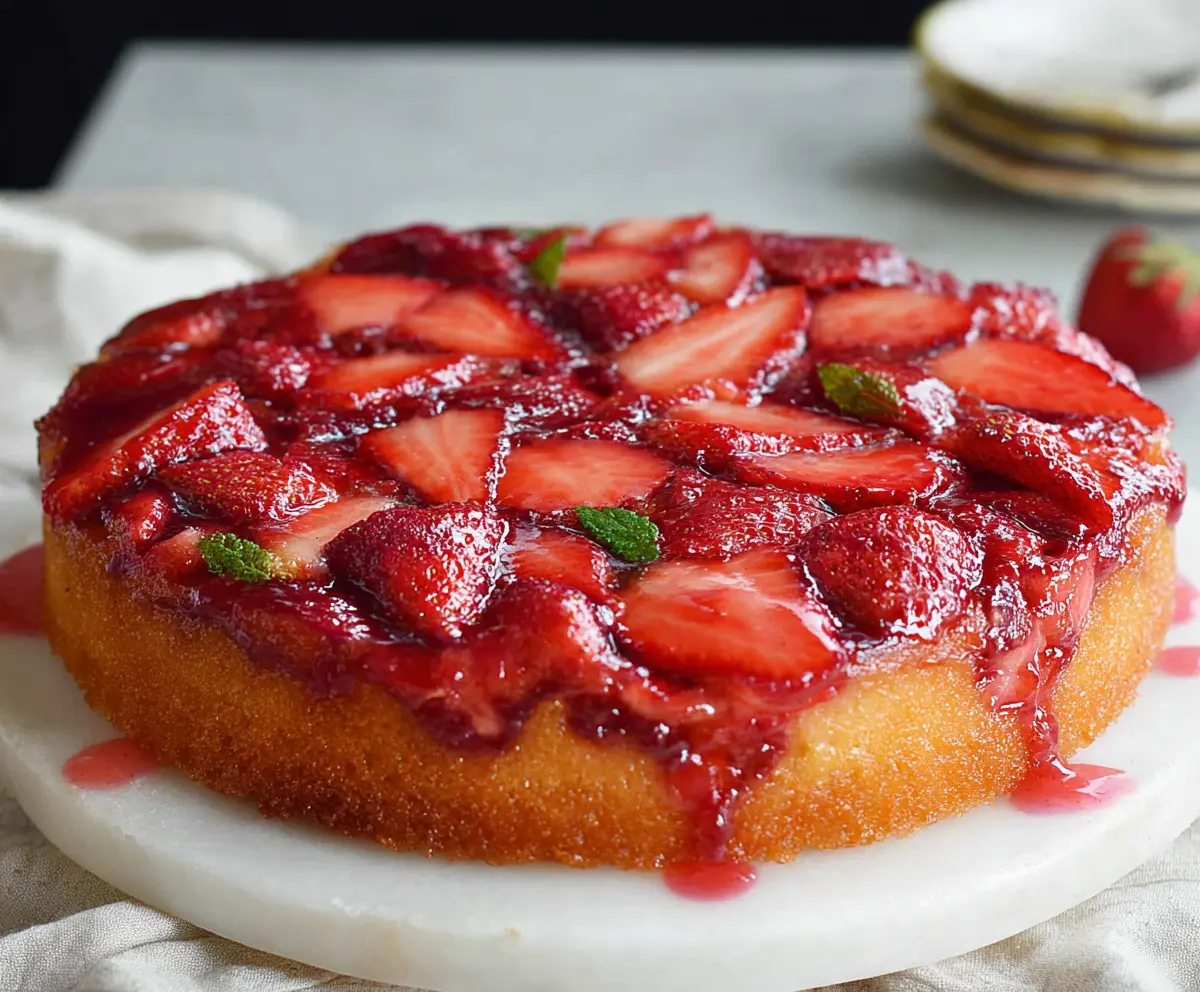
This Strawberry Upside Down Cake is a fun twist on a classic treat! Sweet, juicy strawberries sit atop a moist cake, making each bite a delight. It’s a lovely dessert for any gathering!
I love serving this cake warm with a scoop of vanilla ice cream—heavenly! Plus, turning it over to reveal those beautiful strawberries is like opening a surprise gift. 🎁
Key Ingredients & Substitutions
Strawberries: Fresh strawberries are essential for this cake. If they’re out of season, you can use frozen strawberries. Just thaw and drain them well before using.
Brown Sugar: I love using light brown sugar for its mild flavor, but dark brown sugar works too, adding a deeper caramel taste. If you need a substitution, try coconut sugar for a different twist.
Butter: Unsalted butter is used here for better control of the cake’s saltiness. If you’re avoiding dairy, coconut or margarine can be great alternatives.
Flour: All-purpose flour is the go-to here. If you need a gluten-free option, a gluten-free 1:1 flour mix works well in this recipe too.
How Do I Ensure My Cake Is Light and Fluffy?
To get a cake that’s light and fluffy, focus on the creaming process! This helps to incorporate air into the batter, which is key for a good rise.
- Make sure your butter is softened but not melted. About room temperature is perfect.
- Beat the butter and sugar together until light and fluffy—this usually takes about 3-4 minutes.
- Add the eggs one at a time, ensuring each is well blended before the next.
- Mix your dry and wet ingredients carefully by alternating them, starting and ending with the dry mix. This keeps the batter from getting tough.
Remember to avoid overmixing after adding the flour. A few lumps are okay! This will keep the cake airy.
How to Make Strawberry Upside Down Cake
Ingredients You’ll Need:
For the Topping:
- 1/4 cup unsalted butter
- 1/2 cup brown sugar, packed
- 1 cup fresh strawberries, sliced
- Optional: small fresh mint leaves for garnish
For the Cake:
- 1 1/2 cups all-purpose flour
- 2 tsp baking powder
- 1/4 tsp salt
- 1/2 cup unsalted butter, softened
- 3/4 cup granulated sugar
- 2 large eggs
- 2 tsp vanilla extract
- 1/2 cup whole milk
How Much Time Will You Need?
This delicious Strawberry Upside Down Cake will take you about 15 minutes to prep and approximately 40-45 minutes to bake. Once it cools for about 10-15 minutes, it’s ready to serve! So overall, you’ll spend about 1 hour in the kitchen, but trust me, your taste buds will thank you!
Step-by-Step Instructions:
1. Preheat and Prepare the Pan:
Start by preheating your oven to 350°F (175°C). While that’s heating up, take a 9-inch round cake pan and grease it with some butter or non-stick spray, then dust it lightly with flour to help the cake come out easily later on.
2. Make the Topping:
In a small saucepan over medium heat, melt the 1/4 cup of butter. Once it’s melted, stir in the brown sugar until it’s smooth and dissolved. Pour this mixture evenly into the bottom of your prepared cake pan.
3. Arrange the Strawberries:
Next, layer the sliced strawberries on top of the brown sugar mixture. Spread them out evenly and press them down gently so they stick well. This is going to be the delicious layer on top once you flip your cake!
4. Mix Dry Ingredients:
In a medium bowl, whisk together the flour, baking powder, and salt. This will be used later for your cake batter.
5. Cream Butter and Sugar:
In a large bowl, use an electric mixer to cream the softened butter and the granulated sugar together until the mixture is light and fluffy—this should take about 3-4 minutes.
6. Add Eggs and Vanilla:
Now it’s time to add the eggs! Beat them in one at a time, making sure each egg is completely mixed in before adding the next one. Then, stir in the vanilla extract for that lovely flavor.
7. Combine Wet and Dry Ingredients:
Next, alternate adding the flour mixture and the milk to your wet ingredients. Start by adding a little flour, mix, then add some milk, and repeat. Make sure you begin and end with the flour. Be careful not to overmix; just mix until everything is combined.
8. Spoon in the Batter:
Carefully spoon the batter on top of the strawberries in the pan, and smooth out the top gently with a spatula.
9. Bake the Cake:
Put it in the preheated oven and bake for 40-45 minutes. You’ll know it’s done when a toothpick inserted into the center comes out clean and the edges look golden brown.
10. Cool the Cake:
Once baked, remove the cake from the oven and let it cool in the pan on a wire rack for about 10-15 minutes. This makes it easier to handle.
11. Invert the Cake:
Time for the fun part! Run a knife around the edge of the pan to loosen your cake. Now, take a serving plate, place it upside down over the cake pan, and carefully flip it over so the strawberry topping is facing up.
12. Garnish and Serve:
If you like, add some fresh mint leaves on top for a lovely garnish. Serve your Strawberry Upside Down Cake warm or at room temperature. Enjoy every bite of this delightful treat!
Bon appétit!
Can I Use Frozen Strawberries Instead of Fresh?
Yes, you can use frozen strawberries! Just make sure to thaw them completely and drain any excess moisture before layering them in the pan. This helps prevent the cake from becoming soggy.
How Do I Store Leftovers?
Store any leftover cake in an airtight container at room temperature for up to 2 days. If you want to keep it longer, you can refrigerate it for up to a week. Just be sure to bring it back to room temperature before serving for the best flavor and texture.
Can I Substitute the Whole Milk?
Absolutely! You can use any milk you have on hand, including 2% or almond milk, as a substitute. Just keep in mind that using a non-dairy milk may slightly change the flavor, but it will still be delicious!
What Should I Do If the Cake Sticks to the Pan?
If the cake sticks, don’t panic! Run a knife around the edge of the cake again to help release it. If it’s still stuck, gently tap the bottom of the pan or place a damp towel over it for a minute. The steam can help loosen it up.