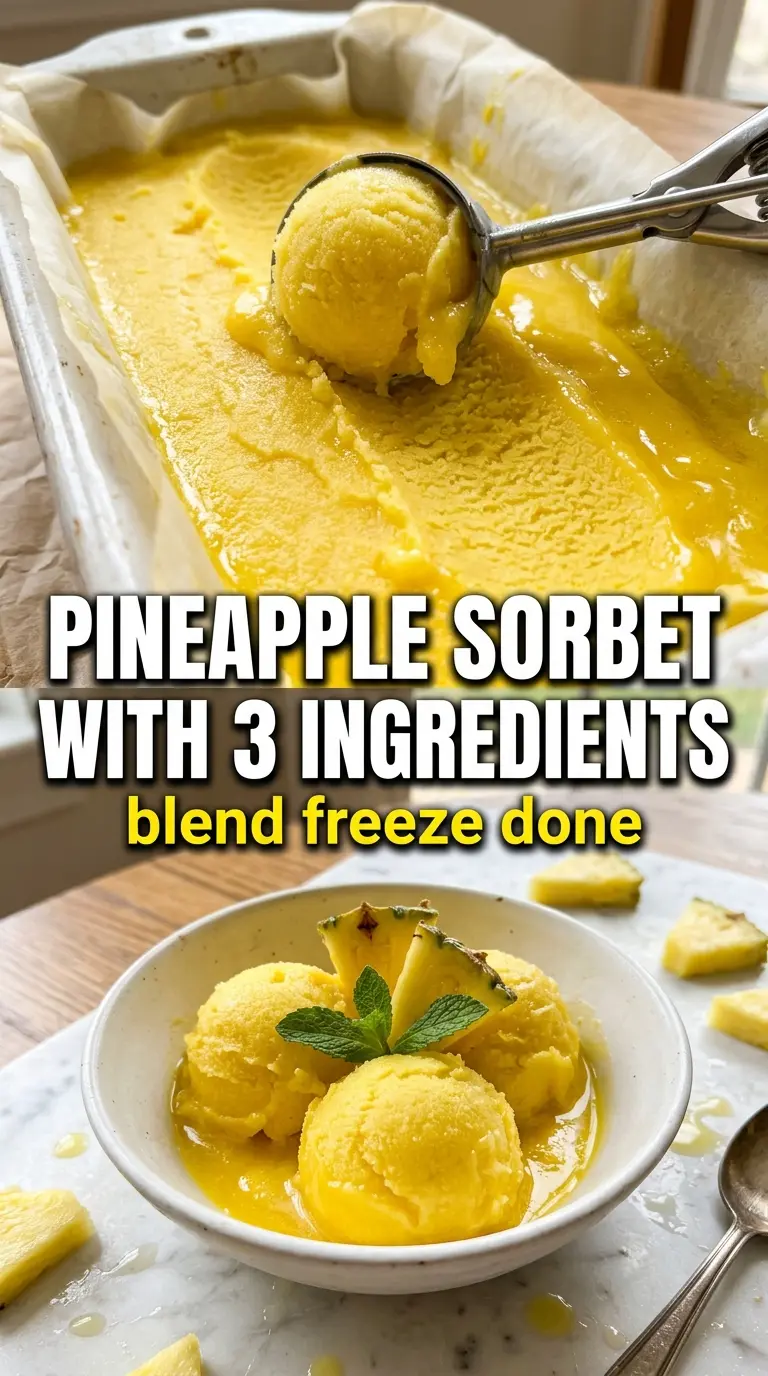
Bright pineapple sorbet lands with the kind of clean, icy sweetness that makes a heavy dessert feel unnecessary. This version keeps the ingredient list stripped down to the three things that matter most: frozen pineapple for body, lime for lift, and just enough honey or agave to round out the edges. The result is vivid, tropical, and smooth enough to scoop, with no dairy and no cooking required.
The trick is treating the pineapple like the base of the dessert, not just fruit in the blender. Letting it soften for a few minutes gives the blades a fighting chance, and the lime keeps the flavor from tasting flat or one-note. If the fruit is sweet enough, you may only need a touch of sweetener; if it’s a little tart, honey gives the sorbet a softer finish than sugar alone.
Below, I’ll walk through the small details that keep this sorbet creamy instead of icy, plus a few ways to change the texture after freezing if you want something closer to a granita or a firmer scoop.
The pineapple blended into the smoothest sorbet, and the lime kept it from tasting too sweet. I froze it for a couple hours and it scooped like a dream after a quick stir.
Like this 3-ingredient pineapple sorbet? Save it for the days when you want a bright, dairy-free dessert that freezes up fast and tastes intensely tropical.
The Freezing Trick That Keeps Pineapple Sorbet Scoopable
Pineapple freezes hard. That’s the whole challenge here. If you blend it straight from the freezer without a little thaw time, the blender has to work too hard and you end up with a chunky paste instead of a smooth sorbet. Five minutes at room temperature softens the edges just enough for the fruit to break down cleanly, which is what gives this recipe its creamy texture without dairy.
The other thing people miss is balance. Pineapple is bright, but frozen fruit can taste flatter than fresh fruit, so the lime juice isn’t just there for “tang.” It wakes up the pineapple and keeps the finish from tasting dull. A small amount of honey or agave smooths out the acidity and helps the sorbet feel rounded instead of sharp.
- Frozen pineapple — Use good-quality frozen chunks, not loose icy shards. Larger pieces blend more evenly and give the sorbet a silkier texture.
- Lime juice — Fresh lime makes a noticeable difference here. Bottled juice can taste muted, and that matters in a three-ingredient dessert.
- Honey or agave — Honey gives a slightly fuller finish; agave stays neutral and keeps the pineapple front and center. Start with the lower amount and add more only after tasting.
What Each Ingredient Is Actually Doing in This Ice Cream
- Base ingredient (cream, milk, or custard) — This provides the foundation and richness. Quality matters.
- Sweetener (sugar, honey, or condensed milk) — This sweetens and prevents ice crystals. The ratio is critical.
- Flavor element (vanilla, fruit, chocolate, coffee, or other) — This defines the ice cream personality. Use quality ingredients.
- Egg yolks (if making custard base) — These create richness and silky texture. Optional but elevates ice cream.
- Churning (if using ice cream maker) — This incorporates air and prevents ice crystals. Critical for smooth texture.
- Freezing temperature and time — Proper freezing prevents rock-hard texture. Store at 0°F or below.
- Mix-ins (chocolate, cookies, fruit, or swirls) — These add texture and prevent one-dimensional flavor. Add near end of churning.
- Serving temperature (slightly soft, not rock hard) — This provides creamy mouthfeel. Remove from freezer 5 minutes before serving.
Blending It Smooth Before the Ice Wins
Letting the Pineapple Relax First
Set the frozen pineapple out for about 5 minutes before blending. That short rest keeps the blender from stalling and helps the fruit move in a steady whirl instead of packing down into one frozen block. If the pineapple still feels rock solid, give it another minute or two rather than forcing the motor.
Building the Sorbet Base
Add the pineapple, lime juice, and honey or agave to a high-powered blender. Start on low, then work up to high, stopping to scrape the sides if needed. The mixture should go from crumbly to slushy to smooth; if it stays dry and sandy, it needs a little more time, not more liquid. Too much extra liquid makes the sorbet icy after freezing.
Tasting for the Last Bit of Balance
Once it’s smooth, taste it right away. Pineapple sweetness changes a lot from batch to batch, so this is where you correct the final flavor. Add a little more lime if it tastes flat, or a touch more sweetener if it feels too sharp. Serve it immediately for a soft-serve texture, or freeze it for a firmer scoop.
How to Turn This Basic Sorbet Into Different Textures
Soft-Serve Pineapple Sorbet
Serve it straight from the blender for the lightest, creamiest texture. This is the best move when you want a dessert that feels immediate and fresh, and it works especially well if the fruit was already very cold going in.
Firmer Scoopable Sorbet
Transfer the blended sorbet to a freezer-safe container and freeze for 2 to 4 hours. If it turns too firm, let it sit on the counter for 5 to 10 minutes before scooping. That rest matters more than people think; straight-from-the-freezer sorbet is what causes bent spoons and frustration.
Granita-Style Texture
Freeze the mixture, then scrape it with a fork after it firms up. This gives you a lighter, icy texture with sharp pineapple flavor and more little crystals. It’s the right choice when you want something refreshing and rustic instead of creamy.
No-Honey Version
Use agave for a fully vegan version, or skip the sweetener entirely if your pineapple is very ripe and sweet. The texture will still be good, but the finished sorbet may taste a little more tart and icy, so the lime should be added with a lighter hand.
Storage and Reblending
- Refrigerator: Not ideal. It melts fast and loses the sorbet texture.
- Freezer: Store in a freezer-safe container for up to 1 week. Press parchment or plastic wrap directly on the surface to limit ice crystals.
- Reheating: There’s no reheating here, but if it freezes solid, let it sit for 5 to 10 minutes and then scrape or blend briefly to bring back the texture. Adding warm liquid just makes it collapse.
Questions I Get Asked About This Recipe
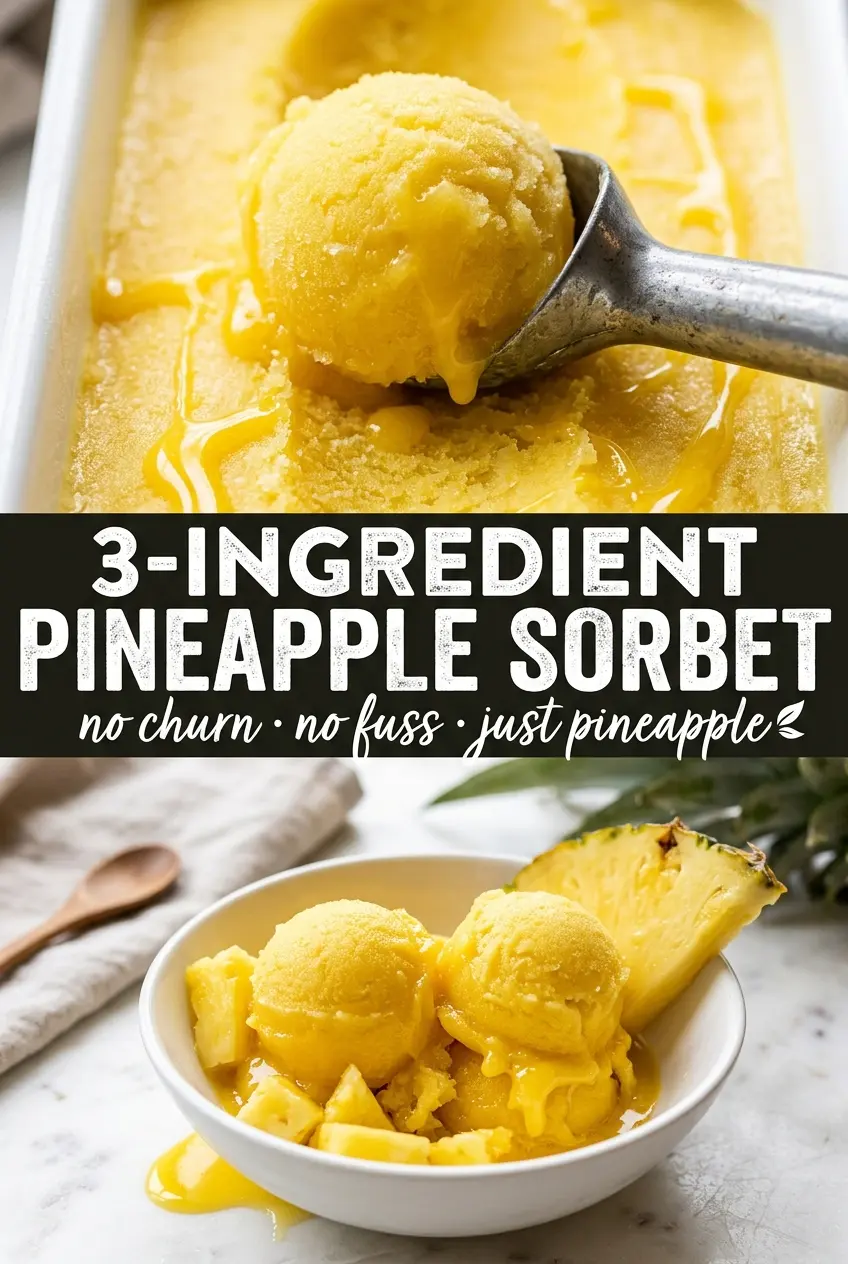
3-Ingredient Pineapple Sorbet
Ingredients
Equipment
Method
- Let the frozen pineapple chunks sit at room temperature for 5 minutes to soften slightly, so they blend evenly. You should see the edges start to look less icy while the pieces remain mostly frozen.
- Blend the softened pineapple, lime juice, and honey or agave in a high-powered blender until completely smooth, scraping down as needed. Stop when the mixture looks uniform and vivid yellow with no visible chunks.
- Taste the sorbet base and adjust sweetness or acidity by adding a little more honey or agave or more lime juice. The flavor should be bright, sweet, and tangy without tasting flat.
- Serve immediately as a soft sorbet for a spoonable texture, still thick and cold. For softer scoops, keep the blender base chilled rather than waiting too long.
- Transfer to a freezer container and freeze for 2–4 hours for a firmer scoop. The sorbet should become scoopable and icy-solid around the edges.
- For a granita texture, scrape the partially frozen sorbet with a fork after freezing. You’ll see small ice crystals form, creating a fluffy, sparkly surface.
- For smooth sorbet after freezing, blend again briefly until it reaches your preferred consistency. Blend just until smooth and creamy again, without warming the mixture too much.