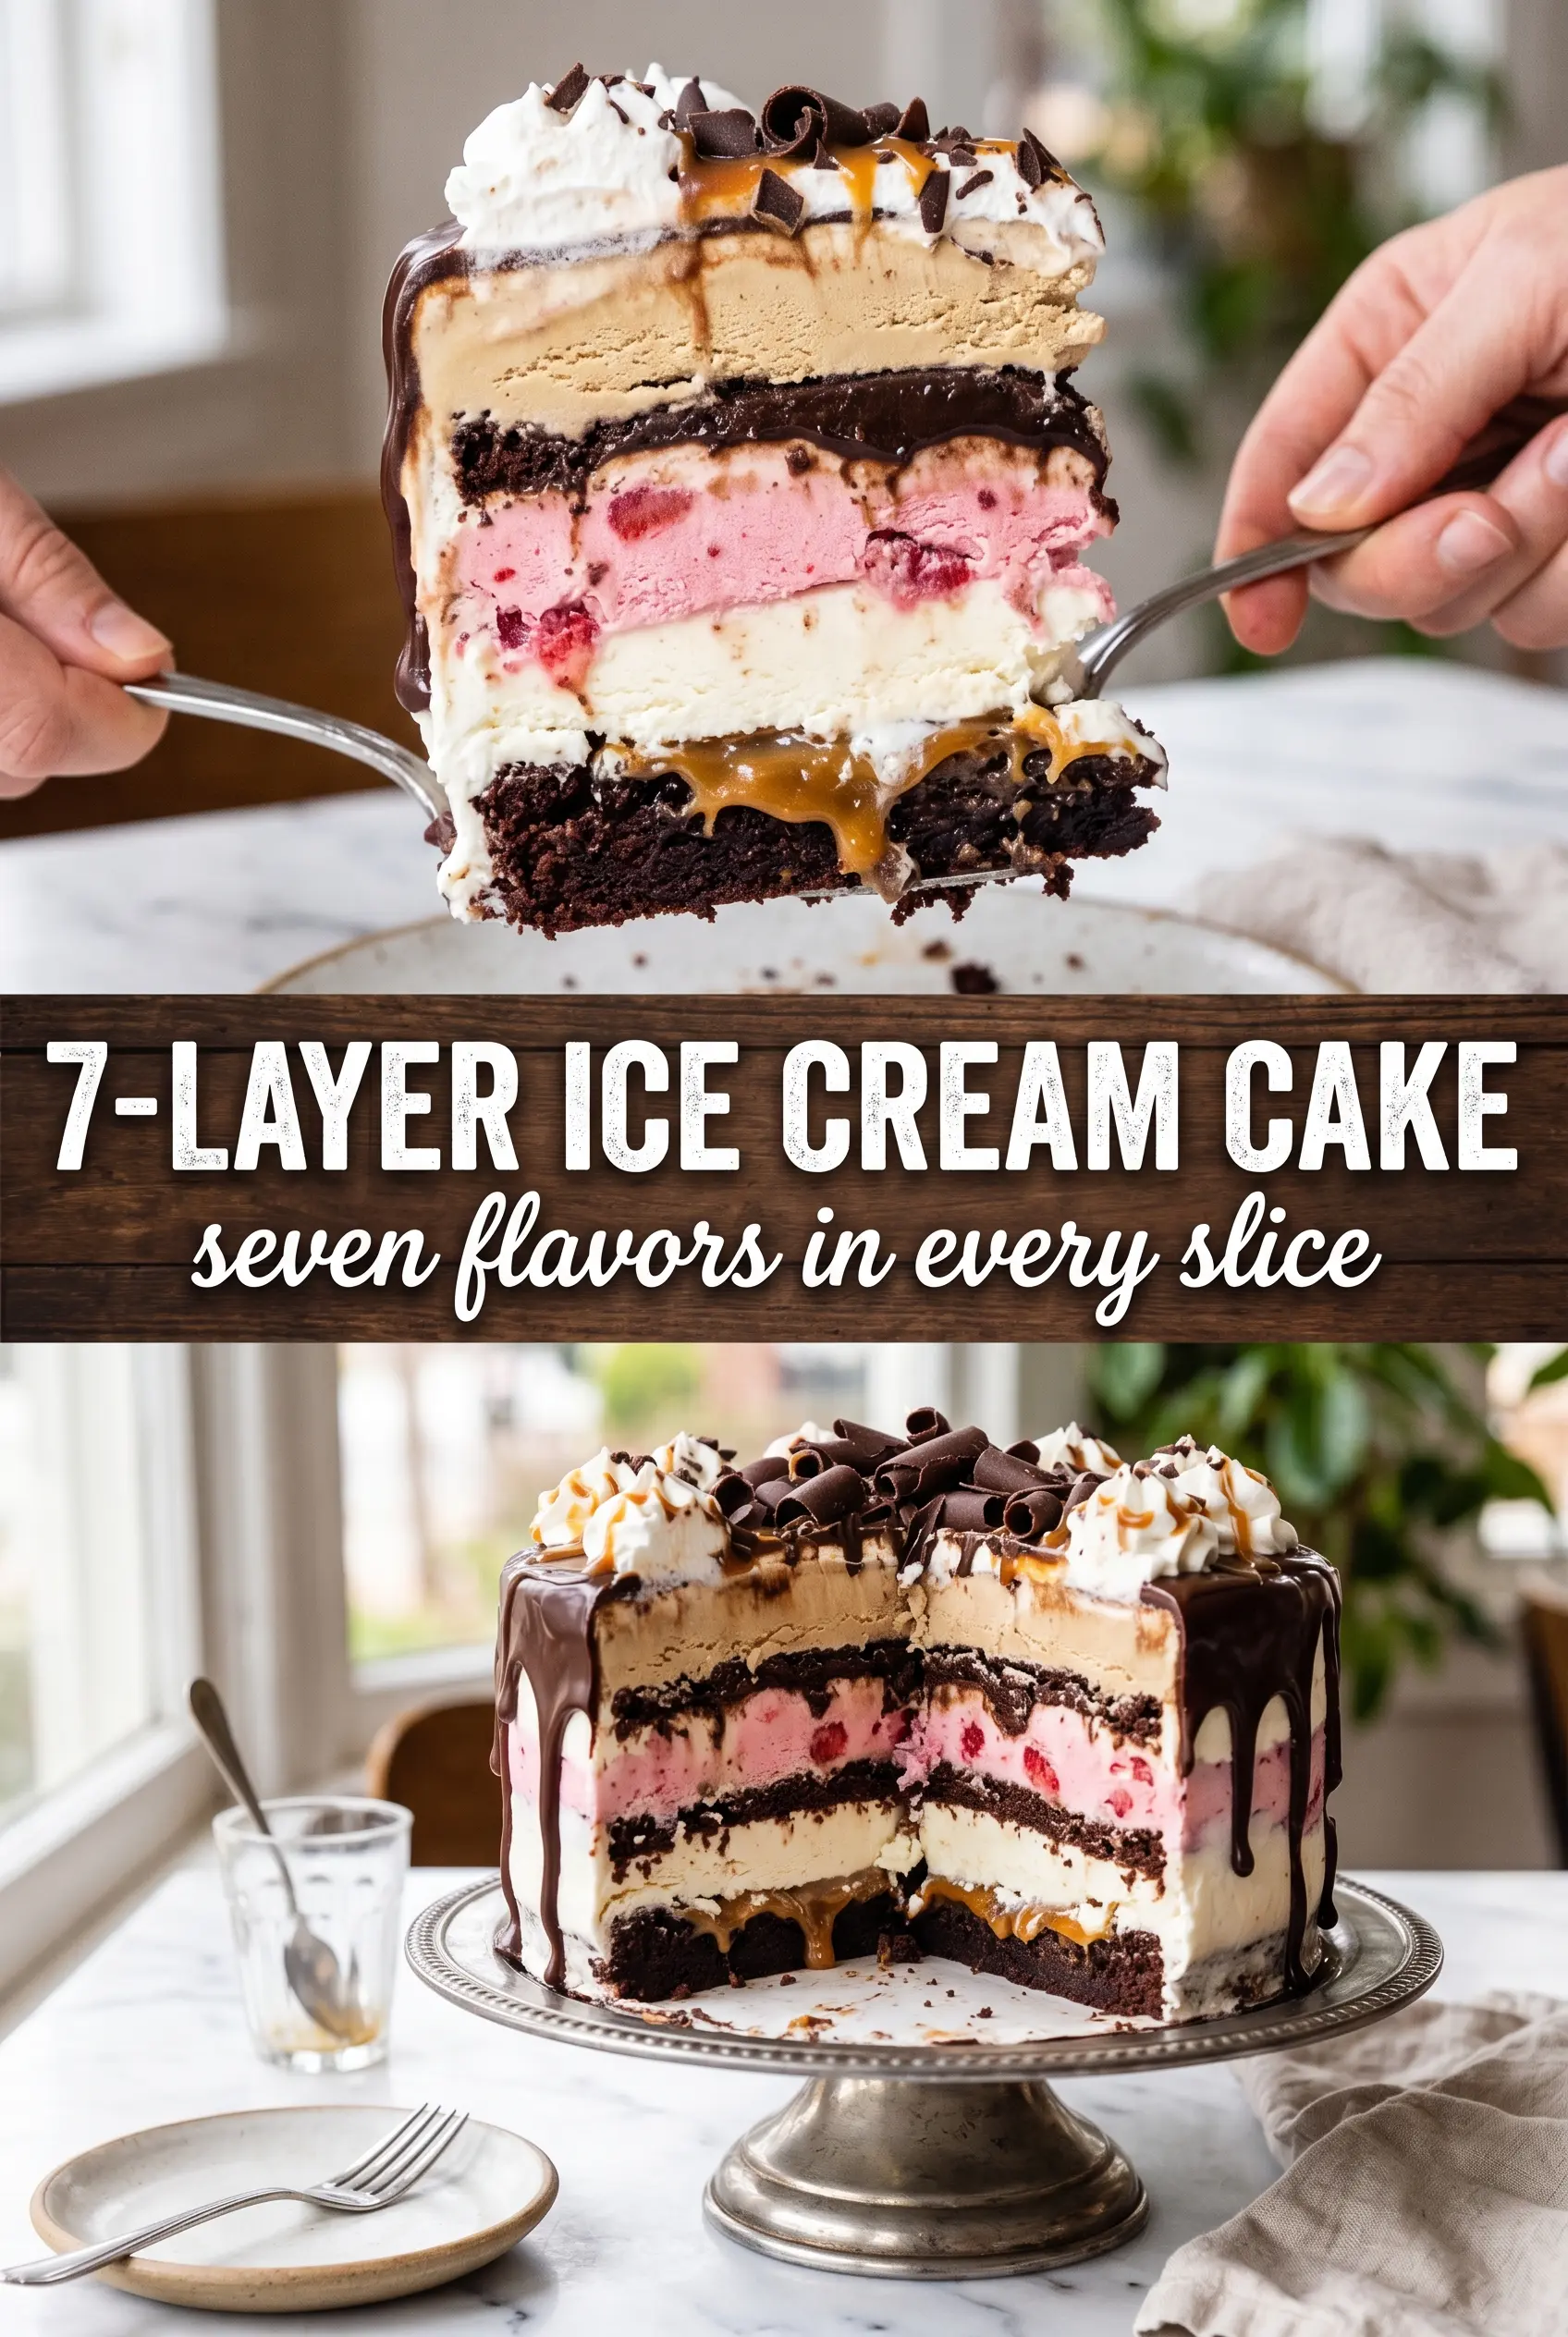
Seven-layer ice cream cake brings the kind of slice that makes people stop mid-conversation. The layers stay distinct, the crust cuts clean, and every bite moves from chocolate cookie crunch to cold, creamy ice cream to ribbons of fudge and caramel. It looks dramatic on the table, but the real payoff is how each layer keeps its own texture instead of collapsing into one muddy blur.
The trick is patience between layers. Each one needs enough time in the freezer to firm up before the next goes on, or the sauces sink and the colors smear together. A springform pan matters here because it gives you tall sides and a clean release, and softened ice cream spreads without tearing the layer underneath. The result is neat, bold, and actually sliceable.
Below you’ll find the timing that keeps the layers sharp, the one place where people usually rush and regret it, and a few smart swaps if you want to change the flavors without wrecking the structure.
I followed the freeze times exactly and the slices held their shape beautifully. The Oreo crust stayed crunchy, and the caramel layer didn’t run into the vanilla at all.
Like this seven-layer ice cream cake? Save it to Pinterest for birthdays, parties, and the kind of dessert that needs a dramatic slice.
The Freezer Timing That Keeps the Layers From Smearing
The difference between a neat layered cake and a streaky one comes down to how firm each layer is before the next goes on. Ice cream needs to be soft enough to spread, but not soupy; if it gets too warm, it melts into the sauce below and the clean lines disappear. The sauces also need a brief freeze, because pouring them over unfrozen ice cream makes them sink instead of sitting in their own band.
The order matters for structure: crust first, then ice cream, then sauce, then another ice cream layer. That gives you contrast and keeps the wetter fillings trapped between colder, firmer layers. If your kitchen is warm, work quickly and return the pan to the freezer between every step. That extra cold time is what lets the cake release in slices instead of slumping on the plate.
What Each Layer Is Doing in the Slice
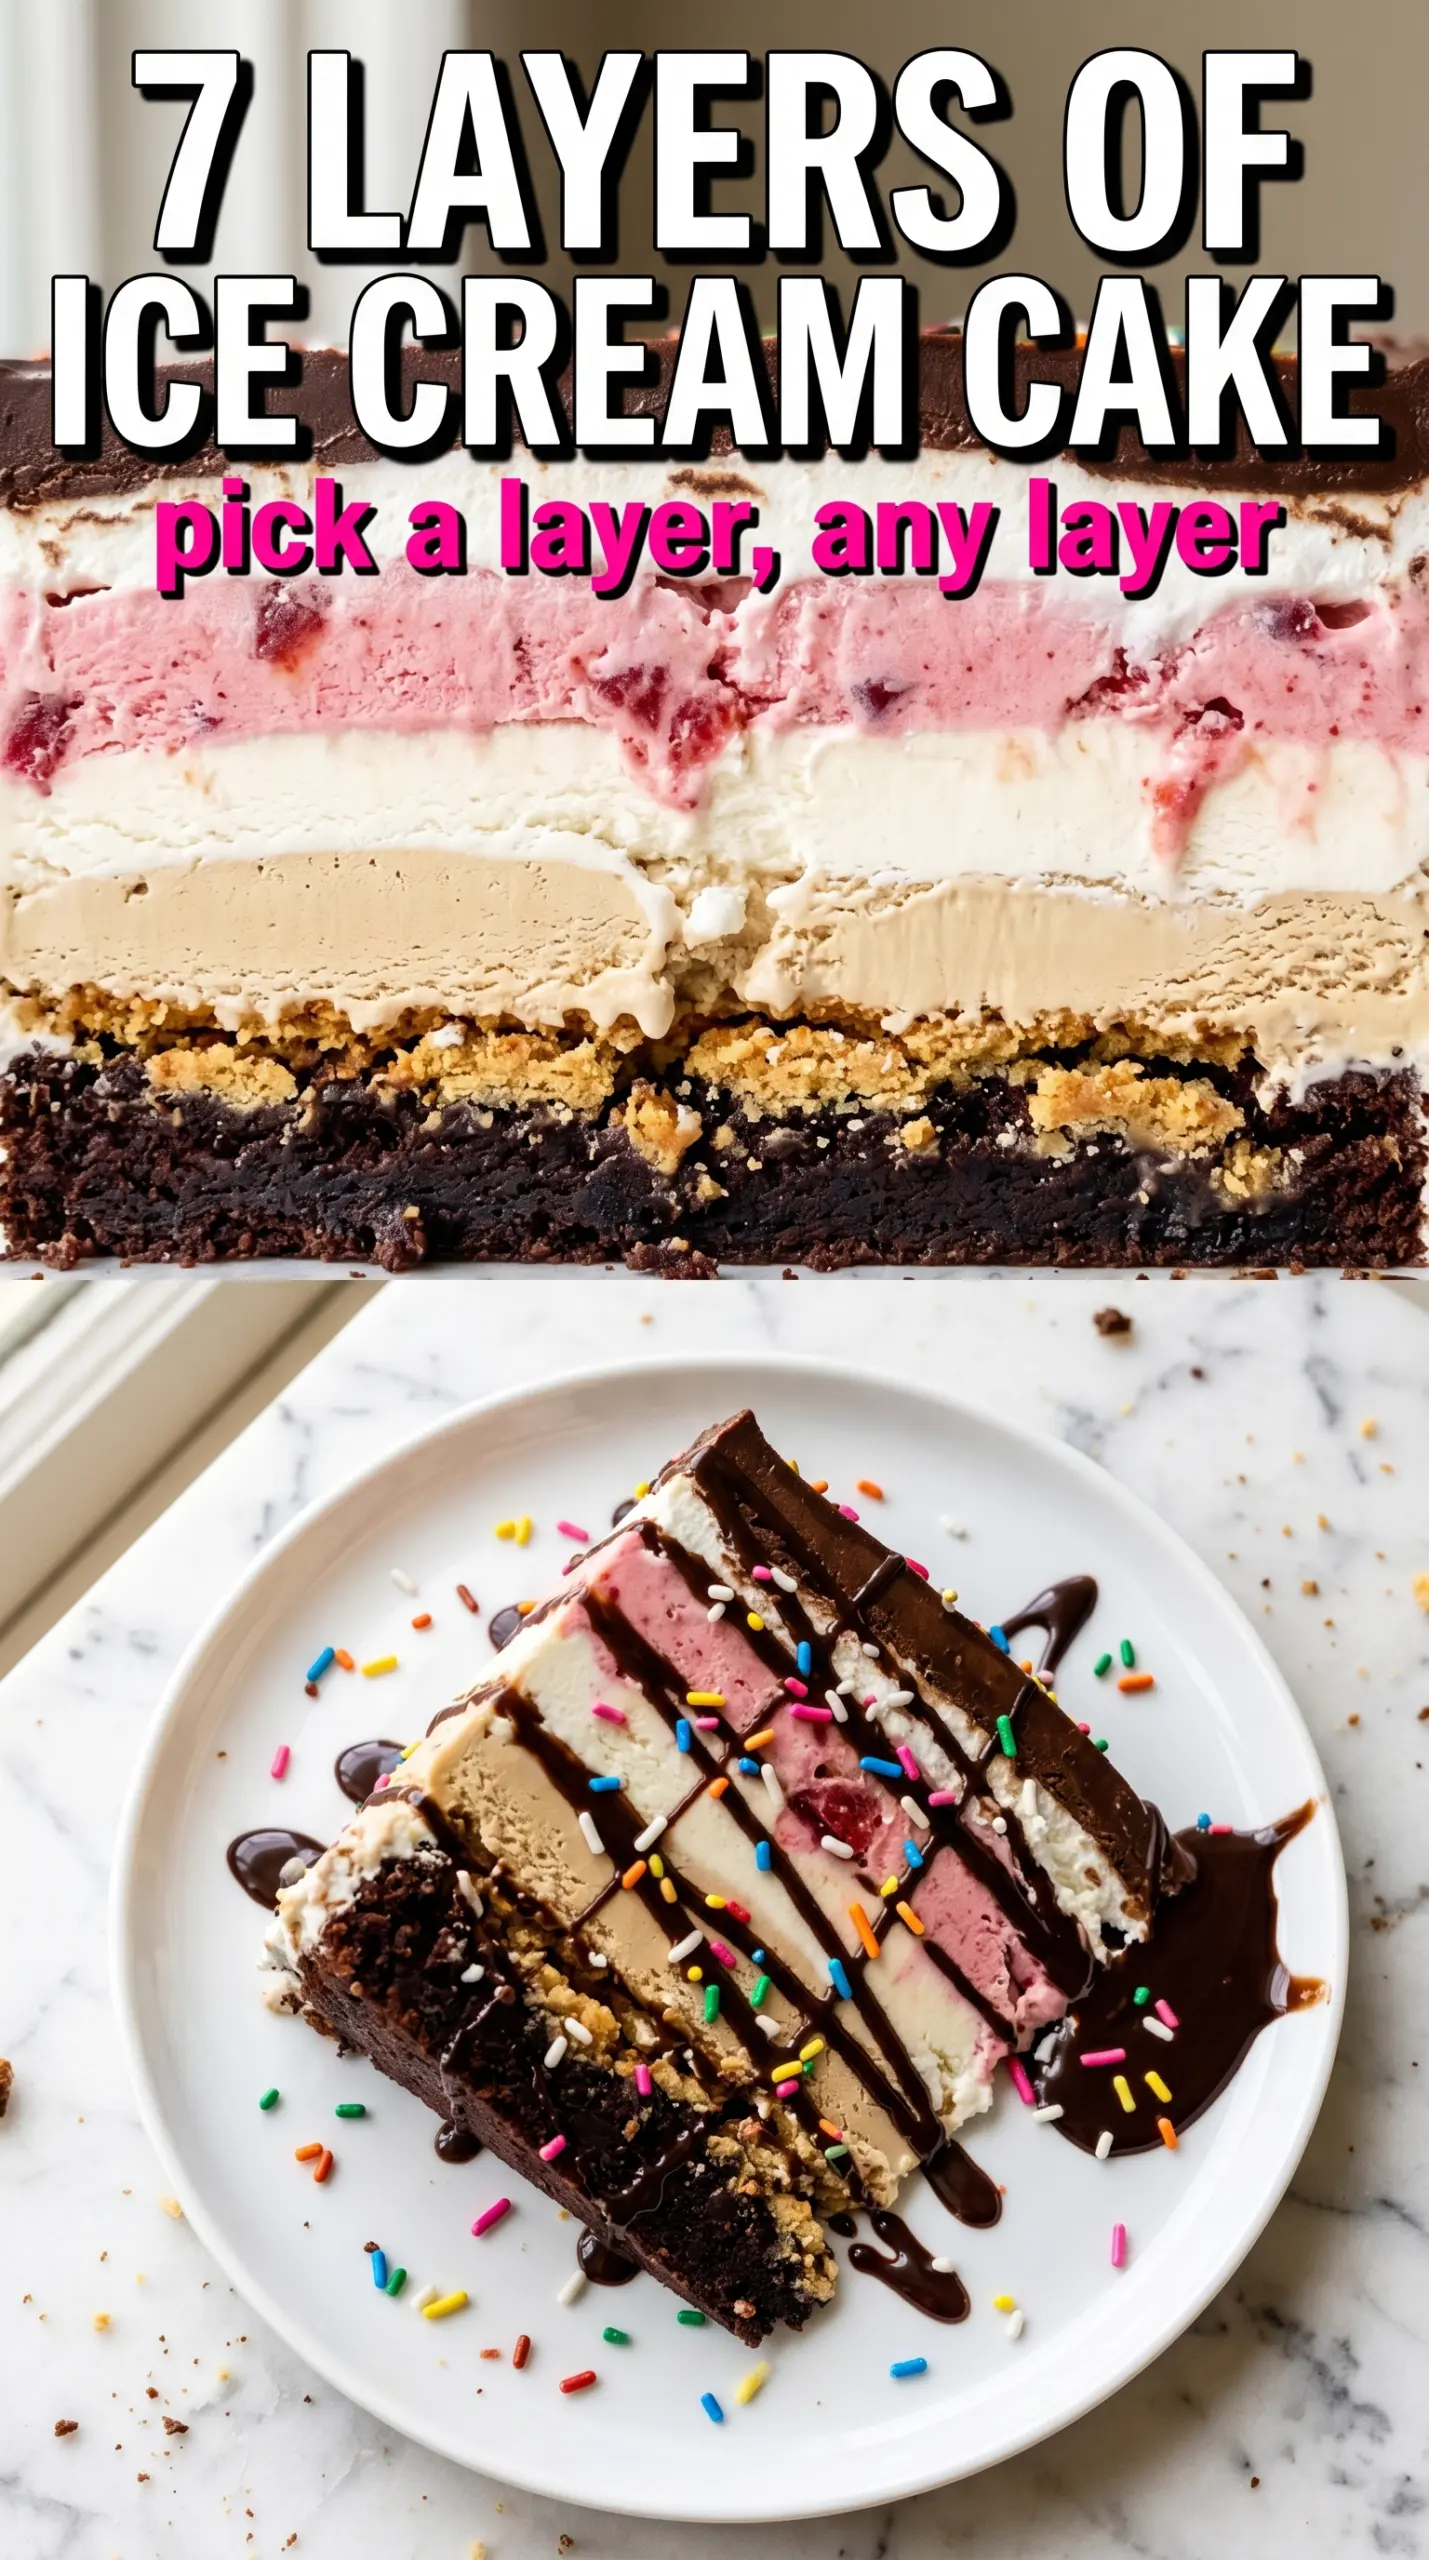
- Oreos and butter — This becomes the base that keeps the whole cake from tasting flat. The butter binds the crumbs just enough to press into a sliceable crust, and regular Oreos work better than double-stuffed here because the filling makes the crust too soft.
- Chocolate, vanilla, and strawberry ice cream — Use good-quality ice cream with a dense, scoopable texture. The cheaper the ice cream, the more air it usually has, which can make the layers collapse faster once they warm up.
- Hot fudge and caramel sauce — Thick sauces matter because thin ones soak into the ice cream and disappear. If your sauce is very stiff from the fridge, warm it just until pourable, not hot enough to melt the layer underneath.
- Whipped topping and sprinkles — The topping seals the top and gives you something festive without adding a heavy layer that cracks when sliced. Real whipped cream works too, but it freezes firmer and needs a sturdier finish when you cut it.
How to Build a Tall Frozen Cake Without Letting It Collapse
Pressing the Crust
Mix the crushed Oreos with melted butter until every crumb looks damp, then press it firmly into the bottom of a 9-inch springform pan. A flat-bottomed measuring cup makes this easier and helps you get an even layer all the way to the edges. Freeze it for 20 minutes so it sets before the first ice cream layer goes on; if you skip that, the crust can lift and mix into the chocolate.
Spreading the First Ice Cream Layer
Scoop the softened chocolate ice cream over the crust and spread it in an even layer with an offset spatula. If the ice cream is too hard, it drags the crust up; if it’s too soft, it melts into the base and loses shape. Freeze until firm before adding the fudge, because the next layer needs a cold landing spot or it will sink through.
Adding the Sauces Without Breaking the Layers
Drizzle the hot fudge over the chocolate layer, then return it to the freezer for a short set. The sauce should sit on top in a glossy band, not flood the whole pan. Repeat the same approach with the caramel over the vanilla layer. If either sauce is too warm, it will cut channels through the ice cream instead of staying put, which is the fastest way to lose those clean stripes.
Finishing and Freezing Solid
Spread the strawberry ice cream as the final ice cream layer, then freeze the cake for at least 4 hours, or until it feels completely solid in the center. Top with whipped topping and sprinkles after that, then give it one last 2-hour freeze so the top sets before serving. For the cleanest slice, run a knife under hot water and wipe it dry between cuts.
Use different ice cream flavors
Swap in mint chip, coffee, cookies and cream, or butter pecan as long as you keep the same general structure of creamy layer, sauce, creamy layer. Just avoid ice creams with lots of mix-ins that make spreading bumpy or layers that are too soft at room temperature.
Make it gluten-free
Use gluten-free chocolate sandwich cookies for the crust and check that your sauces are certified gluten-free. The texture stays nearly the same, and this is one of the easiest parts of the recipe to adapt without changing the finished slice.
Swap the whipped topping for real whipped cream
Fresh whipped cream gives the top a lighter finish, but it freezes a little harder and can crack if you spread it on too thick. Pipe it or spread it in a thinner layer, then add sprinkles right away before it firms up.
Make a smaller pan version
A 7-inch or 8-inch springform pan works if you want taller slices, but you’ll need to trim the fill levels slightly so the cake doesn’t overflow. The freeze times stay the same, though the center may firm up a little faster because the layers are tighter together.
Storage and Reheating
- Refrigerator: Not recommended. This cake belongs in the freezer, and even a short stay in the fridge will soften the layers and blur the lines.
- Freezer: Wrap the cake tightly and keep it frozen for up to 1 week for the best texture. After that, the crust can start to pick up freezer flavor and the topping may lose its clean look.
- Reheating: There isn’t any reheating here. Let slices sit at room temperature for 5 to 10 minutes before serving so the knife slides through the crust instead of shattering it.
Answers to the Questions Worth Asking
7-Layer Ice Cream Cake
Ingredients
Equipment
Method
- Press crushed Oreos mixed with melted butter firmly into a 9-inch springform pan to form an even crust, then freeze for 20 minutes until set.
- Spread softened chocolate ice cream over the crust in an even layer, then freeze for 45 minutes until firm.
- Spread hot fudge sauce over the chocolate layer, then freeze for 20 minutes until the sauce firms.
- Spread softened vanilla ice cream over the fudge layer in an even layer, then freeze for 45 minutes until firm.
- Drizzle caramel sauce over the vanilla layer, then freeze for 20 minutes until set.
- Spread softened strawberry ice cream as the final ice cream layer, then freeze for 4 hours until completely solid.
- Top with whipped topping and decorate with sprinkles, then freeze for 2 hours before serving so the top holds its shape when sliced.