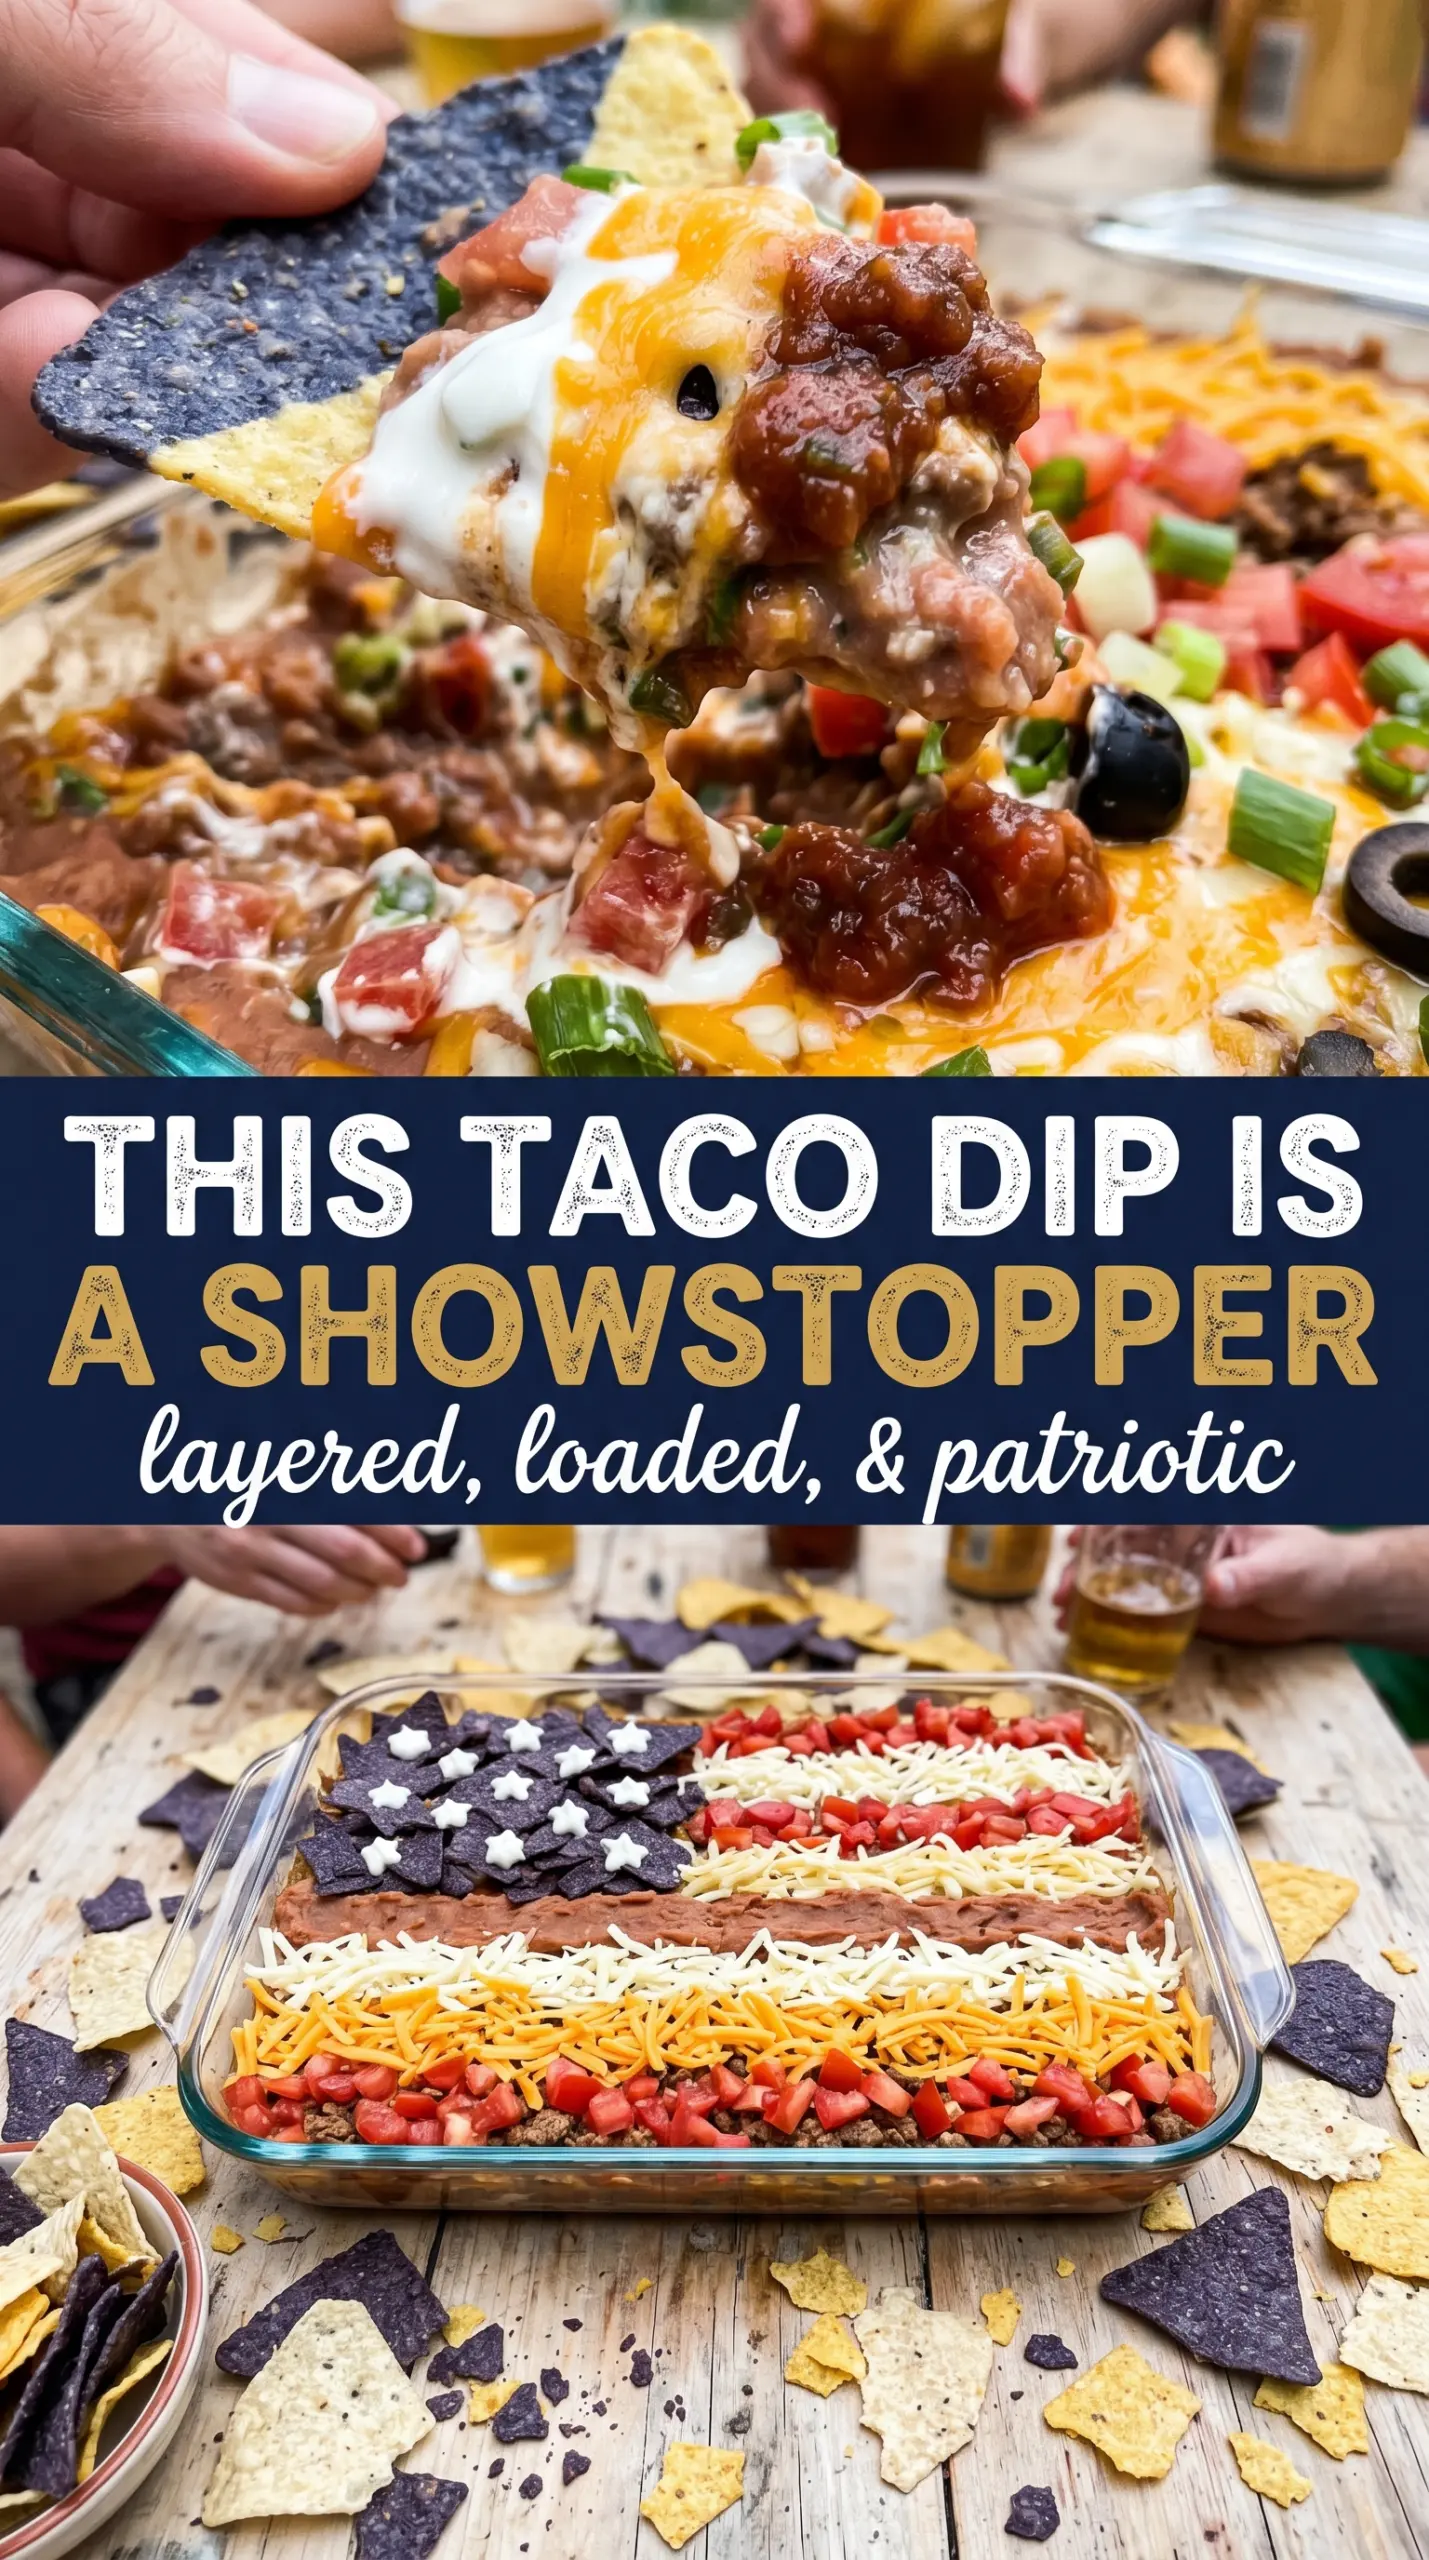
American Flag Taco Dip hits the table cold, creamy, and packed with enough Tex-Mex flavor to keep people hovering by the snack spread until the dish is scraped clean. The layers stay distinct, the top looks festive without being fussy, and the whole thing is built for scooping with chips instead of requiring a fork and a prayer.
What makes this version work is the order of the layers. The seasoned cream cheese sits directly over the beans and gives the dip structure, while the guacamole and shredded cheese keep the top from getting watery under the sour cream stripes. A quick chill matters here too, because it firms everything up just enough for clean chips and cleaner flag lines.
Below you’ll find the small tricks that keep the stripes sharp, plus a few swaps that make the dip easier to adapt for different crowds. If you’ve ever watched a layered dip slump into a messy bowl before the party even starts, this method fixes that.
The stripes held up after chilling, and the bean layer stayed thick instead of sliding around when we scooped it. I used pico for the red rows and it tasted as good as it looked.
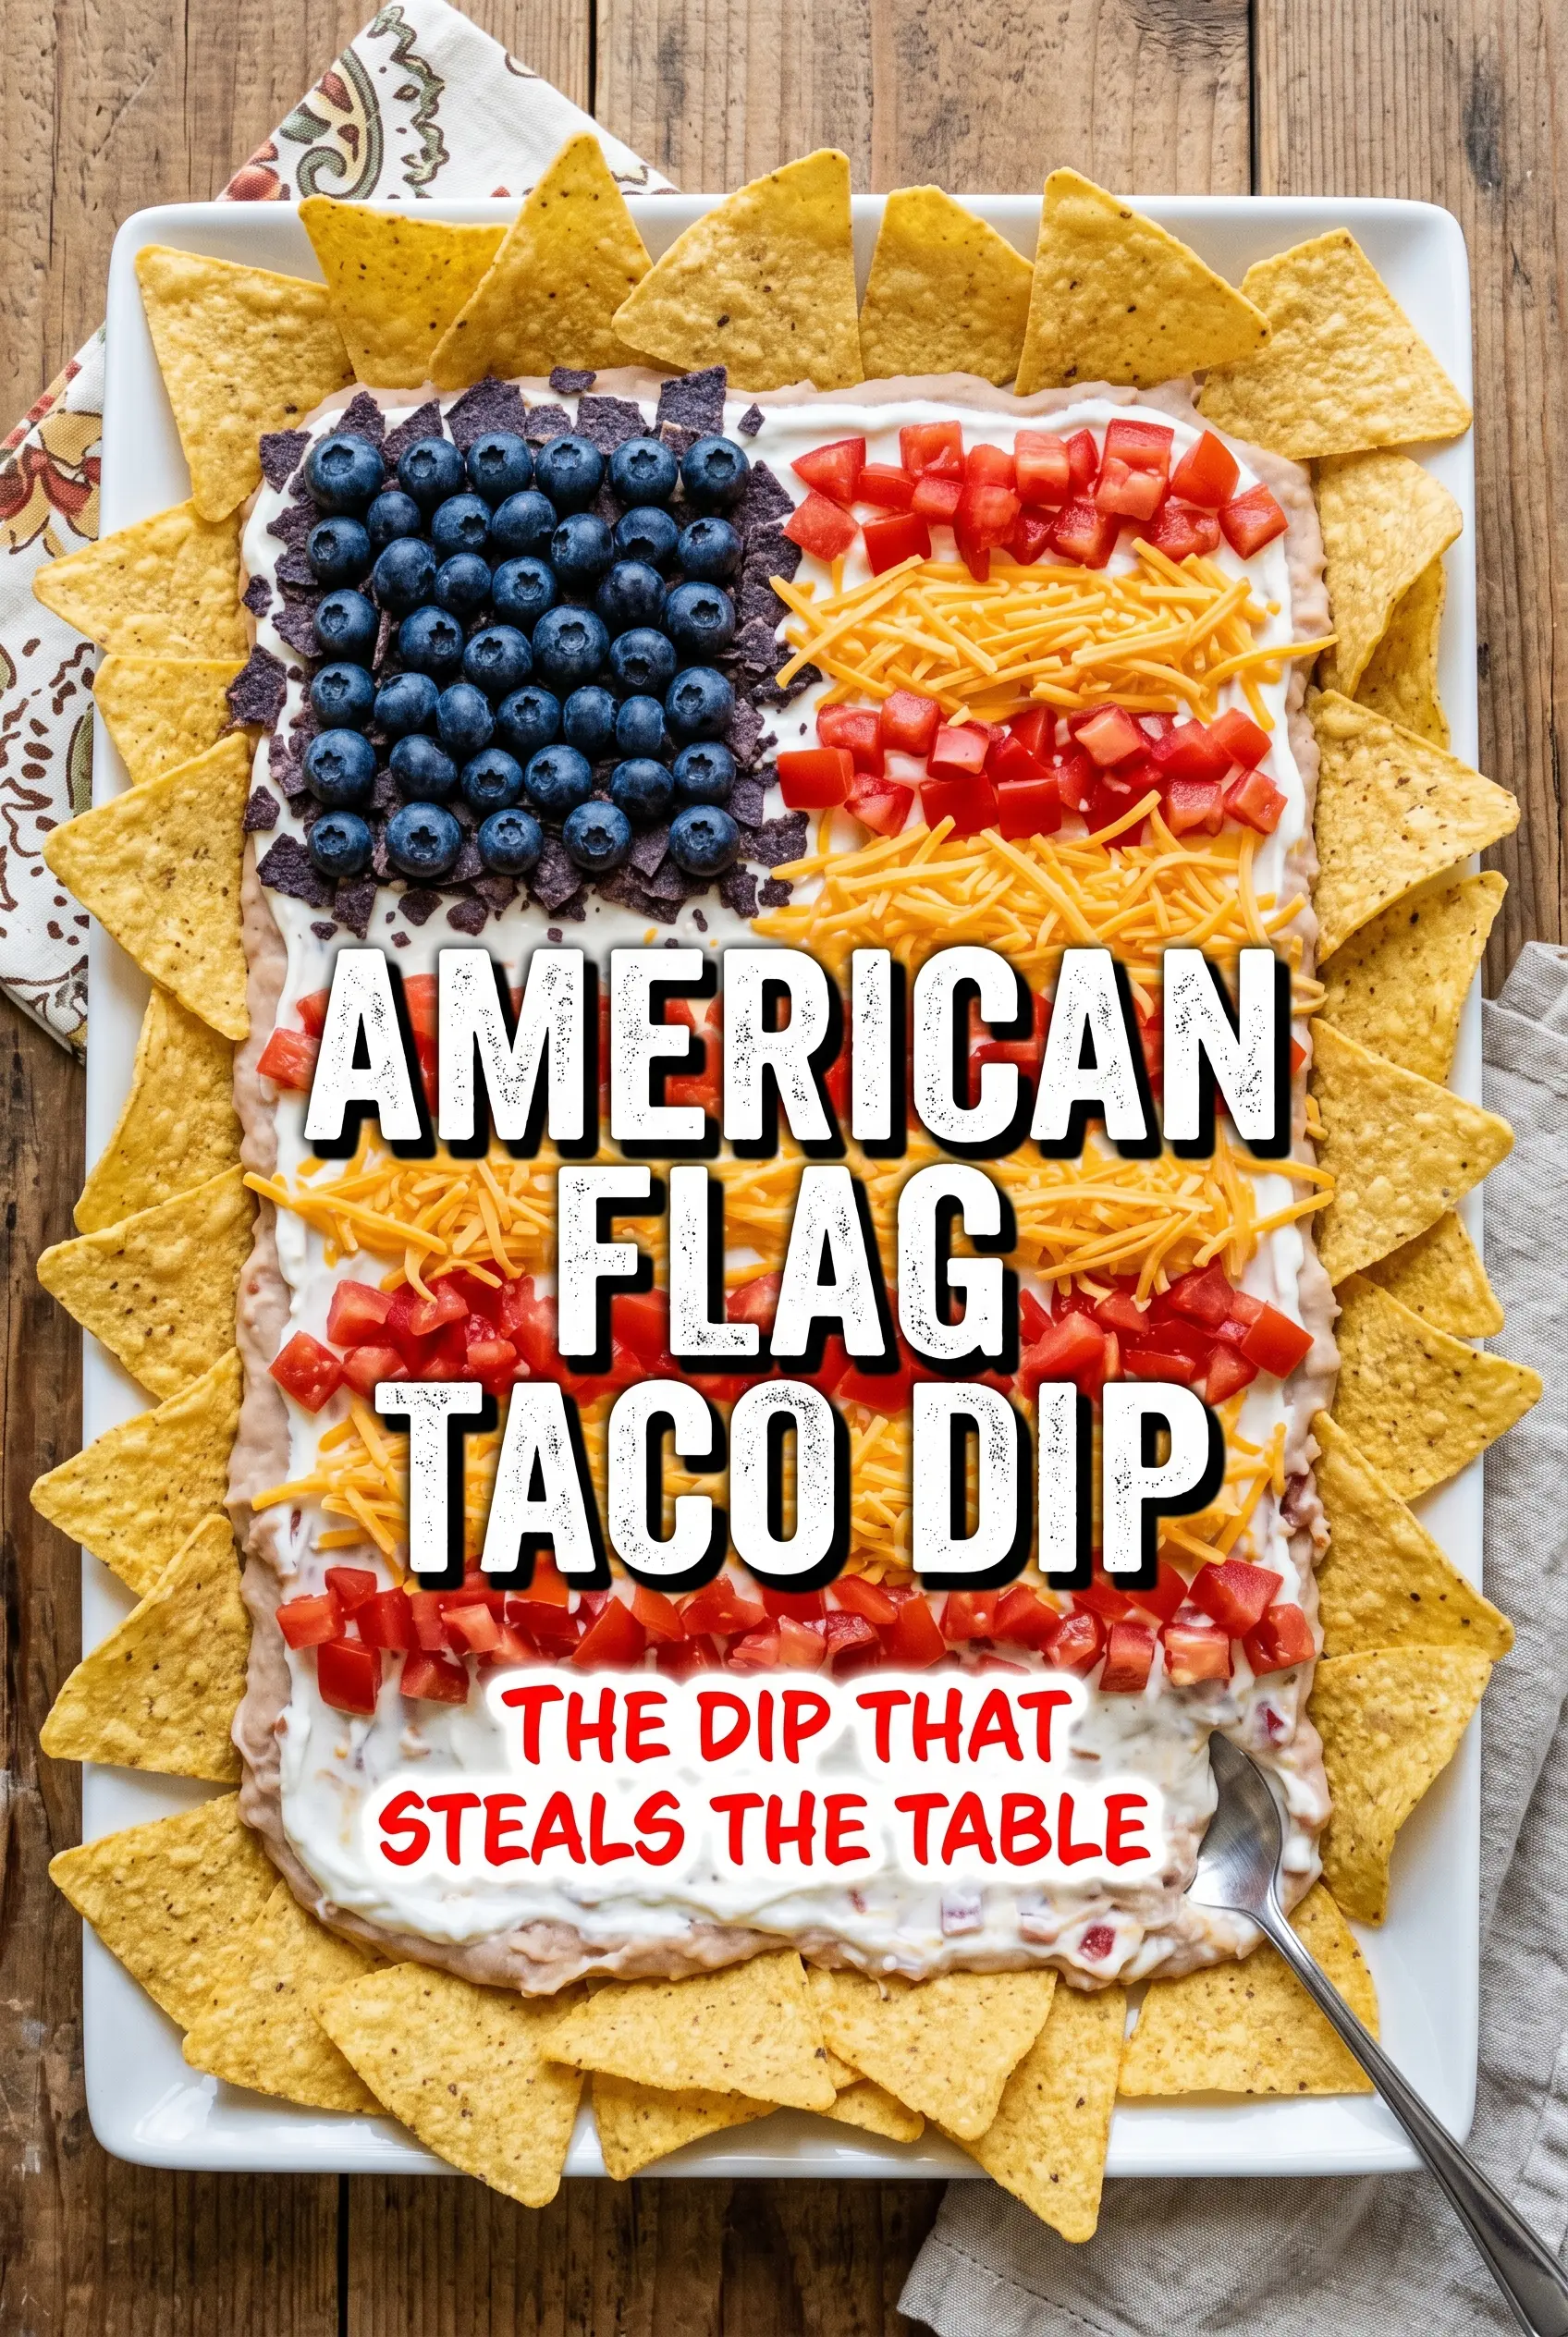
Pin this American Flag Taco Dip for a patriotic party dip with clean layers, bold Tex-Mex flavor, and a flag design that actually holds its shape.
The Trick to Keeping the Flag Pattern Sharp
The biggest mistake with layered taco dip is building it too loosely. If the bean base is cold and stiff, the cream cheese layer goes on smoother and gives the whole dish a stable foundation. If either of those layers is rushed or left lumpy, the top starts sliding around as soon as the chips hit it.
The other thing that matters is the topping order. Wet salsa goes in rows, not a full blanket, because a wet top layer will blur the white stripes and seep into the sour cream. That’s why thick pico or chunky salsa works better than a thin, watery jarred salsa here.
- Refried beans — These are the anchor. Use a thick brand if you can, because thin beans make the whole base loose and hard to slice with chips.
- Cream cheese — This is what gives the middle layer body. Soften it fully before mixing with the taco seasoning, or you’ll end up with little white lumps that never spread evenly.
- Guacamole — It adds richness and color, but it also protects the cheese layer from the moisture on top. Store-bought guacamole works fine here if it’s thick.
- Sour cream — The stripes need sour cream that holds a pipeable shape. If yours is thin, stir in a spoonful of cream cheese until it sits on the dip instead of running off it.
What Each Ingredient Is Actually Doing in This Recipe
- Primary ingredient (the star) — Quality matters most. Choose the best you can find.
- Cooking medium (oil, butter, or broth) — This carries flavors and prevents dryness.
- Seasonings (salt, pepper, spices, herbs) — Layer flavors so nothing overpowers. Build depth gradually.
- Aromatics (garlic, onion, herbs) — Cook with fat to bloom flavors. Become the foundation.
- Supporting ingredients — Complement the main ingredient without overpowering it.
- Sauce or liquid (if applicable) — Brings flavors together. Balance richness with acid.
- Acid (lemon, vinegar, wine, or other) — Brightens and prevents flat-tasting results.
- Final finish (garnish, glaze, or sauce) — Prevents one-dimensional taste and adds visual appeal.
What the Layers Are Doing Before You Add the Decorations
- Taco seasoning — One packet gives the cream cheese enough salt and spice without needing extra measuring. If you use homemade seasoning, keep it on the salty side so the middle layer doesn’t taste flat.
- Chunky salsa or pico de gallo — Chunky is the key word. You want pieces of tomato that sit where you put them, not liquid that spreads into the stripes.
- Mexican cheese blend — This adds a little texture and helps bridge the guacamole and the top decoration. A mild cheddar jack blend works too, but pre-shredded cheese keeps the build faster and cleaner.
- Black olives and green onions — These are mostly for the look, but they also add a briny bite that keeps each scoop from tasting one-note. Slice the olives thin so they pack tightly into the blue corner.
Building the Dip So the Flag Doesn’t Smear
Start With a Firm Base
Spread the refried beans in an even layer across the bottom of a rectangular dish or tray. Use the back of a spoon or an offset spatula and press the edges into the corners so the layer reaches all the way through the pan. If the beans are cold and stiff, let them sit at room temperature for a few minutes before you start; trying to force a frozen-solid can of beans into shape only tears up the bottom layer.
Make the Middle Layer Smooth
Mix the softened cream cheese with the taco seasoning until it looks completely uniform, then spread it over the beans. This layer should be easy to drag across without pulling the bean layer up behind it, and that only happens when the cream cheese is fully softened. If it starts sticking to the spoon, stop and let it warm a little longer instead of fighting it.
Pipe the Top Instead of Pouring It
Spoon the sour cream into a zip-top bag, snip a small corner, and pipe it in horizontal stripes. That gives you control, which matters because free-pouring turns the whole top cloudy fast. Leave enough space between the white lines for the red rows to show cleanly, and chill the dish once the pattern is finished so the design firms up before serving.
Finish the Flag Right Before Serving
Add the olives to the upper left corner first so you can judge the size of the blue field before placing the red rows. Then tuck the salsa or diced tomatoes between the sour cream stripes and scatter the green onions over the whole top. If the dip will sit out for a while, keep the chips beside it and serve it cold from the fridge instead of letting it warm up and loosen.
How to Adapt This for Different Crowds Without Losing the Look
Make It Vegetarian and Gluten-Free
This recipe is already vegetarian as written, so the main thing to watch is the chips and seasoning. Use certified gluten-free taco seasoning and tortilla chips if you’re serving anyone with gluten concerns, because some packets and chip brands include wheat-based additives. The texture and flag design stay the same.
Swap in a Thicker Salsa Layer
If your salsa tends to be watery, use pico de gallo or drain it first in a fine strainer. Thin salsa slides into the sour cream and muddies the red-and-white effect, while thicker salsa stays where you place it and tastes brighter on the chip.
Turn It Into a Smaller Party Tray
For a smaller gathering, use a shallow 8×8-inch dish and cut every layer down by about half. The flag design will be tighter, so shorten the sour cream stripes and use fewer olives in the corner rather than trying to stretch the decoration across too much surface.
Storage and Reheating
- Refrigerator: Store covered for up to 3 days. The top will soften a little, but the flavor holds well.
- Freezer: Don’t freeze this dip. The dairy layers and guacamole separate and turn grainy after thawing.
- Reheating: No reheating needed. Serve it cold straight from the fridge, and if it sits out longer than 2 hours, discard the leftovers instead of trying to chill and re-serve them.
Answers to the Questions Worth Asking
American Flag Taco Dip
Ingredients
Equipment
Method
- Spread refried beans in an even layer across the bottom of a large rectangular baking dish or serving tray.
- Mix cream cheese with taco seasoning until smooth, then spread evenly over the bean layer.
- Spread guacamole over the cream cheese layer, then top with the shredded cheese blend.
- Spoon sour cream into a piping bag or zip-lock bag with a corner snipped and pipe horizontal white stripes across the top of the dip.
- Add rows of salsa or diced red tomato between the sour cream stripes to create the red stripe effect.
- In the upper left corner, arrange sliced black olives tightly to form the blue canton rectangle.
- Scatter green onions across the top, then chill the dip for 30 minutes.
- Serve chilled with tortilla chips.