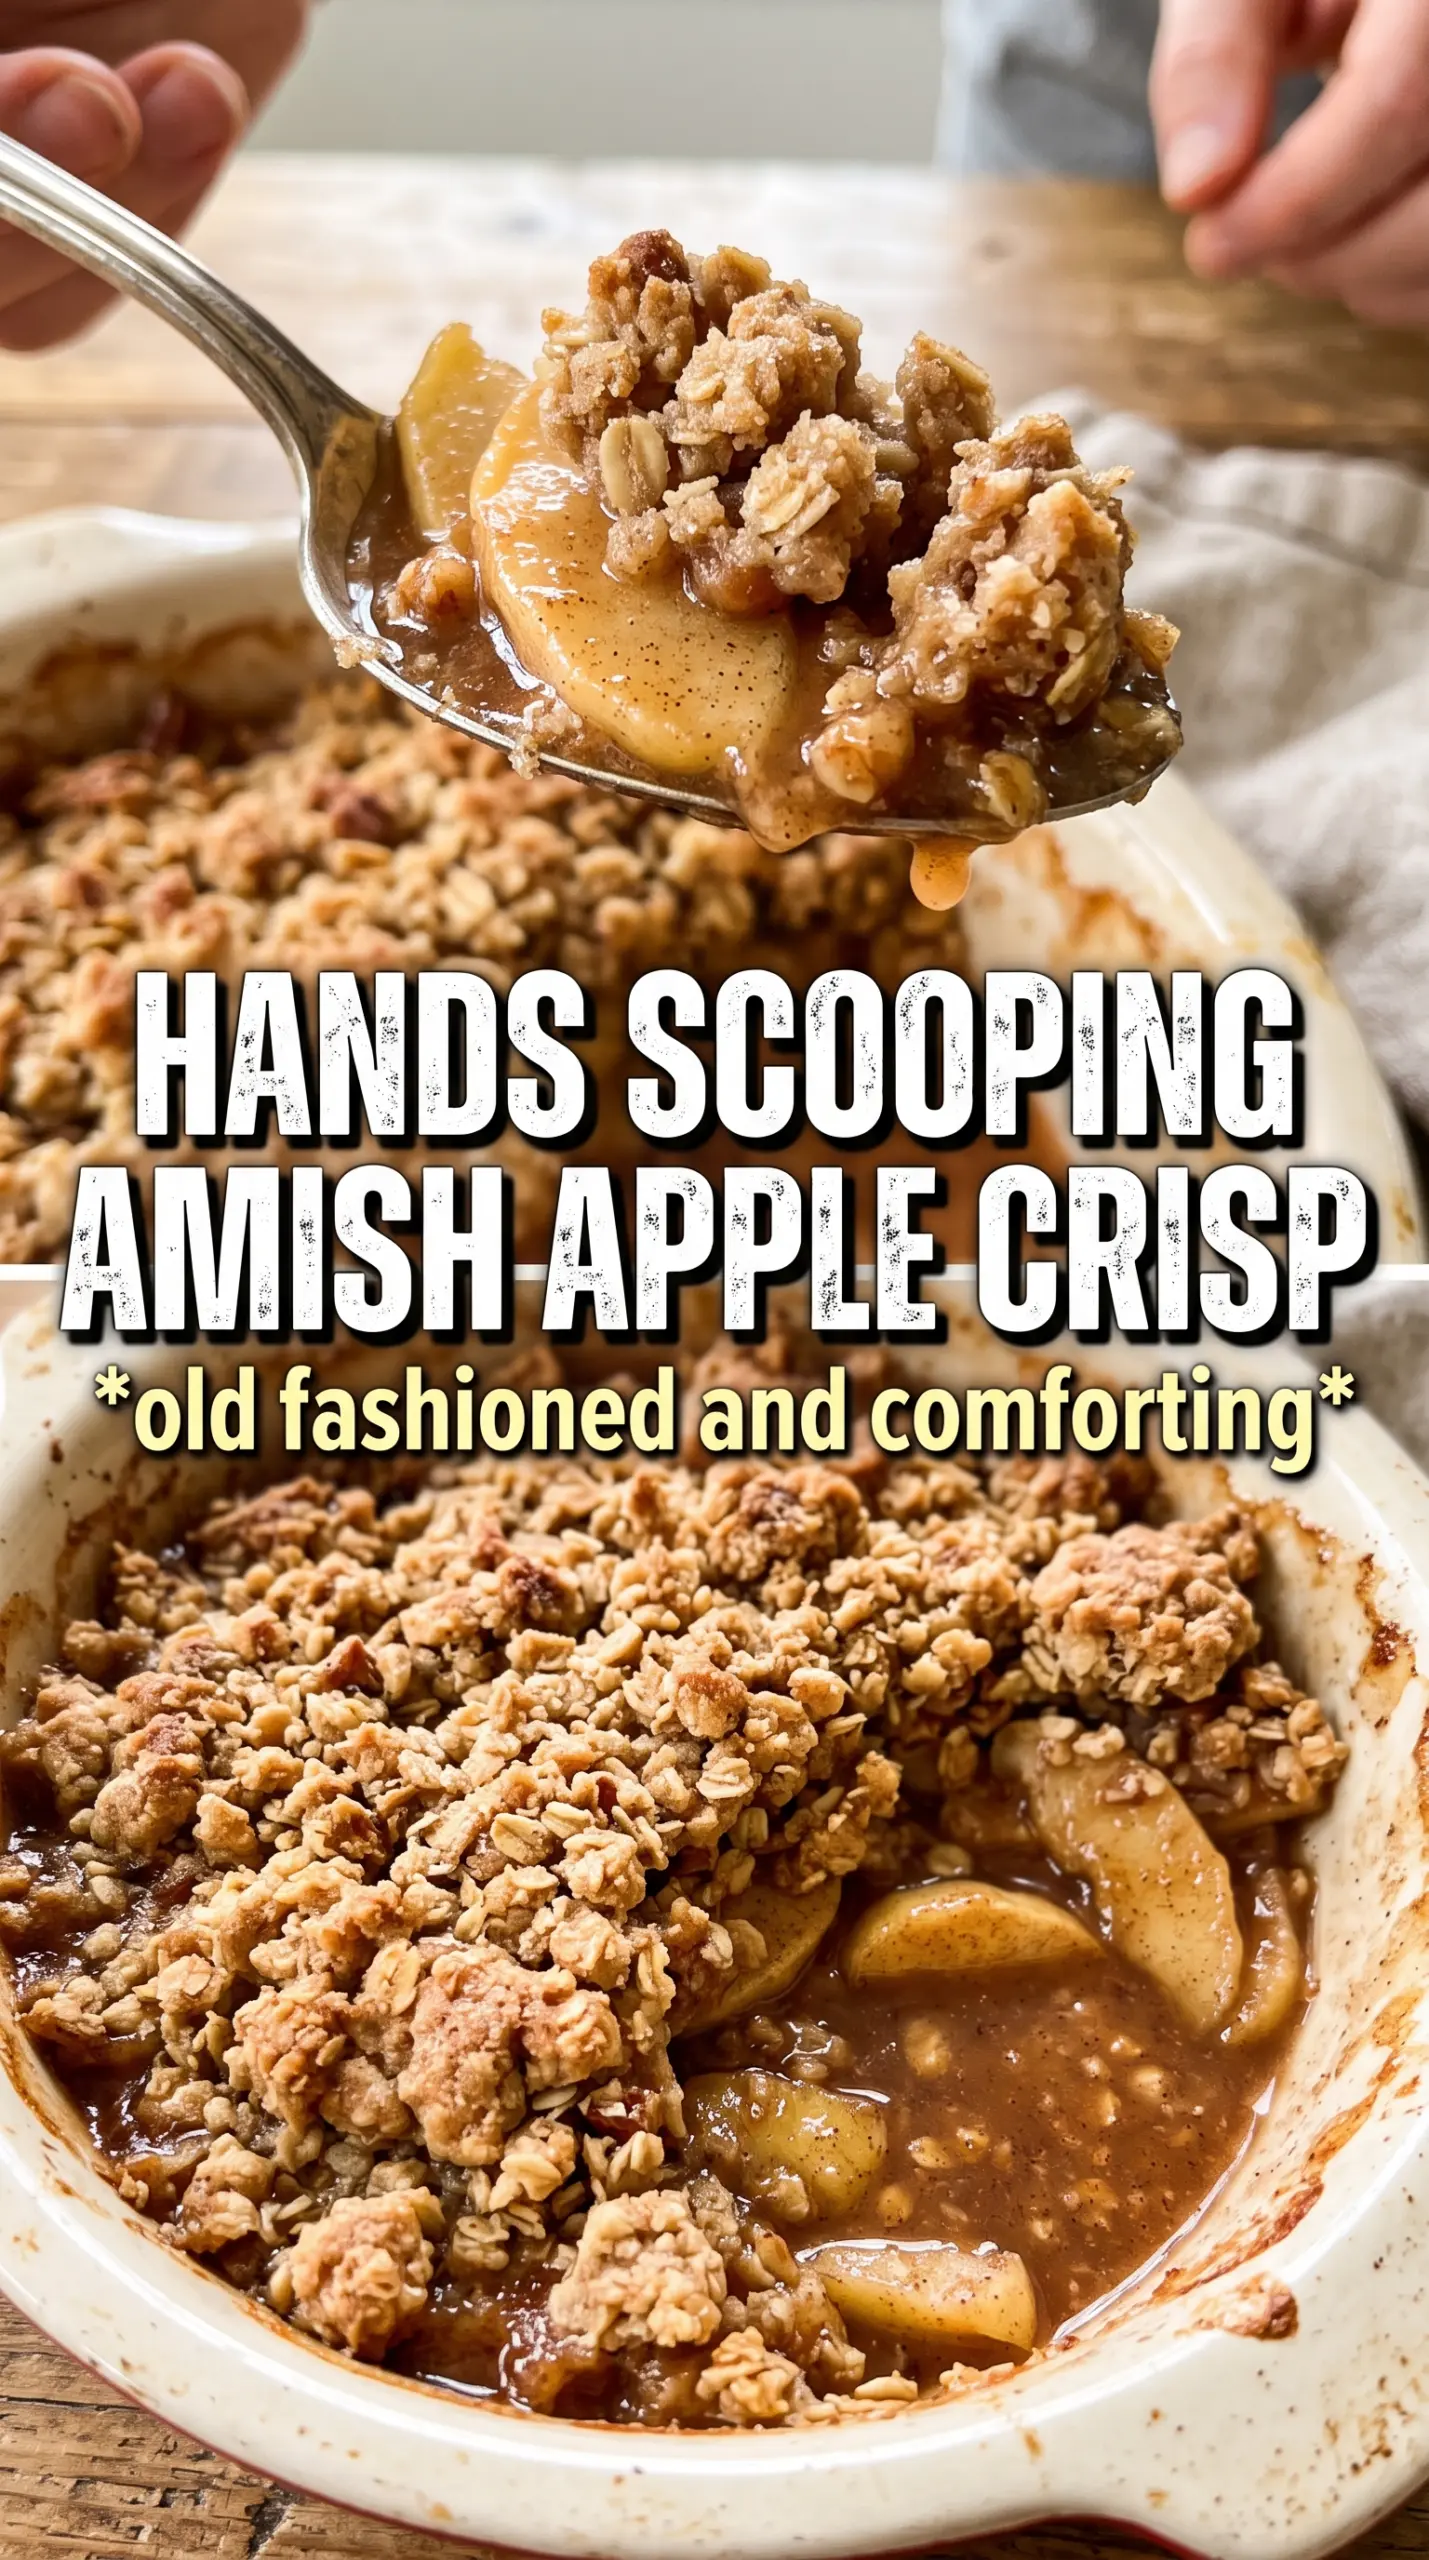
Amish apple crisp bakes up with a thick, golden crumble that stays nubbly and crisp on top while the apples underneath turn soft, jammy, and deeply spiced. The best part is the contrast: you get tender fruit, plenty of cinnamon, and those caramelized edges where the brown sugar melts into the pan. It’s the kind of dessert that disappears fast, especially when you bring it to the table warm with vanilla ice cream melting into the cracks.
What makes this version stand out is the crumb topping. It’s built with oats, flour, both sugars, and enough cold butter to form big, rustic clumps instead of a sandy layer that disappears into the filling. A little lard, if you use it, gives the topping an old-fashioned richness and extra crispness. The apples are tossed with flour as well, which helps the juices thicken instead of pooling at the bottom of the pan.
Below, I’ll walk through the one detail that keeps the topping crisp, the ingredient choices that matter most, and a few smart ways to adapt this crisp if you need to work with what’s already in your kitchen.
The topping baked into those big crunchy clumps I was hoping for, and the apple filling thickened up instead of running all over the plate. I used a mix of Granny Smith and Honeycrisp, and it was perfect with vanilla ice cream.
Save this Amish Apple Crisp for the nights when you want a thick oat crumble, tender spiced apples, and a warm dessert that serves a crowd.
The Reason the Topping Stays Craggy Instead of Melting In
Most apple crisps fail because the topping is too fine or the butter gets worked in too much. You end up with something that bakes into a smooth lid instead of a real crumble. Here, the goal is large, uneven clumps. Those little pockets of butter and sugar brown at different rates, which gives you a topping that tastes crisp at the edges and stays tender in the center.
The other important piece is the depth of the fruit layer. Apples shrink as they bake, so if you spread them in a thin layer, the topping can sink and disappear. A deep pan lets the filling bubble up around the edges while the crumble sits on top and browns without turning soggy. That bubbling is your cue that the flour in the filling has had enough time to thicken the juices.
- Apples — A mix of tart and sweet apples gives the best balance. Granny Smith holds its shape and brings brightness; Honeycrisp, Fuji, or Gala soften a little faster and add sweetness. If you only use one variety, pick an apple that stays firm in the oven.
- Cold butter — Cold butter is what creates texture. Once it starts to soften too much, the crumble turns pasty. Cut it in while it’s still cold and stop when the mixture forms clumps the size of peas and walnuts.
- Lard — This is optional, but it gives the topping a more old-fashioned flavor and a slightly shorter, crisper bite. If you don’t keep lard on hand, use the full amount of butter and the crisp will still bake up well.
- Rolled oats — Old-fashioned oats are best here because they hold their shape and give the topping substance. Quick oats can work in a pinch, but the crumb will be finer and less rugged.
What Each Ingredient Is Actually Doing in This Recipe
- Primary ingredient (the star) — Quality matters most. Choose the best you can find.
- Cooking medium (oil, butter, or broth) — This carries flavors and prevents dryness.
- Seasonings (salt, pepper, spices, herbs) — Layer flavors so nothing overpowers. Build depth gradually.
- Aromatics (garlic, onion, herbs) — Cook with fat to bloom flavors. Become the foundation.
- Supporting ingredients — Complement the main ingredient without overpowering it.
- Sauce or liquid (if applicable) — Brings flavors together. Balance richness with acid.
- Acid (lemon, vinegar, wine, or other) — Brightens and prevents flat-tasting results.
- Final finish (garnish, glaze, or sauce) — Prevents one-dimensional taste and adds visual appeal.
Getting the Apples Bubbling Before the Top Burns
Building the Fruit Layer
Toss the sliced apples with both sugars, spices, flour, and lemon juice until every piece looks lightly coated. The flour is doing real work here; it grabs the juices as the apples release them, which keeps the filling from turning watery. Spread the fruit in a deep, even layer in the pan so it bakes at the same rate. If the apples are piled too high in one spot, the center stays undercooked while the edges overbake.
Forming the Crumble
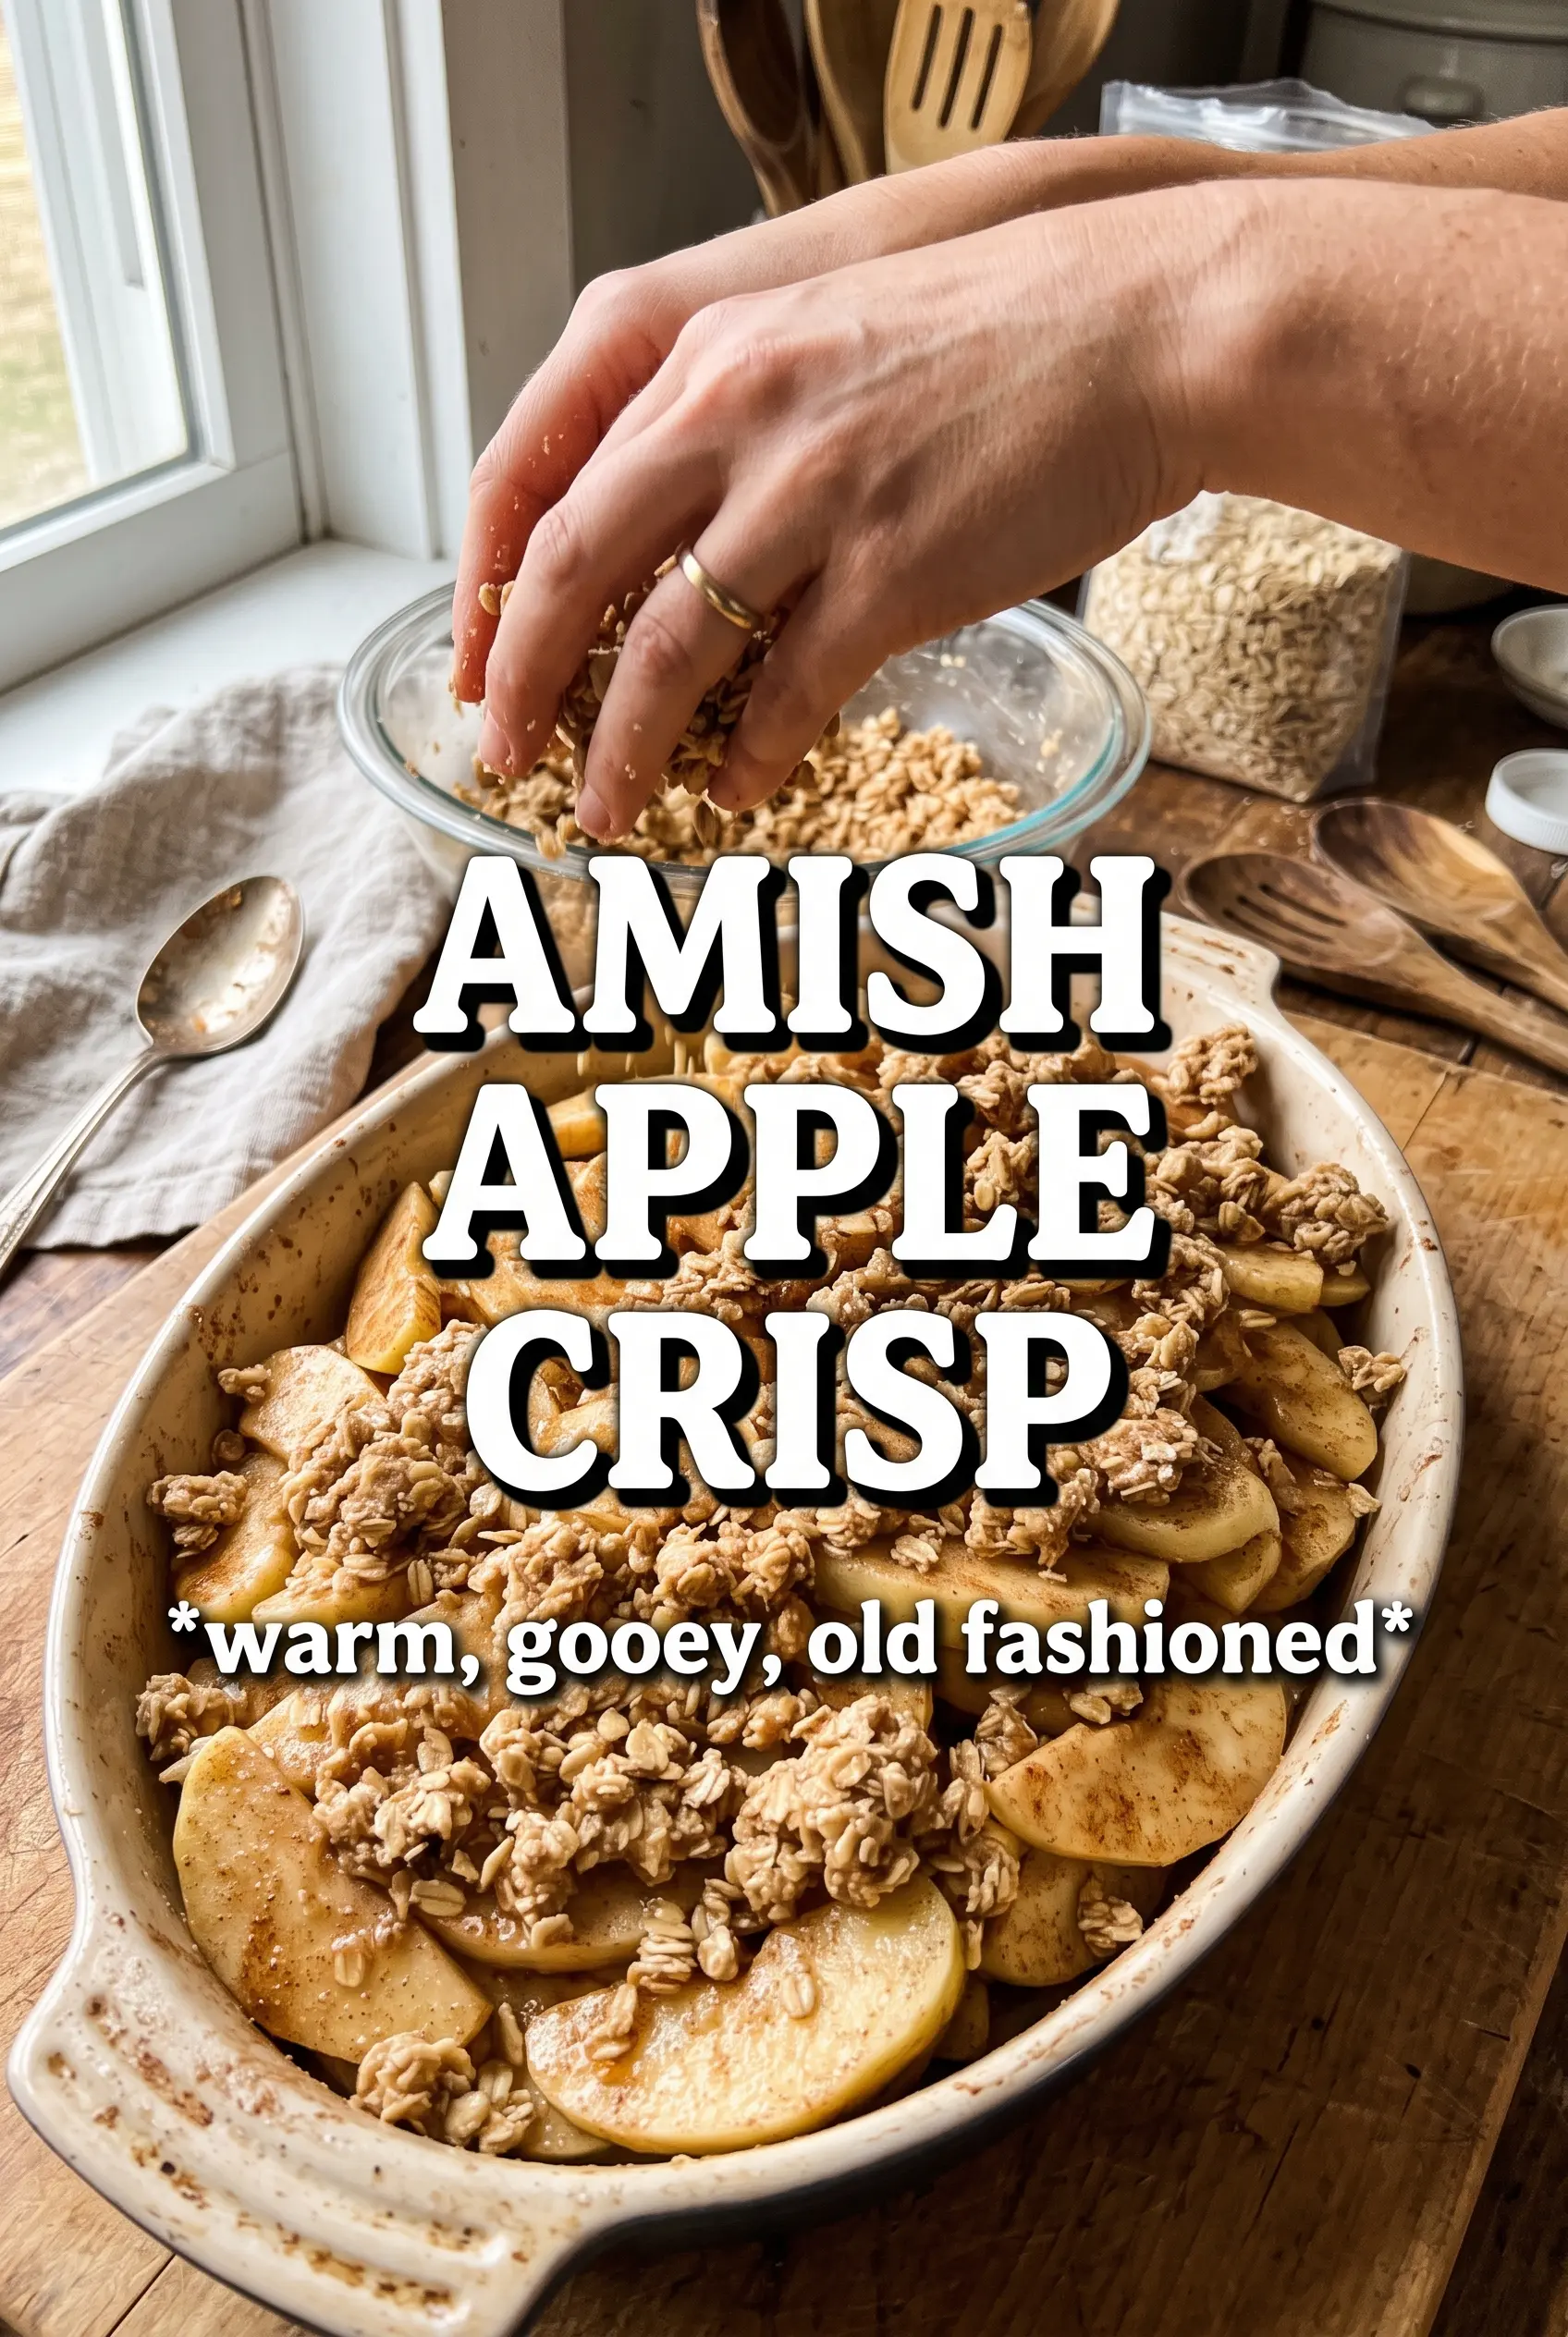
Mix the dry topping ingredients first, then cut in the cold butter and lard until the mixture holds together in chunky clumps. Don’t chase a perfectly uniform crumb. The uneven pieces are what bake into those crisp, craggy bits on top. If the mixture looks sandy, it needs a little more squeezing with your fingertips. If it turns greasy or doughy, the butter got too warm.
Baking Until the Edges Caramelize
Spread the crumble thickly over the apples and press it down only very lightly. You want contact, not compression. Bake until the top is deeply golden and you can see the filling bubbling all the way around the pan, not just in the middle. If the topping browns before the fruit bubbles, the oven is running hot; tent the top loosely with foil and keep baking until the apples are fully cooked.
Letting It Set Before Serving
Rest the crisp for at least 15 minutes before scooping. That short wait gives the juices time to settle and thicken, so the first spoonful holds together instead of flooding the plate. Serve it warm with vanilla ice cream and a little heavy cream poured over the top if you want the full farmhouse-style finish. Cold cream against the hot fruit is one of those simple details that makes the whole dessert feel special.
How to Adapt This Crisp When You Need to Work Around the Pantry
Dairy-Free Version
Swap the butter and lard for a solid plant-based butter that bakes well. You’ll lose a little of the old-fashioned richness, but the topping will still clump and brown if the substitute stays cold. Choose a brand with a high fat content so the crumble doesn’t dry out.
Gluten-Free Swap
Use a 1:1 gluten-free flour blend in place of the all-purpose flour in both the filling and the topping, and choose certified gluten-free oats. The texture will be a little more delicate, but the flavor stays the same and the crisp still holds together once it cools slightly.
Making It a Little Less Sweet
Cut the granulated sugar in the filling by a few tablespoons if your apples are naturally sweet, but leave the brown sugar alone in the topping. That brown sugar is there for caramel flavor and crisp edges, and reducing it too far makes the crumble taste flat.
Storage and Reheating
- Refrigerator: Cover and refrigerate for up to 4 days. The topping softens a little as it sits, but the flavor stays strong.
- Freezer: Freeze baked crisp in a tightly wrapped pan or freezer-safe container for up to 2 months. Thaw overnight in the refrigerator before reheating.
- Reheating: Warm portions in a 325F oven until the fruit is hot and the top crisps back up. The microwave will heat the filling, but it turns the crumble soft and chewy.
Questions I Get Asked About This Recipe
Amish Apple Crisp
Ingredients
Equipment
Method
- Preheat oven to 350F and grease a large 10x15 roasting pan or 9x13 baking dish.
- Spread the prepared pan in a deep layer by setting it aside for the apples.
- Toss apple slices with granulated sugar, brown sugar, cinnamon, nutmeg, allspice, all-purpose flour, and lemon juice until evenly coated.
- Spread the apple mixture in the prepared pan in a deep layer.
- Combine all-purpose flour, rolled oats, both sugars, cinnamon, and salt for the crumble in a mixing area.
- Cut in cold unsalted butter (and lard if using) until large crumbly clumps form.
- Spread the crumble thickly over the apples, then press very gently so it adheres.
- Bake for 50-55 minutes at 350F until the topping is deeply golden and the apple filling bubbles all around.
- Rest the crisp for 15 minutes before serving.
- Serve with vanilla ice cream and pour over cold heavy cream.