Apple Betty comes out with a crackly, buttery top and soft spiced apples underneath, the kind of old-fashioned dessert that disappears fast when it lands on the table. What makes it worth making is the contrast: crisp crumbs on top, tender fruit in the middle, and just enough syrup from the apples and sugar to pull everything together without turning soggy.
The trick is treating the breadcrumbs like their own crust. Tossing them with melted butter first gives them a head start in the oven, so they brown instead of steaming. The apples also need a little acidity from lemon juice and cider to keep the filling bright and balanced, especially with sweeter apples that can flatten out in the heat.
Below you’ll find the layering order that keeps the topping crisp, plus a few notes on apple choices and storage so the last serving tastes as good as the first.
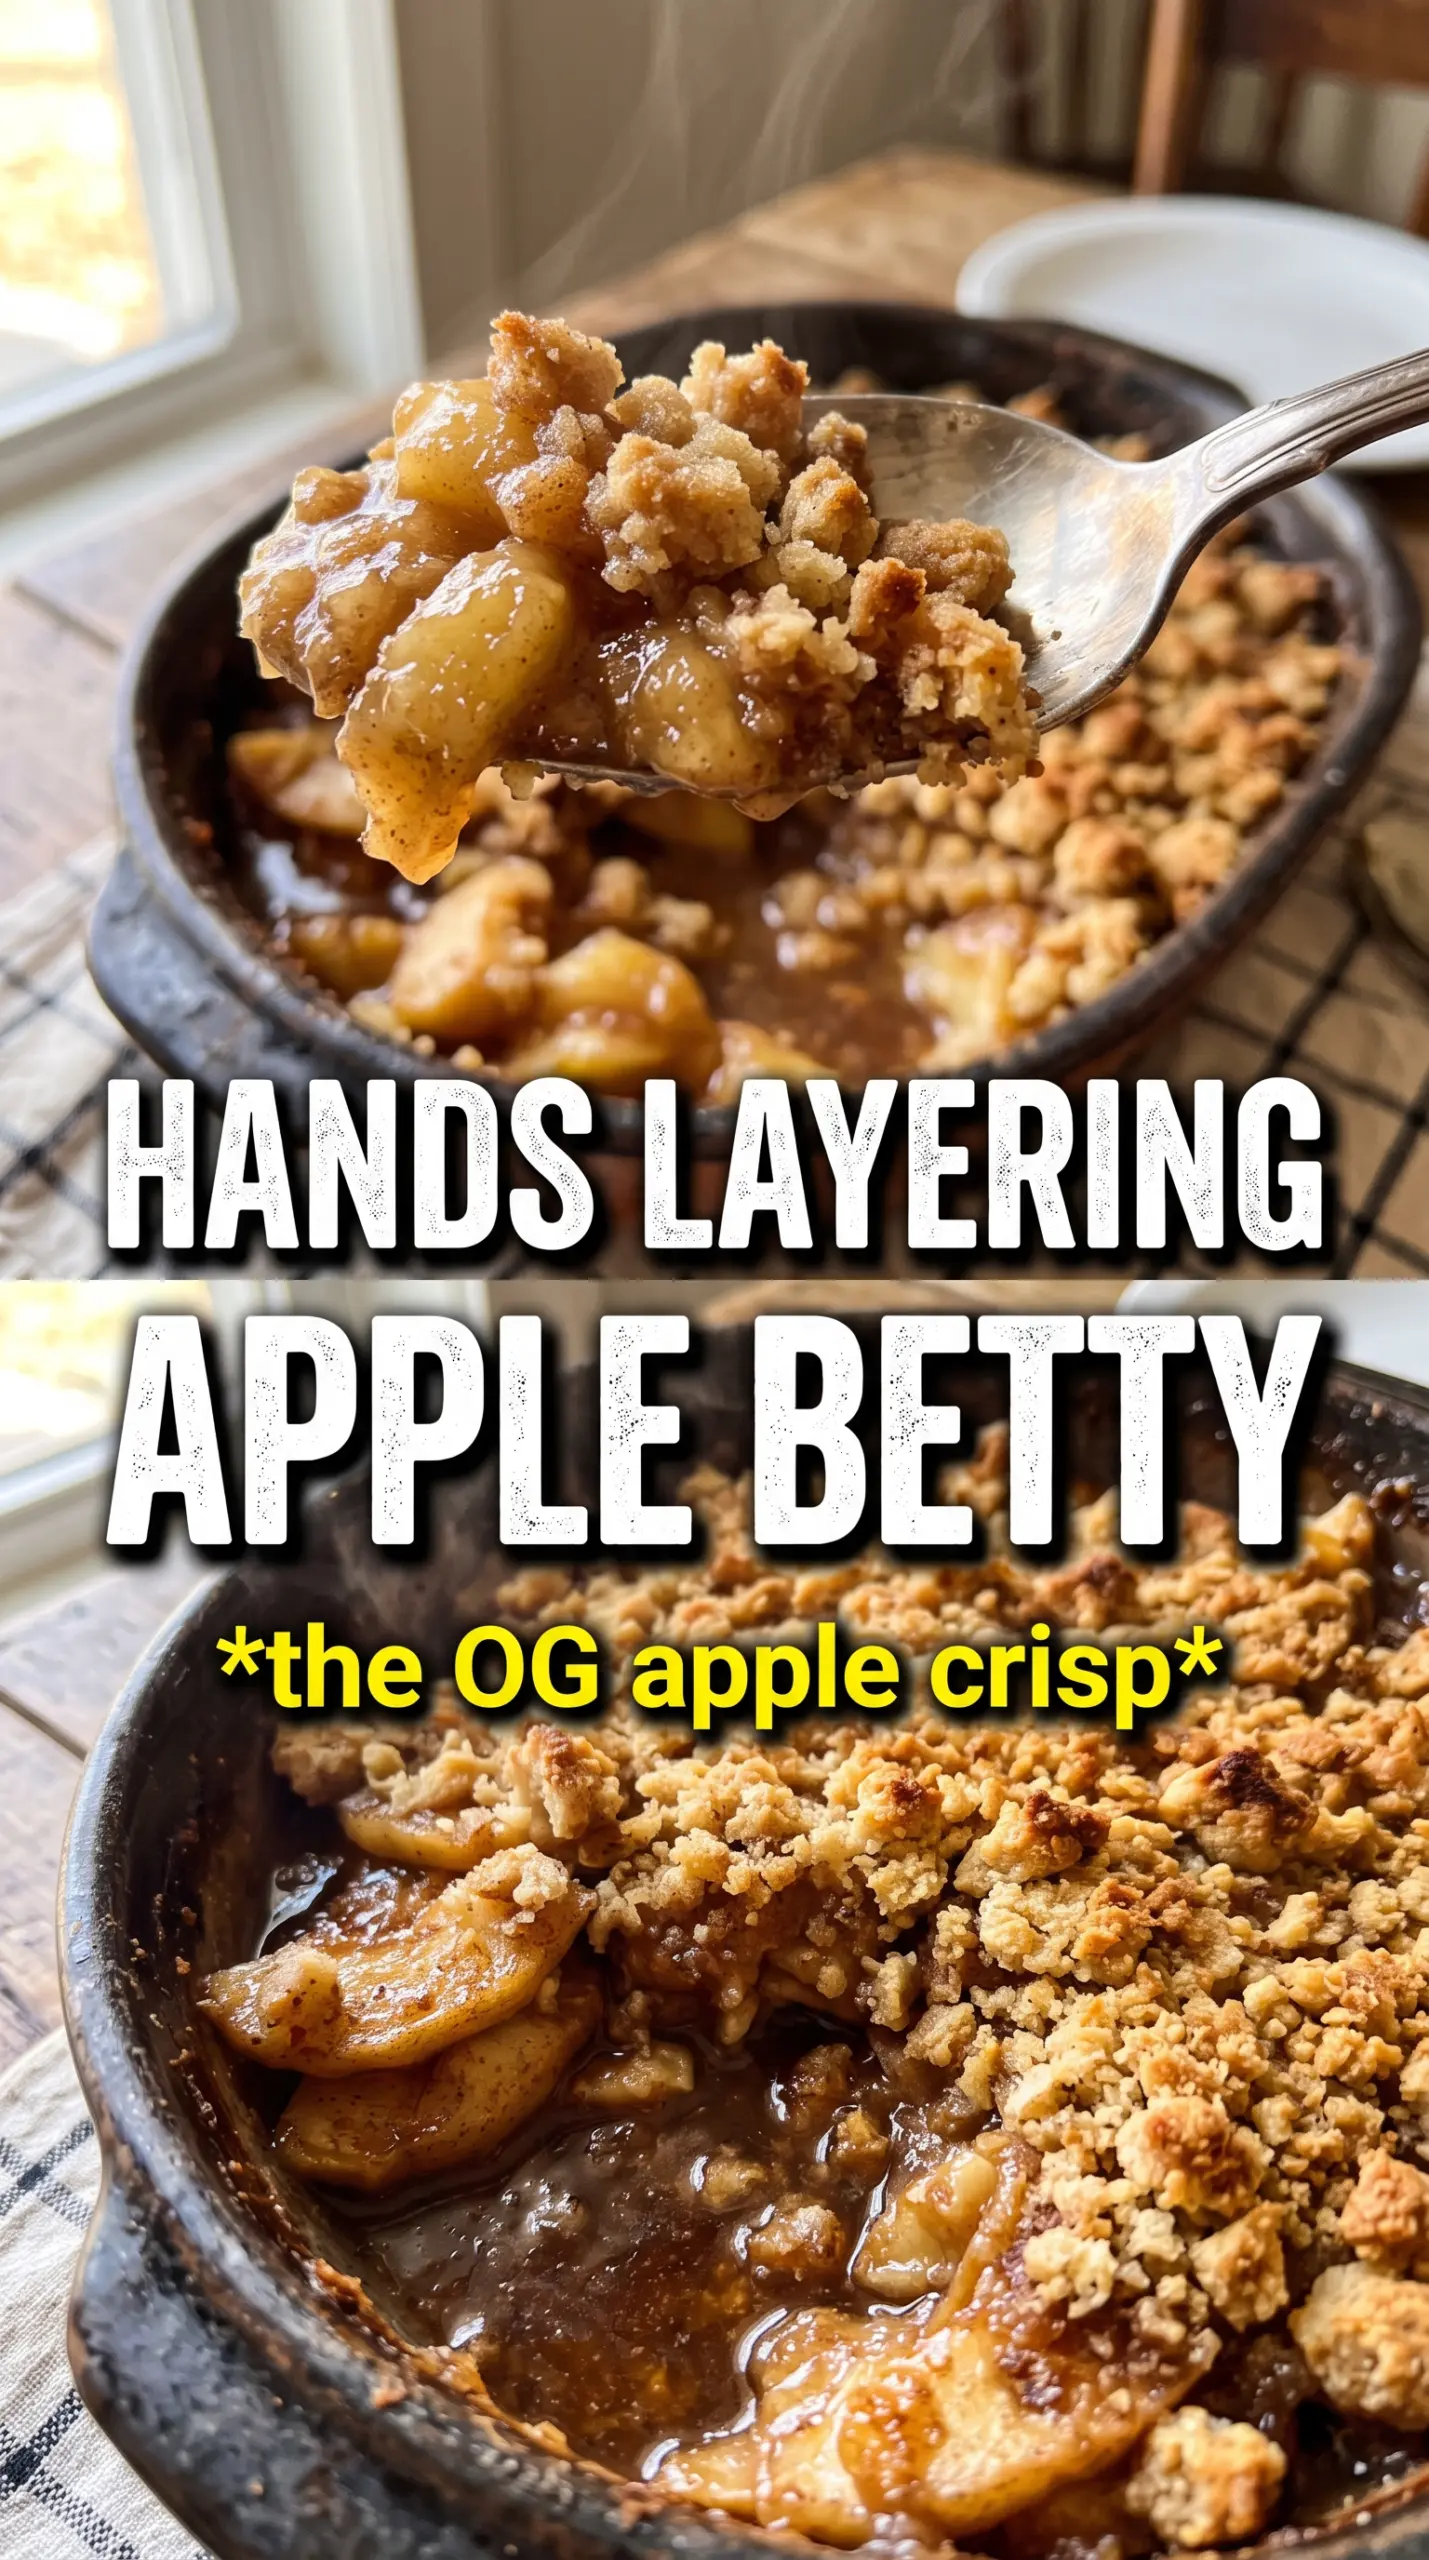
The breadcrumb layers stayed crisp on top and the apples turned soft without getting mushy. I served it warm with vanilla ice cream and everyone asked for the recipe.
Like this Apple Betty? Save it for the nights when you want crisp buttered crumbs, tender cinnamon apples, and an easy dessert that bakes in one dish.
The Breadcrumb Topping Needs Butter Before It Ever Sees the Oven
Apple Betty fails when the topping is added dry. Plain breadcrumbs on top of fruit will soak up steam and turn pasty before they have time to brown. Coating them with melted butter first gives every crumb a fat barrier and sets up that crisp, golden crust that makes this dessert work.
The other thing people miss is the layering. If all the apples sit on the bottom, the top turns heavy and the filling cooks unevenly. Alternating breadcrumbs, apples, and a little cider lets the juices move through the dish while keeping enough structure on top for a real crunch.
- Fresh breadcrumbs — Day-old bread works better than packaged crumbs because it has some body left. You want fine, even crumbs, not dusty particles.
- Butter — This is what turns the top into a crisp shell instead of a soft lid. Melted butter is enough; browned butter adds a deeper nutty note if you want a richer dessert.
- Apples — Use a firm baking apple so the slices hold shape after 45 minutes in the oven. Granny Smith, Honeycrisp, Braeburn, or a mix all work well.
- Lemon juice and zest — The juice keeps the apples from tasting flat, and the zest adds brightness that cuts through the sugar. Don’t skip both unless your apples are unusually tart.
What Each Layer Is Doing in the Pan
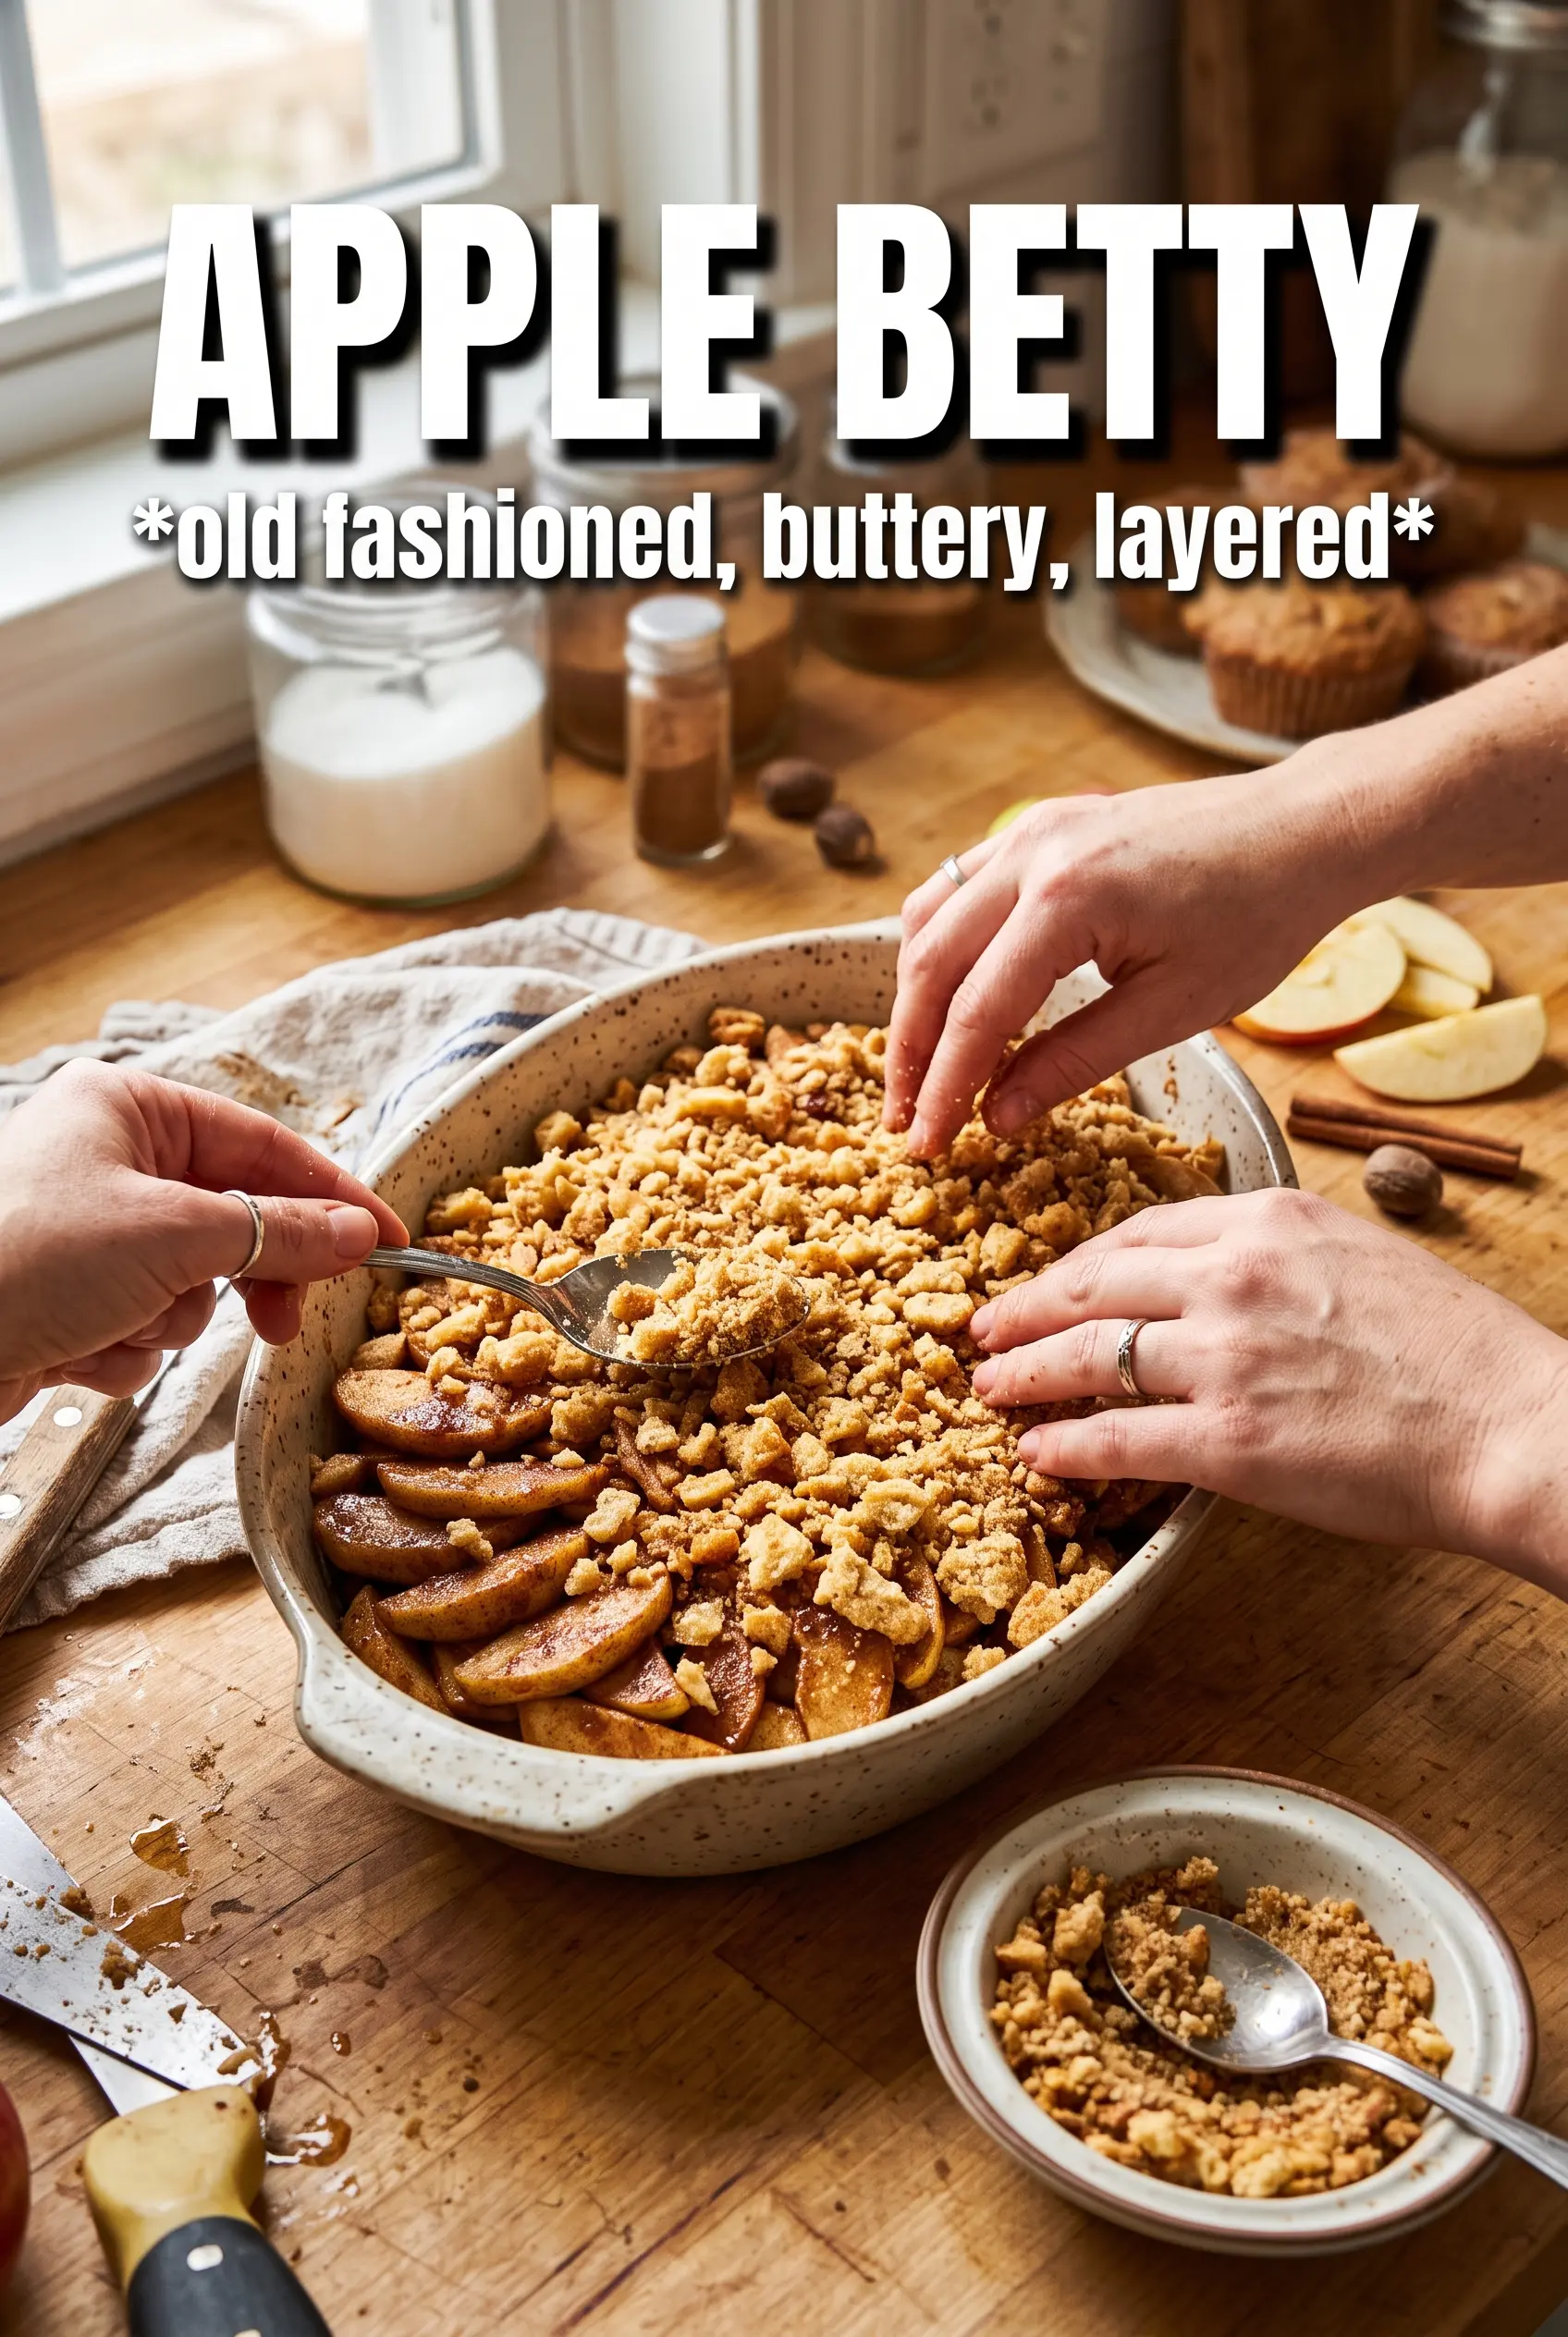
Breadcrumbs: They absorb just enough fruit juice to turn tender underneath while staying crisp on top. That’s why the layers matter; they don’t just decorate the dish, they control the texture.
Apples: Thin slices cook through evenly and release enough moisture to soften the crumbs below without flooding the dish. Thick chunks stay too firm and make the bake uneven.
Brown sugar and spices: Brown sugar melts into the apple juices and makes a light syrup, while cinnamon, nutmeg, and allspice give the filling that warm bakery smell. Packed sugar gives the right amount of moisture, so don’t level it off too lightly.
Apple cider or water: The extra liquid keeps the bottom from drying out before the apples soften. Cider gives a little more depth, but water works if that’s what you have on hand.
Building the Layers So the Top Stays Crisp
Coating the Breadcrumbs
Stir the breadcrumbs with melted butter until every crumb looks lightly moistened. They should clump slightly when pressed, but not look greasy or wet. If you see dry patches, those spots will bake pale and sandy instead of crisp. This is the first step that decides whether the topping finishes crunchy or dull.
Seasoning the Apples
Toss the sliced apples with brown sugar, cinnamon, nutmeg, allspice, lemon juice, and zest until the fruit looks evenly coated. The sugar should start to draw out a little juice right away. If the slices are cut too thick, they won’t soften in time and the layers will feel awkward against the crumb topping.
Layering and Baking
Spread the dish in alternating layers and drizzle the cider over the apple layers, not over the crumbs. That keeps the topping from getting waterlogged before it reaches the oven. Bake until the top is deep golden and the edges are bubbling; if the crumbs are still pale, the dessert needs more time, not a hotter oven.
Serving Warm
Let the Apple Betty rest for about 10 minutes after baking so the juices settle and the layers hold together when scooped. It should spoon out in soft, saucy portions with a crisp top that cracks as the spoon goes in. Vanilla ice cream melts into the warm fruit in the best way, but heavy cream works too if you want something less sweet.
Use a Mix of Tart and Sweet Apples
Combining a tart apple with a sweeter one gives the filling more dimension and keeps it from tasting one-note. Granny Smith plus Honeycrisp is a reliable mix; the tart apples hold their shape, and the sweeter ones melt into the syrupy base.
Make It Dairy-Free
Swap the butter for a good plant-based butter that melts cleanly and keep the rest of the method the same. You’ll lose a little richness, but the crumb topping still browns well if the substitute has enough fat.
Make It Sweeter or More Tart
If your apples are very tart, add another tablespoon or two of brown sugar. If they’re already sweet, cut the sugar back a little and keep the lemon juice in place so the filling still tastes bright.
Storage and Reheating
- Refrigerator: Store covered for up to 4 days. The topping softens a bit in the fridge, but the flavor holds well.
- Freezer: Freeze after baking if you need to, tightly wrapped and well sealed for up to 2 months. The crumb topping won’t stay as crisp after thawing, but the dessert still works.
- Reheating: Warm in a 325F oven until heated through and the top firms back up. The microwave will make the crumbs soggy, which is the fastest way to lose the best part of this dessert.
Questions I Get Asked About This Recipe
Apple Betty
Ingredients
Equipment
Method
- Preheat the oven to 375F and grease a 9x13 baking dish so the layers release easily after baking.
- Toss the fresh breadcrumbs with the melted unsalted butter until evenly coated and looks like moist, sandy crumbs with no dry spots.
- Mix the sliced apples with packed brown sugar, cinnamon, nutmeg, allspice, lemon juice, and lemon zest until the apples look glossy and evenly speckled.
- Spread 1/3 of the buttered breadcrumbs in the bottom of the greased dish to form a base that toasts and helps absorb juices.
- Layer half the apple mixture over the breadcrumbs and drizzle with half the apple cider or water so you see a thin liquid sheen between slices.
- Repeat with another layer of breadcrumbs, then add the remaining apples and drizzle with the remaining apple cider or water for a second moist layer.
- Finish with the final layer of breadcrumbs on top, covering the surface completely for a crisp, golden cap.
- Bake for 40-45 minutes at 375F until the top is deeply golden and crispy and the apples are tender when pierced.
- Let the Apple Betty rest briefly, then serve warm with vanilla ice cream or heavy cream.