Apple cider braised pork shoulder turns into the kind of Sunday dinner people hover around the stove for, with shreddable meat, a glossy pan sauce, and apples that soften just enough to melt into the gravy without disappearing completely. The long braise does the heavy lifting here, but the flavor is built before the oven ever turns on: a hard sear on the pork, a quick hit of mustard and vinegar, and enough cider to give the sauce a sweet-tart backbone instead of a flat, sugary finish.
What makes this version work is balance. Pork shoulder needs time, but it also needs acid and salt to keep the richness from feeling heavy. The Dijon sharpens the cider, the chicken broth keeps the sauce savory, and the apples go in whole enough to hold their shape while still giving their sweetness to the pot. If your braises sometimes come out bland or greasy, this method fixes both problems at once.
Below you’ll find the timing cue I trust for knowing when the pork is ready, plus a few swaps that keep the dish flexible if you’re working with what you already have in the kitchen.
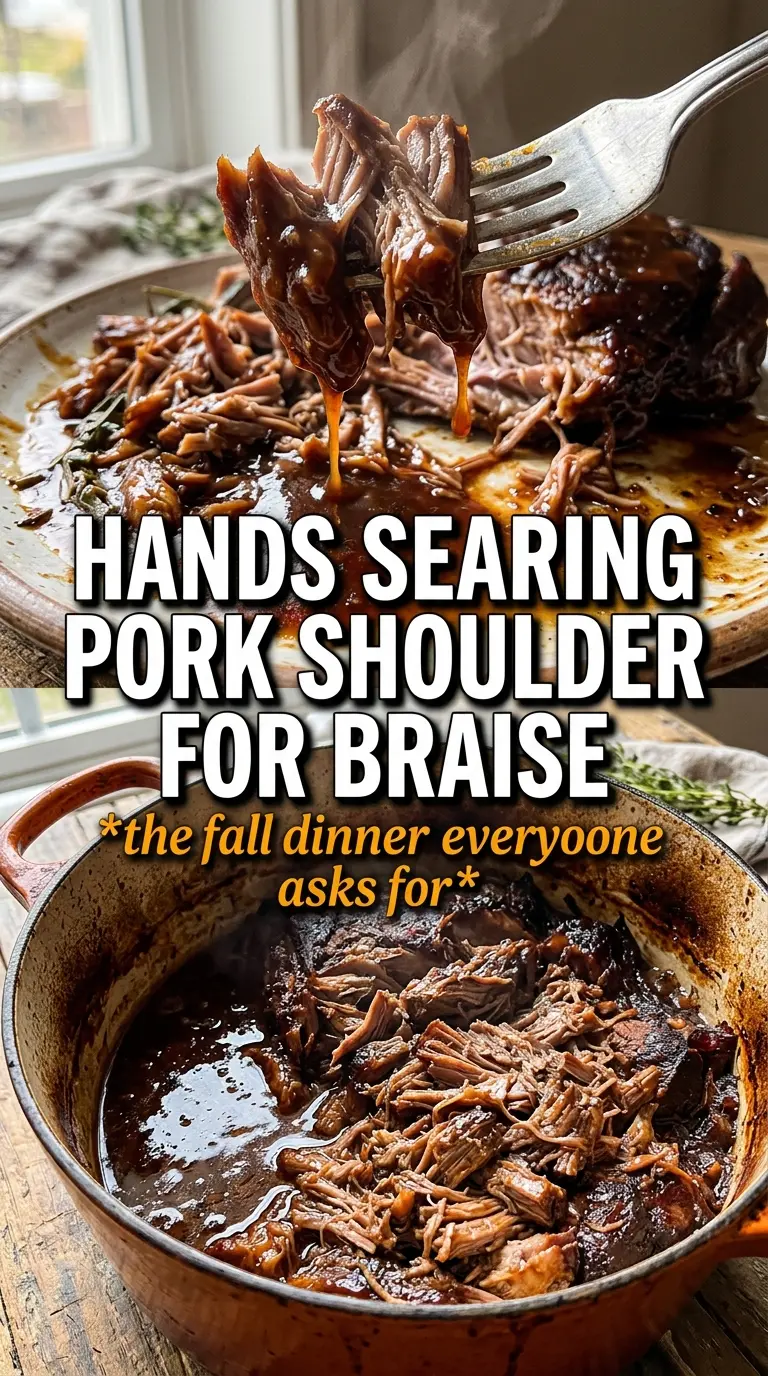
The pork shredded beautifully after four hours, and the cider sauce thickened into something I wanted to spoon over everything. Even the apples held their shape just enough to feel special.
Save this apple cider braised pork shoulder for a braise that turns tender pork, apples, and cider into a deep, glossy dinner.
The Browned Bits Are the Whole Point
When pork shoulder gets its color in the Dutch oven first, those dark fond bits become the base of the sauce instead of staying stuck to the pan. That matters here because apple cider brings sweetness, and sweetness without depth can taste one-note fast. The sear gives the finished braise the roasted, savory edge that makes every spoonful taste like it took all day, even before the oven does its work.
The other place people slip is the liquid ratio. You want the pork partially submerged, not drowned. Too much liquid turns the braise into boiled pork and dilutes the cider; too little leaves the bottom of the pot exposed and makes the sauce reduce unevenly. The goal is gentle bubbling around the edges, with steam trapped under the lid and enough liquid to keep the meat moist as it slowly breaks down.
What the Cider, Mustard, and Apples Each Bring to the Pot
- Pork shoulder — This cut has the fat and connective tissue that turn silky over a long braise. Pork loin won’t give you the same result; it dries out before it gets tender. Boneless is easiest here, but a bone-in shoulder works too if you add a little more time.
- Hard or fresh apple cider — This is the flavor driver, and it needs to taste clean and apple-forward before it goes into the pot. Fresh cider gives a rounder, softer sweetness; hard cider brings a slightly sharper, more grown-up edge. Either one works, but avoid anything overly sweet or spiced.
- Dijon mustard — The mustard doesn’t make the dish taste like mustard. It sharpens the cider and helps the sauce feel balanced instead of sugary. Grainy mustard can stand in, though the sauce will look a little less smooth.
- Apples — Use a firm apple that holds its shape, like Honeycrisp, Braeburn, or Fuji. Soft apples collapse into the sauce before the pork is done. Quartering them instead of slicing keeps them from turning to mush during the long braise.
- Apple cider vinegar — This is the bright edge that keeps the sauce from tasting heavy after four hours in the oven. Don’t skip it. If you need a swap, use white wine vinegar in the same amount, but the apple note will be slightly less pronounced.
The Oven Time That Turns It From Tough to Tender
Building the Browned Base
Preheat the oven first, then season the pork generously with salt and pepper before it hits the pot. Sear it in hot olive oil until each side has a deep brown crust, not just a pale tan color. If the pork sticks when you try to turn it, leave it alone for another minute or two; a proper crust releases on its own. Rushing this stage is the fastest way to end up with a bland braise.
Pulling Flavor Off the Pan Bottom
After you remove the pork, sauté the onion and garlic in the same pot until the onion softens and the garlic smells sweet, not sharp. Then whisk the cider, broth, Dijon, brown sugar, and vinegar together before pouring it in. That quick whisk keeps the mustard from clumping and helps the brown sugar dissolve before it hits the oven. Scrape up every browned bit from the bottom while the liquid is still hot.
Letting the Braise Work Slowly
Return the pork to the pot, tuck the apples around it, and add the thyme and rosemary. Cover tightly and braise until the meat gives up easily to a fork, about 3 1/2 to 4 hours. If the pork still feels tight or resists shredding, it needs more time; pork shoulder isn’t done when it’s just hot, it’s done when the collagen has relaxed enough to pull apart without fighting it. The sauce should look glossy and slightly reduced around the edges.
Shredding in the Juices
Lift the pork out, shred it with two forks, and put it back into the pot so it can soak up the cider sauce. This is where the dish gets its final seasoning, because the meat drinks up the braising liquid instead of sitting on top of it. Taste the sauce before serving and adjust with salt or pepper if needed. Spoon it over mashed potatoes while everything is still hot, and get the apples onto each plate too.
How to Adjust This Braise for What You Have on Hand
Make It With Hard Cider Instead of Fresh
Hard cider gives the sauce a drier, slightly sharper finish and works especially well if you want a less sweet braise. Use the same amount and keep the brown sugar as written, since the sugar helps round out the acidity. If the cider is extra dry, the finished sauce may need a pinch more salt at the end.
Gluten-Free Without Changing the Texture
This recipe is naturally gluten-free as written, as long as your chicken broth is certified gluten-free. The braise still thickens and reduces the same way because the body comes from the pork, not flour. Serve it with mashed potatoes, polenta, or rice if you want something other than potatoes under the sauce.
Citrusy, Brighter Braise
If you want the sauce to lean less sweet, cut the brown sugar to 1 tablespoon and add an extra teaspoon of vinegar. That keeps the cider flavor front and center but sharpens the finish. Don’t overdo the acid, or you’ll lose the roundness that makes the braise feel full and comforting.
Storage and Reheating
- Refrigerator: Store leftovers in their braising liquid for up to 4 days. The pork gets even more flavorful overnight.
- Freezer: This freezes well for up to 3 months. Cool it completely, portion it with plenty of sauce, and freeze in airtight containers so the meat doesn’t dry out.
- Reheating: Reheat gently on the stove over low heat or in a covered dish in a 300F oven until hot. High heat will tighten the pork and can make the sauce taste flat, so warm it slowly with a splash of broth if needed.
Answers to the Questions Worth Asking

Apple Cider Braised Pork Shoulder
Ingredients
Equipment
Method
- Preheat the oven to 325°F, then season the pork shoulder generously with salt and pepper, making sure every side is coated.
- Heat the olive oil in a Dutch oven over medium-high heat, then sear the pork on all sides until deeply browned, about 8 to 12 minutes total.
- Remove the pork to a plate, then sauté the onion and garlic in the remaining drippings for 3 minutes until fragrant and softened.
- Whisk together the apple cider, chicken broth, Dijon mustard, brown sugar, and apple cider vinegar, then pour the mixture into the pot and scrape up the browned bits.
- Return the pork to the pot, then add the apples, thyme, and rosemary so the pork is partially surrounded by apples and herbs.
- Cover and braise at 325°F for 3-1/2 to 4 hours, until the pork is fall-apart tender and easily pulls into strands.
- Shred the pork in the juices right in the pot so it soaks up the apple cider sauce.
- Serve the shredded pork over mashed potatoes, spooning extra caramelized sauce and apple pieces on top.