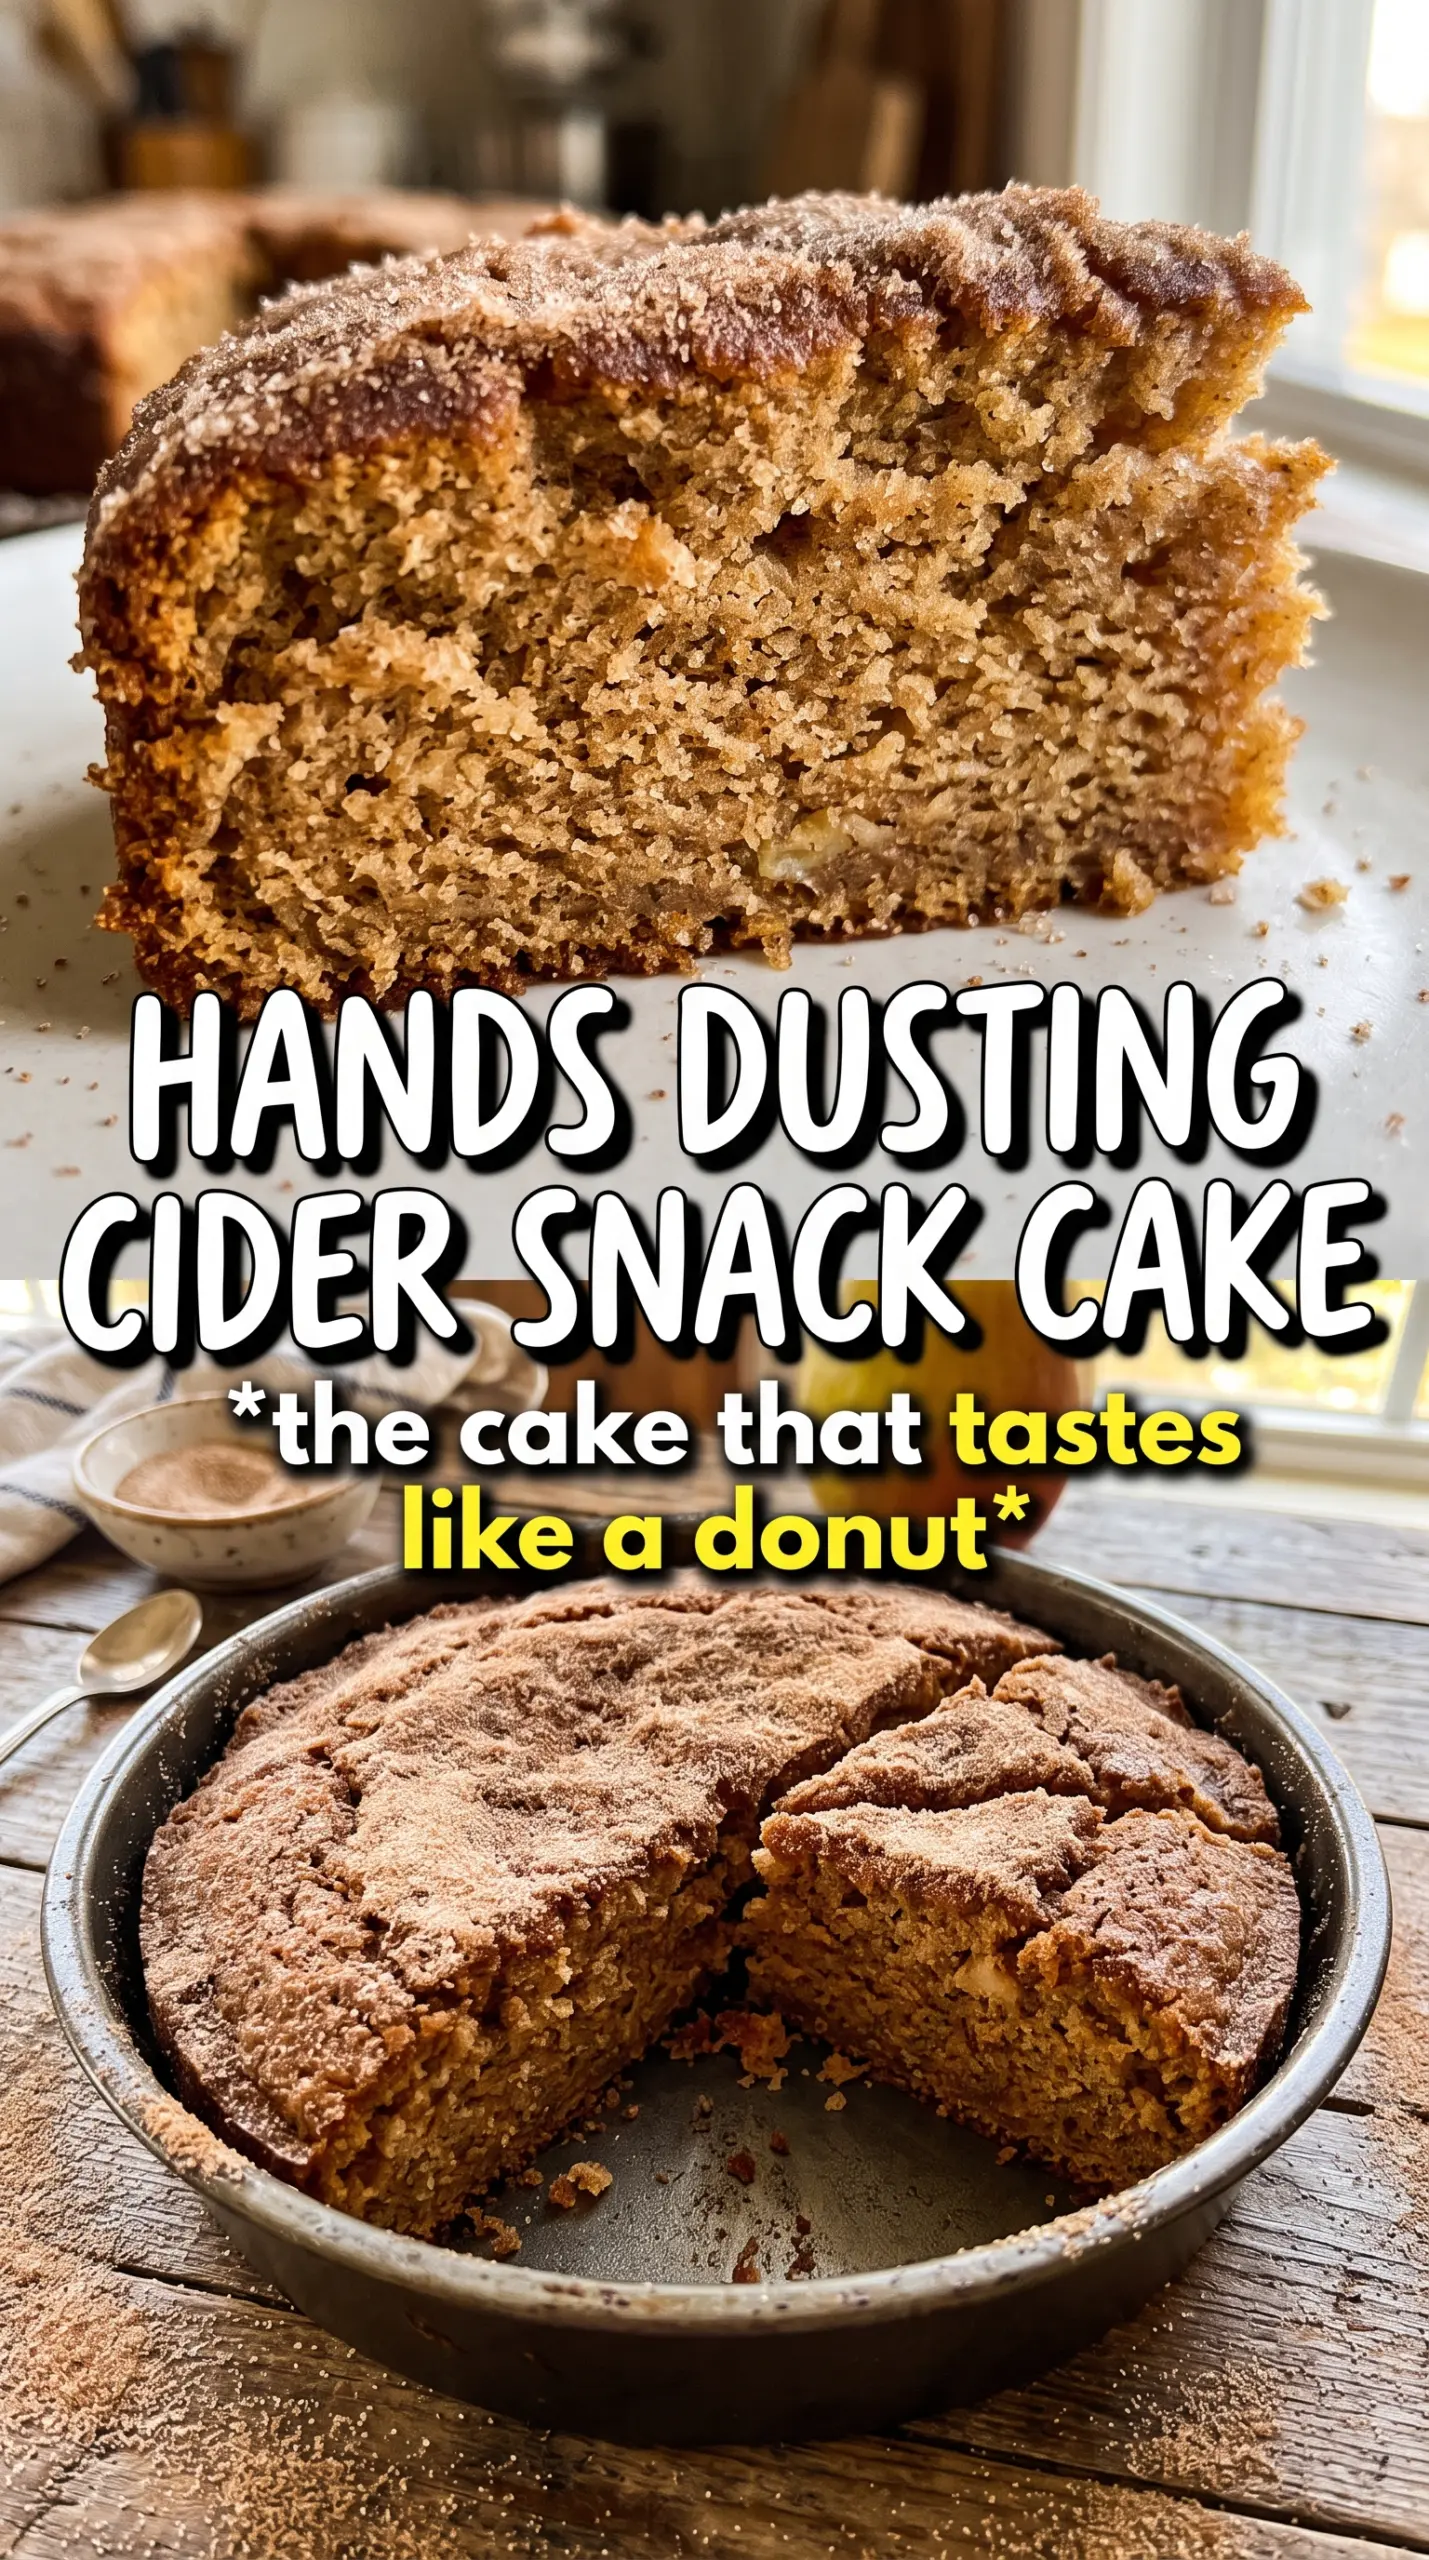
Apple cider donut snack cake lands with that same tender, cinnamon-sugar comfort people love from the bakery version, but it bakes up in a simple square pan with no frying and no fuss. The crumb stays soft and moist, the top gets that buttery cinnamon-sugar finish, and every square tastes like the best part of an apple cider donut without the extra work.
The reduced apple cider matters here. Simmering it down concentrates the apple flavor so it doesn’t disappear into the batter, and sour cream keeps the cake plush instead of dry. Melted butter gives the crumb a little richness without making the texture heavy, and brushing the top while the cake is still warm is what helps the cinnamon sugar cling instead of sliding off.
Below, you’ll find the trick that keeps the crumb tender, why the cider needs to be reduced first, and a few ways to adapt the cake for different pans and diets without losing that classic cider-donut finish.
The cider reduction made the apple flavor stand out, and the cinnamon sugar on top stayed crisp for the whole afternoon. I baked it in an 8×8 and the center came out perfectly soft, not gummy.
Save this apple cider donut snack cake for the kind of breakfast that doubles as dessert, with a soft cider crumb and a cinnamon sugar top that stays put.
The Cider Reduction That Keeps the Flavor From Getting Lost
Most cider cakes taste vaguely spiced because the apple cider gets diluted the second it hits the batter. Reducing it first changes that. You end up with a smaller amount of liquid, but it’s carrying much more apple flavor, so the cake tastes like cider instead of just cinnamon.
Let the reduced cider cool before mixing it in. If it goes in hot, it can start softening the melted butter unevenly and loosen the batter more than you want. The batter should be thick enough to spread into the pan, not pour like a thin cake batter. That thickness helps the center bake up tender instead of collapsing into a dense strip.
- Reduced apple cider — This is the ingredient that gives the cake its signature apple flavor. Fresh cider works better than apple juice because it has more depth and less flat sweetness.
- Sour cream — It adds moisture and a little tang, which keeps the cake from tasting one-note. Full-fat yogurt can work in a pinch, but the crumb will be slightly less rich.
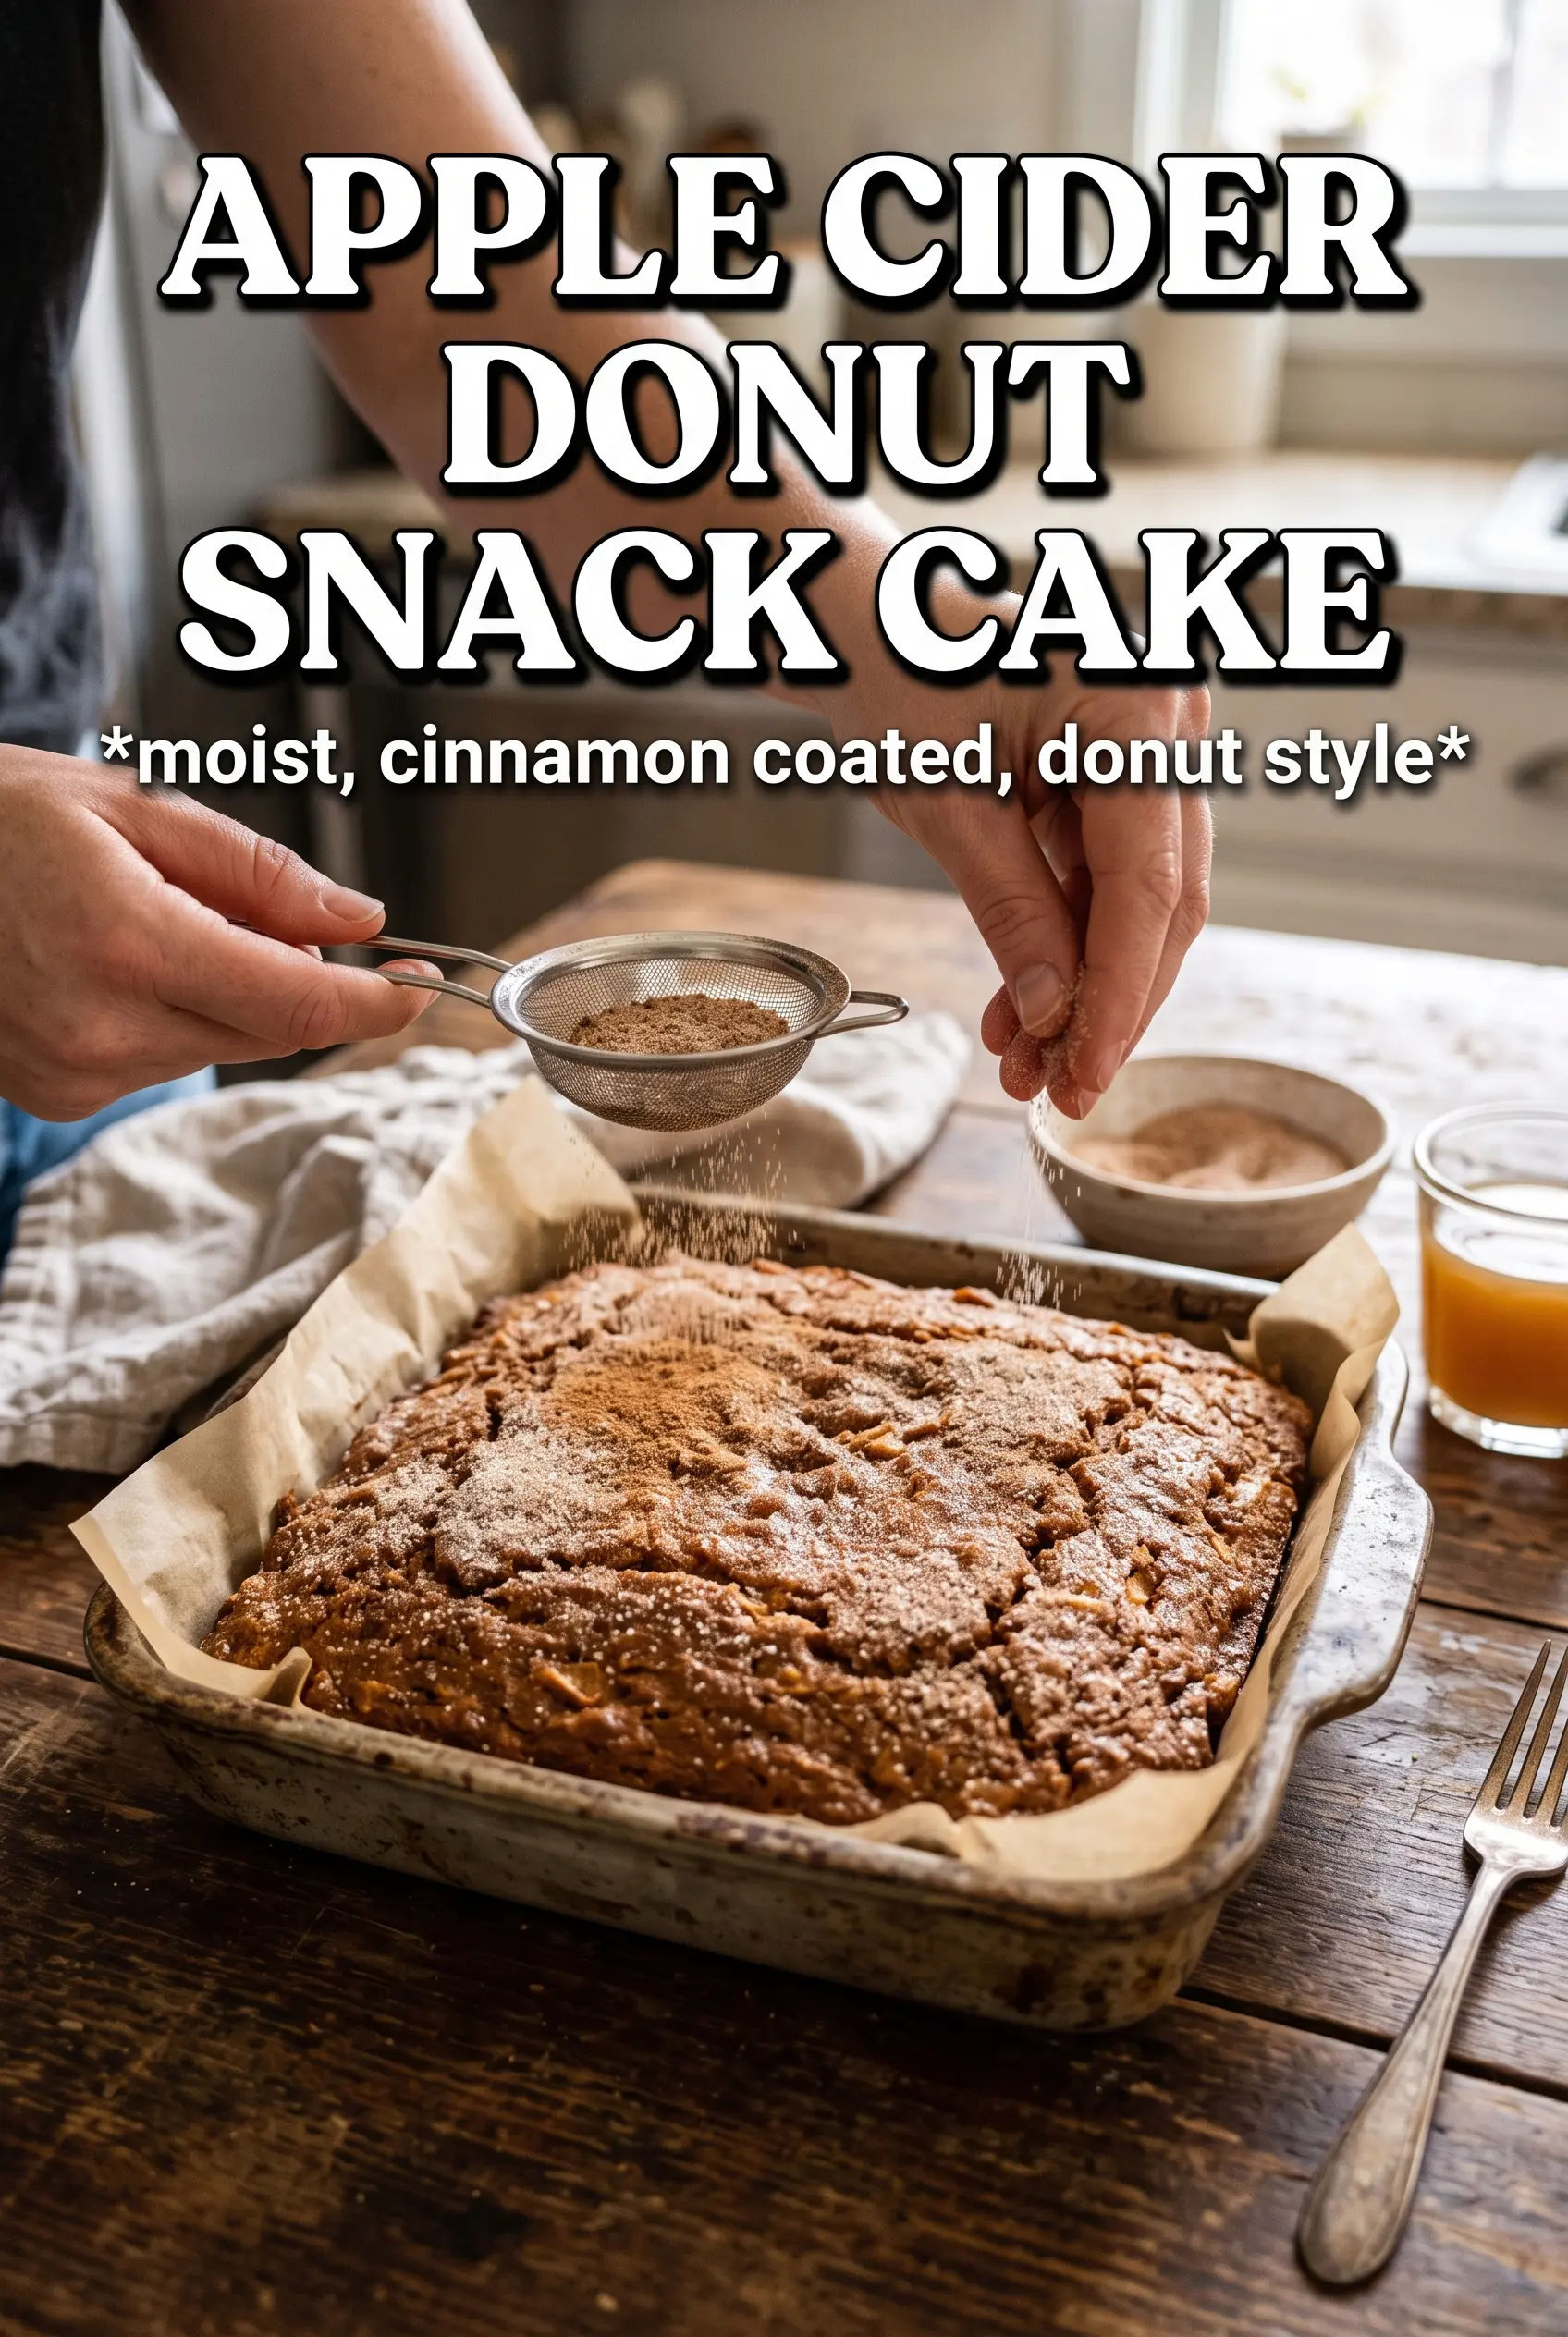
- Warm cinnamon sugar topping — Brushing the cake with butter while it’s still warm gives the coating something to grab onto. If the cake cools completely first, the sugar will sit on top instead of melting into that classic donut-style crust.
- Butter, melted — Melted butter keeps this snack cake easy and gives the topping that bakery-style finish. Don’t swap in oil for the topping; it won’t hold the sugar the same way.
What Each Ingredient Is Actually Doing in This Recipe
- Primary ingredient (the star) — Quality matters most. Choose the best you can find.
- Cooking medium (oil, butter, or broth) — This carries flavors and prevents dryness.
- Seasonings (salt, pepper, spices, herbs) — Layer flavors so nothing overpowers. Build depth gradually.
- Aromatics (garlic, onion, herbs) — Cook with fat to bloom flavors. Become the foundation.
- Supporting ingredients — Complement the main ingredient without overpowering it.
- Sauce or liquid (if applicable) — Brings flavors together. Balance richness with acid.
- Acid (lemon, vinegar, wine, or other) — Brightens and prevents flat-tasting results.
- Final finish (garnish, glaze, or sauce) — Prevents one-dimensional taste and adds visual appeal.
Building the Batter Without Overmixing the Crumb
Whisk the dry ingredients first so the baking powder and spices are evenly distributed. That matters more than it sounds like it does, because a pocket of spice or leavener can leave one corner of the cake tasting off or rising unevenly. Once the wet and dry ingredients meet, switch to folding and stop as soon as the flour disappears.
If you keep stirring after that point, the cake turns tougher and a little rubbery. The goal is a batter that looks just combined, with maybe a few streaks left when you stop. It will finish mixing as you spread it into the pan.
Reducing the Cider
Pour the cider into a small saucepan and simmer it over medium heat until it measures about 1/4 cup. It should smell concentrated and a little syrupy, not burned or caramelized. Pull it off the heat as soon as it reduces; if you take it too far, the flavor gets sharp instead of bright.
Mixing the Wet Ingredients
Whisk the melted butter, sugar, eggs, vanilla, cooled cider, and sour cream until smooth. The mixture may look slightly loose and glossy, and that’s what you want. If the butter starts to firm up in little specks, the cider was still too hot when it went in. Let it cool longer and whisk again before adding the flour.
Finishing the Batter and Baking
Fold in the dry ingredients just until the flour disappears, then spread the batter into the greased 8×8 pan. Bake until the center springs back lightly and a toothpick comes out clean or with a few moist crumbs. If the top is browning too quickly before the center is done, your oven runs hot; tent loosely with foil for the last few minutes.
Maple Cider Finish
Add 1 to 2 tablespoons of maple syrup to the wet ingredients and use a little less sugar in the batter. The cake gets a deeper, more autumnal sweetness, but the maple should stay in the background so it doesn’t overpower the cider.
Dairy-Free Version
Use a plant-based butter and replace the sour cream with thick dairy-free yogurt. The cake will still bake up tender, but the topping won’t set quite as firmly, so brush it on and sugar it while the cake is still very warm.
Gluten-Free Swap
Use a 1:1 gluten-free baking blend with xanthan gum already included. The texture will be a touch more delicate, so let the cake cool in the pan for 10 to 15 minutes before turning it out or cutting it.
Baking It in a 9×9 Pan
A 9×9 pan works if that’s what you’ve got, but the cake will bake a little thinner and may finish a few minutes sooner. Start checking early so you don’t lose the soft center to overbaking.
Storage and Reheating
- Refrigerator: Store covered for up to 4 days. The topping softens a little, but the crumb stays moist.
- Freezer: Freeze individual squares tightly wrapped for up to 2 months. Freeze before adding the cinnamon sugar for the best texture, then finish with butter and sugar after reheating.
- Reheating: Warm slices in the microwave for 10 to 15 seconds or in a low oven until just heated through. If you reheat too long, the cake dries out and the cinnamon sugar turns sticky instead of crisp.
Questions I Get Asked About This Recipe
Apple Cider Donut Snack Cake
Ingredients
Equipment
Method
- Simmer apple cider over medium heat until reduced to 1/4 cup, then cool to room temperature.
- Preheat the oven to 350F and grease an 8x8 square baking pan.
- Whisk all-purpose flour, baking powder, cinnamon, nutmeg, allspice, and salt until evenly combined.
- Whisk melted butter, granulated sugar, eggs, vanilla extract, reduced apple cider, and sour cream together until smooth.
- Fold the flour mixture into the wet ingredients until just combined, then pour the batter into the prepared pan.
- Bake for 25-30 minutes at 350F, until a toothpick inserted in the center comes out clean.
- Brush the top generously with melted butter while the cake is warm.
- Mix cinnamon and sugar together, then shower over the buttered cake.
- Cut into squares and serve.