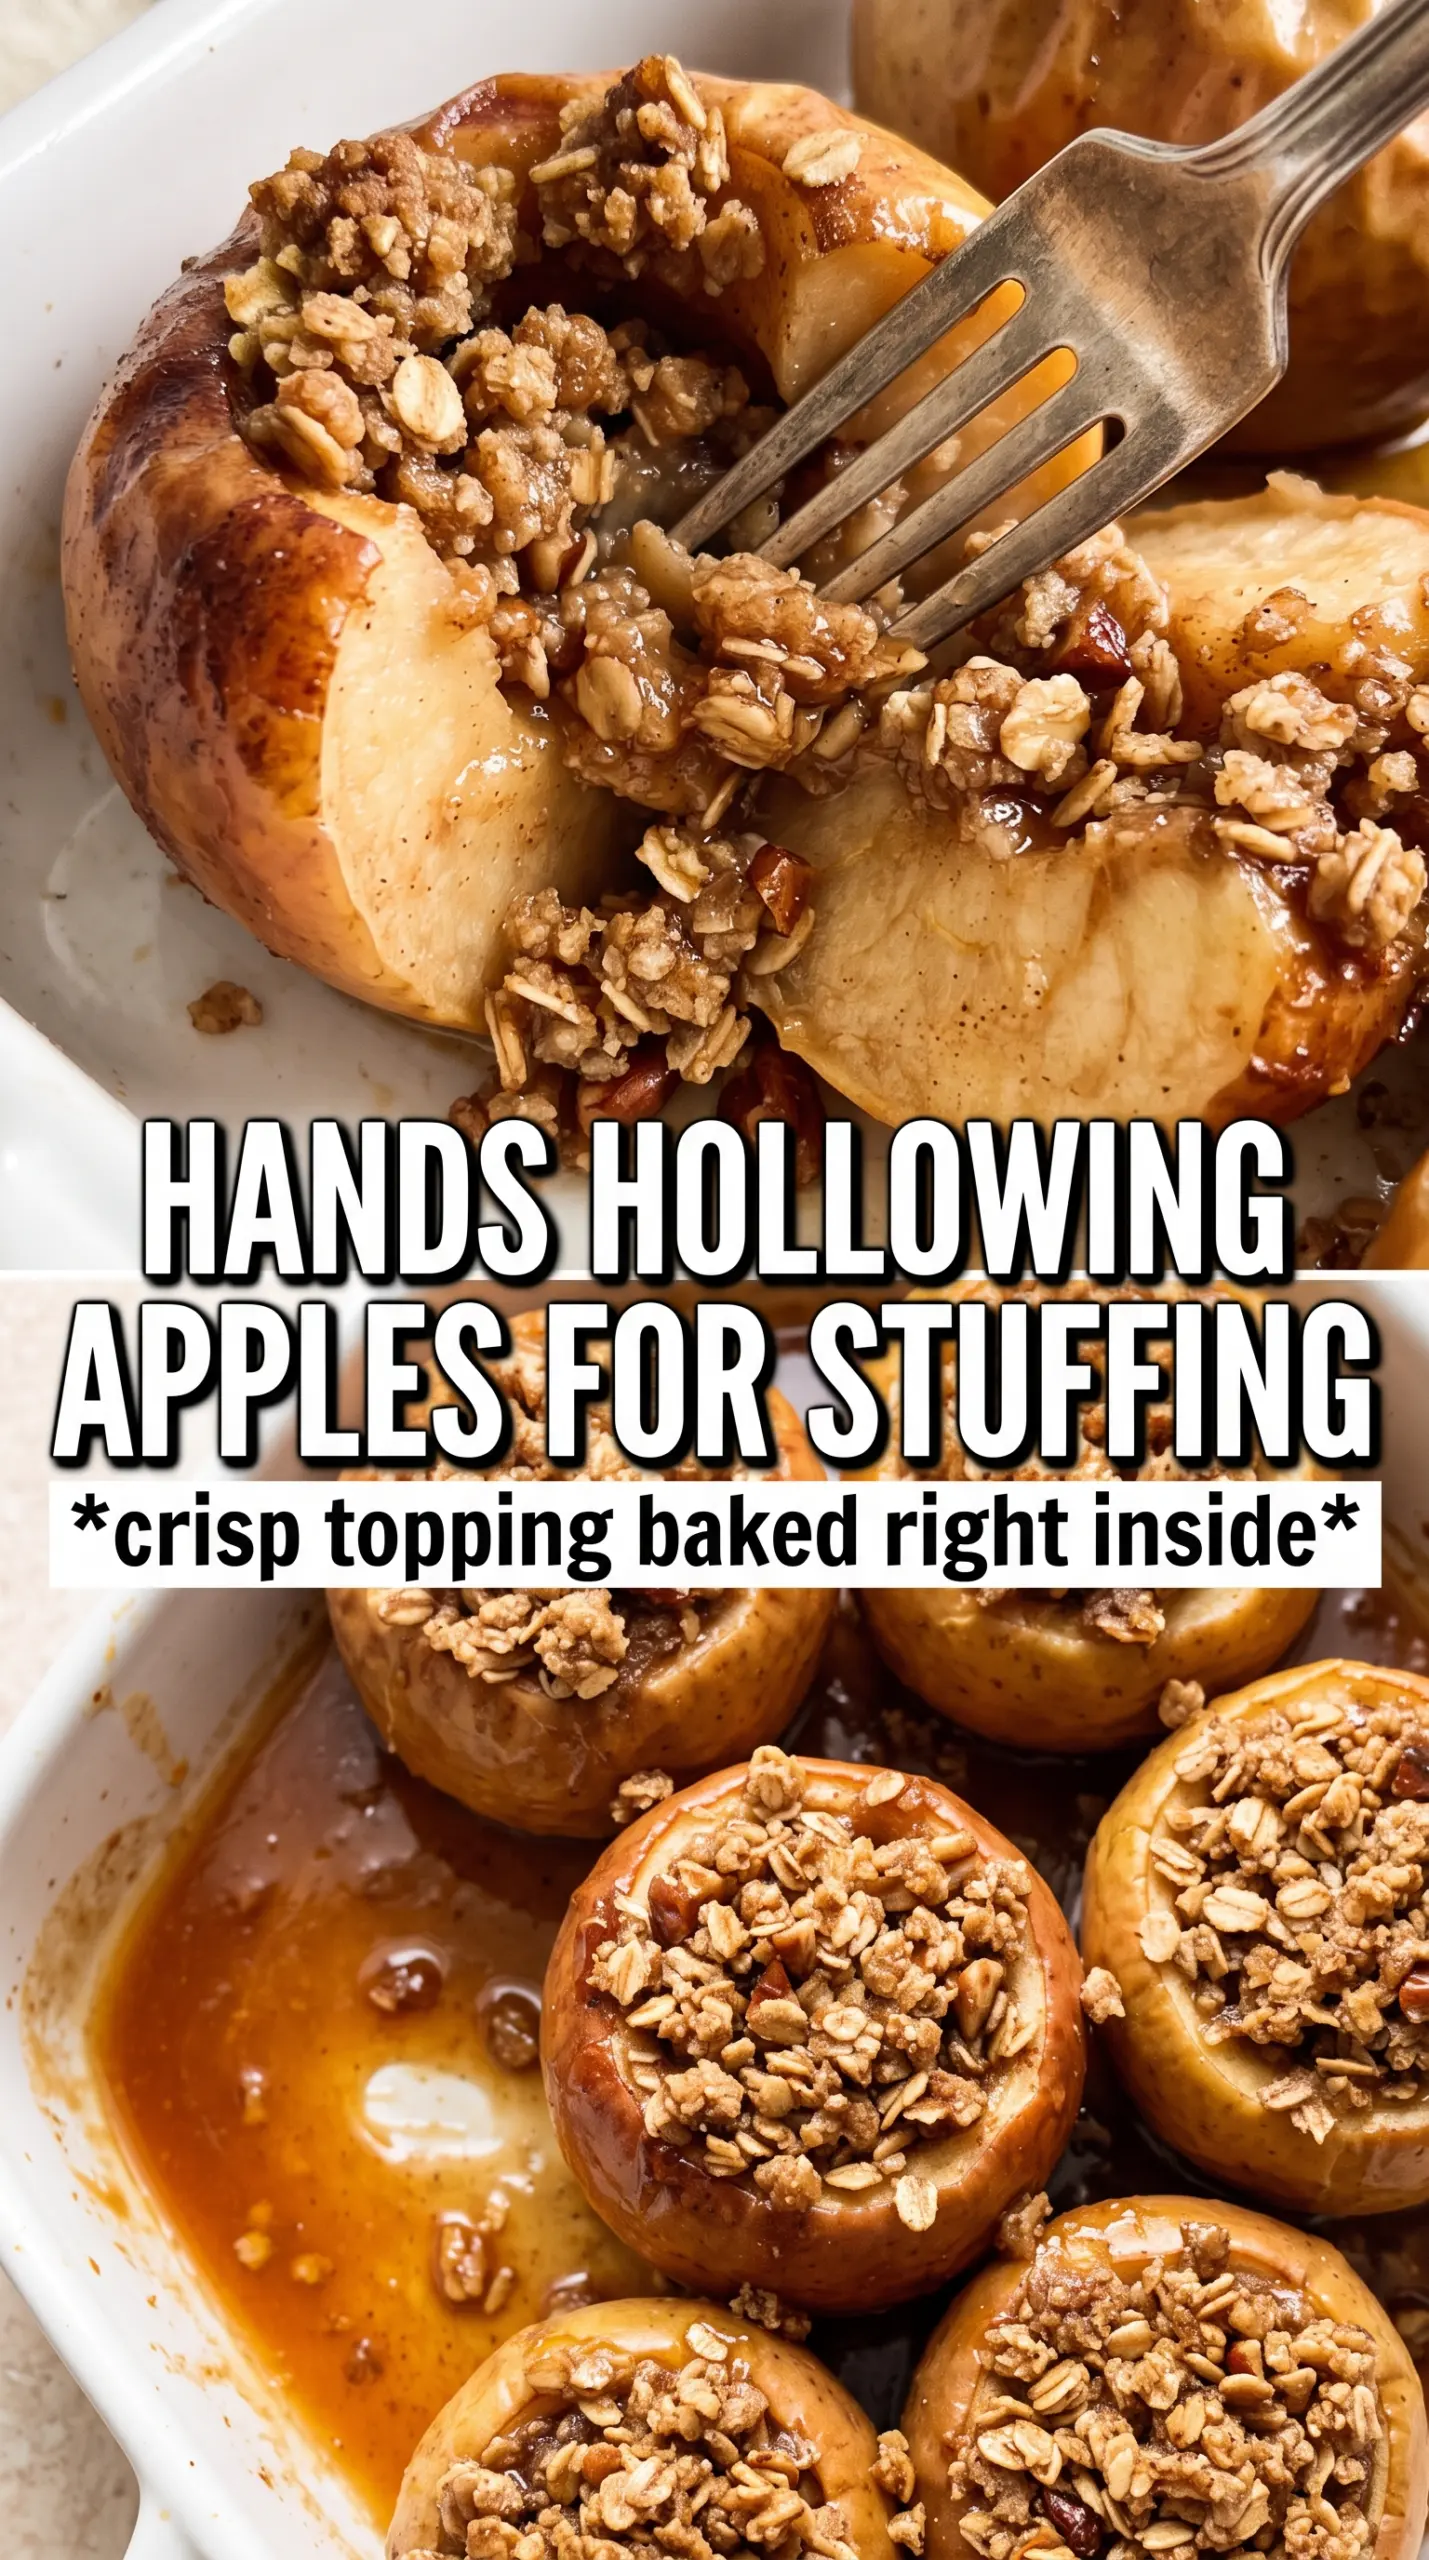
Apple Crisp Baked Apples come out with the best parts of two desserts in one pan: tender baked fruit, a buttery oat crumble, and just enough caramelized juice to spoon over the top. The apples hold their shape, the filling melts into the center, and the topping turns crisp at the edges while staying a little chewy where it meets the fruit. It’s the kind of dessert that looks like you worked harder than you did.
What makes this version work is the balance. The apples bake in a shallow layer of cider, which keeps the bottoms from drying out, while the brown sugar and butter tucked inside each cavity turn into a built-in sauce. I like Honeycrisp or Braeburn here because they soften without collapsing, and the oat topping stays crumbly instead of sinking into the apple as it bakes.
Below, I’ll walk you through the one detail that keeps the apples from splitting, plus a few smart swaps if you need to use what’s already in the pantry.
The crumble stayed crisp on top and the apples were tender without turning mushy. I used Braeburns and the filling turned into this perfect little caramel pool at the bottom of the dish.
Like this apple crisp baked apples recipe? Save it to Pinterest for the nights when you want warm apples, a crunchy oat topping, and caramel sauce in one simple dessert.
The Trick Is Leaving the Bottom Intact
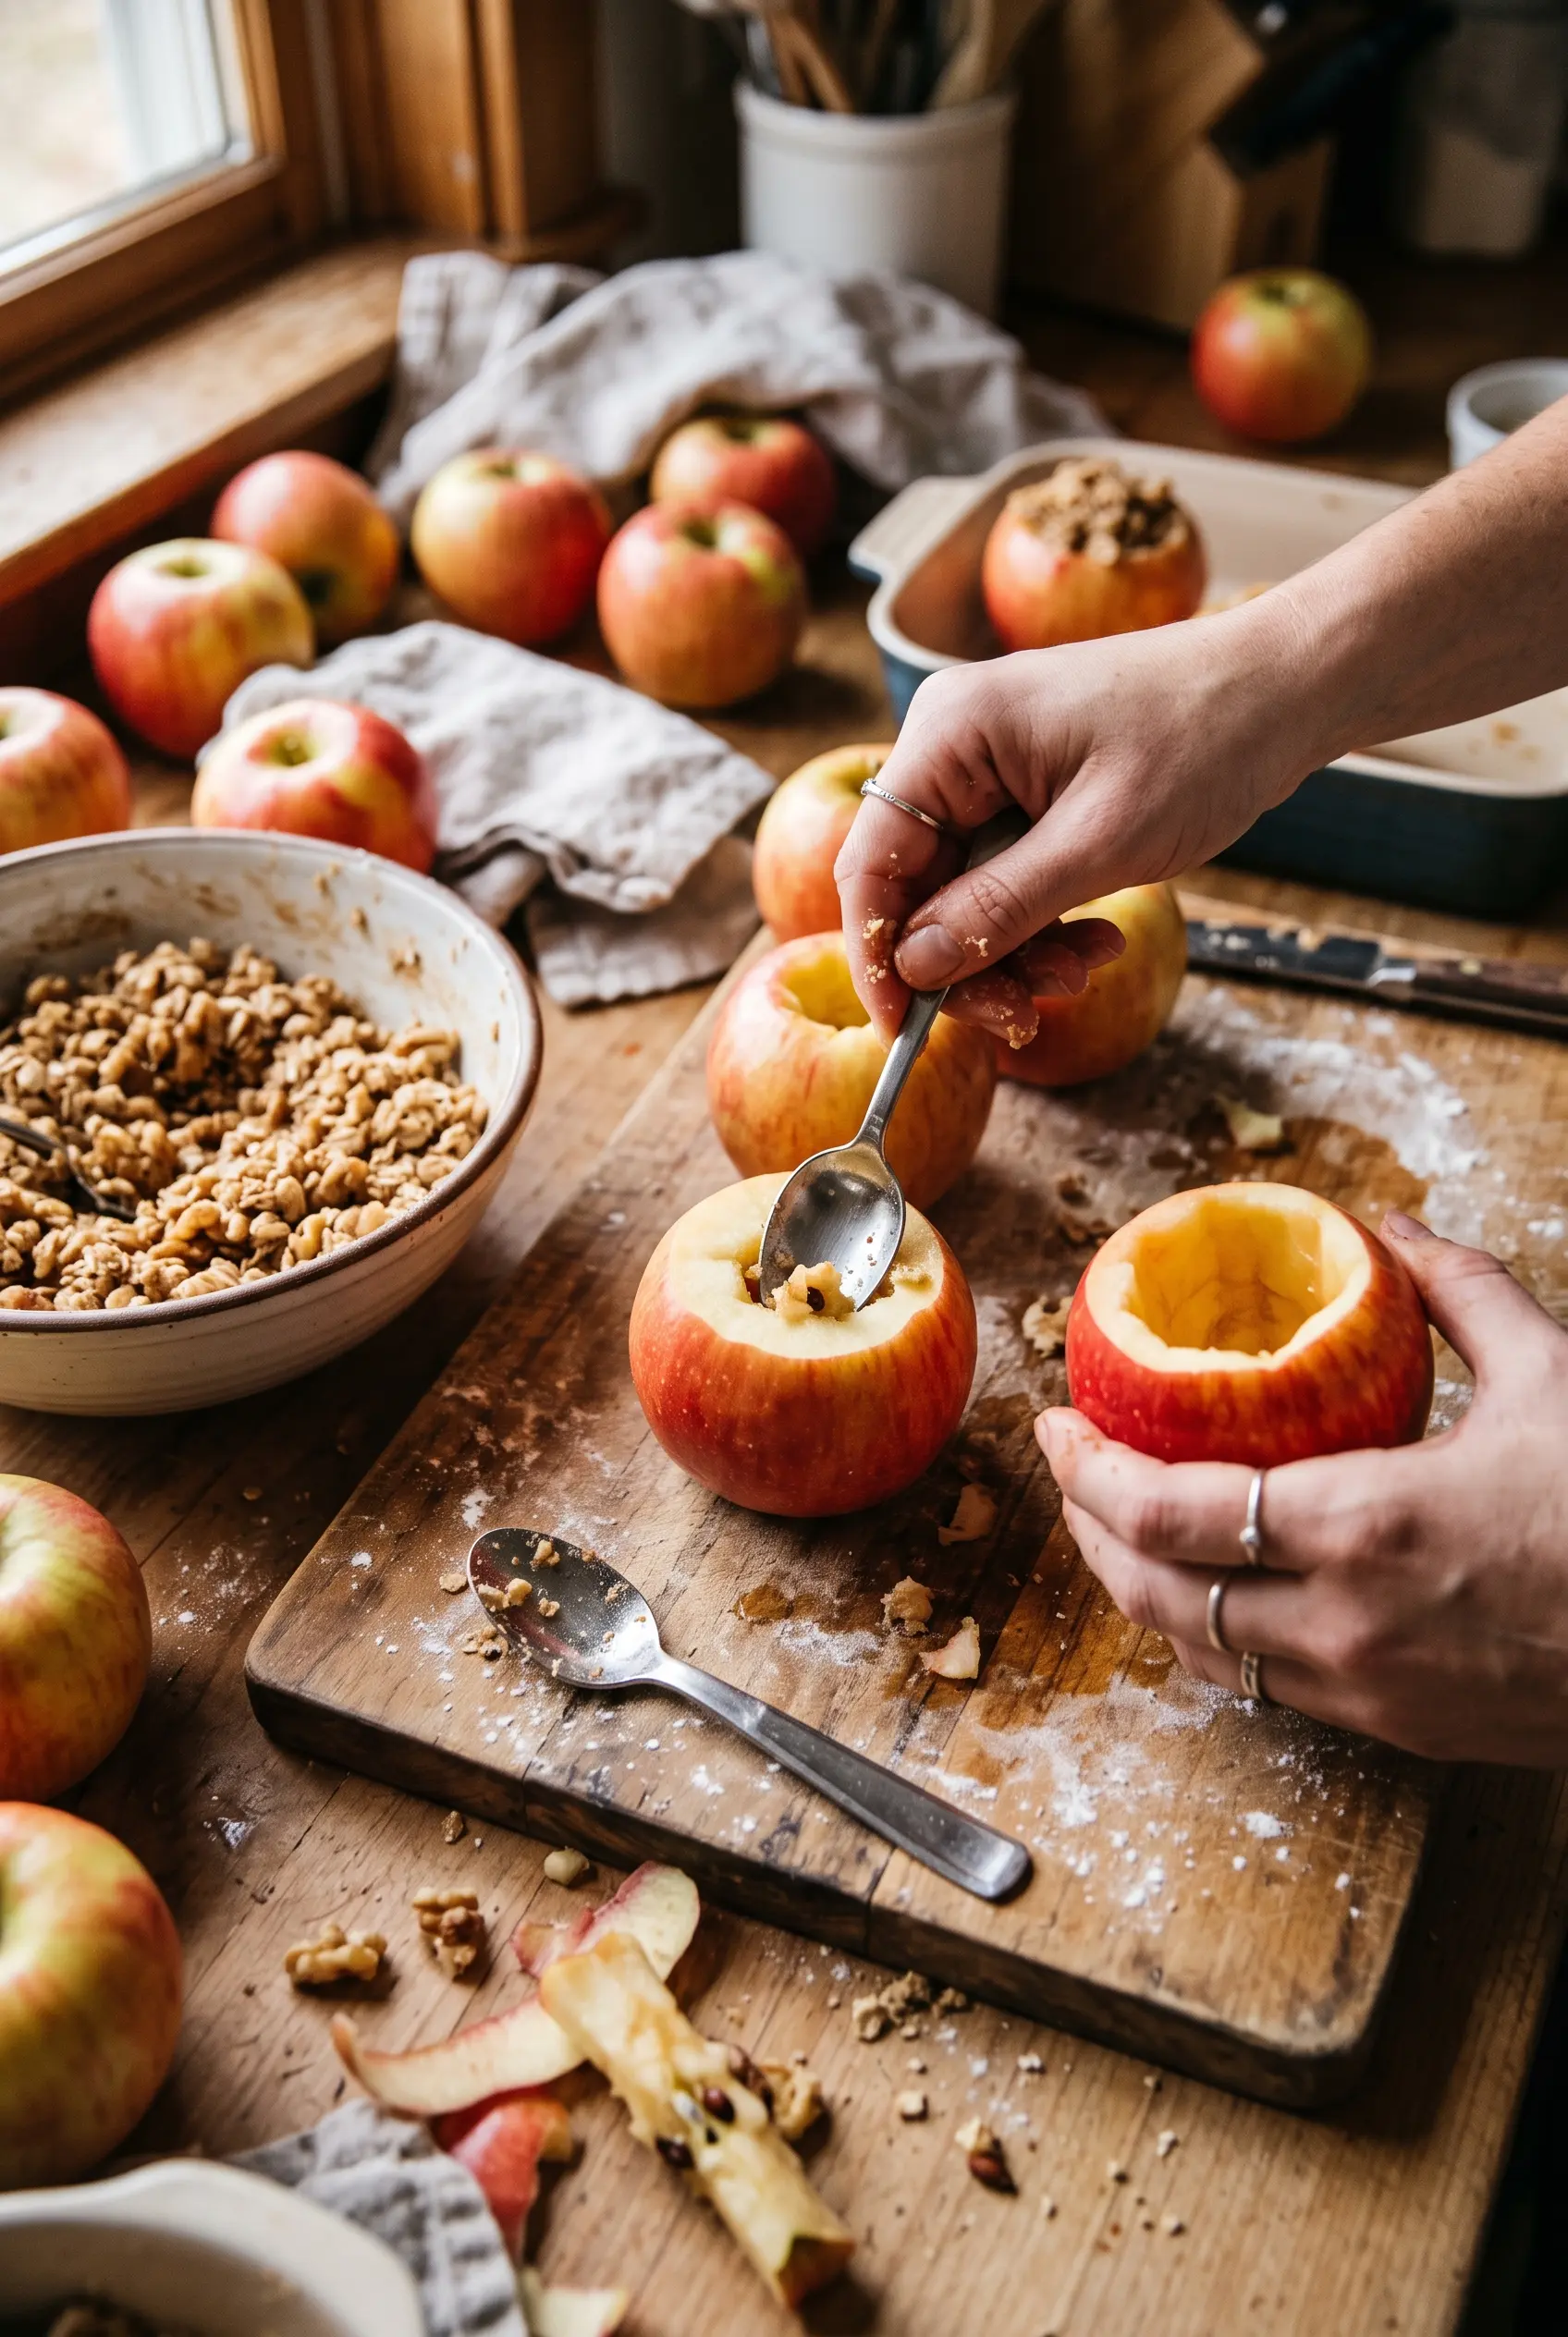
The biggest mistake with baked apples is coring them too aggressively. If you punch all the way through the bottom, the filling leaks out, the sugar burns on the pan, and the apple loses the little bowl shape that makes the dessert work. A melon baller or small spoon gives you better control than a knife and keeps the cavity neat.
The other thing people miss is size. You want a cavity that’s about 1 1/2 inches wide, not a giant hollow shell. That leaves enough apple wall to soften without collapsing during the bake. If the apples wobble a little when you lift them into the dish, that’s fine; if they look flimsy before they even go in, they’re too deeply cored.
- Honeycrisp — crisp, juicy, and reliable for holding their shape through a 40-minute bake.
- Braeburn — slightly firmer and a little more tart, which keeps the dessert from reading too sweet.
- Brown sugar inside the cavity — this melts with the butter and apple juices to create the syrupy center. White sugar won’t give you the same depth.
- Cold butter in the topping — it’s what keeps the crumble clumpy and crisp. Soft butter turns the topping sandy and heavy instead of crisp.
What Each Ingredient Is Actually Doing in This Dessert
- Rolled oats — these give the topping its crisp, nubby texture. Quick oats can work in a pinch, but the topping will be denser and less distinct.
- All-purpose flour — it binds the crumble just enough so it bakes into clusters instead of a loose pile of dry bits.
- Brown sugar — used both in the topping and inside the apples, it brings the caramel note that makes this taste like apple crisp instead of plain baked fruit.
- Cold unsalted butter — this is the fat that creates the crumble. Salted butter works if that’s what you have, but cut back the added salt slightly.
- Apple cider or water — cider gives the dish a little extra apple flavor in the pan juices. Water still works; you’ll just lean more on the filling and topping for flavor.
- Nutmeg — a small amount matters. It adds warmth without taking over, and too much will make the filling taste dusty.
Building the Crumble Over Tender Apples
Getting the Apples Ready
Preheat the oven to 375°F and pour the cider into the baking dish before you do anything else. That liquid keeps the base of the apples moist and gives you a little sauce at the end. Core from the top, leaving the bottom intact, and stop as soon as you have a cavity deep enough for the sugar and butter. If the apple starts to tilt or crack near the bottom, you’ve gone too far.
Mixing the Filling and Topping
Stir the brown sugar and cinnamon for the cavities first, then tuck a pinch into each apple with a piece of butter. After that, mix the oats, flour, brown sugar, cinnamon, nutmeg, and salt, then work in the cold butter until the mixture forms clumps when squeezed. If it looks sandy and dry, the butter was too warm or not cut in long enough.
Baking Until the Apples Yield
Pack the crumble into and over the top of each apple, letting some spill down the sides. Bake for 35 to 40 minutes, until the topping is deep golden and the apples give easily when pierced with a paring knife. The apples should be tender but still hold their shape. If the topping is browning too quickly before the apples soften, lay a loose piece of foil over the dish for the last 10 minutes.
Serving While the Centers Are Still Hot
Scoop the apples onto plates while they’re still hot and spoon the pan juices over the top. A scoop of vanilla ice cream melts into the crumble and catches the cinnamon-caramel juices in the best way. Caramel sauce is optional in name only; a little drizzle makes the whole thing taste finished.
How to Adapt This for Different Pans, Diets, and Leftovers
Make It Dairy-Free
Use a plant-based butter that behaves like real butter in baking. You’ll still get a crisp topping, though the flavor will be a little less rich, so lean on the caramel sauce if you want that buttery finish.
Turn It Gluten-Free
Swap the all-purpose flour for a 1:1 gluten-free baking blend. The crumble will still hold together, but it may be a touch more delicate, so let the apples rest for 5 minutes before serving.
Use Smaller Apples
If your apples are on the small side, reduce the bake time by about 5 to 8 minutes and watch the tops closely. Smaller apples soften faster, and overbaking is what turns them from tender to collapsed.
Storage and Reheating
- Refrigerator: Store leftovers covered for up to 3 days. The topping softens in the fridge, but the flavor deepens.
- Freezer: They freeze, but the texture of the apples softens after thawing, so I don’t recommend freezing the finished dessert.
- Reheating: Warm in a 325°F oven until heated through, about 15 minutes. The microwave works for speed, but it turns the crumble soft instead of crisp, so use it only if texture matters less than convenience.
Answers to the Questions Worth Asking
Apple Crisp Baked Apples
Ingredients
Equipment
Method
- Preheat oven to 375F, and pour apple cider or water into the bottom of a baking dish so it creates baking moisture. You should see a thin layer of liquid pooling in the dish.
- Core apples from the top, leaving the bottom intact, to create a cavity about 1-1/2 inches wide. The apple should still have a solid base so the filling stays inside.
- Mix brown sugar and cinnamon for the cavity filling, then place a pinch into each apple followed by a piece of butter. The cavities should look partially filled and buttery after this step.
- In a bowl, combine rolled oats, all-purpose flour, brown sugar, cinnamon, nutmeg, and salt. Stir until evenly speckled before adding butter.
- Cut cold butter into the oat mixture until clumpy, using fingertips or a pastry cutter. The crumble should hold together in small clusters rather than becoming smooth.
- Pack crumble into and over the top of each apple, building a generous mound. The tops should be well-covered so they bake up golden.
- Bake for 35-40 minutes at 375F until the apples are tender and the crumble is golden. Look for bubbling juices at the edges and crisp, browned oat clusters.
- Serve immediately with vanilla ice cream and caramel sauce. The ice cream should melt slightly onto the warm apples.