Apple crisp bars give you the best part of apple crisp in a form you can pick up with your hands: a buttery oat base, a thick layer of spiced apples, and a crumb topping that stays crisp instead of turning soggy. The payoff is a dessert that slices cleanly once it cools, which means you get neat layers instead of a spoonable mess.
The trick is baking the bottom layer before adding the filling. That short head start sets the crust so it can stand up to the apple juices, and the cornstarch in the filling thickens the fruit as it bakes. I also like diced apples here rather than thin slices because they soften into a juicy, jammy middle without losing all their shape.
Below you’ll find the small details that matter most: how firmly to press the base, why the bars need a full cool-down before cutting, and a few simple swaps if you need to work with what you already have.
The apple layer thickened up beautifully and the bars held together after cooling overnight. I loved that the oat topping stayed crisp around the edges instead of getting soft.
Like this layered apple crisp dessert? Save it to Pinterest for the days when you want a crisp topping, a thick apple filling, and easy-to-slice bars.
The Part That Keeps the Bottom From Going Soft
The mistake that ruins a lot of fruit bars is treating the crust like a dry crumble from start to finish. Here, the bottom layer gets pressed firmly and baked on its own before the apples go in, and that step changes everything. It gives the bars a head start so the fruit can bubble without soaking straight through the base.
You also want the apple filling to be thick before it goes into the pan. Cornstarch needs heat to activate, so if the apples are tossed well and baked until the filling is visibly bubbling, it sets into a glossy layer that slices cleanly. Pull the bars too early and the center stays loose, even if the top looks done.
- Pressing the base firmly — This is what gives you a bar, not loose crumbs. Pack it evenly so the crust bakes into one solid layer.
- Baking the crust first — Ten minutes is enough to set the bottom without drying it out. That short bake keeps the filling from sinking in.
- Waiting for visible bubbling — The filling has to bubble in the center, not just at the edges, or the cornstarch won’t fully thicken it.
What Each Ingredient Is Actually Doing in These Bars
- Rolled oats — These bring the classic crisp texture and help the topping stay rugged and nubby. Quick oats can work in a pinch, but the bars will be less textured and a little denser.
- Brown sugar — This adds moisture and a deeper caramel note that belongs in an apple dessert. If you use all white sugar in the crumb, the bars taste flatter and the topping dries out faster.
- Melted butter — Melted butter makes the crumble easy to mix and press, and it helps the bottom layer hold together once baked. Don’t swap in oil unless you want a softer, less structured crust.
- Apples — Peel them and dice them finely so they soften quickly and layer evenly. Firm baking apples are best because they hold their shape instead of turning to applesauce.
- Cornstarch — This is what turns the apple juices into a sliceable filling. Flour can thicken, but it won’t give the same clean set or glossy finish.
- Lemon juice — It keeps the apples from tasting flat and helps the filling stay bright. You don’t taste lemon in the finished bars; you just notice the apples taste more like themselves.
Getting the Layers Right from Pan to Slice
Mixing the Crumble
Stir the oats, flour, brown sugar, cinnamon, and salt together first so the spice and sugar distribute evenly through the crust. Then drizzle in the melted butter and toss until every dry pocket is moistened and the mixture looks like wet sand with some larger clumps. If it looks dusty, it needs more mixing before you press it into the pan.
Setting the Bottom Layer
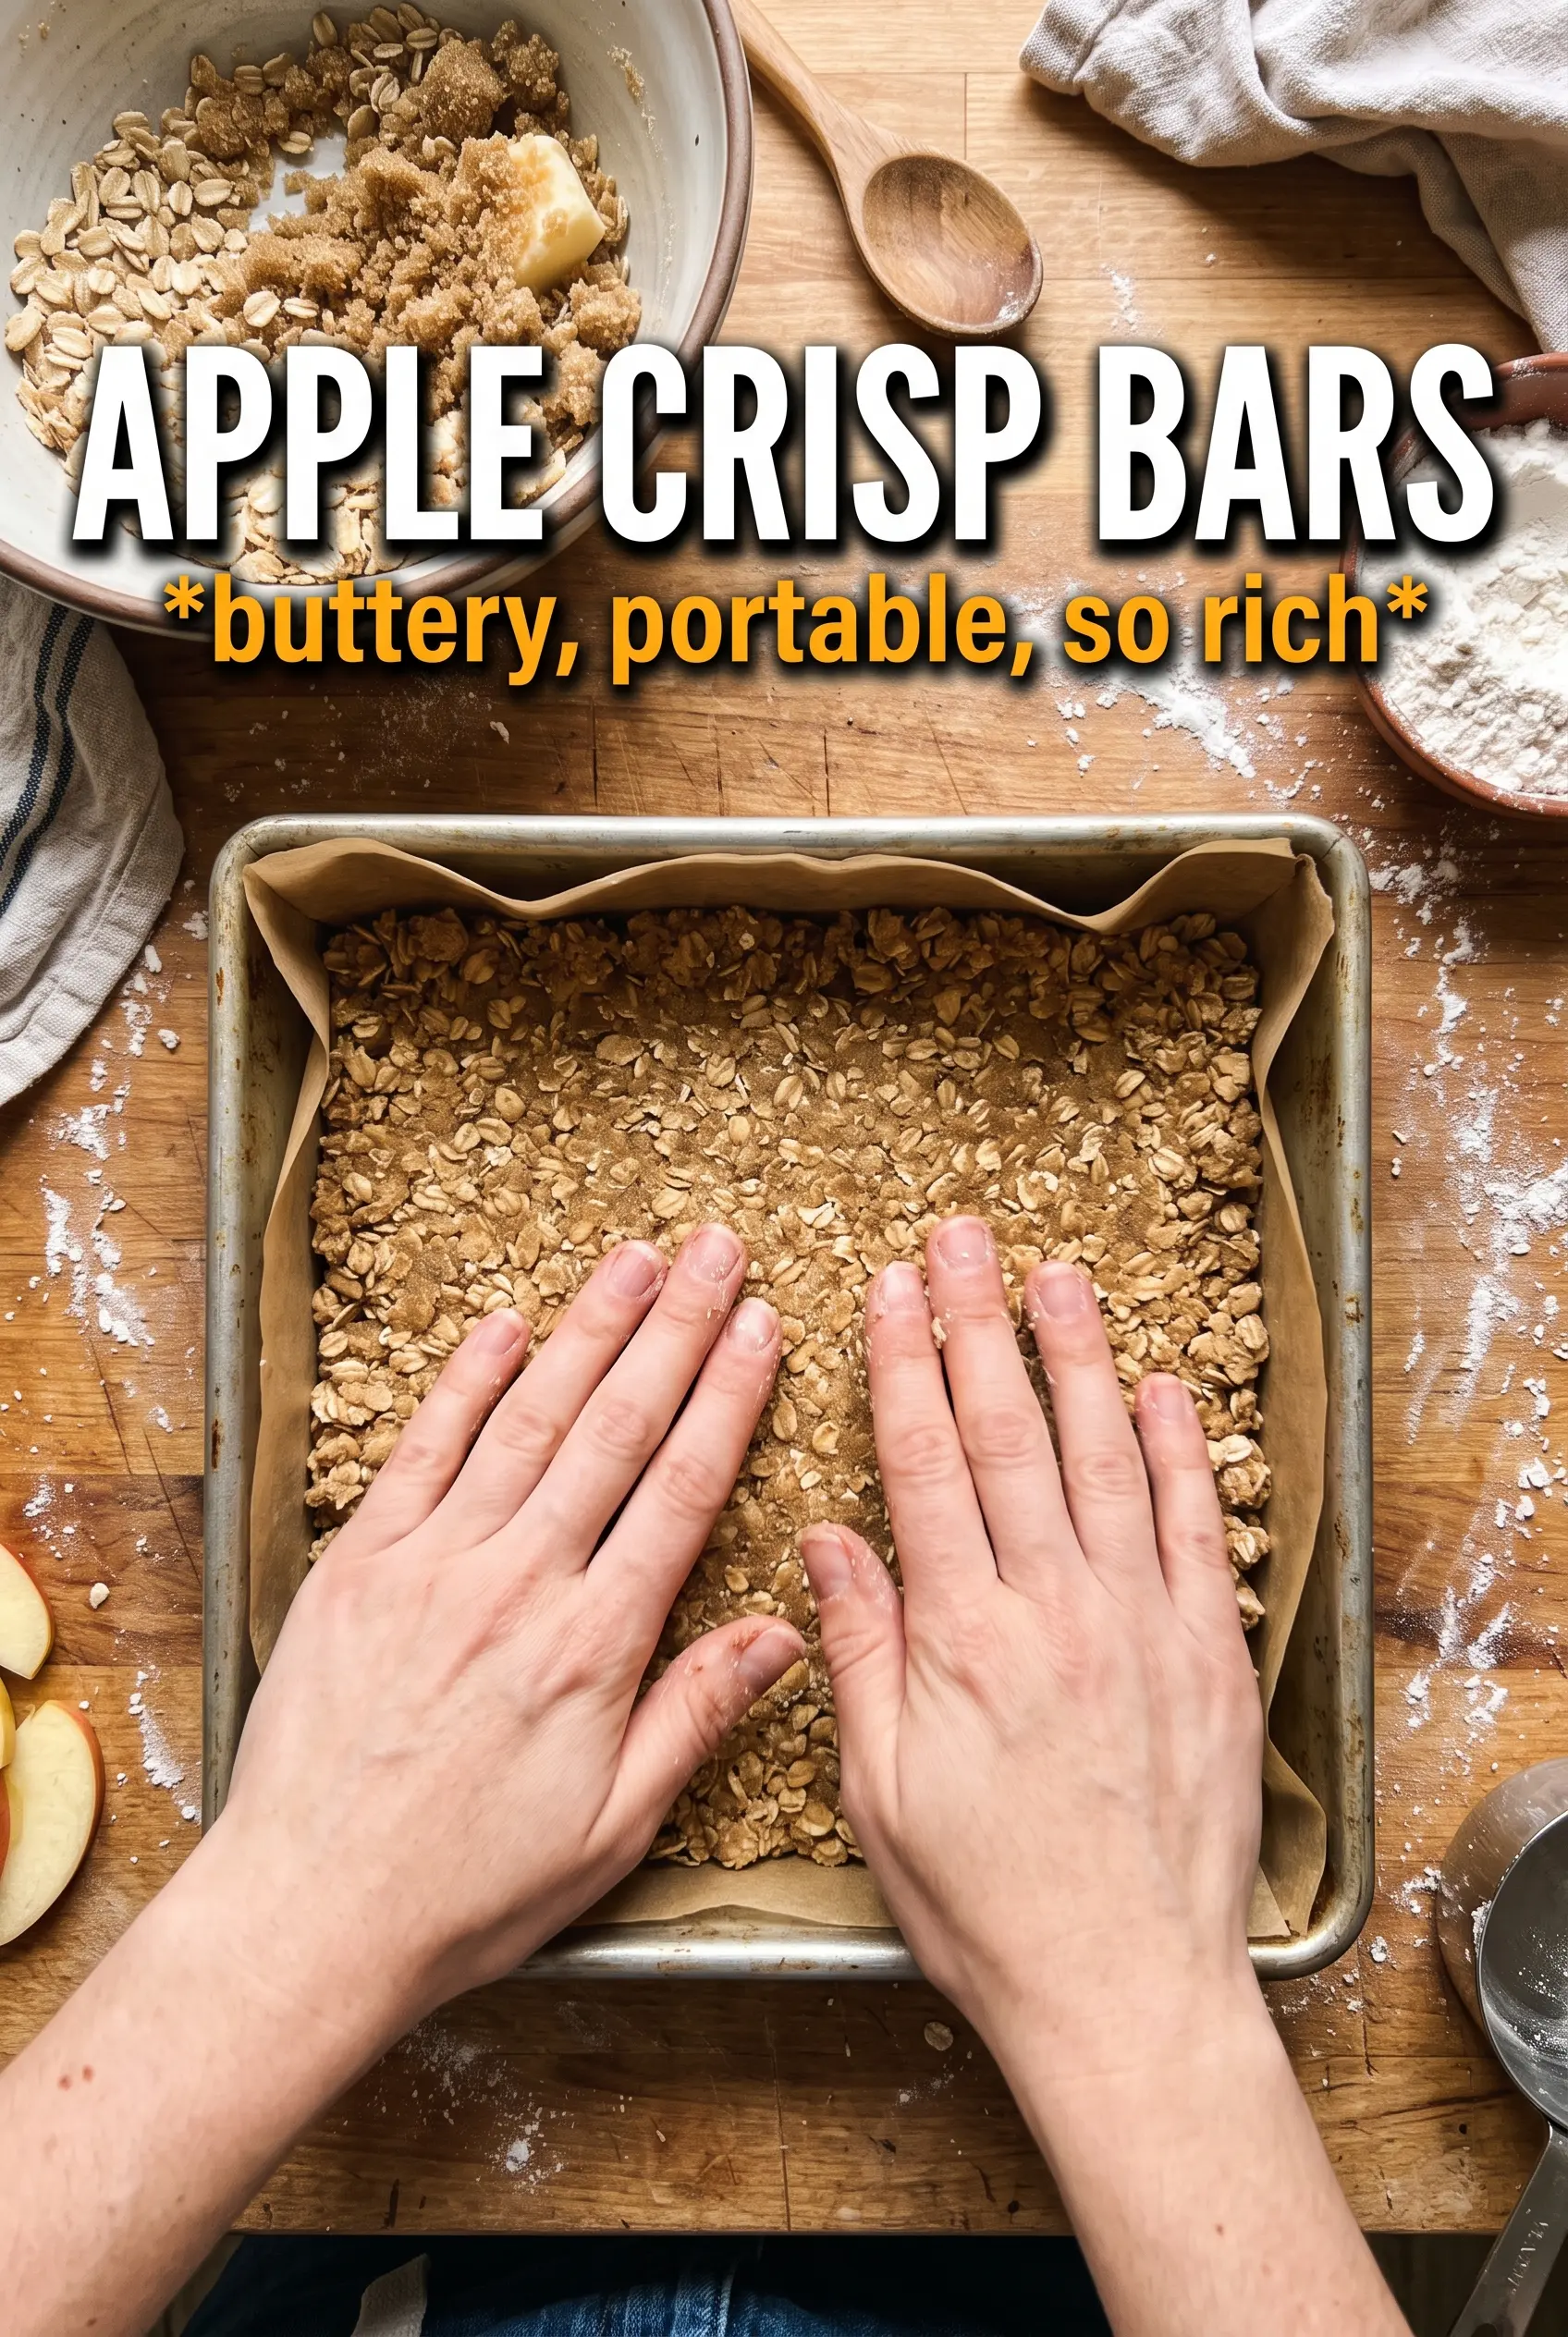
Press two-thirds of the mixture firmly into the parchment-lined pan, pushing it into the corners so the base is even. Bake it just until set and lightly golden at the edges. If you skip the pre-bake, the apple juices seep in and the bars turn soft at the bottom instead of holding together.
Building the Apple Filling
Toss the diced apples with the granulated sugar, cinnamon, nutmeg, cornstarch, and lemon juice until the pieces look evenly coated. Spread the filling over the hot crust right away so the bottom starts working with the fruit as soon as it hits the pan. A good layer here should mound slightly but still sit in an even blanket.
Finishing with the Crumble Top
Scatter the remaining oat mixture over the apples, using your fingers to break up any huge clumps. You want full coverage, but a few gaps are fine because the fruit will bubble through and peek out at the edges. Bake until the topping is deep golden and you can see the filling actively bubbling through the center.
Cooling Before Cutting
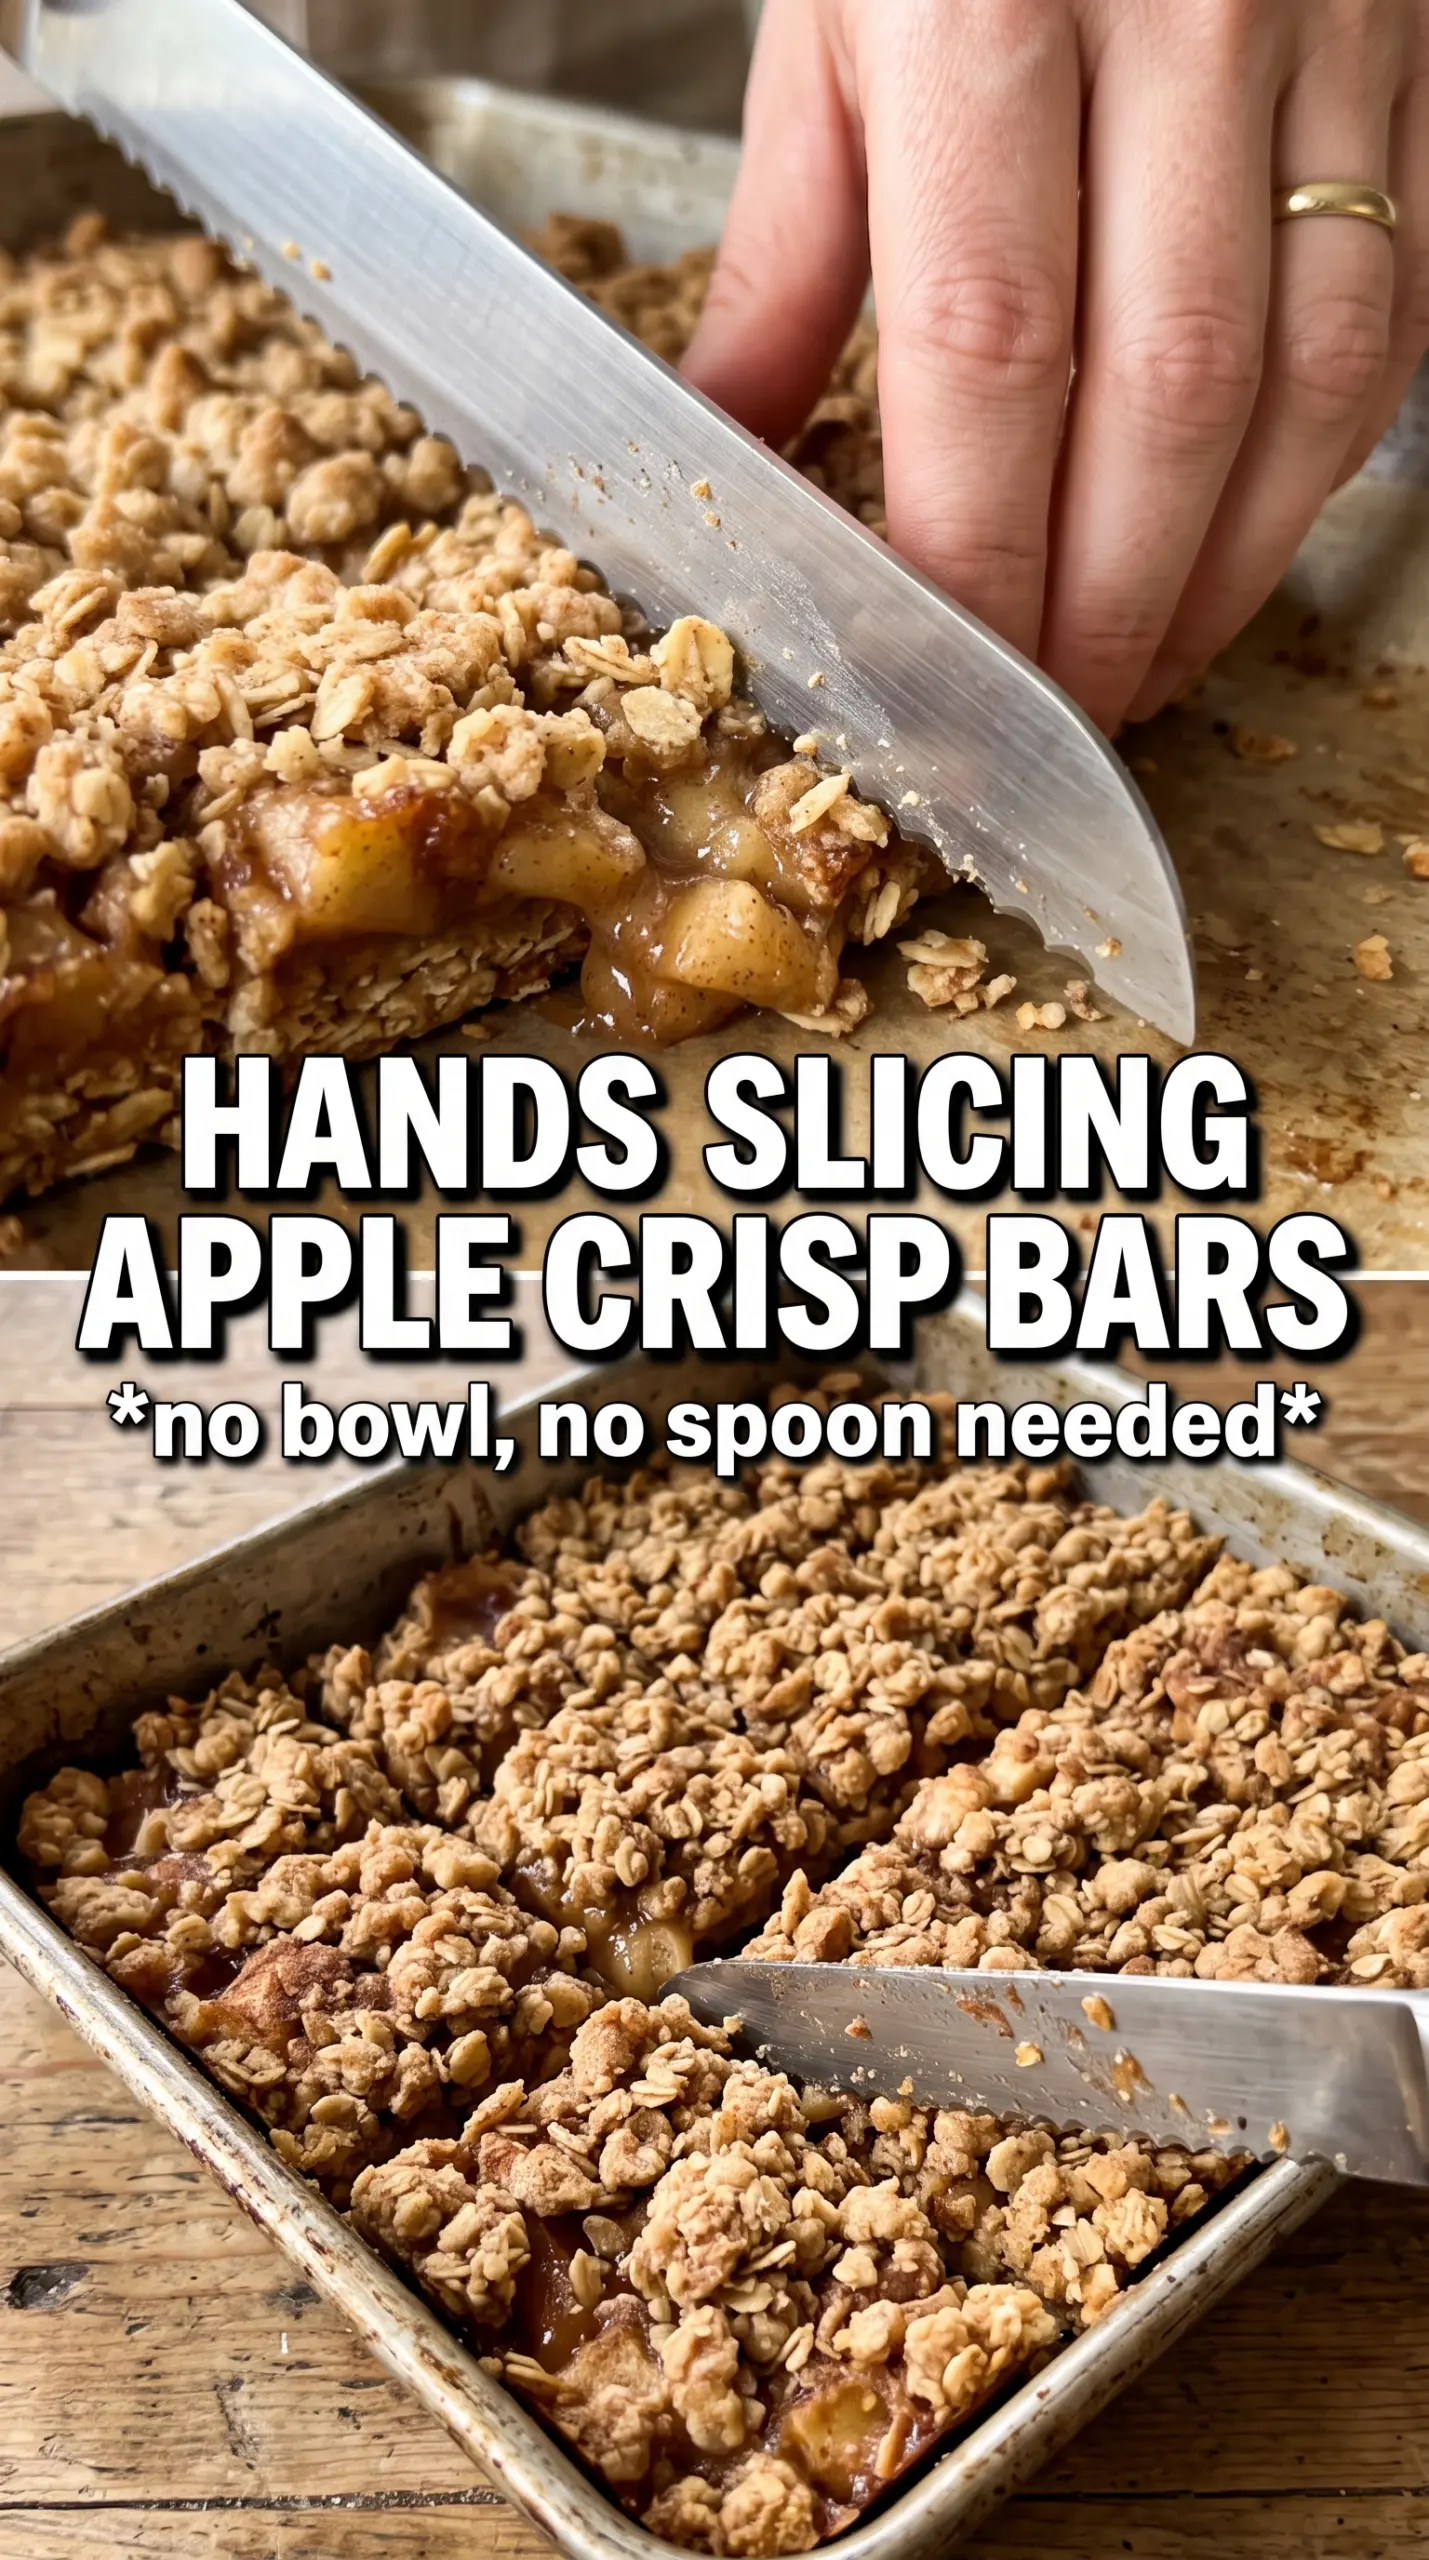
Let the pan cool completely before slicing. That part matters more than people think, because the filling keeps thickening as it cools and the bottom firms up enough to cut into clean bars. If you cut too soon, the layers slide apart and the middle looks underbaked even when it isn’t.
How to Adapt These Bars for Different Kitchens and Cravings
Gluten-Free Crumble Bars
Use a 1:1 gluten-free flour blend in place of the all-purpose flour and make sure your oats are certified gluten-free. The texture stays close to the original, though the crust may be a touch more delicate when warm.
Dairy-Free Version
Swap the butter for a plant-based butter that bakes well, not a soft tub spread. You still want something that firms up as it cools, or the base won’t hold together the same way.
Extra-Spiced Apple Filling
Add a pinch of cardamom or allspice if you want the filling to lean warmer and more aromatic. Keep the amount small so the apples still taste like apples and not like a spice blend.
Storage and Reheating
- Refrigerator: Store covered for up to 5 days. The topping softens a little in the fridge, but the bars still slice cleanly.
- Freezer: These freeze well. Cut into bars, wrap individually, and freeze in a single layer before transferring to a container.
- Reheating: Warm in a 300F oven for 8 to 10 minutes if you want the topping to crisp back up. The microwave softens the crumble, so use it only when you don’t mind a softer bar.
Questions I Get Asked About This Recipe
Apple Crisp Bars
Ingredients
Equipment
Method
- Preheat the oven to 375°F and line a 9x13 pan with parchment for easy lifting. Visual cue: parchment should overhang slightly on the sides.
- Combine the rolled oats, all-purpose flour, brown sugar, cinnamon, and salt in a bowl. Visual cue: the mixture should look evenly speckled.
- Drizzle the melted butter over the oat mixture and toss until evenly moistened. Visual cue: it should clump slightly when pressed.
- Press 2/3 of the oat mixture firmly into the prepared pan. Visual cue: the base should form a compact, flat layer.
- Bake the base for 10 minutes at 375°F. Visual cue: edges will look lightly set but not browned.
- Toss the diced apples with granulated sugar, cinnamon, nutmeg, cornstarch, and lemon juice. Visual cue: the apples should look glossy and thickened.
- Spread the apple mixture over the hot baked base. Visual cue: distribute to the corners in an even layer.
- Scatter the remaining oat crumble over the apples. Visual cue: crumbs should fully cover the surface for a uniform topping.
- Bake for 30 more minutes at 375°F until the topping is golden and the filling bubbles. Visual cue: you should see active bubbling around the center and along the edges.
- Cool completely before slicing into bars. Visual cue: allow the bars to set so the filling holds when cut.