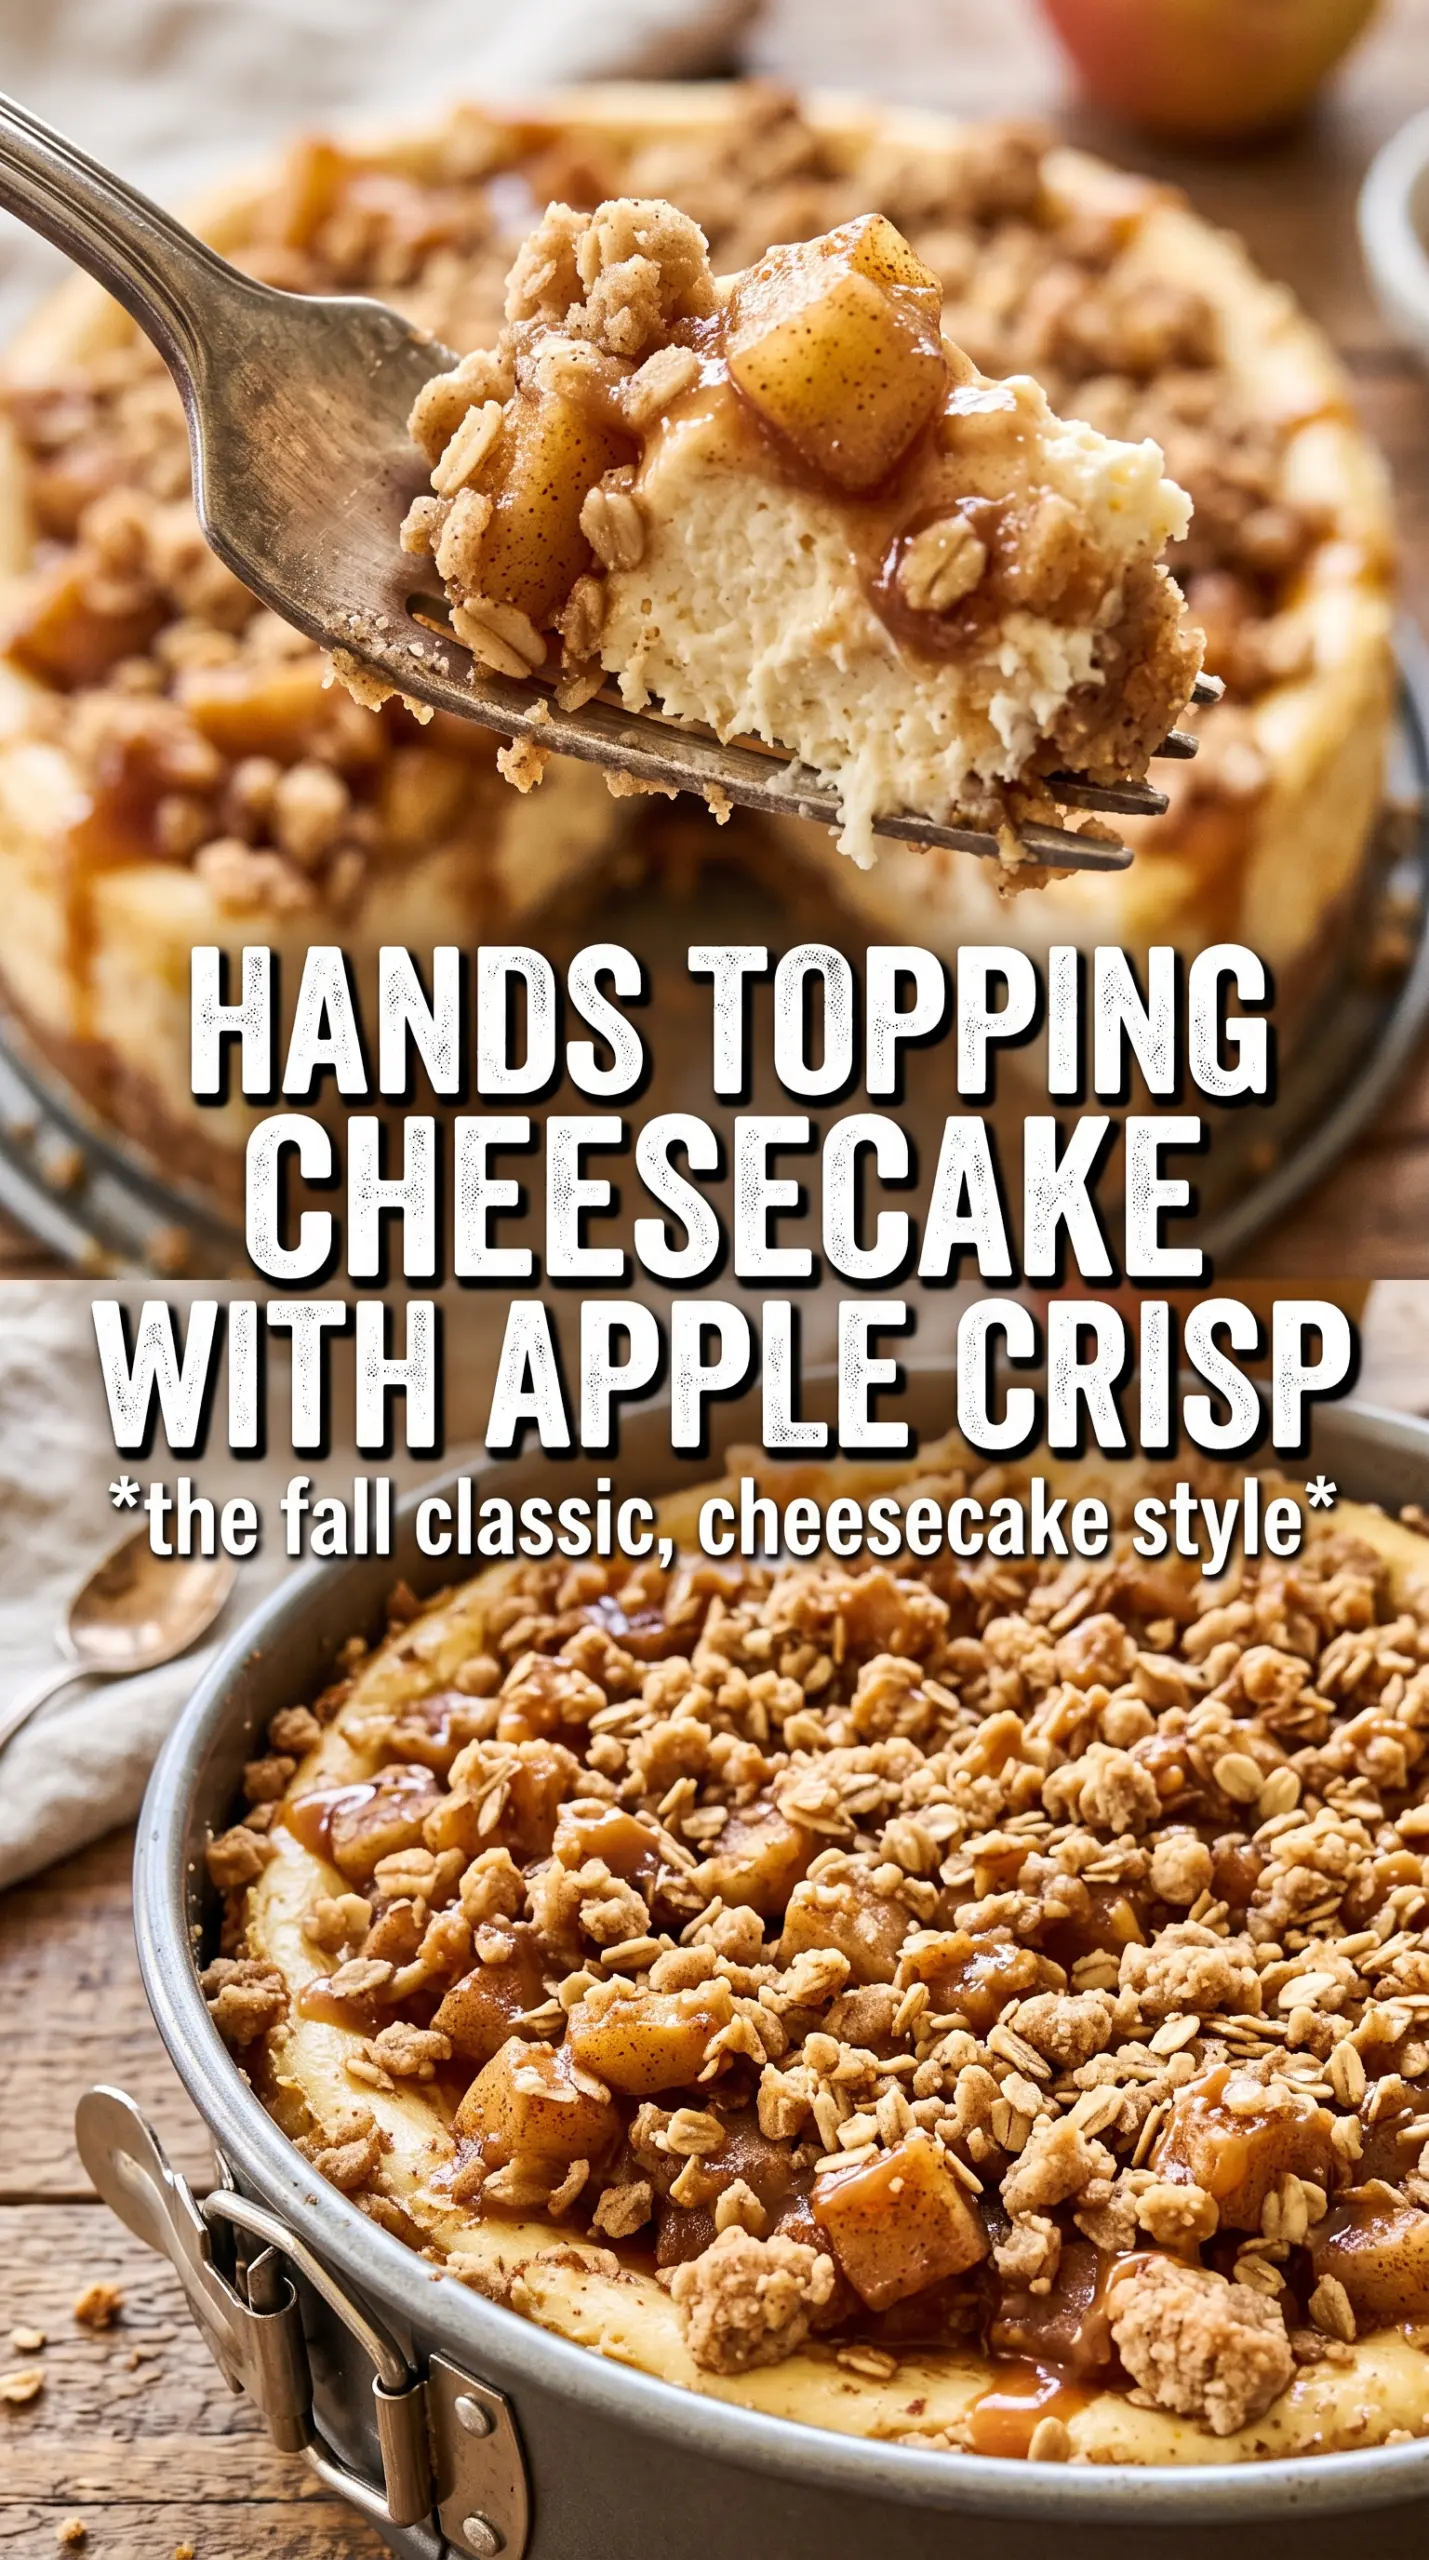
Apple Crisp Cheesecake brings together the best part of three desserts in one clean slice: a buttery graham crust, silky cinnamon cheesecake, tender apples, and a golden oat crumble that stays crisp on top instead of sinking into the filling. The contrast is what makes people go back for a second piece. You get creamy, crunchy, soft, and spiced in every bite.
The part that makes this version work is the order of the layers and the water bath. The apple mixture gets cooked just enough to soften and release some of its moisture before it ever hits the cheesecake, which keeps the filling from getting watery. The oat topping also gets mixed separately and scattered over the apples at the end, so it bakes into a real crisp instead of disappearing into the batter.
Below, I’ve included the small details that matter most: how to keep the cheesecake filling smooth, what kind of apples hold their shape best, and how to know when the center is set without overbaking it.
The apple layer stayed tucked in nicely and the crumble actually stayed crisp after chilling overnight. I was worried the cheesecake would bake unevenly in the water bath, but the center set up smooth and sliced clean the next day.
Save this Apple Crisp Cheesecake for the dessert nights when you want a creamy cheesecake layer and a crisp oat topping in one slice.
The Trick to Keeping the Crisp on Top, Not Soggy in the Middle
The biggest mistake with apple crisp cheesecake is treating the topping like a garnish. If it sits directly on raw apples or unbaked filling without enough structure, the butter melts into the layers beneath it and you lose that crumbly, toasted finish. Here, the apples are cooked first just until they start to soften, which drives off some moisture and keeps the topping from turning damp in the oven.
The water bath matters for a different reason. Cheesecake bakes best with gentle heat, and the steam keeps the edges from racing ahead of the center. If the top starts to brown too fast, your oven is too hot or the pan wasn’t wrapped tightly enough. The goal is a cheesecake that still has a slight wobble in the middle when it comes out, because carryover heat finishes the job during cooling.
- Cooked apples — They keep the filling from getting watery and give the cheesecake a clean, defined apple layer instead of a loose fruit sauce.
- Cold butter in the crumble — This is what creates those bigger crisp pieces. Warm butter makes paste, not crumble.
- Water bath — It slows down the bake and helps the cheesecake set evenly without a dry ring around the edge.
What Each Ingredient Is Actually Doing in This Slice
- Graham cracker crumbs — They bring that familiar buttery base and hold up better than a delicate cookie crust under the weight of the filling. Pack them firmly so the slice releases cleanly.
- Cream cheese — Full-fat cream cheese gives the filling structure and that dense, smooth texture people expect from cheesecake. Let it soften fully or the batter will stay lumpy no matter how long you beat it.
- Sour cream — This loosens the filling just enough and adds a slight tang that keeps the dessert from tasting flat. Plain Greek yogurt works in a pinch, but the texture is a little firmer.
- Apples — Use a firm baking apple like Granny Smith, Honeycrisp, or a mix. Softer apples break down too fast and turn the layer mushy.
- Rolled oats — Old-fashioned oats give the topping a real crisp texture. Quick oats work, but the crumble will be finer and less nubby.
Building the Layers So the Cheesecake Bakes Evenly
Pressing and Prebaking the Crust
Mix the graham crumbs, sugar, and melted butter until every crumb looks evenly moistened, then press it into the springform pan in a tight, even layer. Bake it for 8 minutes until it smells toasty and looks just set; that quick bake keeps the crust from turning sandy under the filling. If the crust is loose now, it will fall apart when you slice the chilled cheesecake.
Cooking the Apples Just Enough
Cook the diced apples with butter, brown sugar, and cinnamon for about 5 minutes, stirring often. You want them softened at the edges but still holding their shape. If you cook them until they collapse, they’ll blend into the filling and disappear. Let them cool before layering so they don’t warm the cheesecake batter and throw off the bake.
Mixing the Filling Without Whipping in Air
Beat the cream cheese and sugar until smooth, then add the eggs one at a time and stop mixing as soon as each one disappears. Too much air makes the cheesecake puff and crack as it cools. Add the sour cream, vanilla, and cinnamon at the end and mix just until combined. The batter should look silky, not fluffy.
Knowing When the Center Is Set
Bake the cheesecake in the water bath until the edges are firm and the center still has a slight wobble when you tap the pan. That wobble should look like the middle is set under the surface, not sloshy. If it looks fully firm in the oven, it’s already overbaked. Cool it completely before chilling, or condensation can drip onto the top and soften the crumble.
Make It Less Sweet
Cut the sugar in the crust slightly and use tart apples like Granny Smith for a sharper contrast against the rich filling. The dessert will taste a little more grown-up and the apple layer will stand out more clearly.
Gluten-Free Version
Use gluten-free graham-style crumbs for the crust and swap the flour in the topping for a 1:1 gluten-free baking blend. The texture stays close to the original, though the crumble may brown a little faster, so watch the top near the end of baking.
Dairy-Free Adaptation
Use dairy-free cream cheese, plant-based butter, and coconut or soy yogurt in place of the sour cream. The cheesecake will still slice well, but the flavor is slightly less tangy and the filling may be a touch softer after chilling.
Storage and Reheating
- Refrigerator: Store covered for up to 5 days. The topping softens a little over time, but the flavor holds up well.
- Freezer: Freeze whole or in slices after chilling completely. Wrap tightly and freeze for up to 2 months; thaw overnight in the refrigerator.
- Reheating: Serve it cold or let slices sit at room temperature for 20 to 30 minutes. Don’t microwave it, or the cheesecake can turn greasy and the crumble loses its texture.
Answers to the Questions Worth Asking
Apple Crisp Cheesecake
Ingredients
Equipment
Method
- Preheat the oven to 325°F. Press the graham cracker crumbs, sugar, and melted unsalted butter into a 9-inch springform pan, then bake for 8 minutes.
- Let the baked crust cool while you prepare the cheesecake filling and apples.
- Cook the diced apples with 1 tablespoon butter, brown sugar, and cinnamon for 5 minutes, stirring until softened. Cool the cooked apples completely before assembling the cheesecake.
- Beat the softened cream cheese and granulated sugar until smooth. Add the eggs one at a time, then mix in sour cream, vanilla, and cinnamon until fully combined.
- Pour the cheesecake filling over the cooled crust, then top with the cooked apples. Scatter the apples evenly so the layer bakes uniformly.
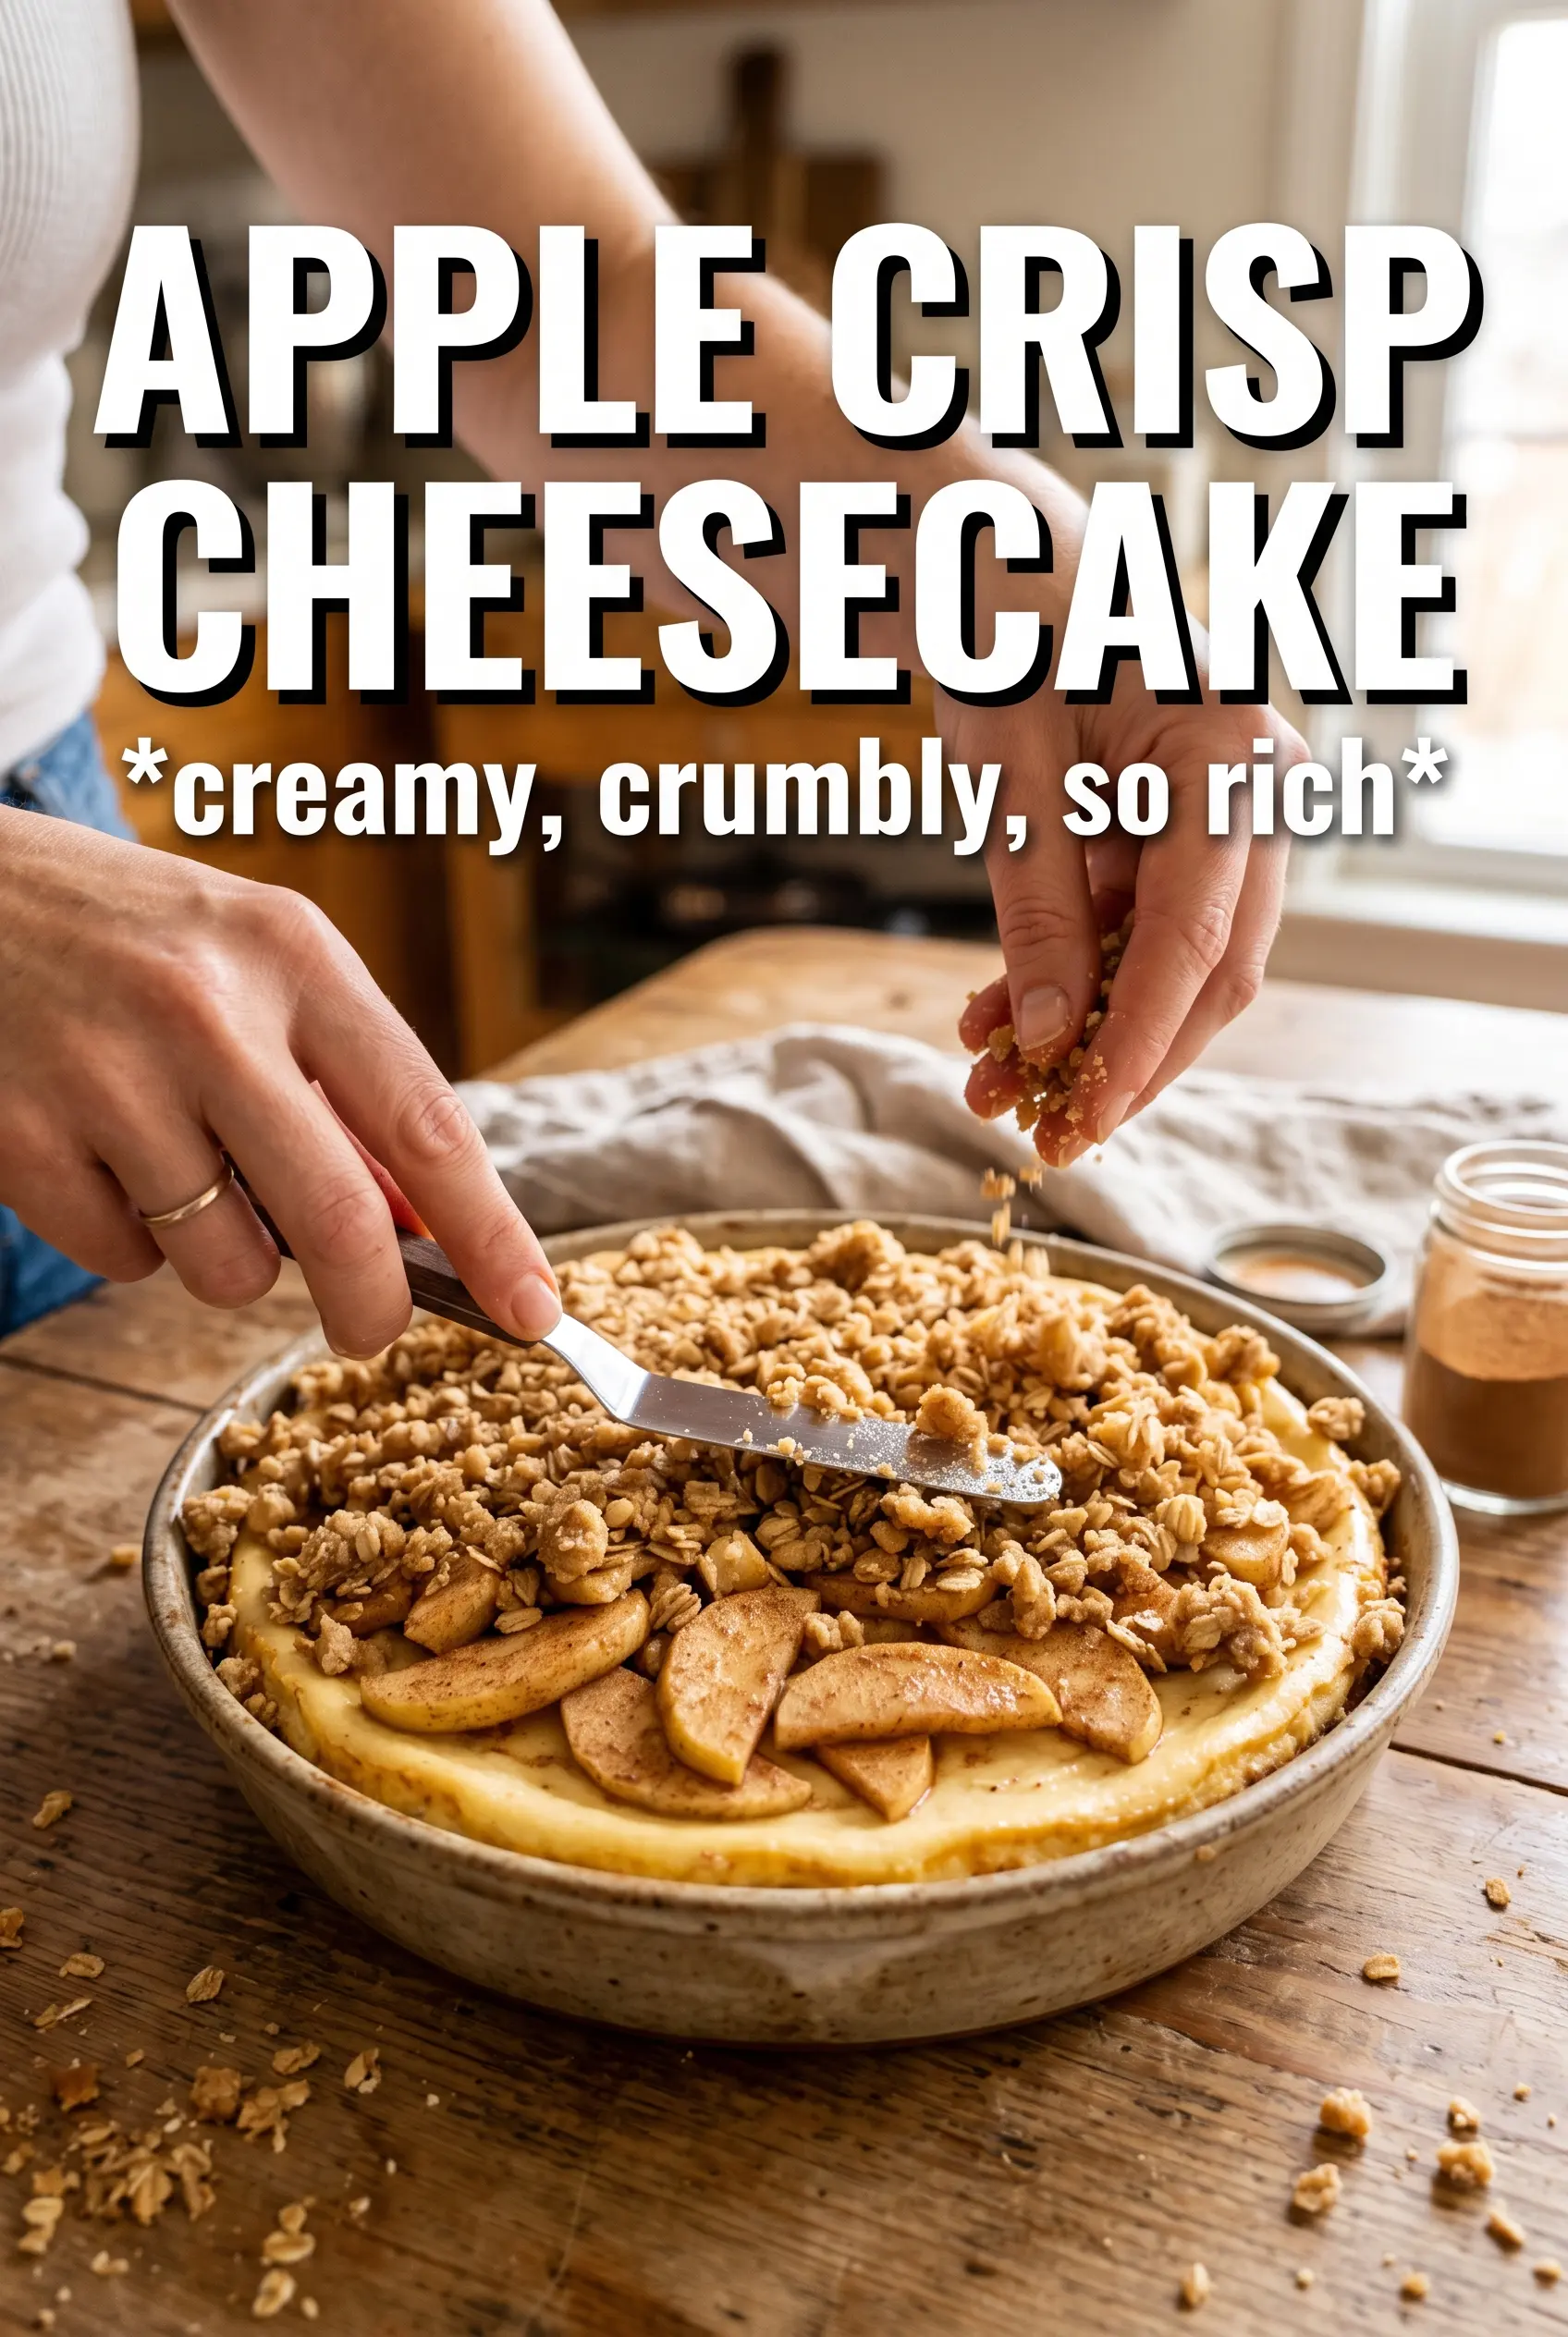
- Combine rolled oats, flour, brown sugar, and cinnamon, then cut in the cold butter until clumpy. Scatter the oat crisp topping over the apples.
- Bake the cheesecake in a water bath at 325°F for 60–65 minutes, until the center is just set. Look for a gentle jiggle in the middle rather than a fully firm center.
- Cool the cheesecake completely at room temperature. Refrigerate for 6 hours before releasing and slicing.