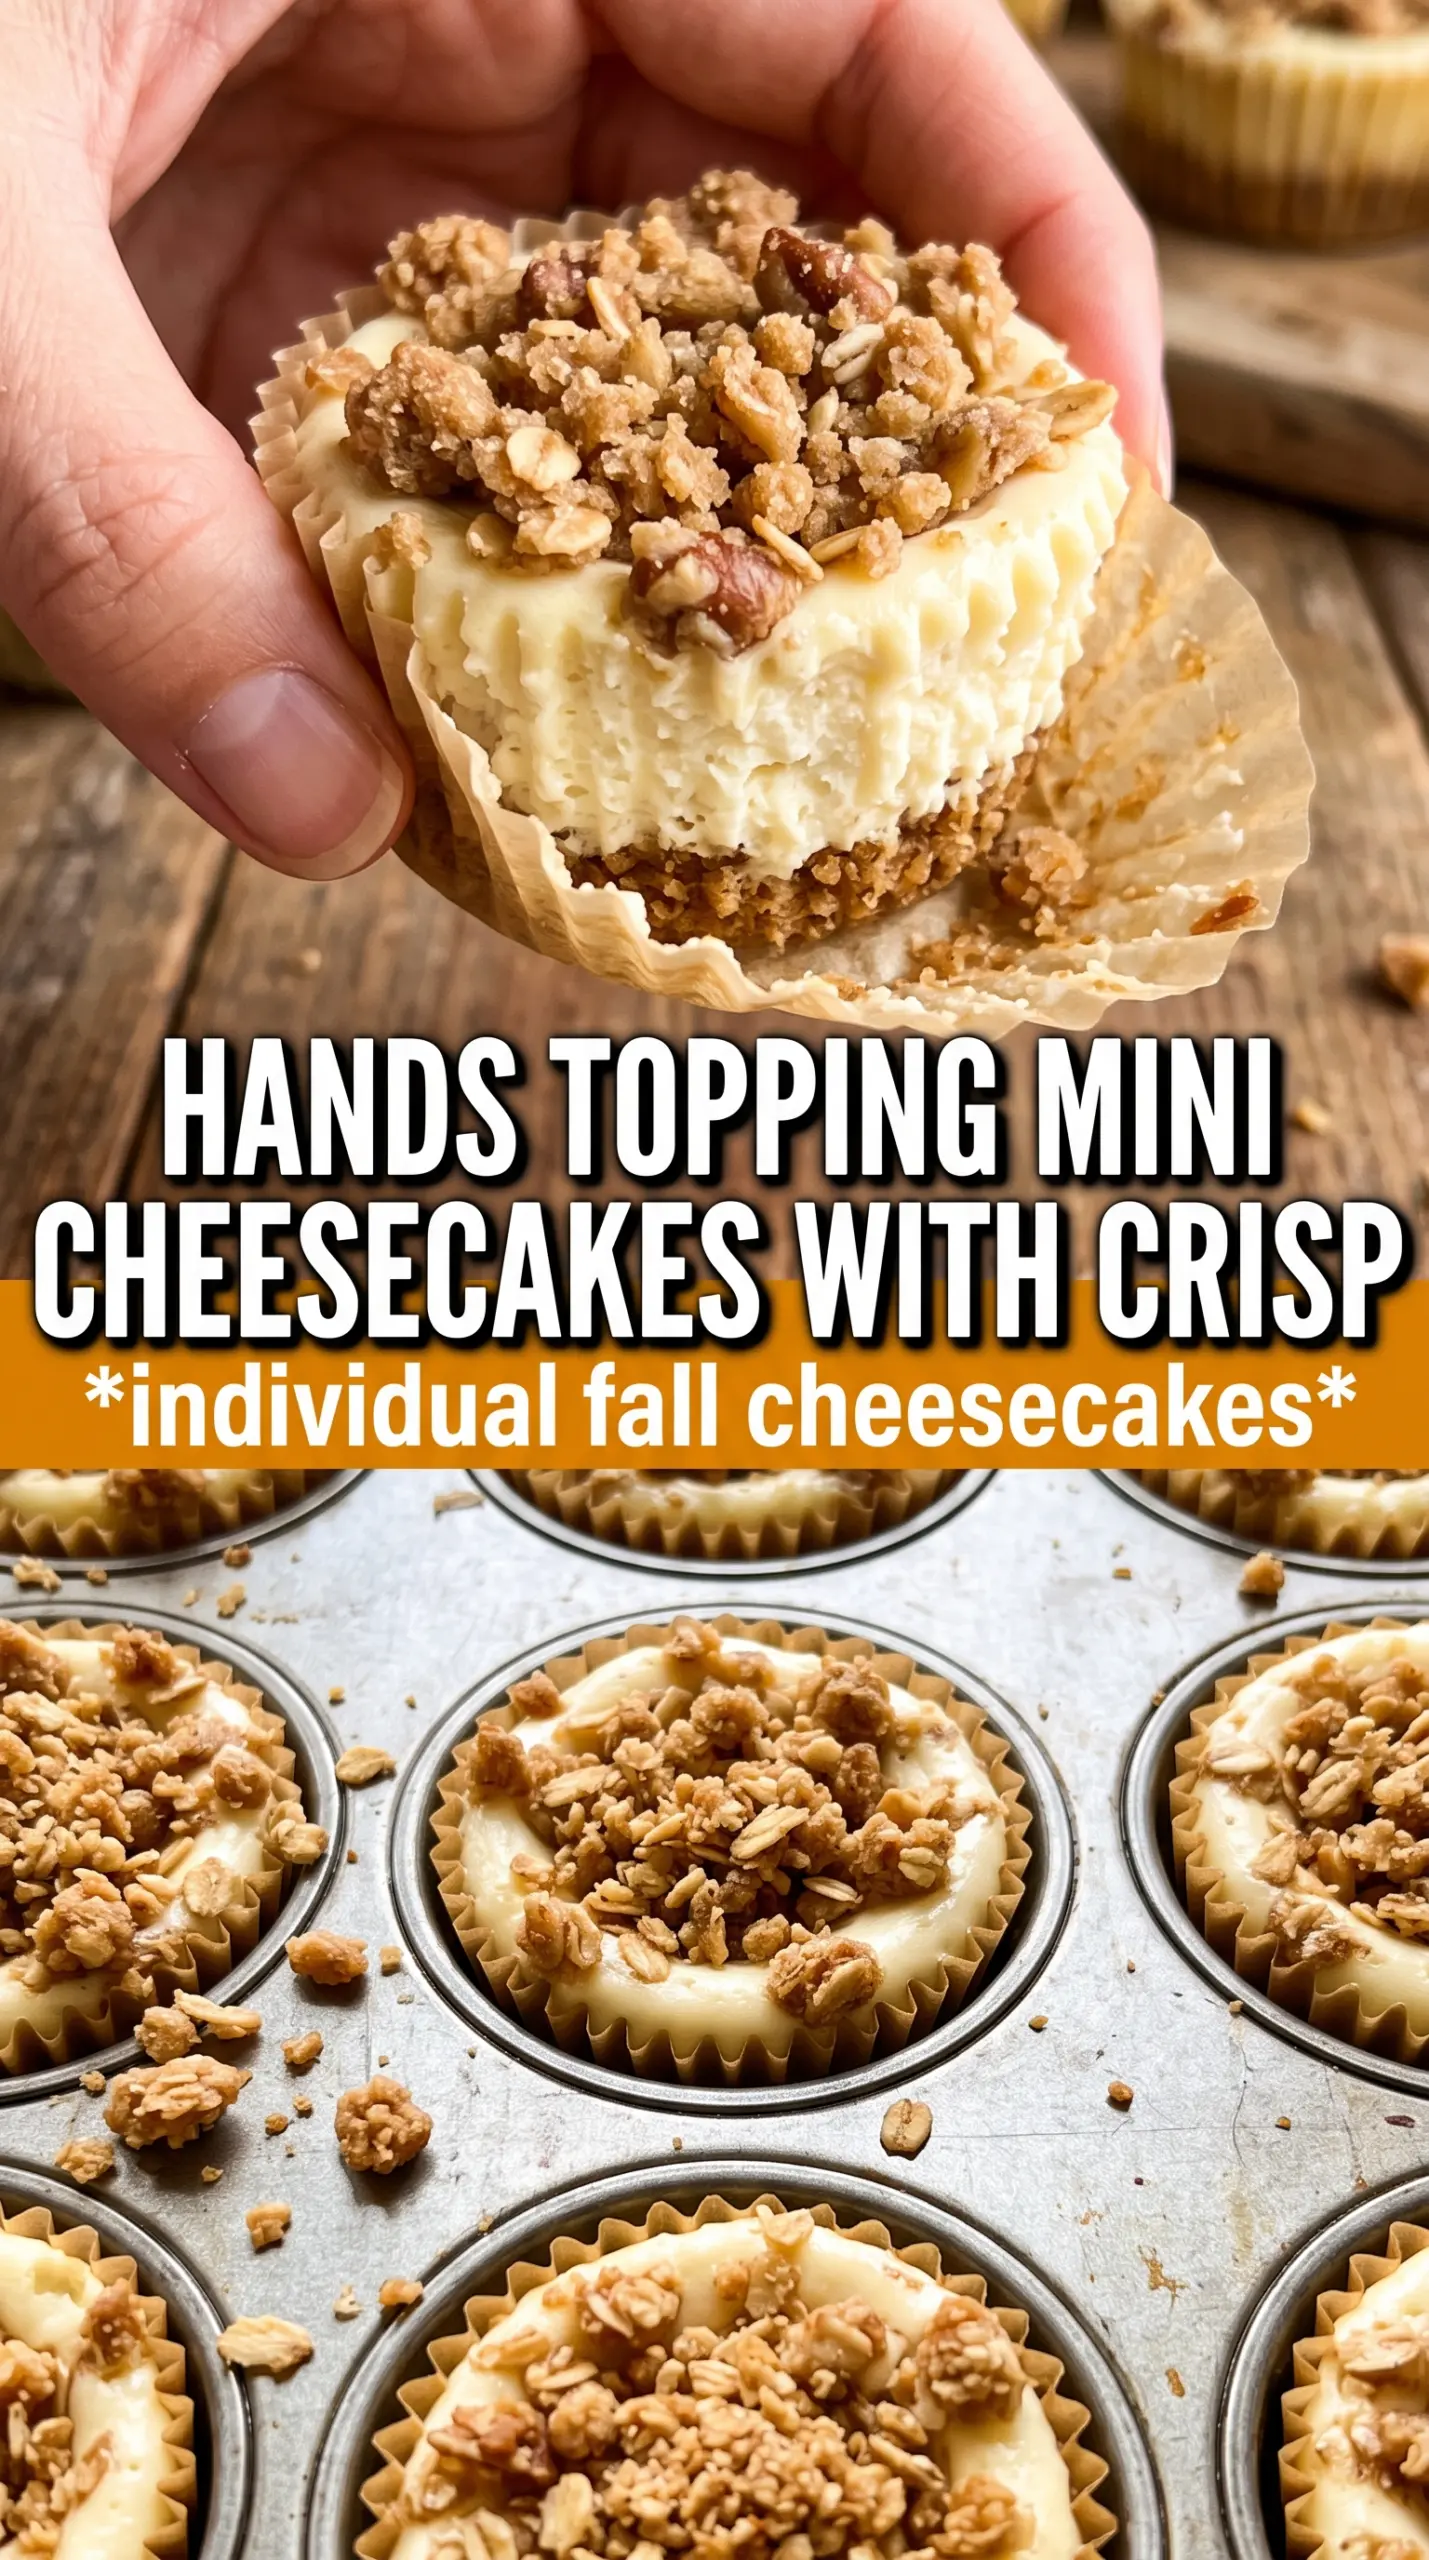
Apple crisp mini cheesecakes land right in that sweet spot between bakery-style dessert and easy make-ahead treat. Each little cup gives you a buttery graham crust, smooth cheesecake filling, tender cinnamon apples, and a golden oat crumble on top, so every bite has creaminess, crunch, and just enough spice to keep it interesting. They look special on a platter, but they bake up in a muffin tin without any fuss.
The trick is treating each layer like it matters. The crust gets a quick bake so it stays crisp under the filling. The apples are cooked first, which keeps them from releasing juice into the cheesecake and turning the tops watery. And the crumble goes on before baking, so it toasts into a proper crisp topping instead of staying pale and sandy.
Below, I’ve included the small details that keep the filling smooth, the topping crumbly, and the centers set cleanly after chilling. If mini cheesecakes have ever cracked, sunk, or turned soggy on you, this version fixes those problems without making the process complicated.
The oat topping stayed crisp after chilling, and the apple layer didn’t make the centers soggy at all. I took these to a dinner party and every one of them came out of the liners cleanly.
Save these apple crisp mini cheesecakes for the kind of dessert that needs a creamy center, crisp oat topping, and a clean muffin-tin finish.
The Crust Stays Crisp Only If You Bake It First
Mini cheesecakes are the place where a soft crust fails fast. If you press the crumbs into the liners and pour the filling straight on top, the butter never has a chance to set the base, and the crust turns damp under the weight of the cheesecake and apples. A five-minute bake fixes that. It gives the graham layer enough structure to hold up through chilling without turning hard or dry.
The second thing that matters is packing the crumbs firmly. Loose crumbs drift apart when you lift the liners, which is how you end up with cheesecake stuck to paper and crust left behind. Use the bottom of a small cup or spoon to press the mixture flat and tight, especially around the edges where the filling can sneak underneath.
What Each Ingredient Is Actually Doing in This Recipe
- Primary ingredient (the star) — Quality matters most. Choose the best you can find.
- Cooking medium (oil, butter, or broth) — This carries flavors and prevents dryness.
- Seasonings (salt, pepper, spices, herbs) — Layer flavors so nothing overpowers. Build depth gradually.
- Aromatics (garlic, onion, herbs) — Cook with fat to bloom flavors. Become the foundation.
- Supporting ingredients — Complement the main ingredient without overpowering it.
- Sauce or liquid (if applicable) — Brings flavors together. Balance richness with acid.
- Acid (lemon, vinegar, wine, or other) — Brightens and prevents flat-tasting results.
- Final finish (garnish, glaze, or sauce) — Prevents one-dimensional taste and adds visual appeal.
What Each Layer Is Actually Doing Here
- Graham cracker crumbs — These give you the classic cheesecake base and a little sweetness that plays well with the apples. Fresh crumbs from whole crackers are nice, but pre-crushed crumbs work fine here.
- Cream cheese — This is the backbone of the filling, so it needs to be fully softened before mixing. Cold cream cheese leaves tiny lumps that never fully disappear, even after baking.
- Sour cream — This loosens the filling just enough for a smooth texture and adds a slight tang that keeps the dessert from tasting heavy. Plain Greek yogurt can stand in, but the filling will be a touch firmer and a little less rich.
- Apples — Cook them first so they soften and lose some moisture before they go into the cheesecake. Raw diced apples release juice in the oven and make the top layer messy.
- Oats and cold butter — This is what gives you the crisp crumble instead of a sandy streusel. Cold butter is the key; if it melts before baking, the topping spreads and bakes into a paste instead of crumbs.
Building the Mini Cheesecakes So They Bake Cleanly
Getting the Base Ready
Line the muffin tin with cupcake liners and press the crust mixture into each one in an even layer. Bake just until the crust smells toasty and looks set at the edges. That short bake matters because it gives the butter a chance to firm up again before the filling goes in. If the crust still looks loose or sandy, give it another minute or two rather than moving ahead too soon.
Cooking the Apples Down First
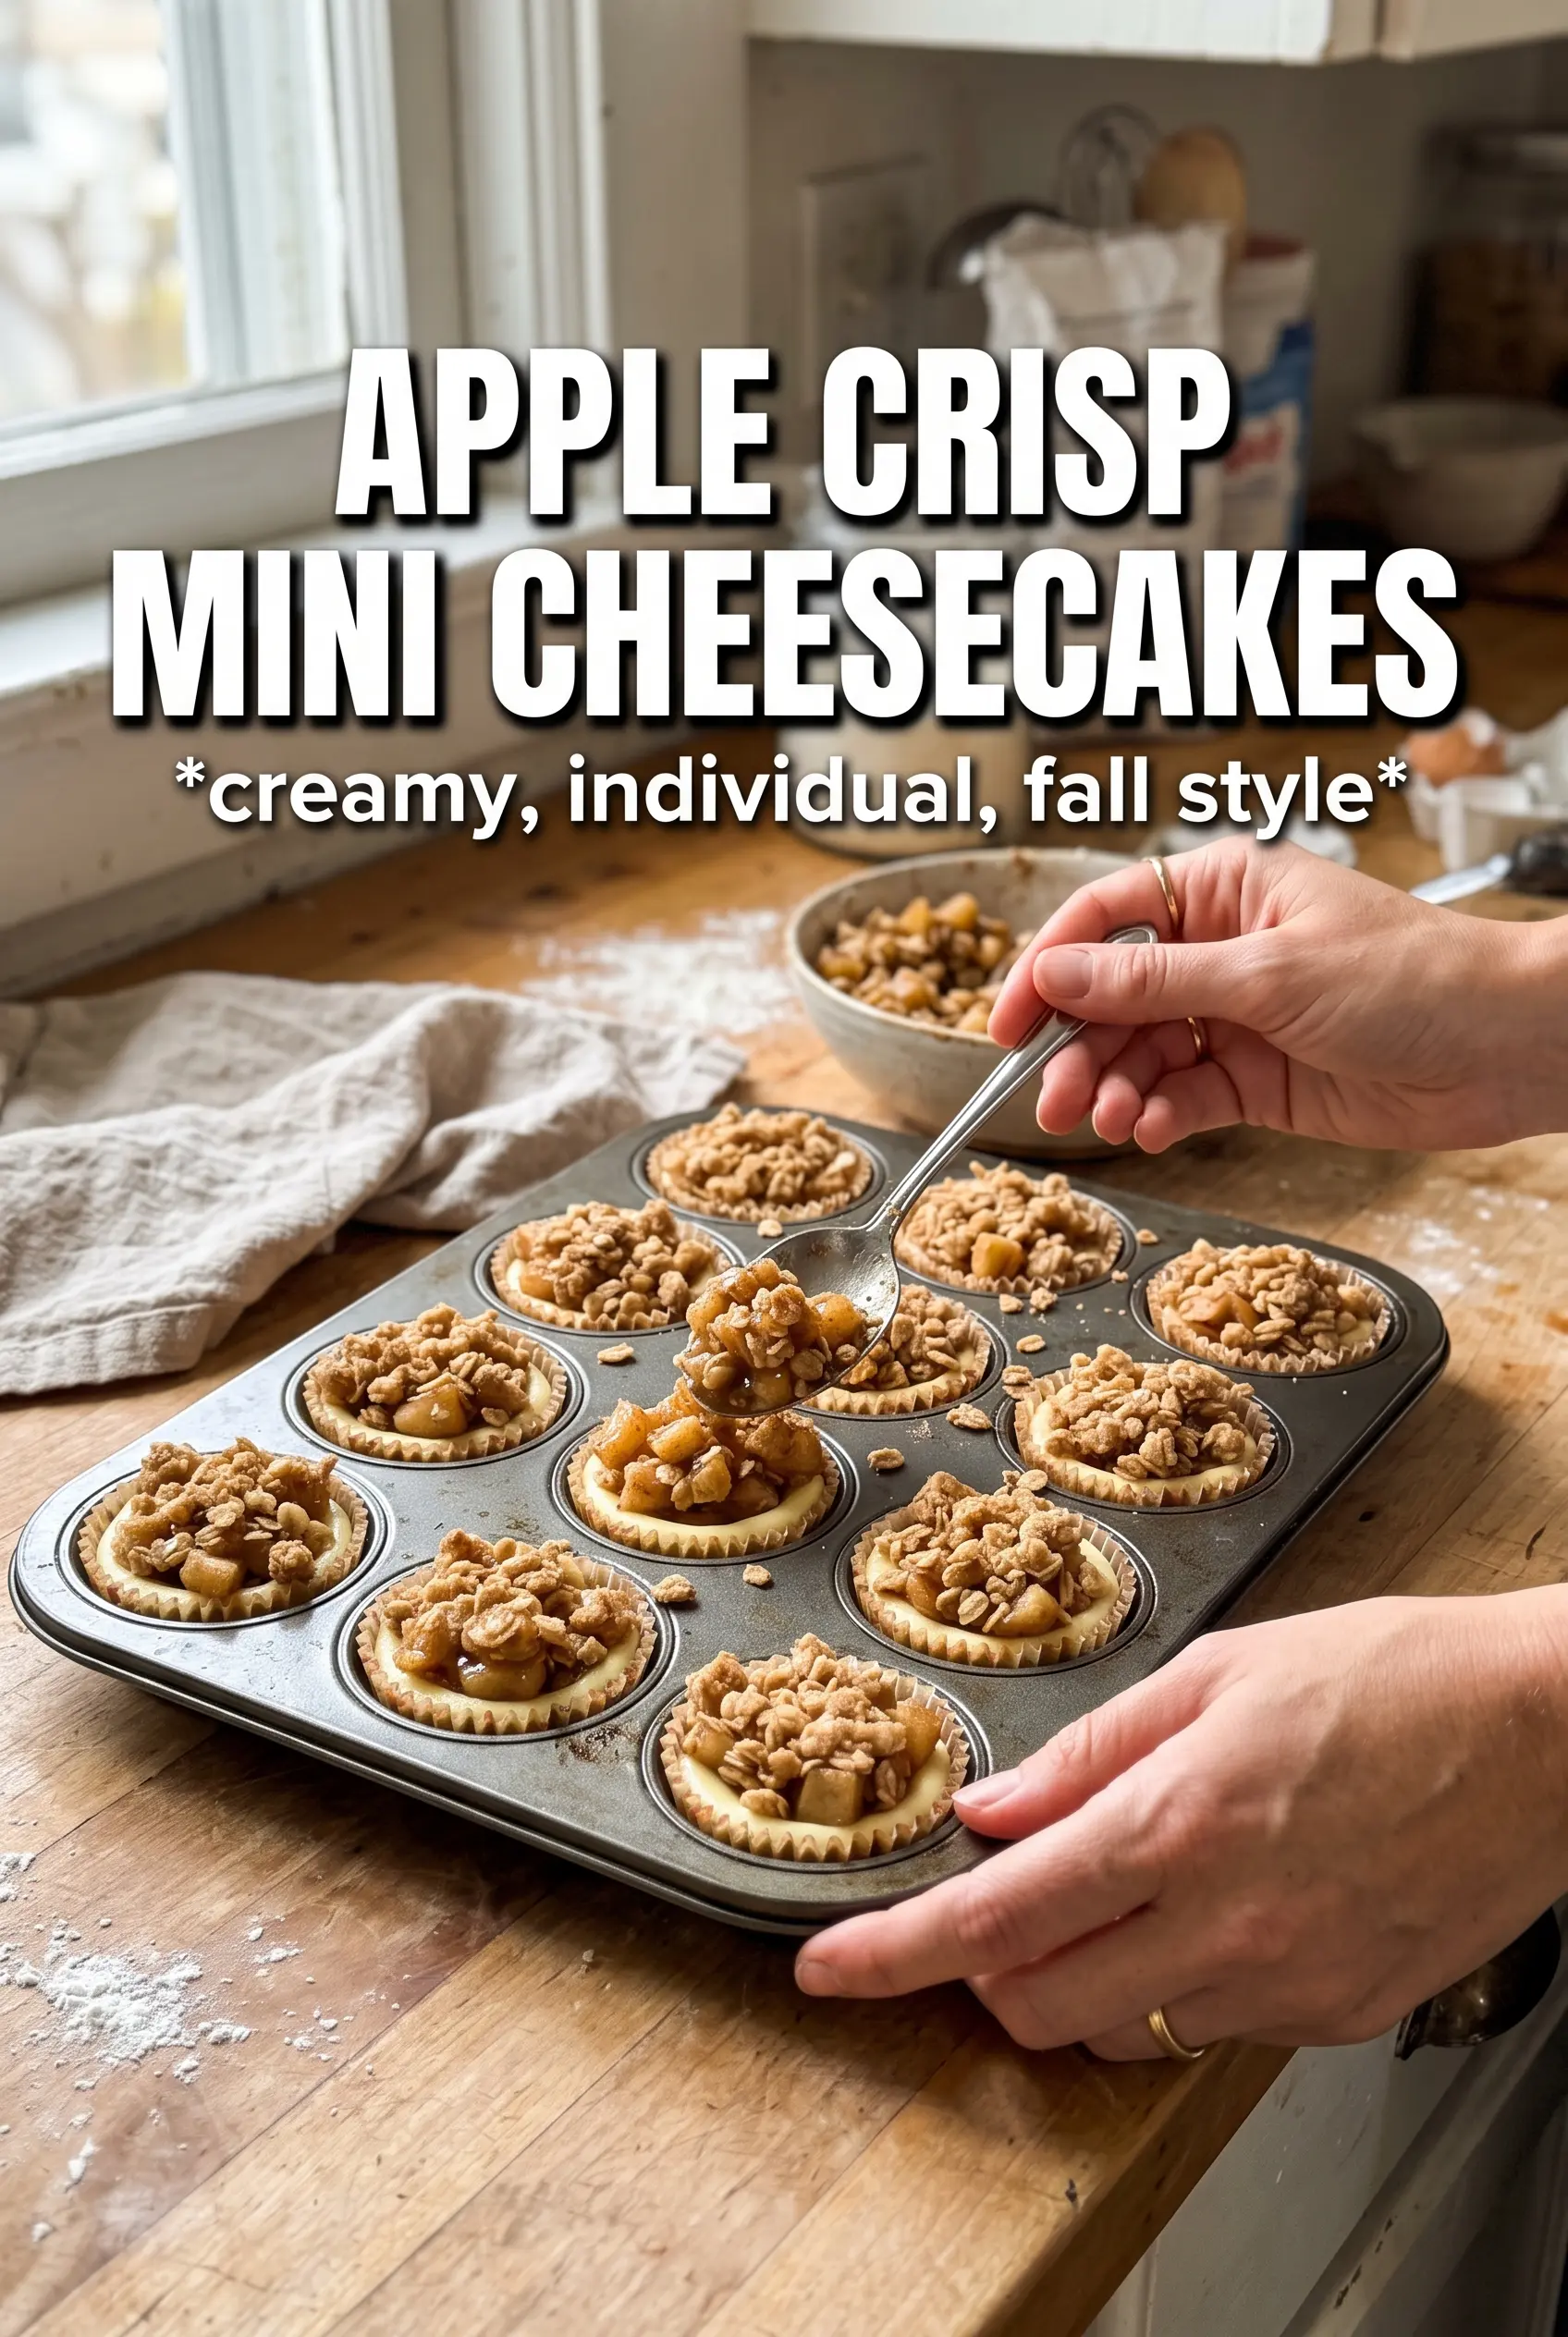
Cook the diced apples with butter, brown sugar, and cinnamon until they soften and the pan no longer has a raw, watery look. You want the pieces tender but still holding their shape. If they’re left too wet, that extra liquid seeps into the cheesecake and makes the tops slippery. Let the apples cool before layering them over the filling so they don’t start softening the cheesecake batter in the cup.
Mixing the Filling Without Whipping in Air
Beat the cream cheese and sugar until smooth, then add the eggs, sour cream, vanilla, and cinnamon just until combined. Overmixing adds too much air, and that air expands in the oven and then collapses as the cheesecakes cool. The filling should look glossy and thick, not fluffy. Stop as soon as everything is blended and scrape the bowl well so no streaks of cream cheese hide at the bottom.
Watching for the Just-Set Center
Fill each crust, spoon the apples on top, and finish with the crumble before baking. The cheesecakes are done when the edges look set and the centers still have a slight wobble when you nudge the pan. If you bake them until they look completely firm in the oven, they’ll end up overbaked after chilling. Let them cool at room temperature first, then refrigerate for the full chill time so the texture sets properly.
Peach Crisp Mini Cheesecakes
Swap the apples for peeled diced peaches and keep the same crumble. Peaches soften faster, so cook them just until they give off their juices and the pan thickens slightly. The result is a softer, juicier filling that leans more summery and a little less spiced.
Gluten-Free Version
Use gluten-free graham crackers for the crust and a 1:1 gluten-free flour blend in the oat crumble. The texture stays close to the original, though the crumble may bake up a little more delicate. Let the cheesecakes chill fully before unmolding so the gluten-free crust has time to firm up.
Dairy-Free Adaptation
Use dairy-free cream cheese and a plant-based butter substitute in both the crust and topping. Choose a thicker dairy-free cream cheese style, not a soft spread, or the filling can bake up loose. The flavor stays close, but the texture is usually a little softer and needs the full chill time.
Storage and Reheating
- Refrigerator: Store in an airtight container for up to 4 days. The crumble softens a bit in the fridge, but the cheesecake texture stays excellent.
- Freezer: Freeze well for up to 2 months. Wrap each mini cheesecake individually after chilling, then thaw overnight in the refrigerator.
- Reheating: These are best served cold or just slightly cool, not warmed. If you try to heat them, the filling can loosen and the topping loses its crisp edge.
Questions I Get Asked About This Recipe
Apple Crisp Mini Cheesecakes
Ingredients
Equipment
Method
- Preheat the oven to 325°F and line a 12-cup muffin tin with cupcake liners.
- Combine graham cracker crumbs, melted unsalted butter, and sugar, then press firmly into each liner.
- Bake the crusts for 5 minutes, until set and fragrant, then set aside to cool slightly.
- Cook diced apples with butter, brown sugar, and cinnamon for 5 minutes until softened, then cool completely.
- Beat softened cream cheese and granulated sugar until smooth.
- Add eggs one at a time, then mix in sour cream, vanilla, and cinnamon until the batter is uniform and glossy.
- Fill each cooled crust with cheesecake mixture, leaving a little headspace at the top.
- Top each cheesecake with the cooled cooked apples, distributing evenly across cups.
- Make the oat crumble by mixing oats, flour, brown sugar, and cinnamon, then rub in cold butter until you get uneven clumps.
- Scatter oat crumble over each cheesecake so the tops look generously crowned.
- Bake for 20–22 minutes at 325°F until the centers are just set with a slight jiggle.
- Refrigerate for 3 hours to fully chill and firm up before serving.