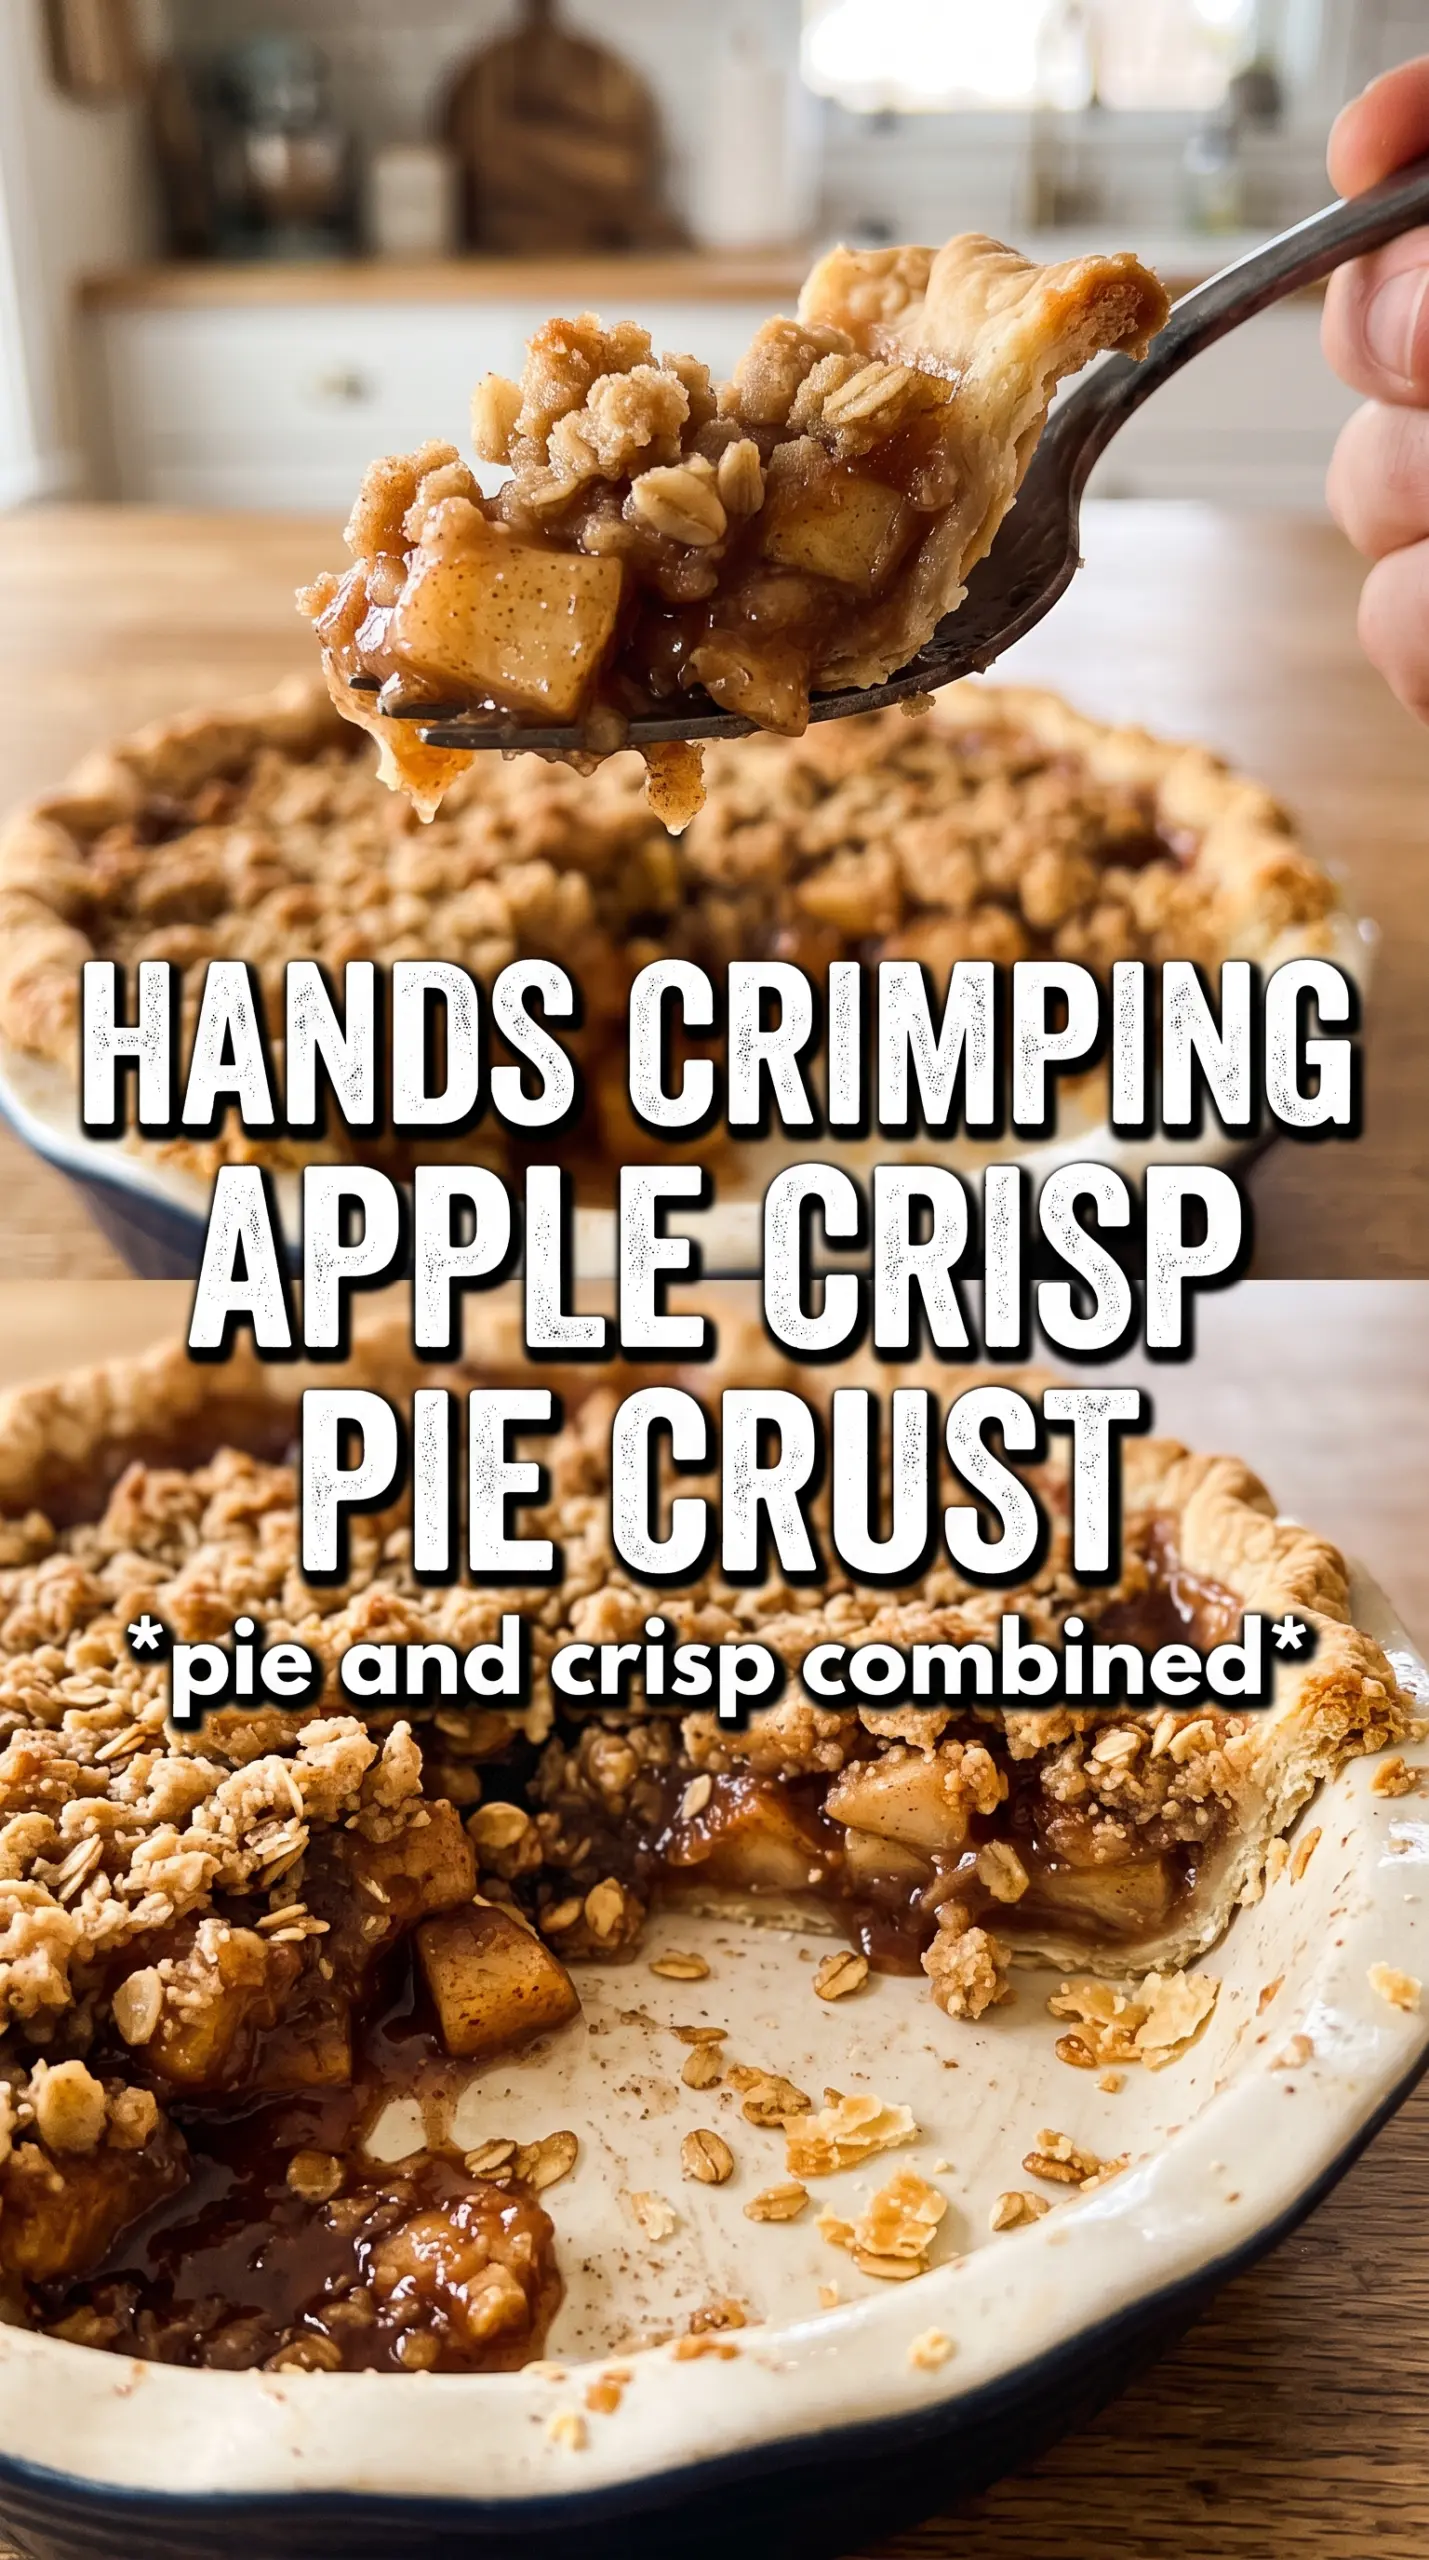
Apple crisp pie gives you the best parts of two desserts in one pan: a tender, bubbling apple filling under a thick oat crumble that bakes up sandy in the middle and crisp at the edges. The single crust keeps it grounded like a pie, while the topping brings the kind of nubby, buttery crunch that makes people go back for a second slice before they finish the first.
The trick is balancing moisture and structure. Apples release a lot of juice as they bake, so the cornstarch and caramel help the filling thicken instead of turning watery. Cold butter in the topping matters just as much; it creates those bigger clumps that stay crisp instead of melting into a flat layer.
Below, I’ve included the little details that keep the filling from spilling over and the crumble from browning too fast, plus a few swaps that still give you a pie worth serving warm with extra caramel.
The filling set up beautifully and the oat topping stayed crisp even after cooling. I used Granny Smith and Honeycrisp like you suggested, and the caramel stayed in the filling instead of making it runny.
Love the bubbling apple filling and oat crumble on this apple crisp pie? Save it to Pinterest for the dessert nights when you want crisp topping, caramel, and a deep-dish pie in one bake.
The Part That Keeps Apple Crisp Pie from Going Watery
The biggest mistake with apple crisp pie is treating it like either a pie or a crisp and forgetting it has to behave like both. Apples shrink as they bake, then release juice, and if the filling isn’t thickened before it goes in the oven, the bottom crust turns soggy long before the topping is done. The cornstarch here isn’t decoration. It needs enough sugar and heat to turn those juices into a glossy sauce that clings to the fruit.
The other detail that matters is the crumble layer. A loose sprinkle of topping melts into the filling and disappears. Large clumps, pressed on lightly, hold their shape and give you those crunchy pockets that contrast with the soft apples underneath. If your topping browns too fast, foil over the pie after about 40 minutes and let the filling finish quietly underneath.
What Each Ingredient Is Actually Doing in This Pie
- Apples — Use a mix if you can. Tart apples hold their shape and keep the filling from tasting flat, while a sweeter apple melts in and helps build the saucy texture. If all you have are sweeter apples, bump the lemon juice slightly and don’t skip the cinnamon.
- Cornstarch — This is what turns the apple juices into a filling instead of a puddle. Flour won’t thicken as cleanly here, and you’ll often end up with a cloudy, heavier result. Toss it in evenly so it doesn’t clump at the bottom of the pie.
- Caramel sauce — It deepens the filling and gives the apple layer a butterscotch note that makes this pie taste finished. Use a good store-bought sauce if that’s what you have; just pick one that pours smoothly. Thick, hard caramel won’t distribute well.
- Rolled oats — These give the topping its chewy-crisp texture. Quick oats can work in a pinch, but the crumble will be finer and less substantial. Old-fashioned oats make the best clumps.
- Cold butter — This is what keeps the topping crumbly instead of greasy. Cut it in until you have uneven pieces, some sandy and some pea-sized, because those different sizes bake into a better topping than a uniform meal.
Building the Filling and Crumble in the Right Order
Start with the crust and apples first
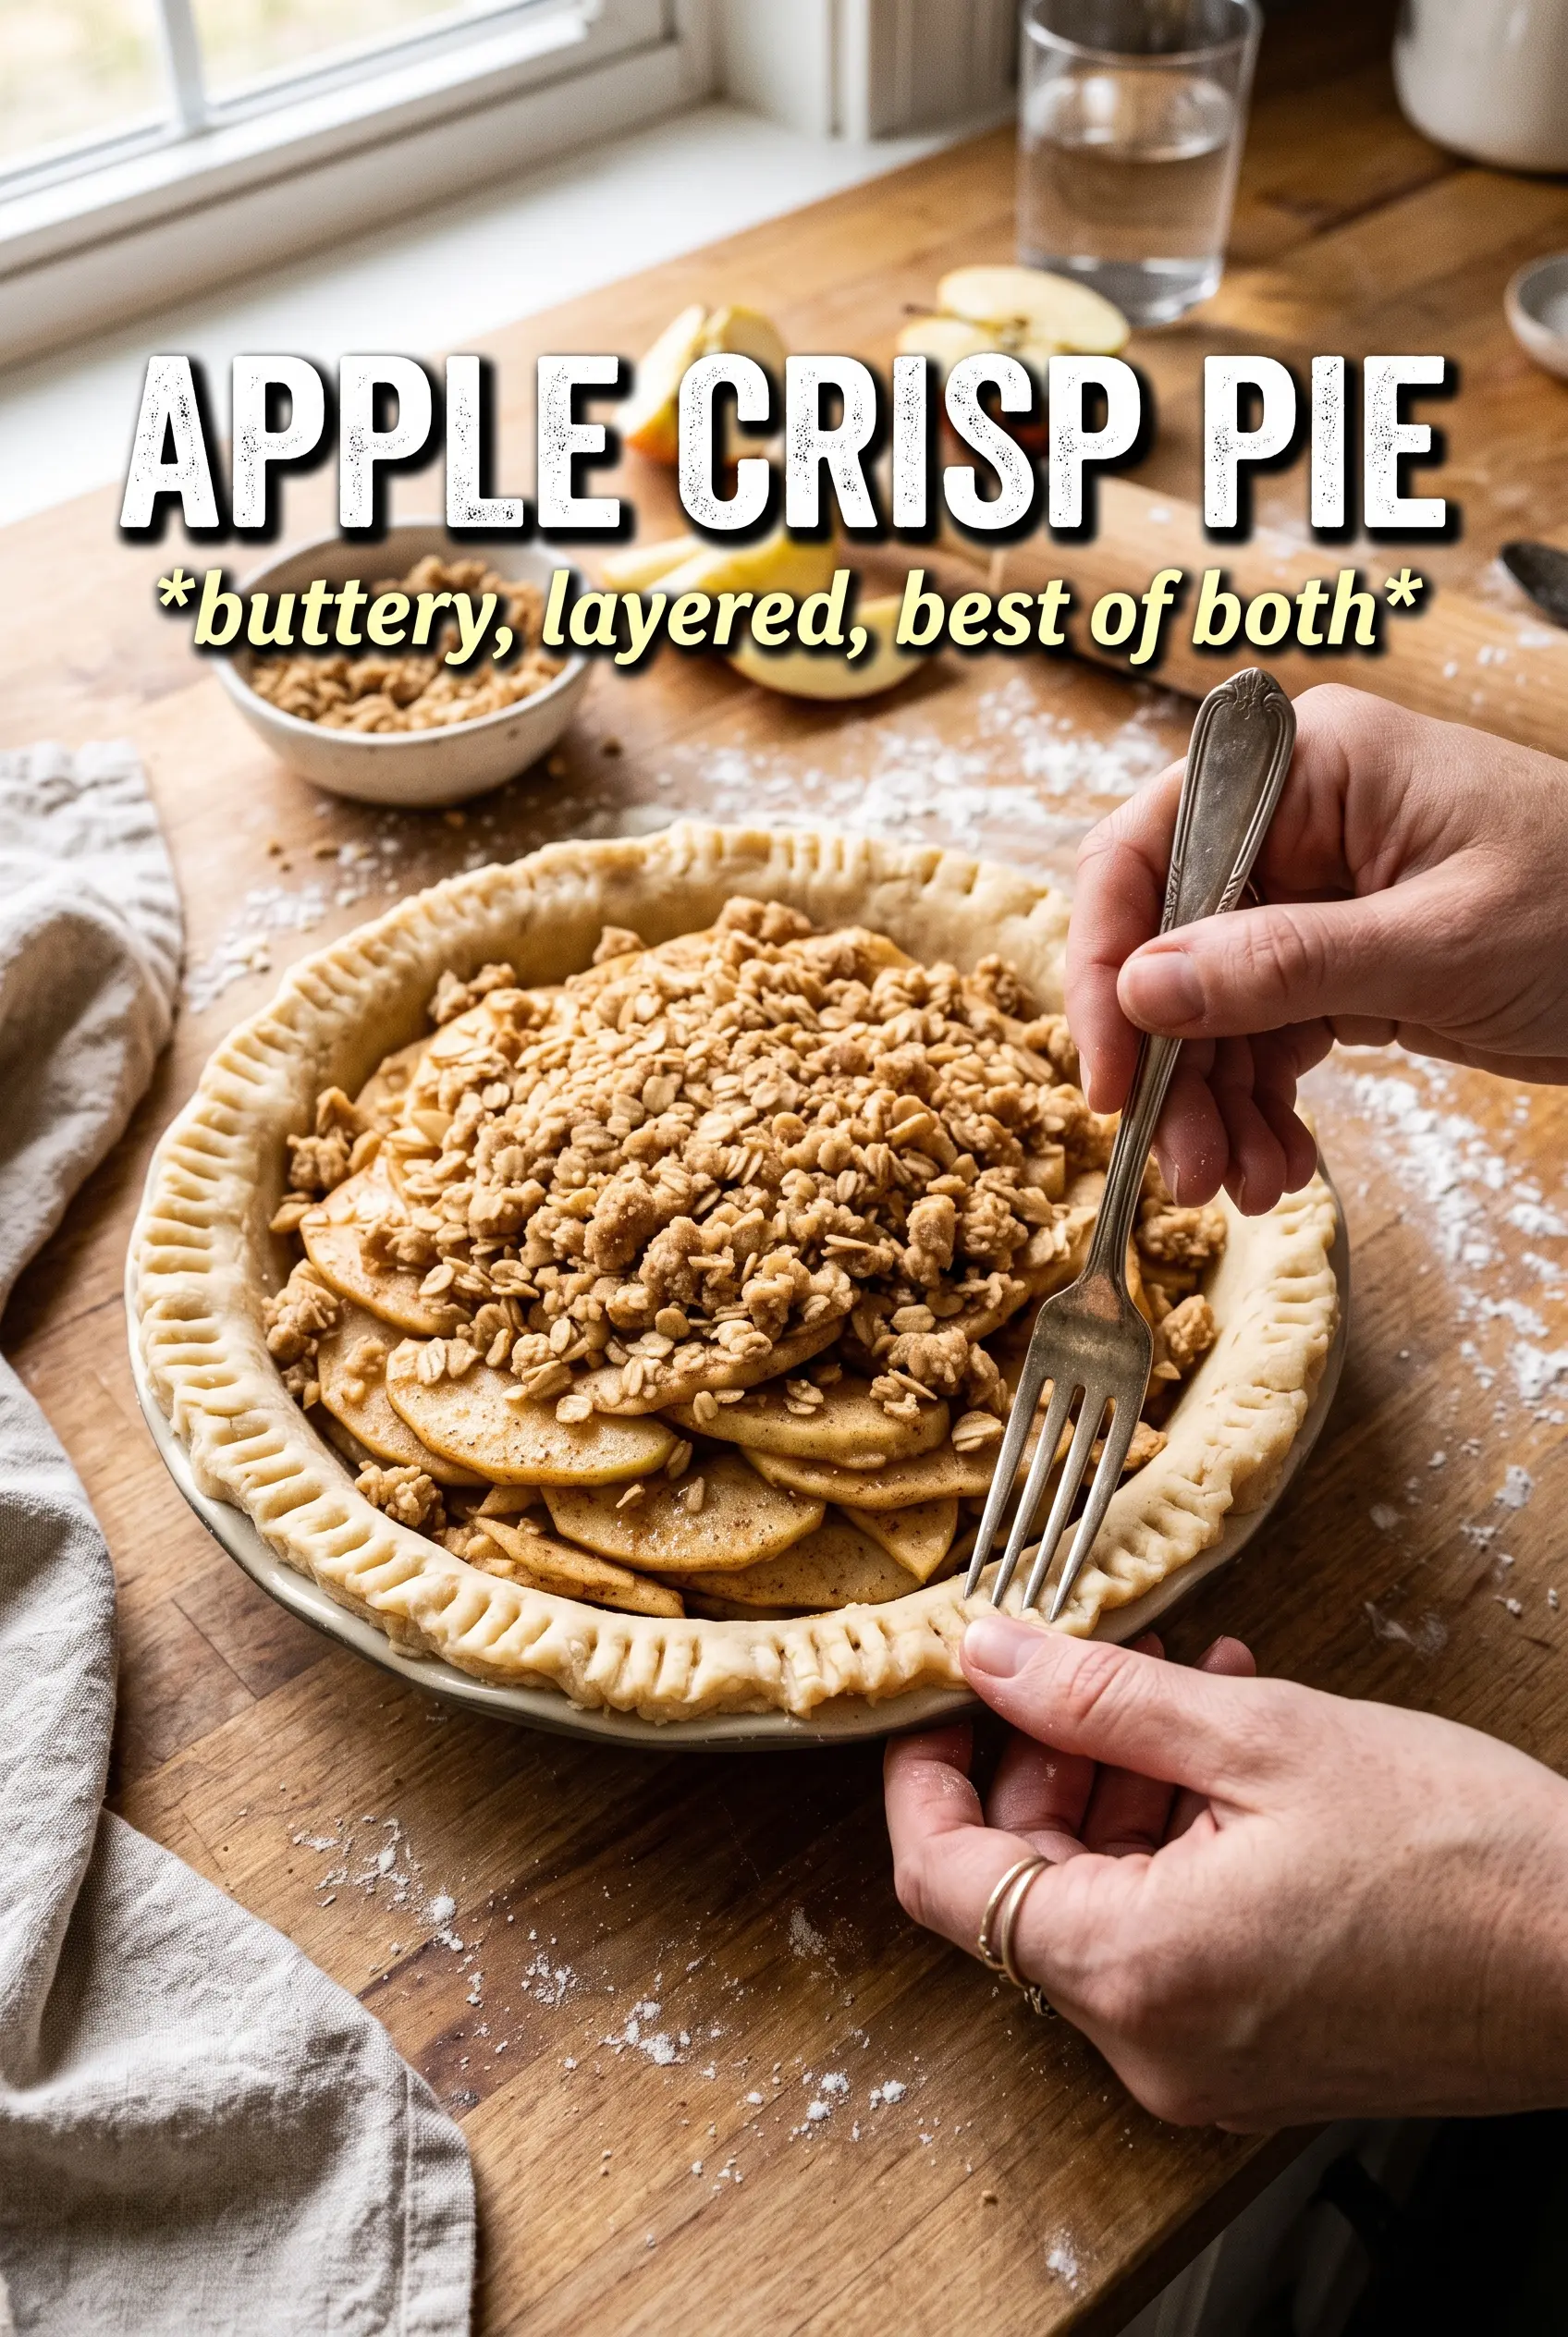
Fit the pie shell into the dish and crimp the edge before you do anything else so the pie is ready when the filling is. Toss the sliced apples with the sugars, spices, cornstarch, lemon juice, and caramel until every slice looks lightly coated and glossy. Pile the apples into the shell and mound them a little in the center, because they’ll settle as they bake.
Cut the butter until the topping holds together in clumps
Mix the oats, flour, brown sugar, cinnamon, and salt, then cut in the cold butter until the mixture looks uneven and starts forming chunky bits when you pinch it. If it turns pasty, the butter got too warm and the topping will bake up dense instead of crisp. Stop while you still see a mix of sandy crumbs and larger pieces.
Bake until the filling is bubbling, not just the topping browned
Pile the crumble over the apples and press it down very gently so it stays loose but cohesive. Bake at 375°F until the topping is deeply golden and you can see the filling bubbling at the edges, which is the signal that the cornstarch has activated and the pie has thickened properly. If the topping browns early, tent it with foil and keep baking until those apple juices are clearly simmering.
Make It With a Gluten-Free Crumble
Swap the all-purpose flour in the topping for a good 1:1 gluten-free flour blend. The texture will still be crisp, though the crumble may be a little more delicate when you slice it. Don’t change the oats unless your oats need to be certified gluten-free, because they carry most of the topping’s structure.
Go Dairy-Free Without Losing the Crumble
Use a dairy-free butter stick that’s meant for baking, not a soft tub spread. You want something that stays cold and cuts in cleanly, or the topping will spread instead of clumping. The flavor stays rich, but the crumble may brown a little faster, so start checking the pie a few minutes early.
Make It More Tart or More Sweet
Use more tart apples for a sharper, brighter filling, or lean into sweeter apples for a softer, rounder taste. The sugar amount in the filling is balanced enough to handle either direction, but very sweet apples can make the pie taste one-note unless you keep the lemon juice in place. A mix of apples gives the best depth.
Storage and Reheating
- Refrigerator: Store covered for up to 4 days. The topping will soften a bit, but the flavor holds beautifully.
- Freezer: Freeze baked slices tightly wrapped for up to 2 months. Thaw in the fridge before reheating so the filling doesn’t weep.
- Reheating: Warm slices in a 325°F oven until the center is hot and the topping has crisped again. The microwave works in a pinch, but it softens the crumble fast.
Questions I Get Asked About This Recipe
Apple Crisp Pie
Ingredients
Equipment
Method
- Preheat oven to 375F, and fit the unbaked 9-inch deep dish pie shell into a deep-dish pie plate with a decoratively crimped edge (look for a neatly pressed rim).
- Place the pie plate on a sheet pan so any drips are caught while baking (you should still be able to slide it in and out easily).
- Toss the apple slices with granulated sugar, brown sugar, cinnamon, nutmeg, cornstarch, lemon juice, and caramel sauce, until evenly coated (the apples should look glossy and thickened).
- Pile the apple mixture into the shell, mounding well so the center is slightly higher than the rim (bubbles later should start at the edges).
- Combine rolled oats, all-purpose flour, brown sugar, cinnamon, and salt, then mix until the dry ingredients are uniform (the color should look even).
- Cut in the cold unsalted butter until large clumps form, with no large dry flour patches (pinch a clump to make sure it holds together).
- Pile the crumble generously over the apples and press very gently so it settles but the clumps stay intact (a thick, uneven top is ideal).
- Bake for 60-65 minutes at 375F until the crumble is deeply golden and the filling bubbles at the edges (you should see active bubbling around the perimeter).
- Tent with foil after 40 minutes if the crumble browns too quickly (the topping should continue browning without burning).
- Drizzle with extra caramel, then serve while warm (caramel should look glossy as it runs over the golden crumble).