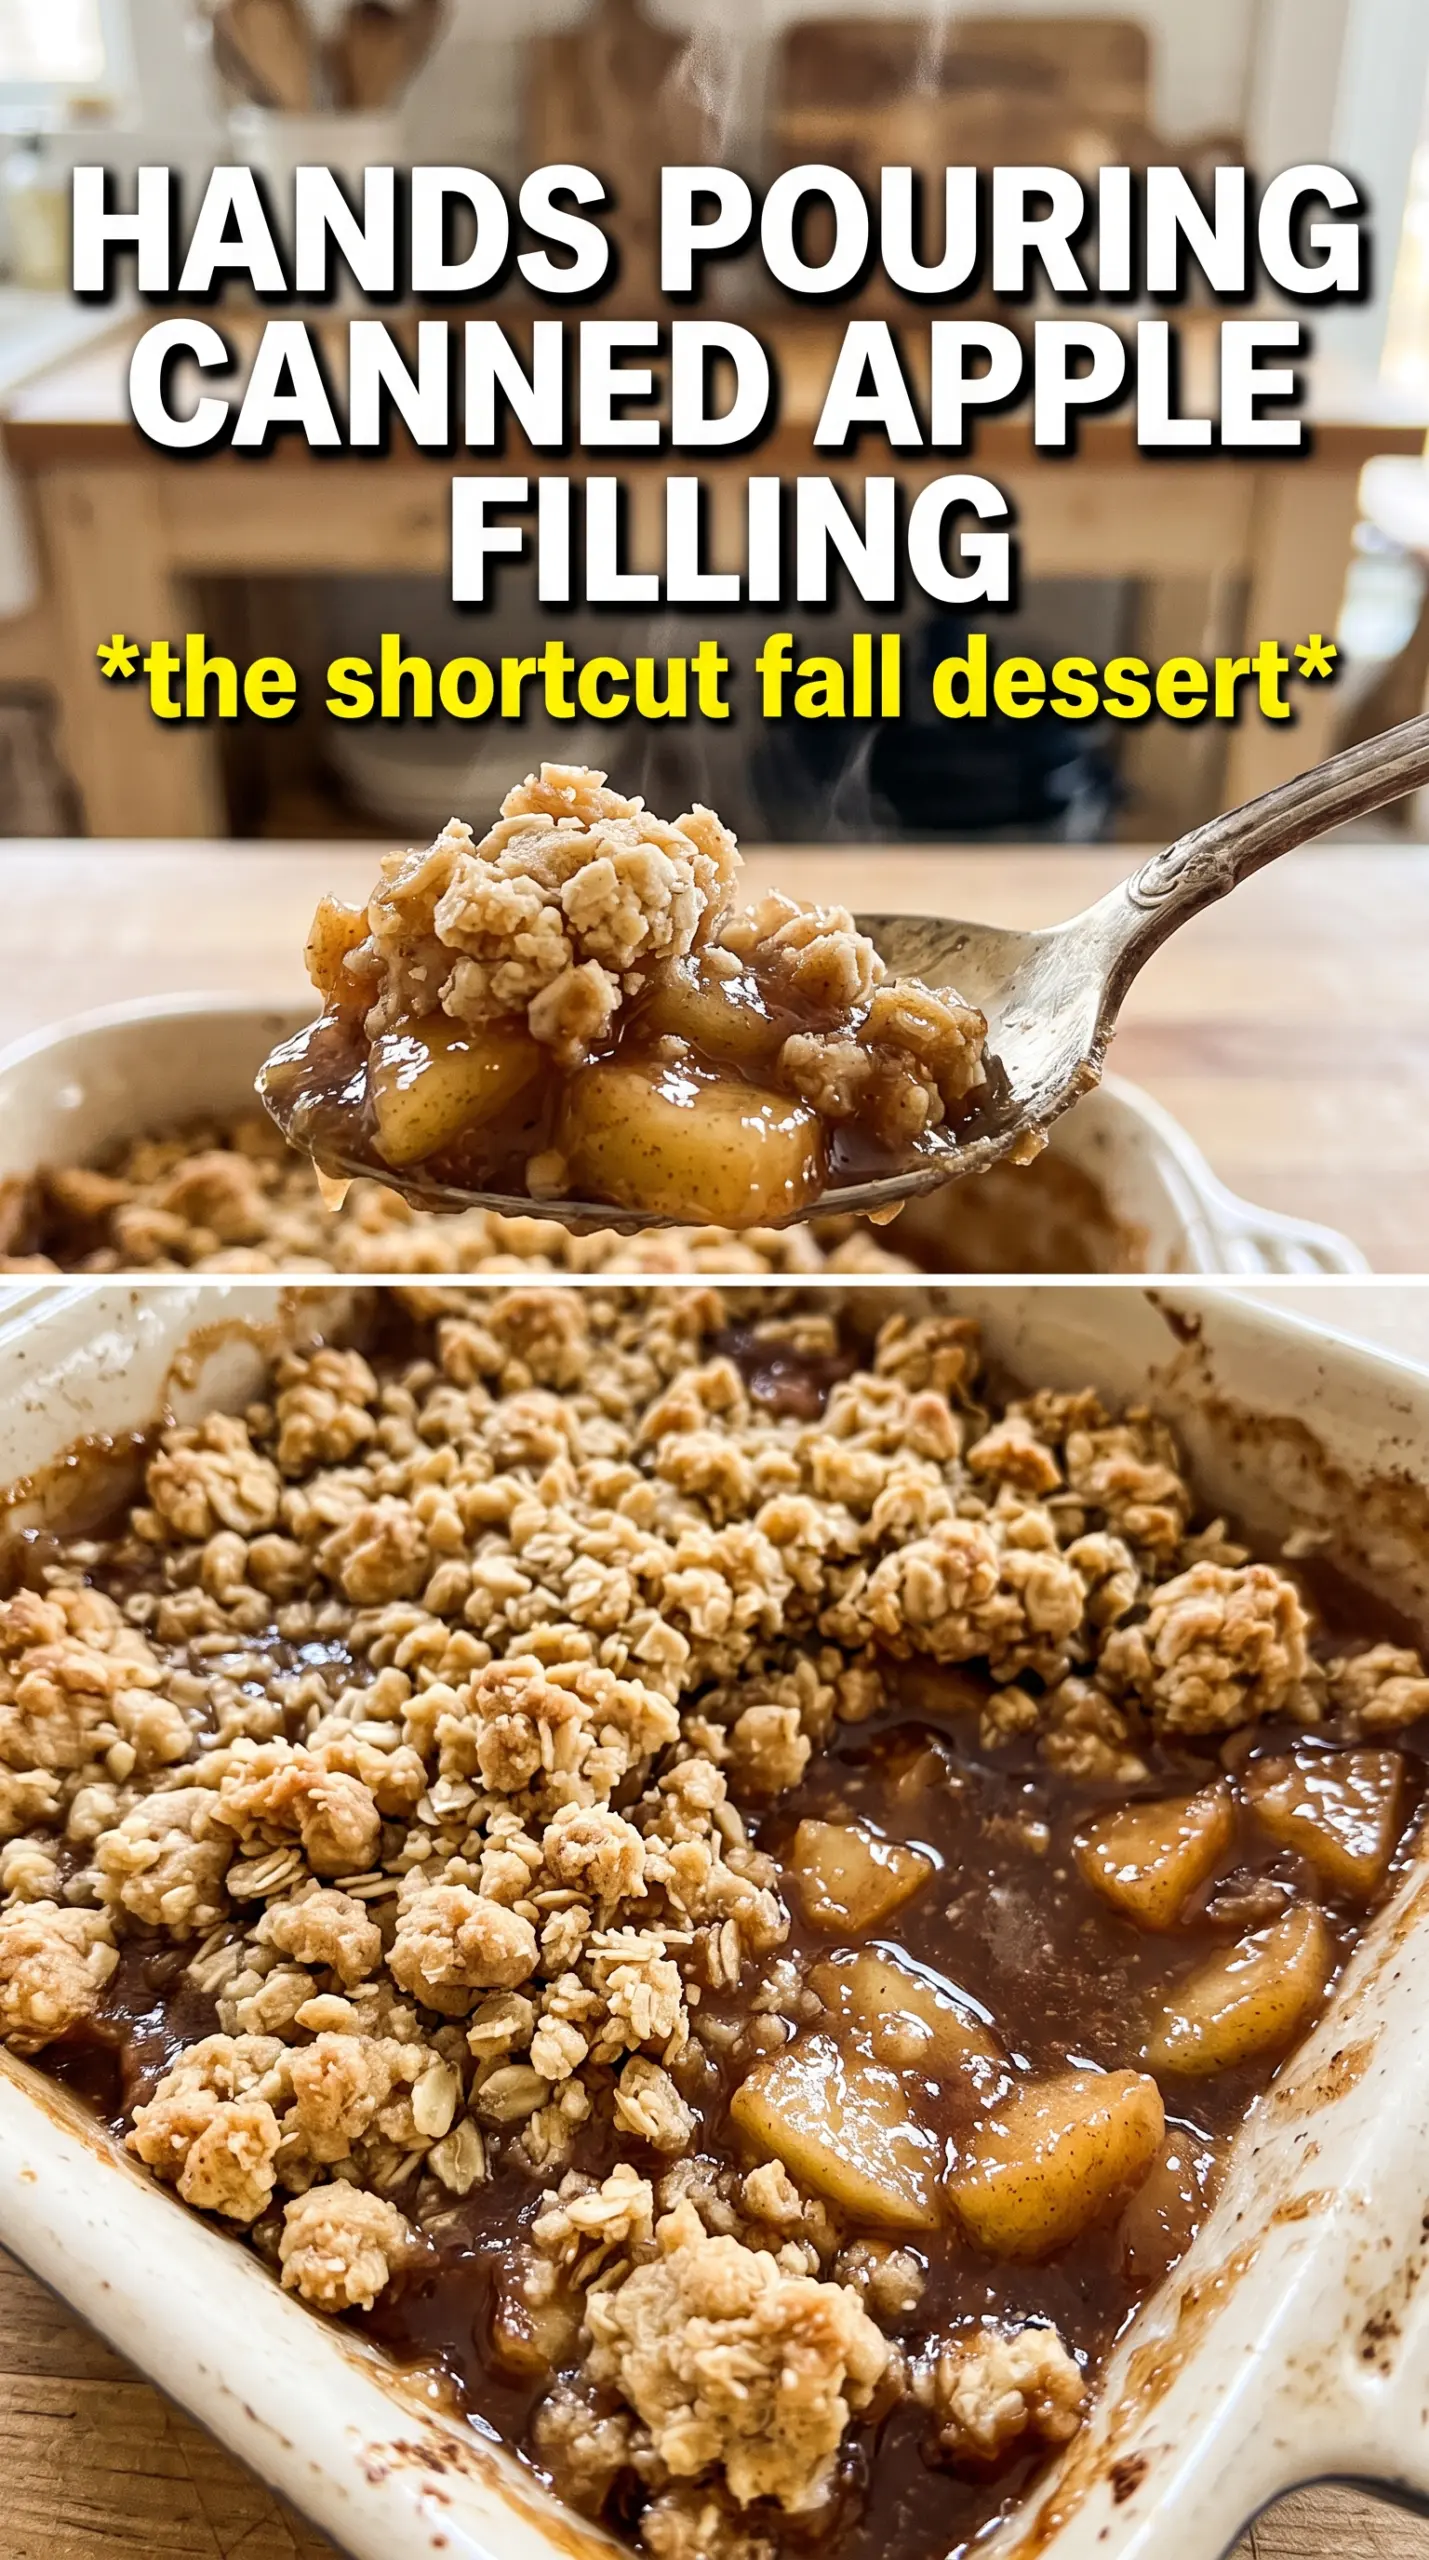
Golden oat crumble over bubbling apple filling is the kind of dessert that disappears fast, especially when the topping bakes into those sandy, buttery clusters that crackle under a spoon. Using canned apple pie filling keeps the base easy, but a quick stir of spices and lemon juice pulls it away from that flat, canned sweetness and gives it the smell and taste of a baked-from-scratch crisp.
The topping matters here. Cold butter cut into the oats and flour is what gives you those crisp, nubbly pieces instead of a dense blanket, and the fruit layer needs just enough seasoning to taste lively without turning syrupy. A short rest after baking helps the filling settle so it doesn’t slide apart the second you scoop into it.
Below, I’ve included the small details that keep this crisp from going soggy, plus a few easy swaps if you need to work with what’s in the pantry.
The filling thickened under the topping and the oats stayed crisp on top instead of going soft. I added vanilla ice cream like suggested and the whole pan was gone by the next morning.
Save this apple crisp with canned filling for the nights when you want a bubbling fruit dessert with a crisp oat topping and almost no prep.
The Trick to Keeping Canned Apple Filling from Tasting Flat
Canned apple pie filling already gives you soft apples and a thickened sauce, but it usually needs help. The quickest fix is a little lemon juice and spice stirred in before it goes into the dish. That small step brightens the fruit and keeps the sweetness from taking over.
The other thing that matters is baking until the filling bubbles at the edges. If you pull it too early, the topping may look done while the fruit underneath is still loose and gluey. You want the oats and butter to toast while the filling has enough heat to tighten up around them.
What the Oats, Butter, and Brown Sugar Are Really Doing
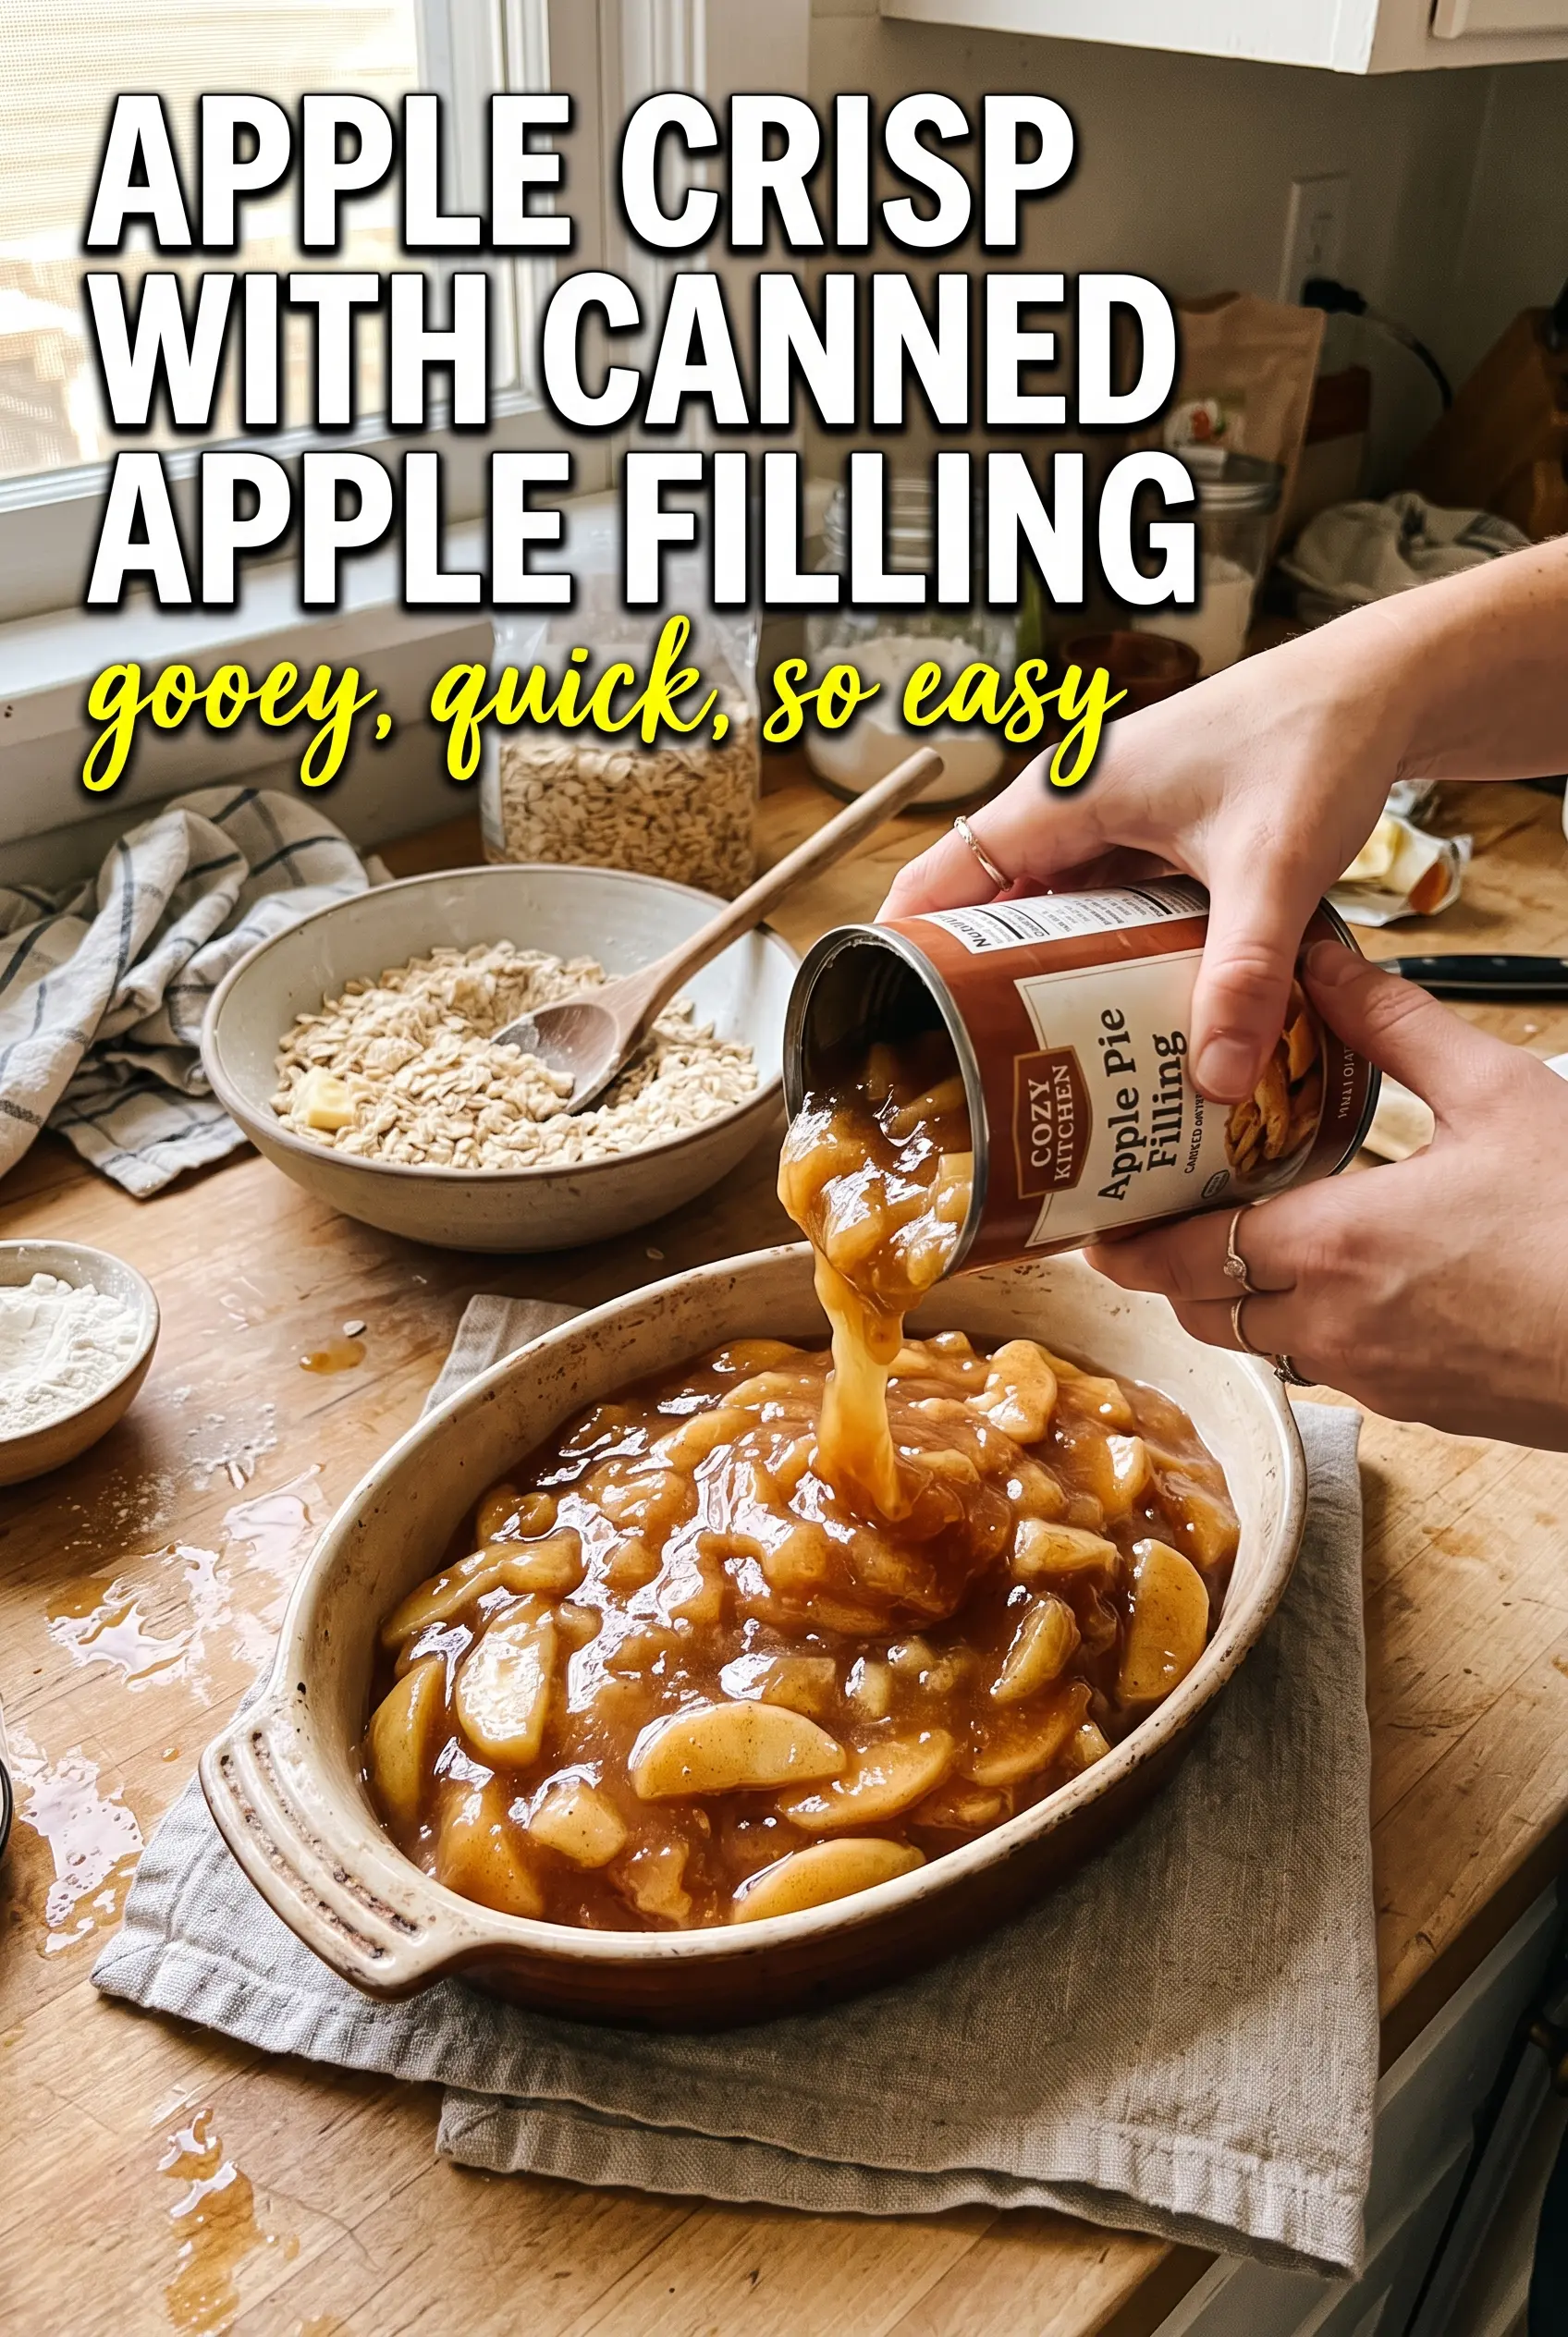
- Canned apple pie filling — This is the shortcut that makes the dessert come together in minutes. It already has the apples cooked and thickened, so you just need to wake it up with spice and lemon. If your brand is very syrupy, don’t add extra liquid.
- Lemon juice — This is small but important. It cuts the canned sweetness and keeps the apple flavor from tasting one-note. Fresh or bottled both work here.
- Rolled oats — Old-fashioned oats give the topping that crisp, rustic texture. Quick oats turn softer and more compact, which is fine in a pinch but not as crunchy.
- Cold butter — Cold cubes are what create those crumbly pockets that bake into a crisp topping. If the butter softens before it goes into the oven, the topping turns pasty instead of scattered and crunchy.
- Brown sugar — This brings caramel notes and helps the topping brown. Light or dark brown sugar both work; dark gives you a deeper molasses flavor.
Building the Crumble So It Stays Crisp
Seasoning the filling first
Stir the cinnamon, nutmeg, allspice, and lemon juice into the canned filling before it goes into the baking dish. That keeps the seasoning evenly distributed instead of sitting in little pockets on top. Spread it into the dish in an even layer so the topping bakes uniformly. If the filling is piled high in the center, the middle takes longer to bubble and the edges can overcook.
Cutting in the butter
Mix the oats, flour, brown sugar, cinnamon, and salt first, then work in the cold butter until you see chunky clumps. You’re looking for a mix of fine sandy crumbs and bigger pieces, not a smooth dough. If the butter starts to smear, stop and pop the bowl in the fridge for a few minutes. Those little cold bits melt in the oven and make the topping crisp instead of heavy.
Baking until the fruit is bubbling
Scatter the crumble generously over the apples and bake until the top is deep golden and you can see the filling bubbling around the edges. That bubbling matters more than the timer because it tells you the filling is hot enough to thicken properly. If the top is getting too dark before the filling moves, lay a loose piece of foil over the dish for the last few minutes. Let it rest briefly before serving so the juices settle instead of running everywhere.
Make It Dairy-Free
Use a plant-based butter that stays firm when cold. The topping won’t taste quite as rich as butter, but it will still bake into a crisp, sandy crumble if you keep the fat cold and don’t overwork it.
Make It Gluten-Free
Swap the all-purpose flour for a 1:1 gluten-free baking blend and use certified gluten-free oats. The topping stays crisp, but it may brown a little faster, so start checking near the end of the bake.
Use Fresh Apples Instead
If you want to skip the canned filling, use about 6 cups sliced apples tossed with sugar, lemon juice, cinnamon, and a little flour or cornstarch. You’ll get a firmer, less sweet filling and need a few extra minutes in the oven for the apples to soften.
Storage and Reheating
- Refrigerator: Store covered for up to 4 days. The topping softens a little as it sits, but the flavor stays good.
- Freezer: It freezes well after baking. Cool completely, wrap tightly, and freeze for up to 2 months. Thaw in the refrigerator before reheating so the center doesn’t turn watery.
- Reheating: Warm in a 325F oven until hot through and the topping crisps back up, about 15 to 20 minutes. The microwave works in a pinch, but it softens the crumble.
Answers to the Questions Worth Asking
Apple Crisp With Canned Apple Filling
Ingredients
Equipment
Method
- Preheat the oven to 375F and grease a 9x13 baking dish.
- Stir cinnamon, nutmeg, allspice, and lemon juice into the canned apple pie filling, then spread it evenly in the prepared dish.
- Combine rolled oats, all-purpose flour, brown sugar, cinnamon, and salt in a bowl.
- Cut in the cold unsalted butter until chunky clumps form.
- Scatter the oat crumble generously over the apple filling so it covers the surface.
- Bake for 30-35 minutes, until the topping is golden and the filling is bubbling around the edges.
- Rest for 5 minutes before serving.
- Serve warm with vanilla ice cream.