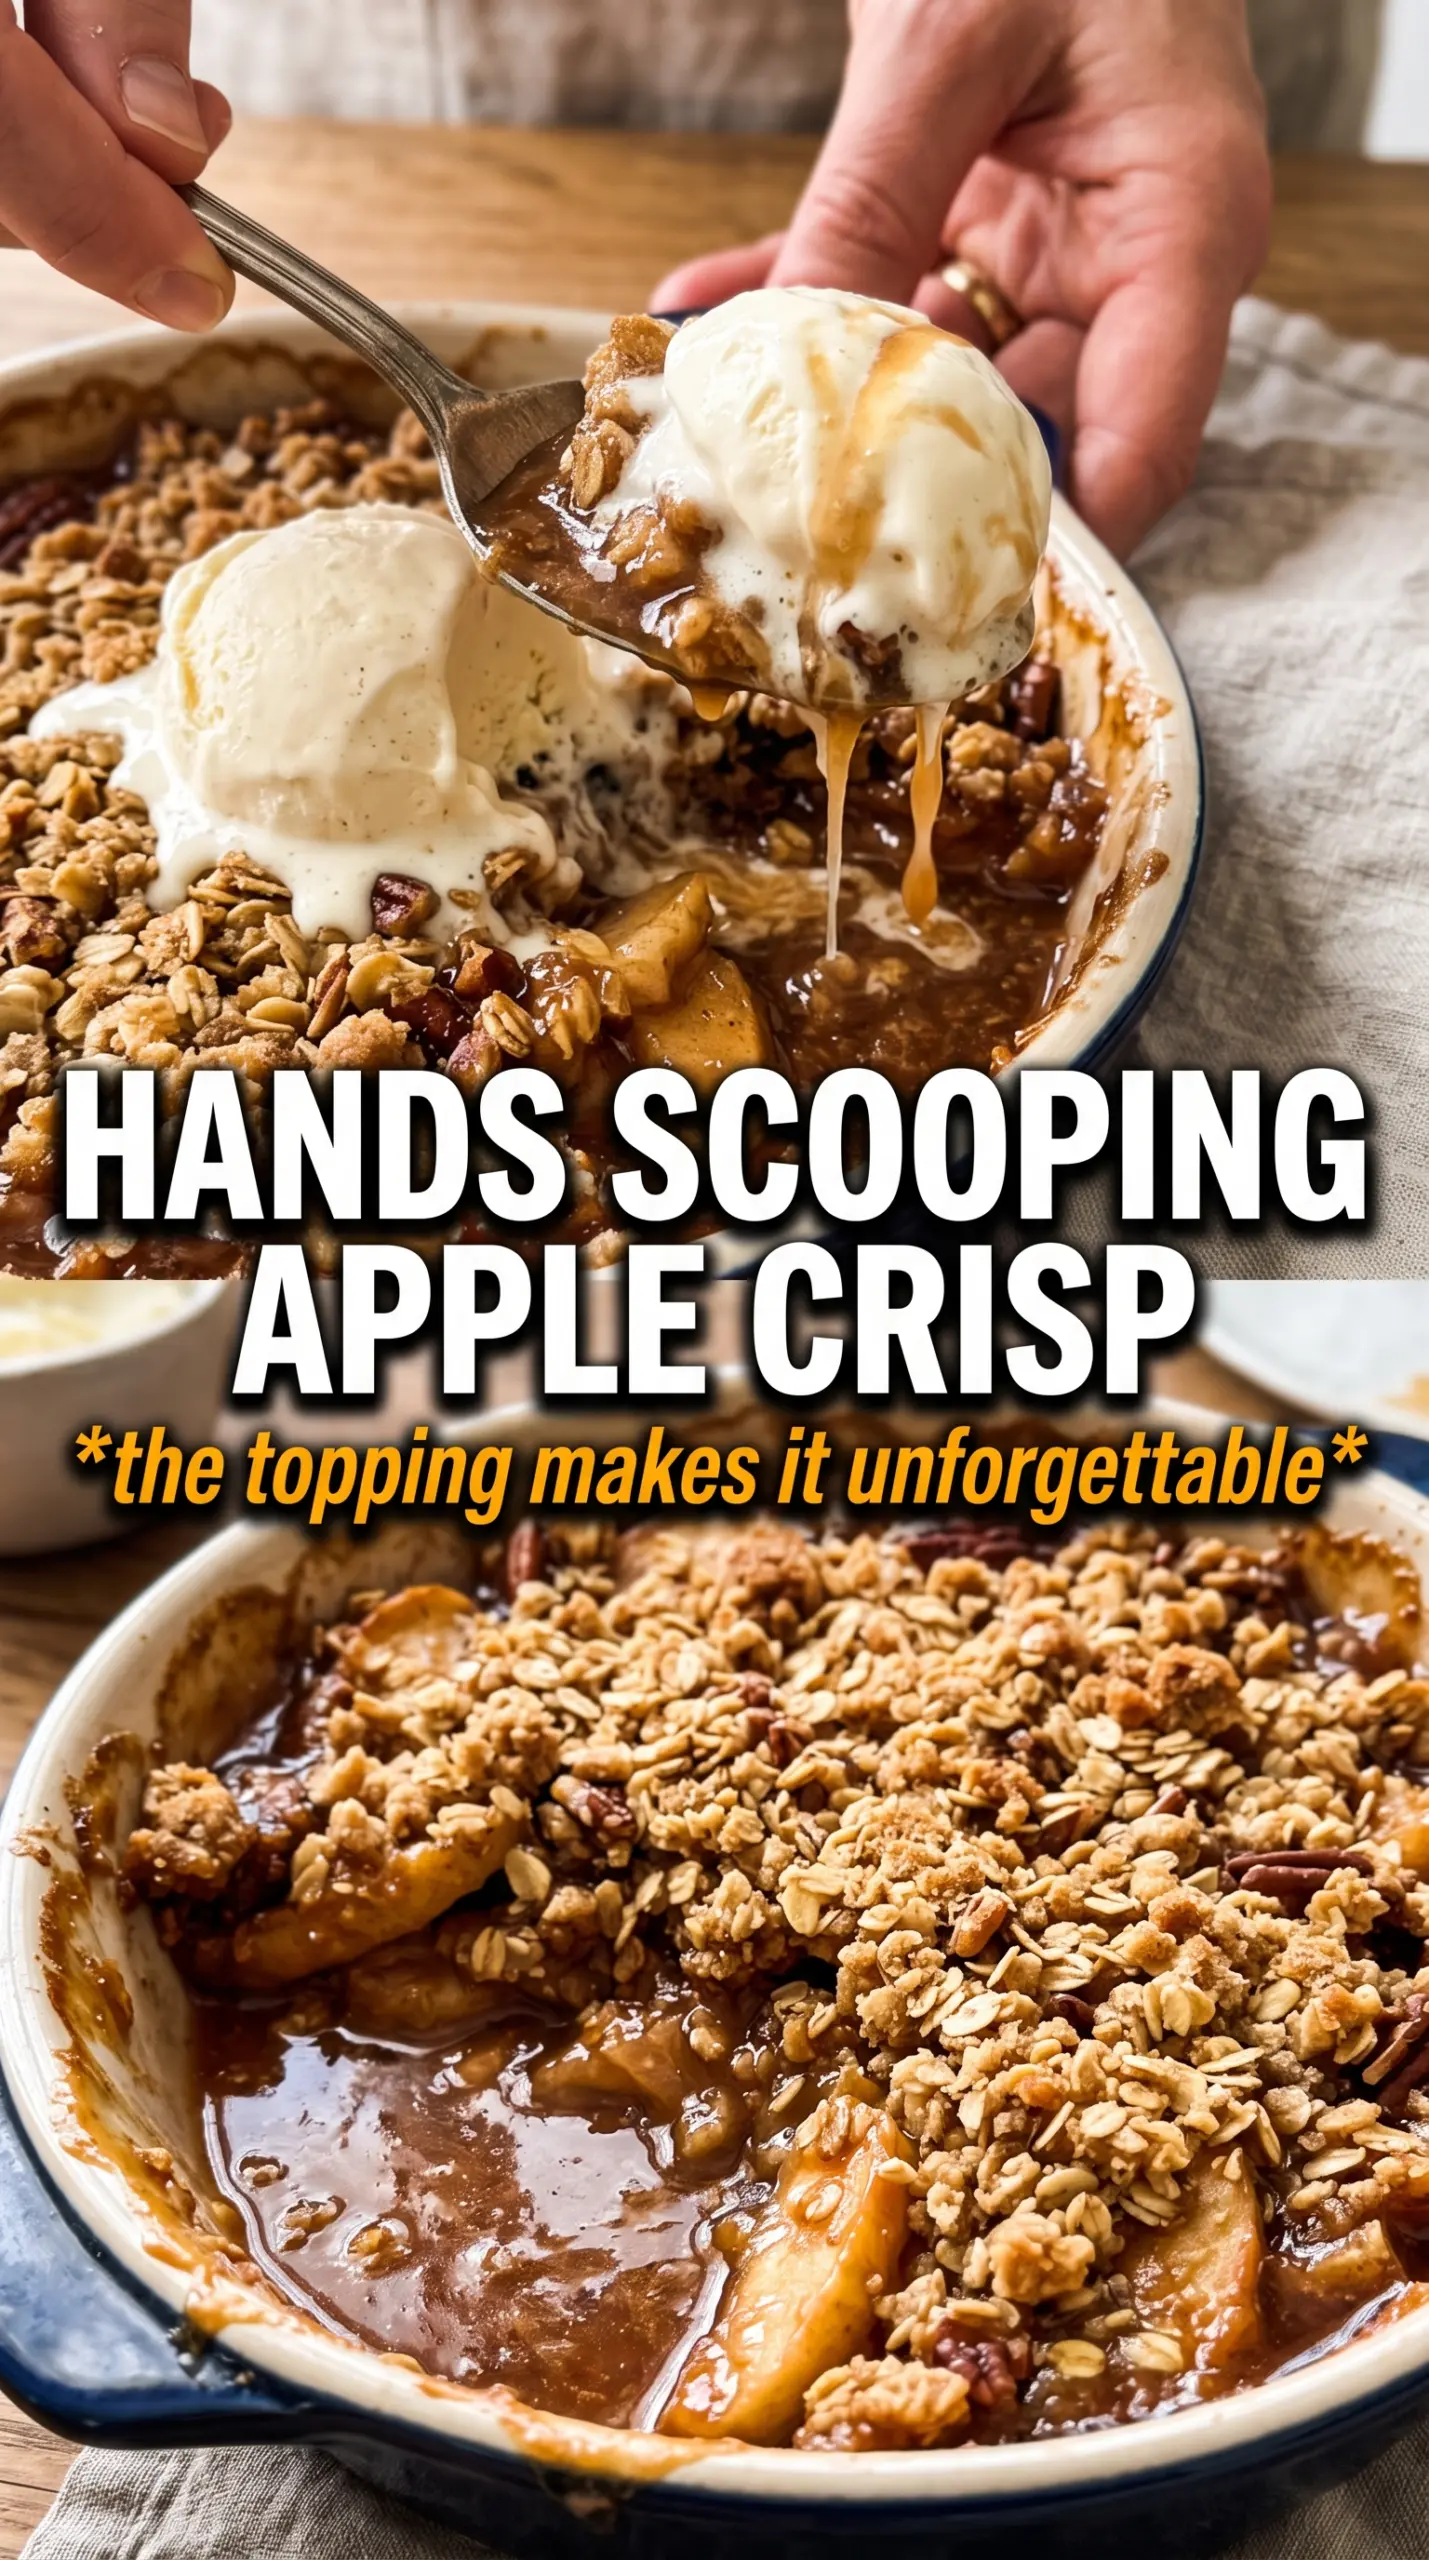
Warm apple crisp disappears fast when the topping bakes into thick, golden clumps and the fruit underneath turns soft, syrupy, and just tart enough to keep each bite from tasting heavy. The best part is the contrast: tender cinnamon apples at the bottom, crisp oat crumble on top, and those caramelized edges where the butter and brown sugar melt together in the pan.
What makes this version work is the apple mix. Granny Smith brings structure and brightness, while Honeycrisp adds sweetness and juiciness, so the filling tastes balanced instead of one-note. Cornstarch thickens the juices as the apples bake, which keeps you from ending up with a watery pan and a soggy topping. The cold butter in the crumble matters too; it holds the topping in rough, uneven pieces that bake up nubbly and crisp instead of sandy.
Below, I’m breaking down the one step that keeps the topping crunchy, the ingredients that matter most, and the small fixes that help if your crisp ever comes out too loose or too dry.
The topping stayed crunchy all the way through and the filling thickened up instead of running all over the plate. I used a mix of Granny Smith and Honeycrisp like you suggested, and the balance was perfect.
Save this apple crisp for the nights when you want bubbling cinnamon apples and a chunky oat topping that stays crisp at the edges.
The Part That Keeps the Crumble Crisp Instead of Sandy
The biggest mistake with apple crisp is overworking the topping. If you cut the butter in until everything looks uniform and fine, the crumble bakes up dense and dusty instead of pebbly and crisp. You want visible chunks of butter coated in flour and oats, because those little pockets melt, steam, and leave behind the craggy texture that makes a crisp worth serving.
The filling has its own trap: too little thickener, and the apples shed juice into the pan until the topping softens from below. Cornstarch solves that, but only if the crisp bakes long enough for the fruit to bubble. Once you see steady bubbling around the edges, the filling has reached the point where the starch can thicken properly.
- Use two kinds of apples. Granny Smith keeps the filling bright and firm, while Honeycrisp softens into a juicy middle ground. Using only sweet apples makes the dessert flat.
- Leave the butter cold. Cold butter is what creates the chunky topping. If it starts softening while you mix, chill the bowl for a few minutes before baking.
- Don’t press the topping down. Let it sit loose over the apples so hot air can move through it and crisp the surface instead of steaming it into a crust.
What Each Ingredient Is Actually Doing in the Pan
- Granny Smith and Honeycrisp apples — This mix gives you both structure and juiciness. If you swap in softer apples, the filling can collapse into applesauce before the topping finishes.
- Cornstarch — This is what turns the fruit juices into a glossy filling instead of a thin syrup. Arrowroot can work in the same amount, but don’t skip the thickener entirely.
- Brown sugar — Brown sugar deepens the caramel note in both the filling and topping. Granulated sugar can replace it in a pinch, but you lose some richness.
- Rolled oats — Oats give the topping its signature chew and rough texture. Quick oats will work, but the crumble will be finer and less rugged.
- Cold butter — Butter is what binds the topping and helps it brown. Cubed butter is easier to work in evenly, whether you use a pastry cutter or your fingertips.
Building the Crisp So the Top Bakes Before the Fruit Turns Mushy
Coating the Apples
Toss the sliced apples with the sugars, cinnamon, nutmeg, cornstarch, and lemon juice until every slice looks lightly coated. The mixture should look damp, not soupy. If you see a puddle collecting right away, the apples are extra juicy and the crisp may need the full 45 minutes to set properly. Spread the fruit evenly in the baking dish so the top bakes at the same rate across the pan.
Making the Chunky Topping
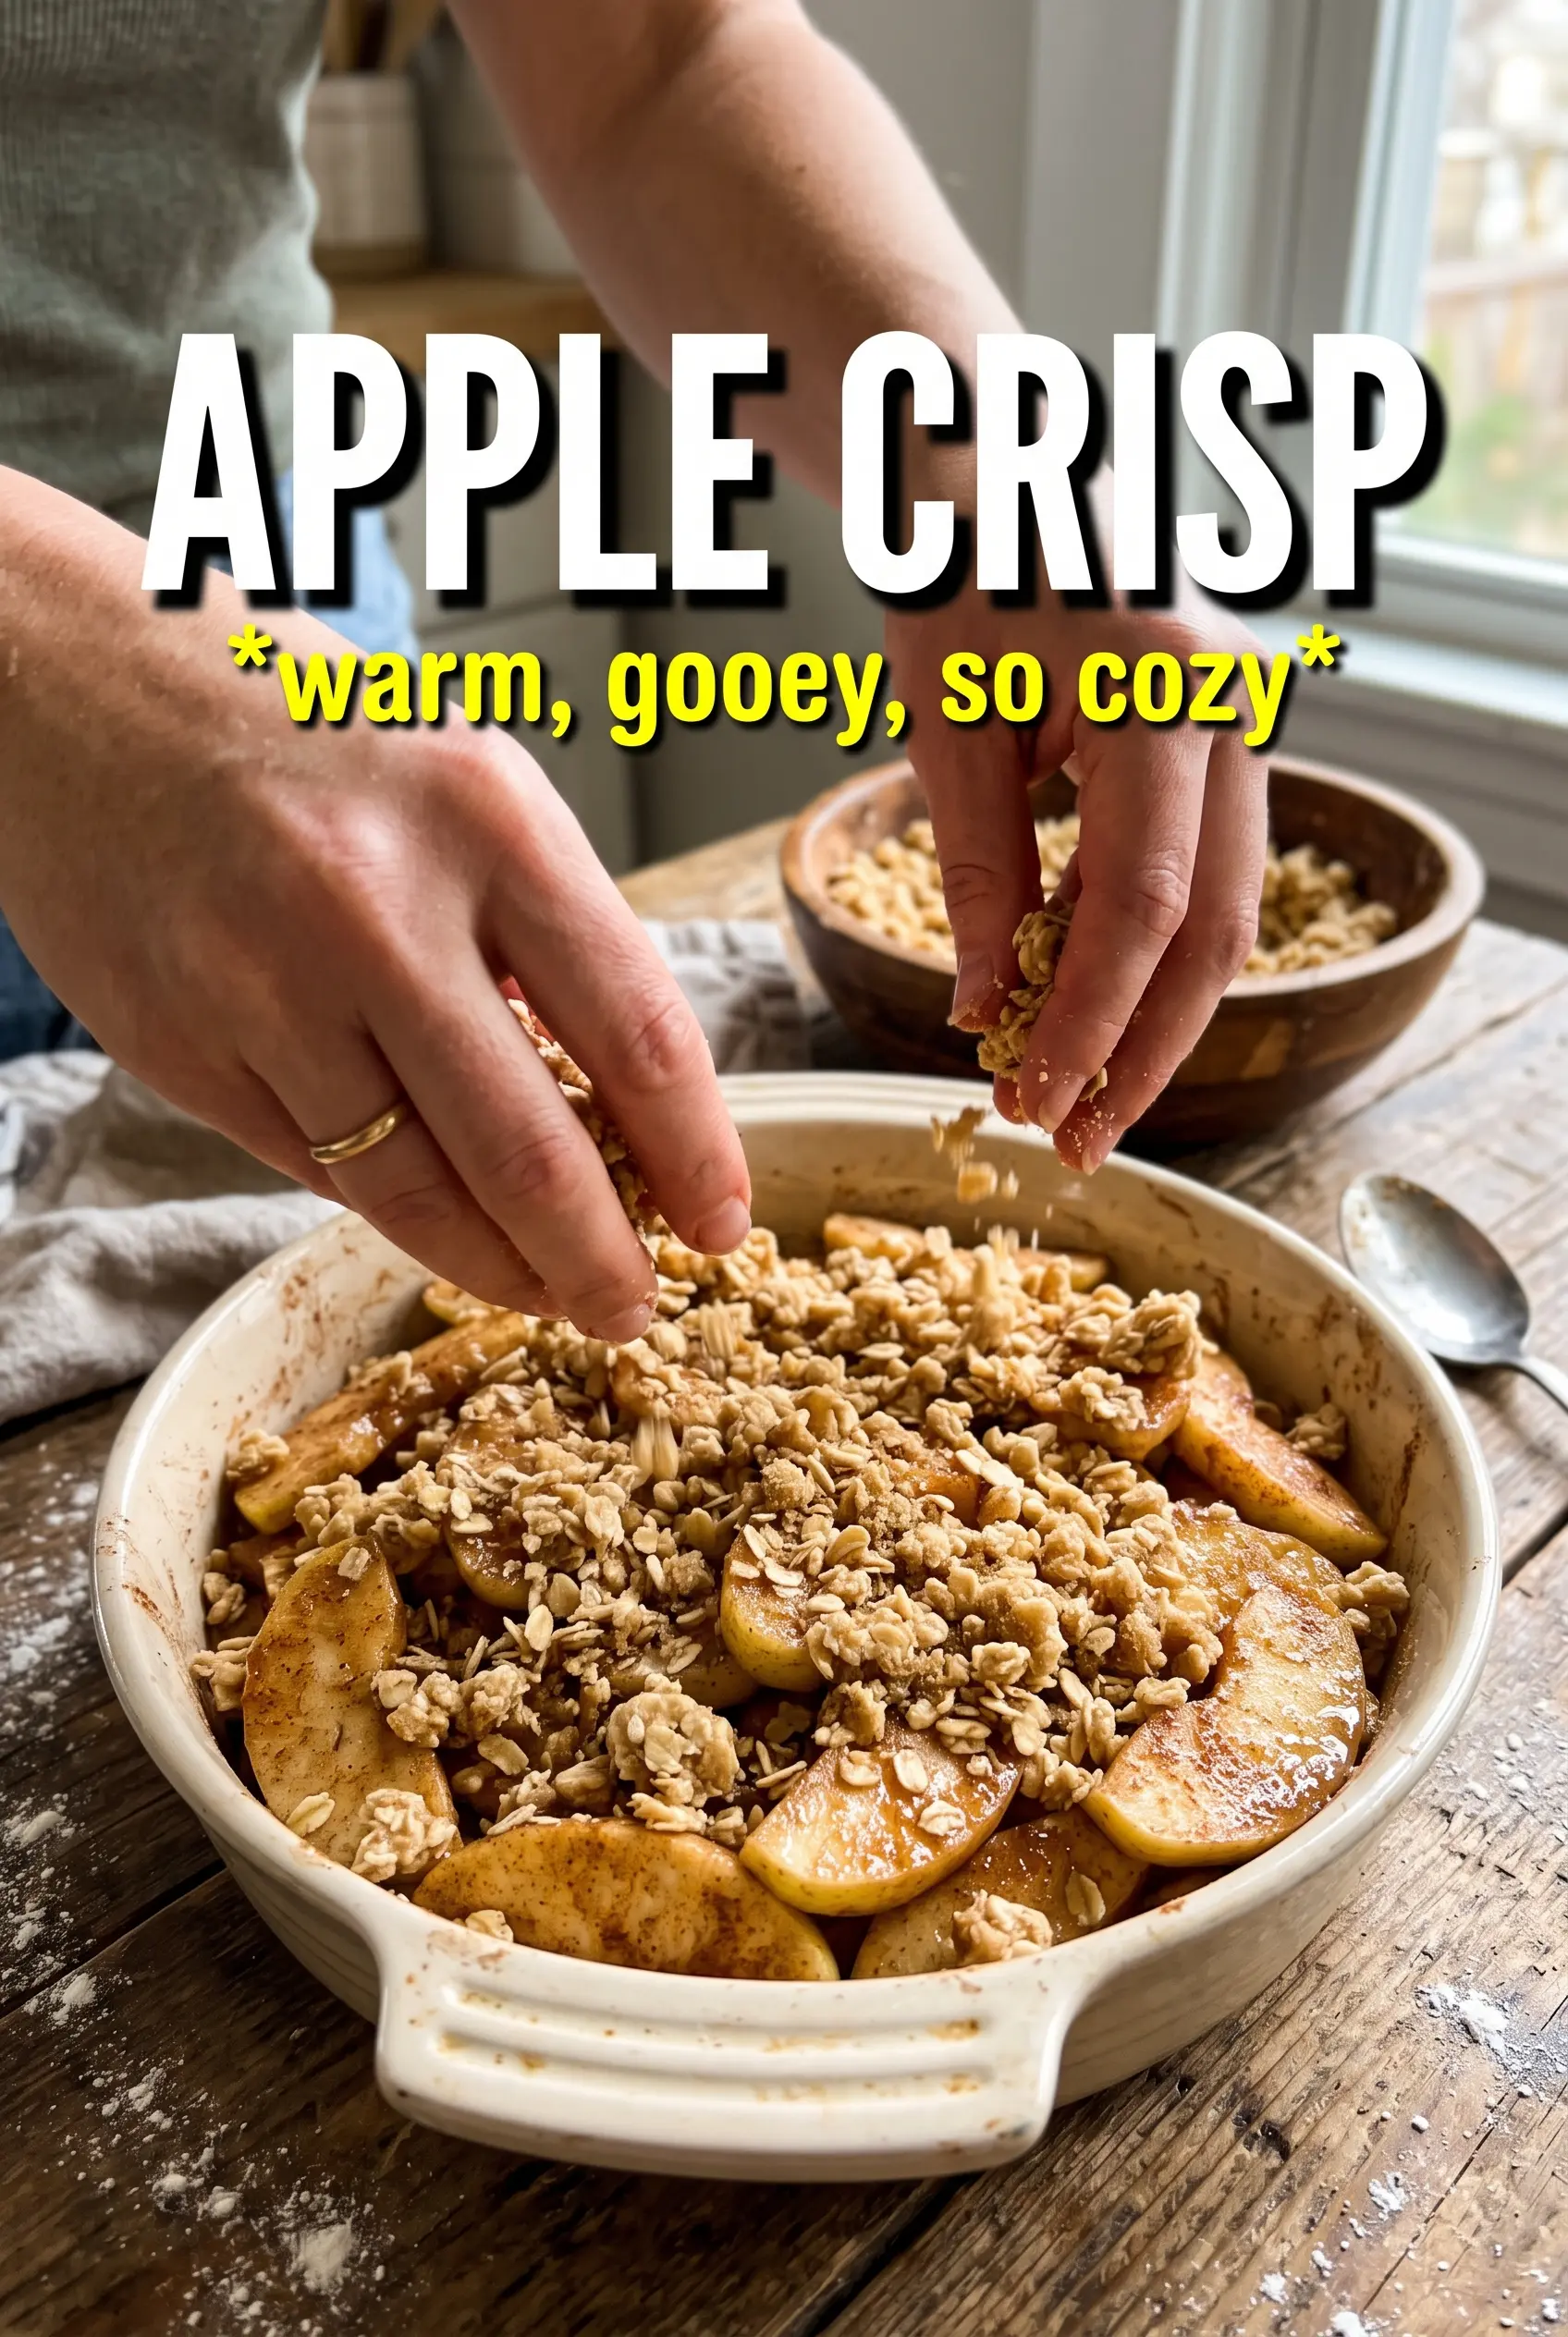
Combine the oats, flour, brown sugar, cinnamon, and salt, then cut in the cold butter until the mixture forms irregular clumps. Stop when you still have pieces the size of peas and small almonds. If the topping turns into a paste, it will bake up hard instead of crumbly. That loose, pebbled texture is what gives you those crunchy ridges on top.
Baking Until the Edges Bubble
Scatter the topping evenly over the apples and bake until it turns deeply golden and the fruit is bubbling at the edges of the dish. That bubbling matters more than the clock. If the top looks done but the filling is quiet, the apples are not fully cooked and the sauce hasn’t thickened yet. Let the crisp rest for 10 minutes after baking so the juices settle and don’t run everywhere when you scoop it.
Three Ways to Make This Apple Crisp Fit What You’ve Got
Make It Gluten-Free
Swap the all-purpose flour for a 1:1 gluten-free baking blend. Keep the oats certified gluten-free if cross-contamination matters to you. The topping will still bake crisp, though it may feel a little more delicate when you scoop it.
Make It Dairy-Free
Use a solid plant-based butter that behaves like regular butter in baking. The topping still needs to be cold and cubed so it creates clumps. Skip anything very soft or spreadable, because it tends to melt too fast and gives you a flatter crust.
Add a Little More Spice
A pinch of cardamom or ginger shifts the crisp toward warmer, spicier notes without changing the texture. Keep the additions light so the apples still taste like apples. This works best when the fruit is very sweet and needs a little edge.
Storage and Reheating
- Refrigerator: Store covered for up to 4 days. The topping will soften a little as it sits, but the flavor stays good.
- Freezer: Freeze baked crisp tightly wrapped for up to 2 months. Thaw overnight in the fridge before reheating, or the center can stay icy while the top overbakes.
- Reheating: Warm in a 325°F oven until the filling is hot and the topping crisps back up, usually 15 to 20 minutes. The microwave will heat the apples, but it turns the crumble soft.
Answers to the Questions Worth Asking
Apple Crisp
Ingredients
Equipment
Method
- Preheat the oven to 375°F and grease a 9x13 baking dish.
- Toss the sliced apples with granulated sugar, brown sugar, cinnamon, nutmeg, cornstarch, and lemon juice, then spread them evenly in the prepared dish.
- Combine rolled oats, all-purpose flour, brown sugar, cinnamon, and salt, then cut in the cold unsalted butter with a pastry cutter or your fingers until large, chunky clumps form.
- Scatter the crumble topping evenly over the apples without pressing down.
- Bake for 40-45 minutes, until the topping is deeply golden and the apple filling is bubbling around the edges.
- Rest for 10 minutes before serving warm with vanilla ice cream.