Apple crisp with oatmeal lands with the kind of contrast that keeps a dessert tray interesting: tender, cinnamon-scented apples underneath a thick, craggy topping that bakes into crisp golden clusters. The best bites give you soft fruit, toasted oats, and just enough syrupy juice to pull everything together without turning the top soggy.
The trick is in the balance. The apples need cornstarch and a short rest after baking so the juices thicken instead of flooding the pan, and the crumble needs cold butter worked in just enough to leave big chunks behind. Those chunky bits are what brown into the crackly, caramelized top people go back for.
Below, I’ve laid out the small details that make this version dependable, plus a few ways to adjust it depending on the apples you have on hand.
The topping baked up into those big buttery clumps I was hoping for, and the filling thickened instead of running all over the dish. We had it warm with ice cream and my husband asked if there was enough left for breakfast.
Like this apple crisp with oatmeal? Save it for the nights when you want a bubbling fruit dessert with a thick, buttery crumble and no fussy crust.
The Part That Keeps the Topping Crisp Instead of Soggy
The topping stays crisp when the apple layer and the crumble each do their own job. If the apples are watery, the topping steams instead of browning, which is why the cornstarch matters and why the crisp needs time to rest after baking. That short rest gives the juices a chance to settle into a glossy filling instead of spilling out the second you cut into it.
Using old-fashioned rolled oats gives the crumble its best texture. Quick oats can work in a pinch, but they bake up finer and less nubbly, which means you lose some of that rough, craggy finish. The butter also has to stay cold. Warm butter blends in too smoothly and turns the topping sandy instead of clumpy.
- Apples — A mix of tart and sweet apples gives the filling more depth, but any firm baking apple works. Softer apples can turn mushy, so avoid varieties that collapse fast in the oven.
- Cornstarch — This thickens the juices so the filling turns spoonable, not runny. Flour can be used instead, but it takes more heat and usually leaves the filling a little cloudier.
- Cold butter — This is what makes the topping bake into crunchy clusters. Cube it first and keep it cold until the second you mix it in.
Building the Apple Layer and Crumble So They Bake at the Same Pace
Tossing the Apples Until They’re Evenly Coated
Start by coating the sliced apples with both sugars, cinnamon, nutmeg, cornstarch, and lemon juice until every slice looks lightly glossy. The lemon juice brightens the filling and keeps the apples from tasting flat, while the cornstarch starts working before the dish even goes into the oven. Spread the apples in an even layer so the filling cooks through at the same rate; piled-up apples leave some slices firm while others turn to sauce.
Mixing the Crumble Into Real Clumps
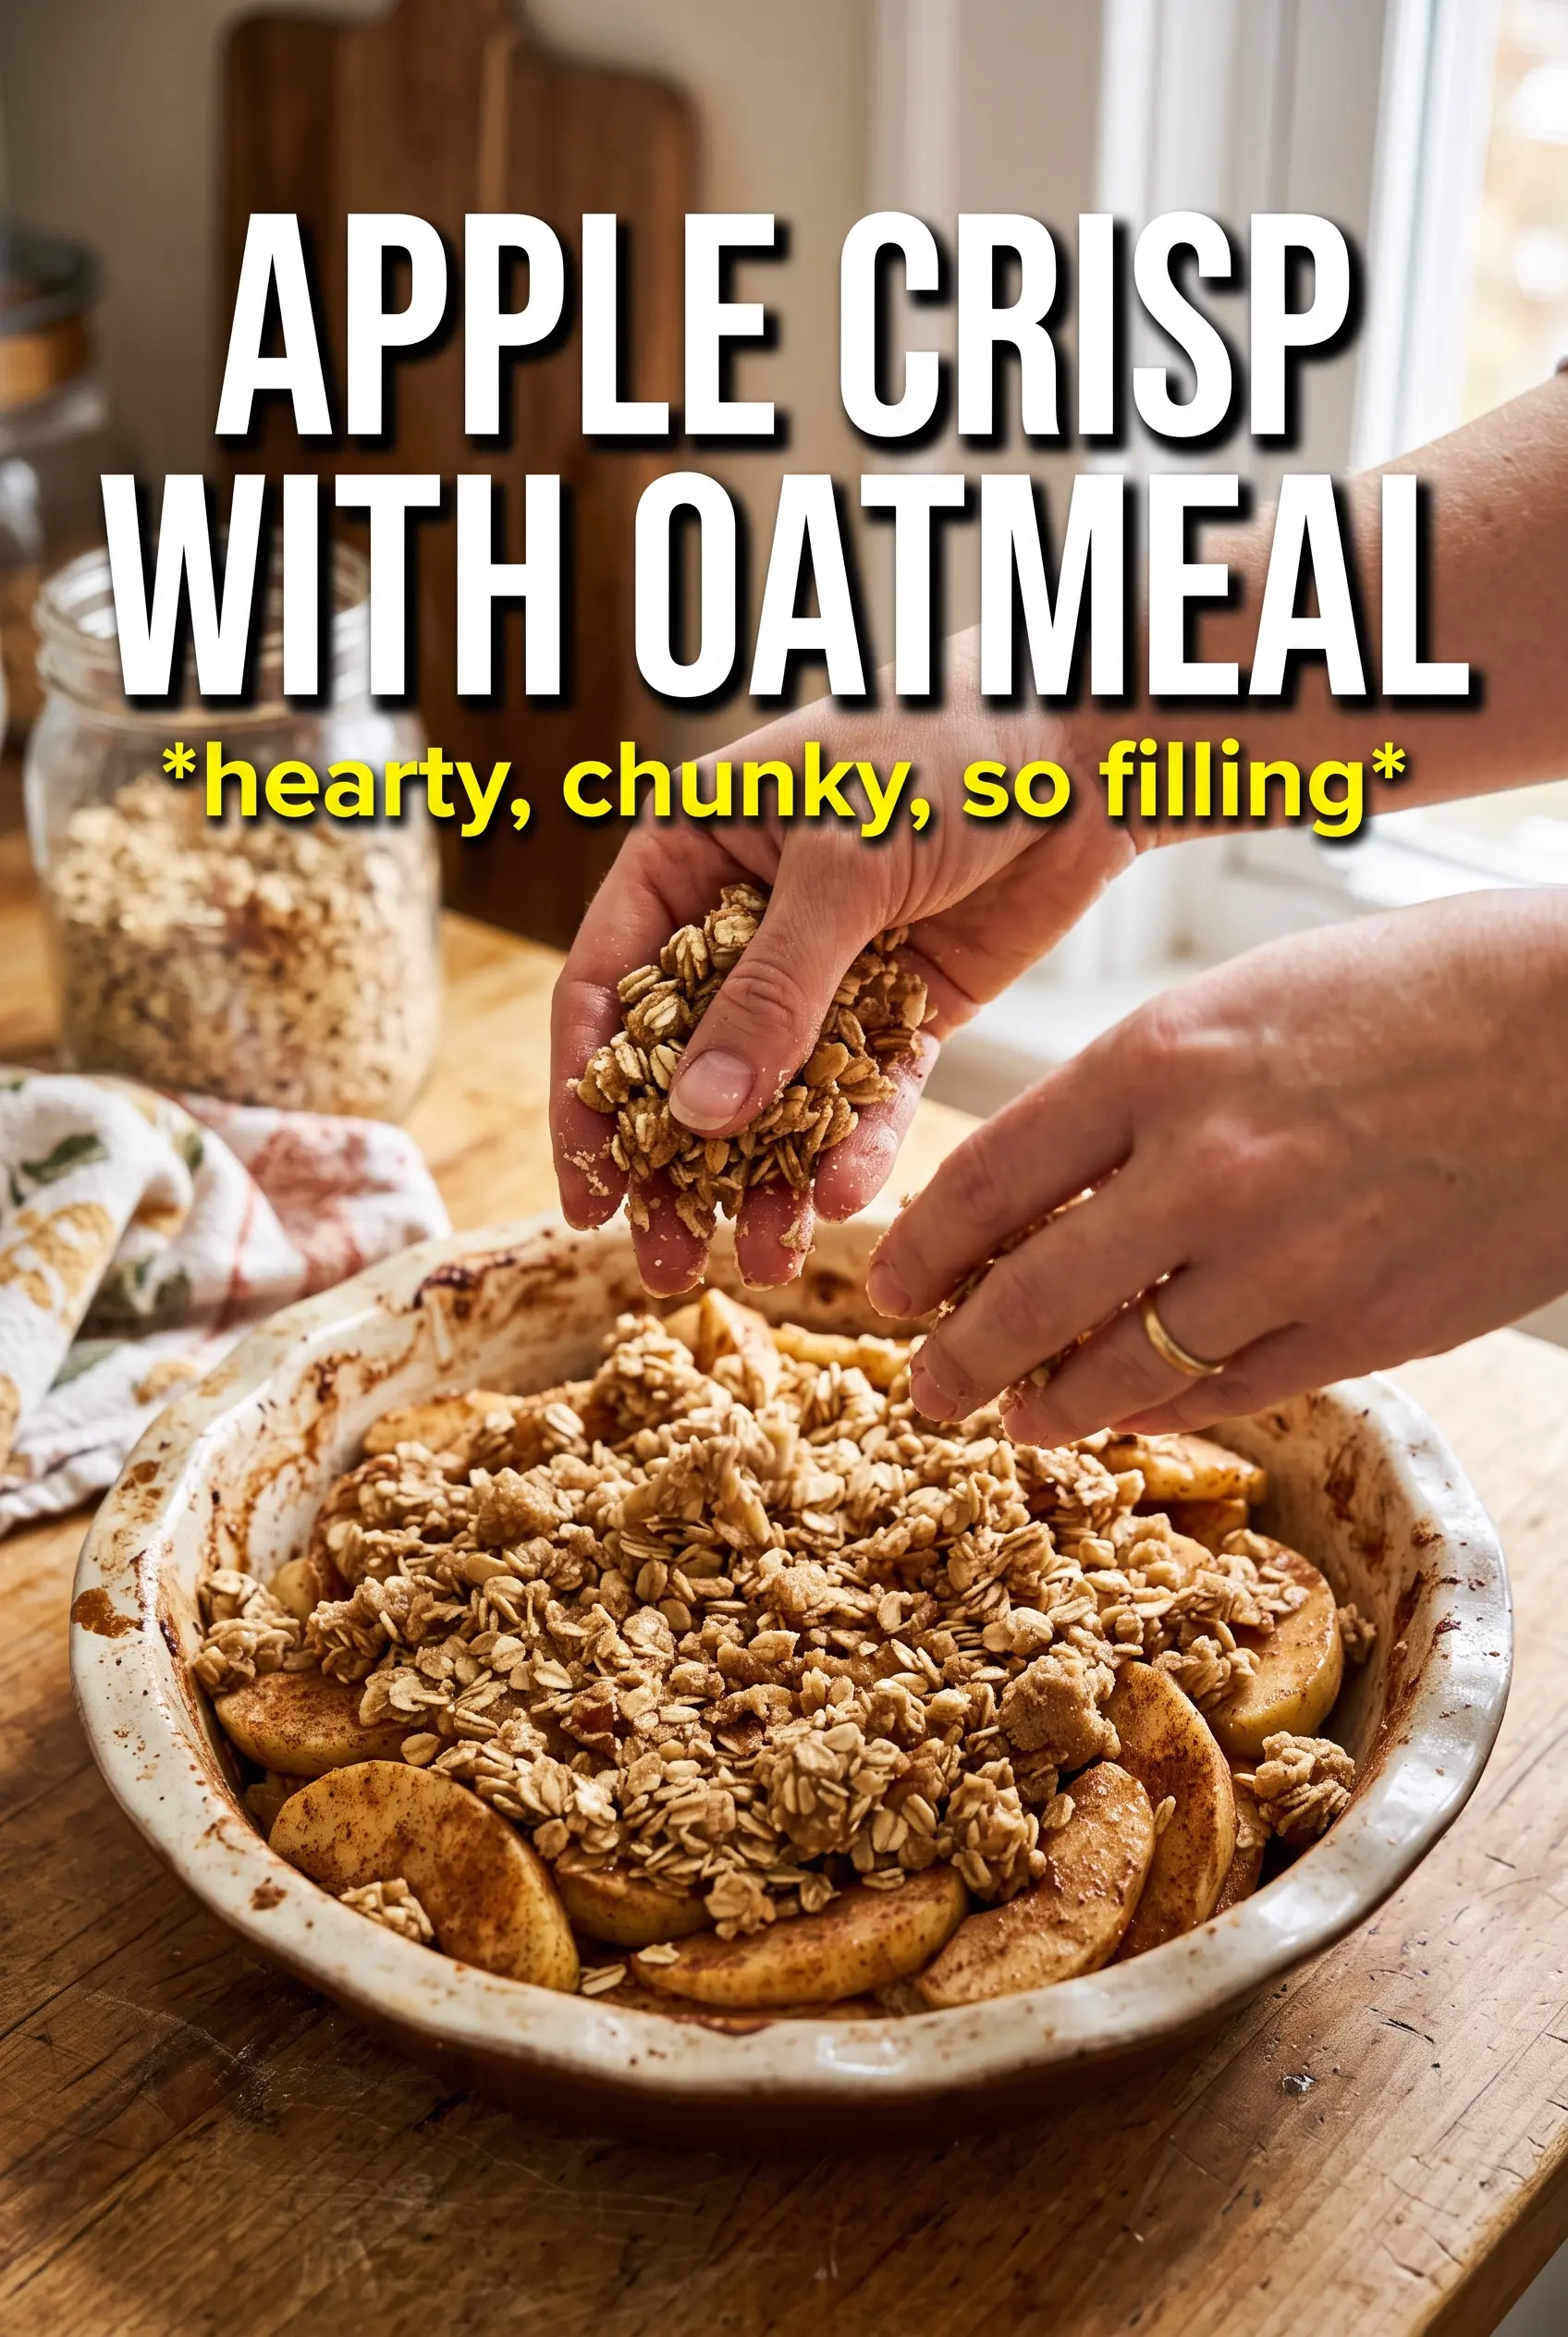
Combine the oats, flour, brown sugar, cinnamon, and salt first, then cut in the cold butter with your fingertips or a pastry cutter. Stop when you have a mix of sandy bits and bigger chunks. If you overwork it, the topping turns dense and bakes up flat, which is the opposite of what you want here. Those uneven clumps are the good stuff.
Baking Until the Edges Bubble
Scatter the crumble generously over the apples so the fruit is covered from edge to edge, then bake until the top is deeply golden and you see the filling bubbling at the corners. That bubbling is your signal that the cornstarch has cooked through and the fruit juices have thickened. Pull it too early and the topping may look done while the filling is still loose underneath.
Use pears for part of the apples
Swap up to half the apples for firm pears if you want a softer, slightly floral filling. Keep the cornstarch the same, since pears release a lot of juice as they bake. The texture will be gentler and a little more custardy.
Make it gluten-free
Use a cup-for-cup gluten-free flour blend in place of the all-purpose flour, and make sure your oats are certified gluten-free. The topping still browns and clumps well, though it may bake a touch more delicately.
Reduce the sugar without losing the crisp
You can cut the brown sugar in the filling a little if your apples are very sweet, but don’t slash the topping sugar too far. That sugar helps the crumble caramelize and form the crisp top, not just sweetness.
Storage and Reheating
- Refrigerator: Store covered for up to 4 days. The topping softens a bit in the fridge, but the flavor stays good.
- Freezer: Freeze baked and cooled crisp for up to 2 months. Wrap tightly and thaw in the fridge before reheating, or freeze the unbaked assembled crisp and bake from cold, adding extra time.
- Reheating: Warm in a 350°F oven until the edges are bubbling again and the top crisps back up, usually 15 to 20 minutes. The microwave will heat the filling, but it turns the crumble soft.
Questions I Get Asked About This Recipe
Apple Crisp With Oatmeal
Ingredients
Equipment
Method
- Preheat oven to 375F and grease a 9x13 baking dish with a light coating so the crumble releases cleanly.
- Toss sliced apples with granulated sugar, brown sugar, cinnamon, nutmeg, cornstarch, and lemon juice until the slices look evenly coated.
- Spread the coated apple slices in the prepared dish in an even layer so the corners can bubble during baking.
- Combine rolled oats, all-purpose flour, packed brown sugar, cinnamon, and salt until the dry mixture is evenly colored.
- Cut cold, cubed butter into the oat mixture with your fingertips or a pastry cutter until large, chunky clumps form.
- Scatter the crumble generously over the apples, covering every inch so the topping bakes into a thick layer.
- Bake 40-45 minutes at 375F until the topping is deeply golden and the apple filling bubbles at the corners.
- Rest 10 minutes to let the filling set slightly before serving.
- Serve warm with vanilla ice cream, letting it melt into the crisp for contrast between creamy and crunchy.