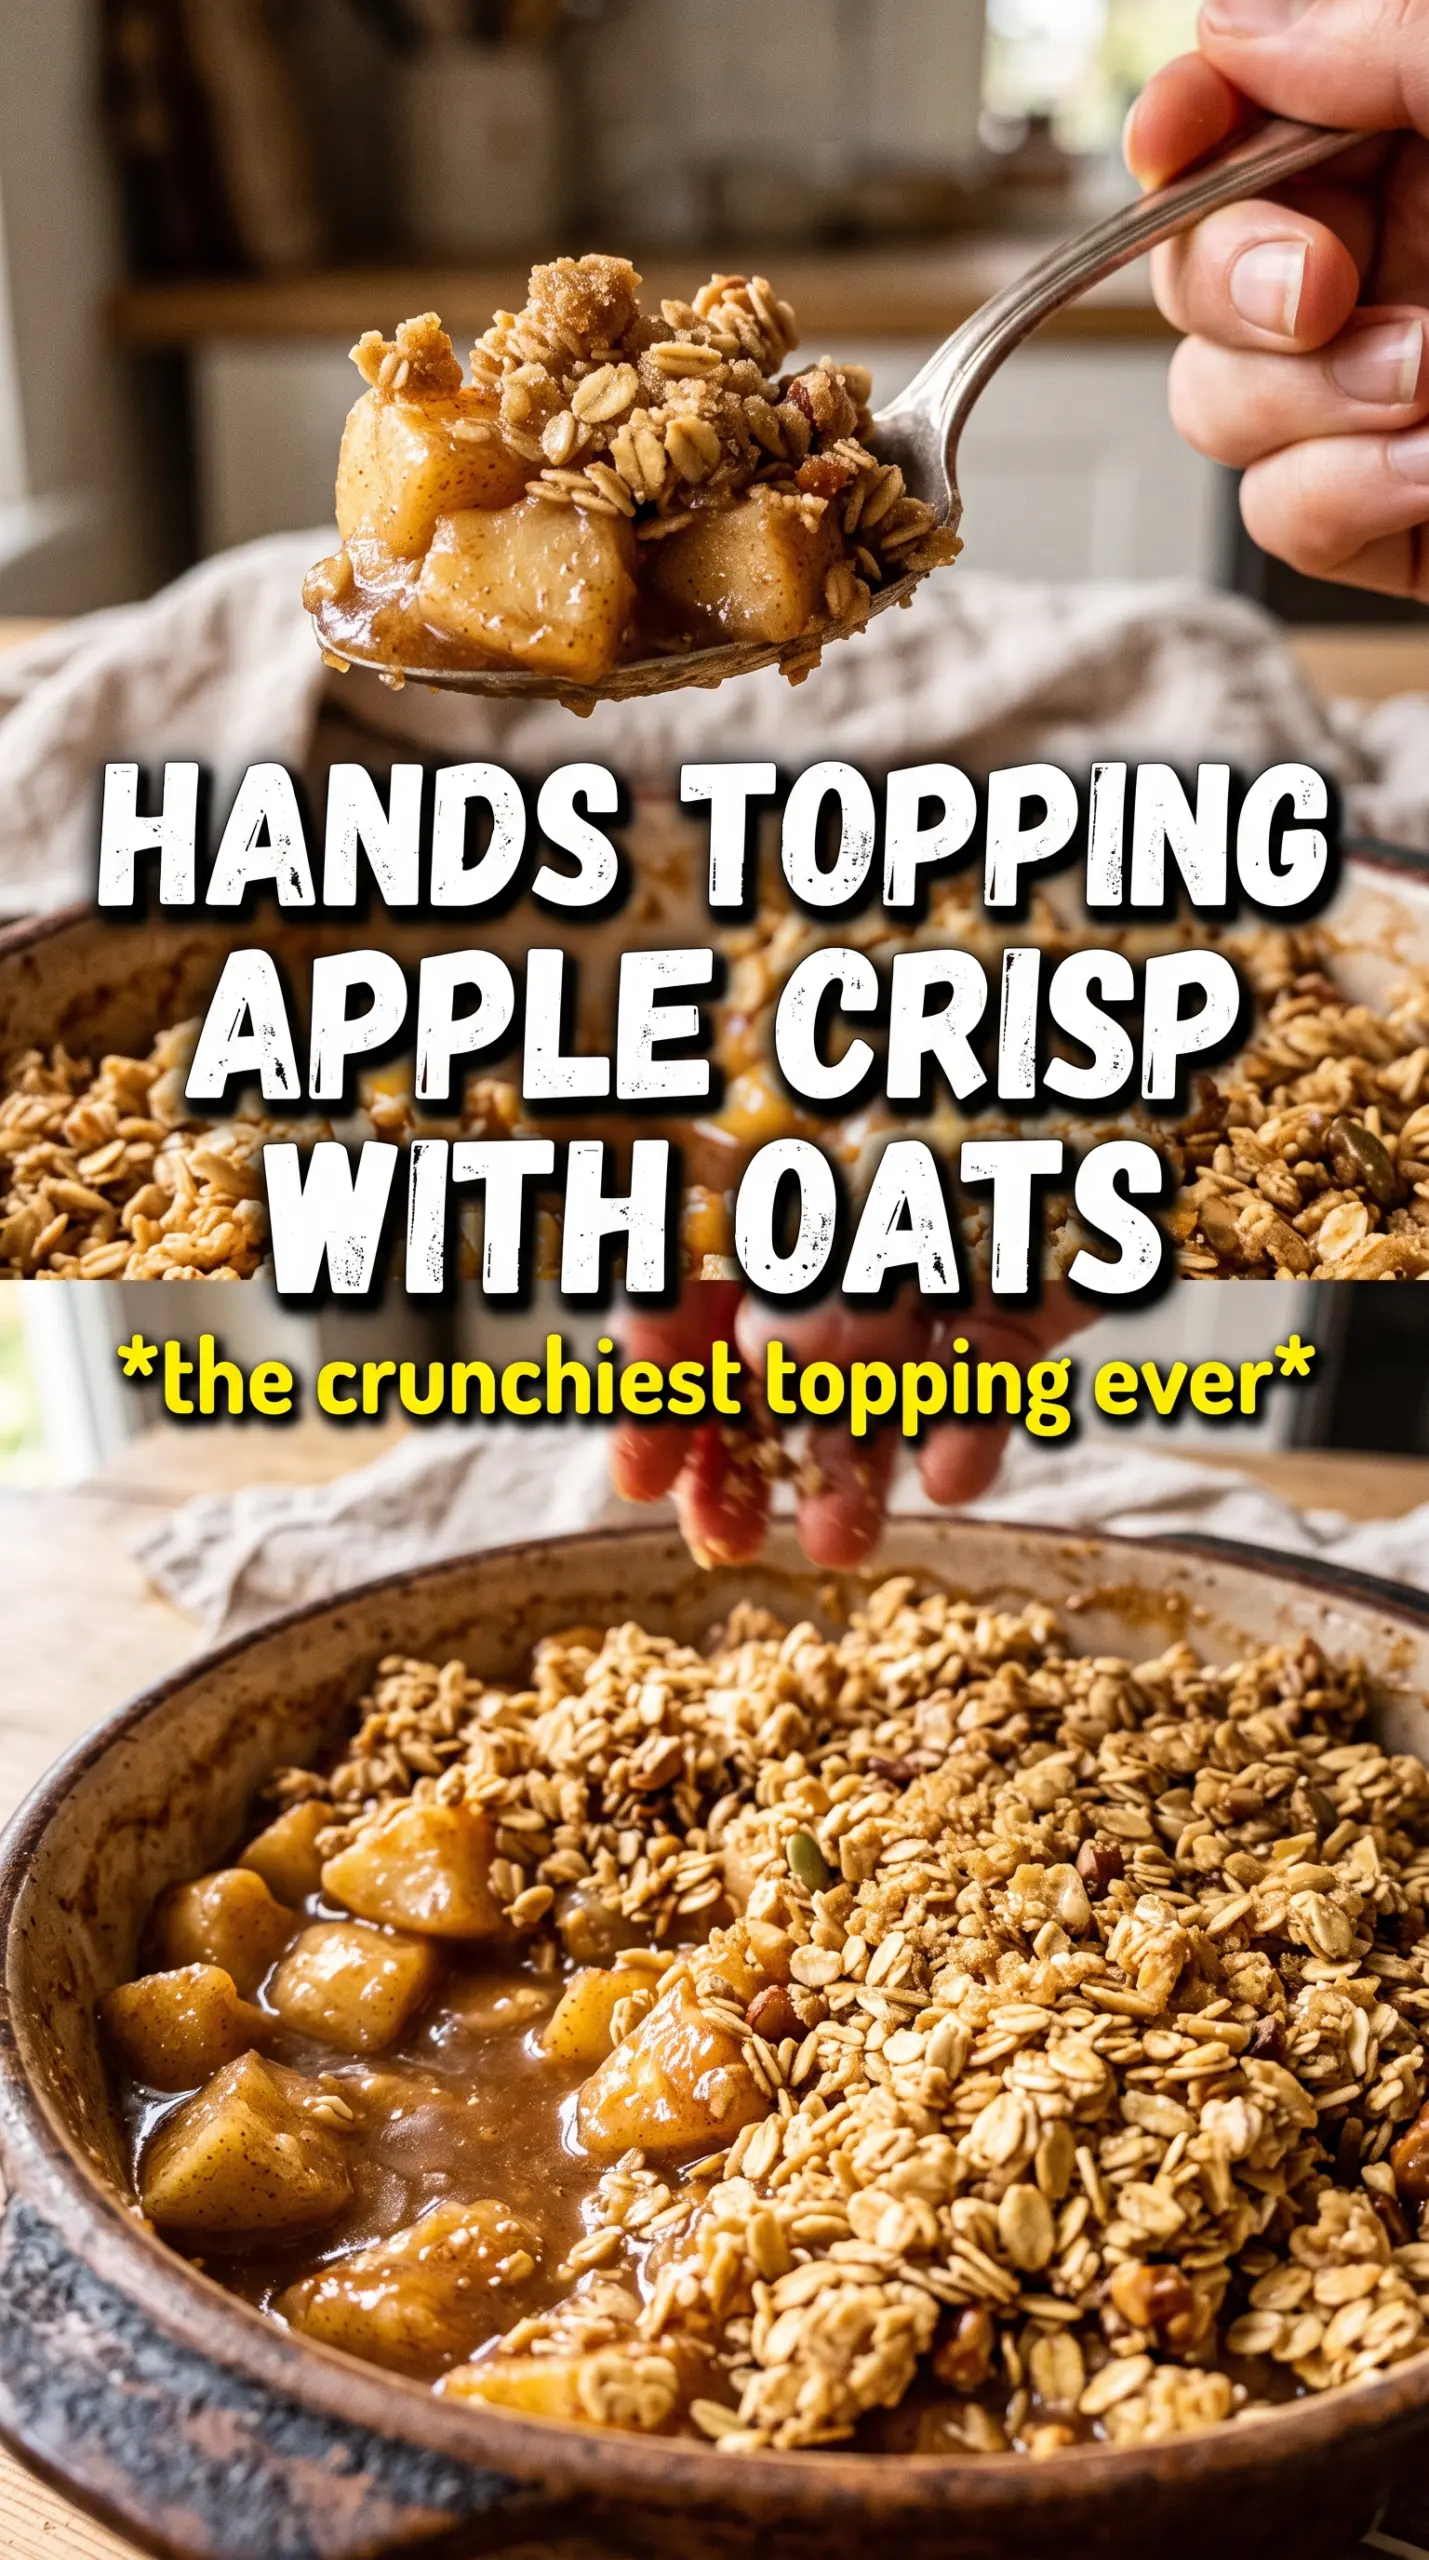
Golden, bubbling apple crisp with oats is the kind of dessert that disappears while the pan is still warm. The topping bakes into crisp little clusters and sandy crumbs at the same time, so every spoonful gives you tender apples underneath and a toasted, buttery crunch on top. When it comes out right, the spoon sinks through the crust with almost no resistance, and the filling underneath has that thick, glossy look that tells you the cornstarch did its job.
This version leans on old-fashioned rolled oats for a topping that holds its shape instead of turning pasty. Cold butter is the other part that matters. Cut it in until you’ve got a mix of fine crumbs and bigger clumps, because those clumps bake into the best crunchy bits. The apple filling gets a little lemon juice for brightness, plus cornstarch to thicken the juices so the dessert stays spoonable instead of soupy.
Below, I’ll show you the small details that keep the topping crisp and the filling from running all over the pan. There’s also a simple way to adjust the sweetness depending on how tart your apples are.
The oat topping baked up crisp instead of sandy, and the apple filling thickened at the edges just like you said. I served it with vanilla ice cream and it was gone in minutes.
Save this apple crisp with oats for the nights when you want a bubbling fruit dessert and a crunchy oat topping that stays crisp.
The Secret to Keeping the Oat Topping Crisp, Not Gummy
The topping needs two things to stay crisp: cold butter and enough oven time to fully dry out the oats and flour. If the butter starts melting into the dry ingredients before the dish goes in the oven, the topping turns dense and sandy instead of forming those rough, craggy clumps that brown properly. You want a mixture that looks uneven on purpose.
The other mistake is pulling the crisp too early. The top might look done before the filling has actually had time to bubble through the edges. Those bubbles matter. They tell you the cornstarch has activated and the fruit juices have thickened instead of pooling under the topping.
- Cold butter: It should stay in distinct pieces while you cut it in. Those pieces melt in the oven and create flaky pockets and crunchy clusters.
- Rolled oats: Old-fashioned oats hold texture. Quick oats break down faster and make the topping softer.
- Cornstarch: This is what keeps the apple juices from running thin. Flour can thicken, but cornstarch gives a cleaner, glossier filling.
- Apple mix: Use a mix of tart and sweet apples so the flavor stays balanced after baking. All sweet apples can taste flat once cooked.
What Each Ingredient Is Actually Doing in This Apple Crisp
- Apples: Firm baking apples hold their shape better than soft eating apples. A mix of tart and sweet keeps the filling from tasting one-note, and peeling them helps the texture stay smooth and spoonable.
- Brown sugar: It adds deeper caramel notes than white sugar alone. In the filling, it helps the apples release their juices; in the topping, it gives the crumble a richer, almost toasty edge.
- Lemon juice: It keeps the apples bright and stops the filling from tasting heavy. You only need a tablespoon, but don’t skip it.
- All-purpose flour: This gives the topping structure. You can swap in a 1:1 gluten-free baking flour if needed, but the topping will be a little more delicate.
- Cold unsalted butter: Unsalted butter gives you control over the seasoning, and cold butter is what creates the clumps. If all you have is salted butter, use it and cut the added salt back a touch.
Building the Crisp So the Filling Bubbles and the Top Browns
Coating the Apples Evenly
Toss the sliced apples with the sugars, spices, cornstarch, and lemon juice until every piece is glossy and lightly dusted. If the cornstarch clumps in one spot, you’ll get patches of thin filling and patches that turn paste-like. Spread the apples in the baking dish in an even layer so they cook at the same rate.
Cutting the Butter Into the Oats
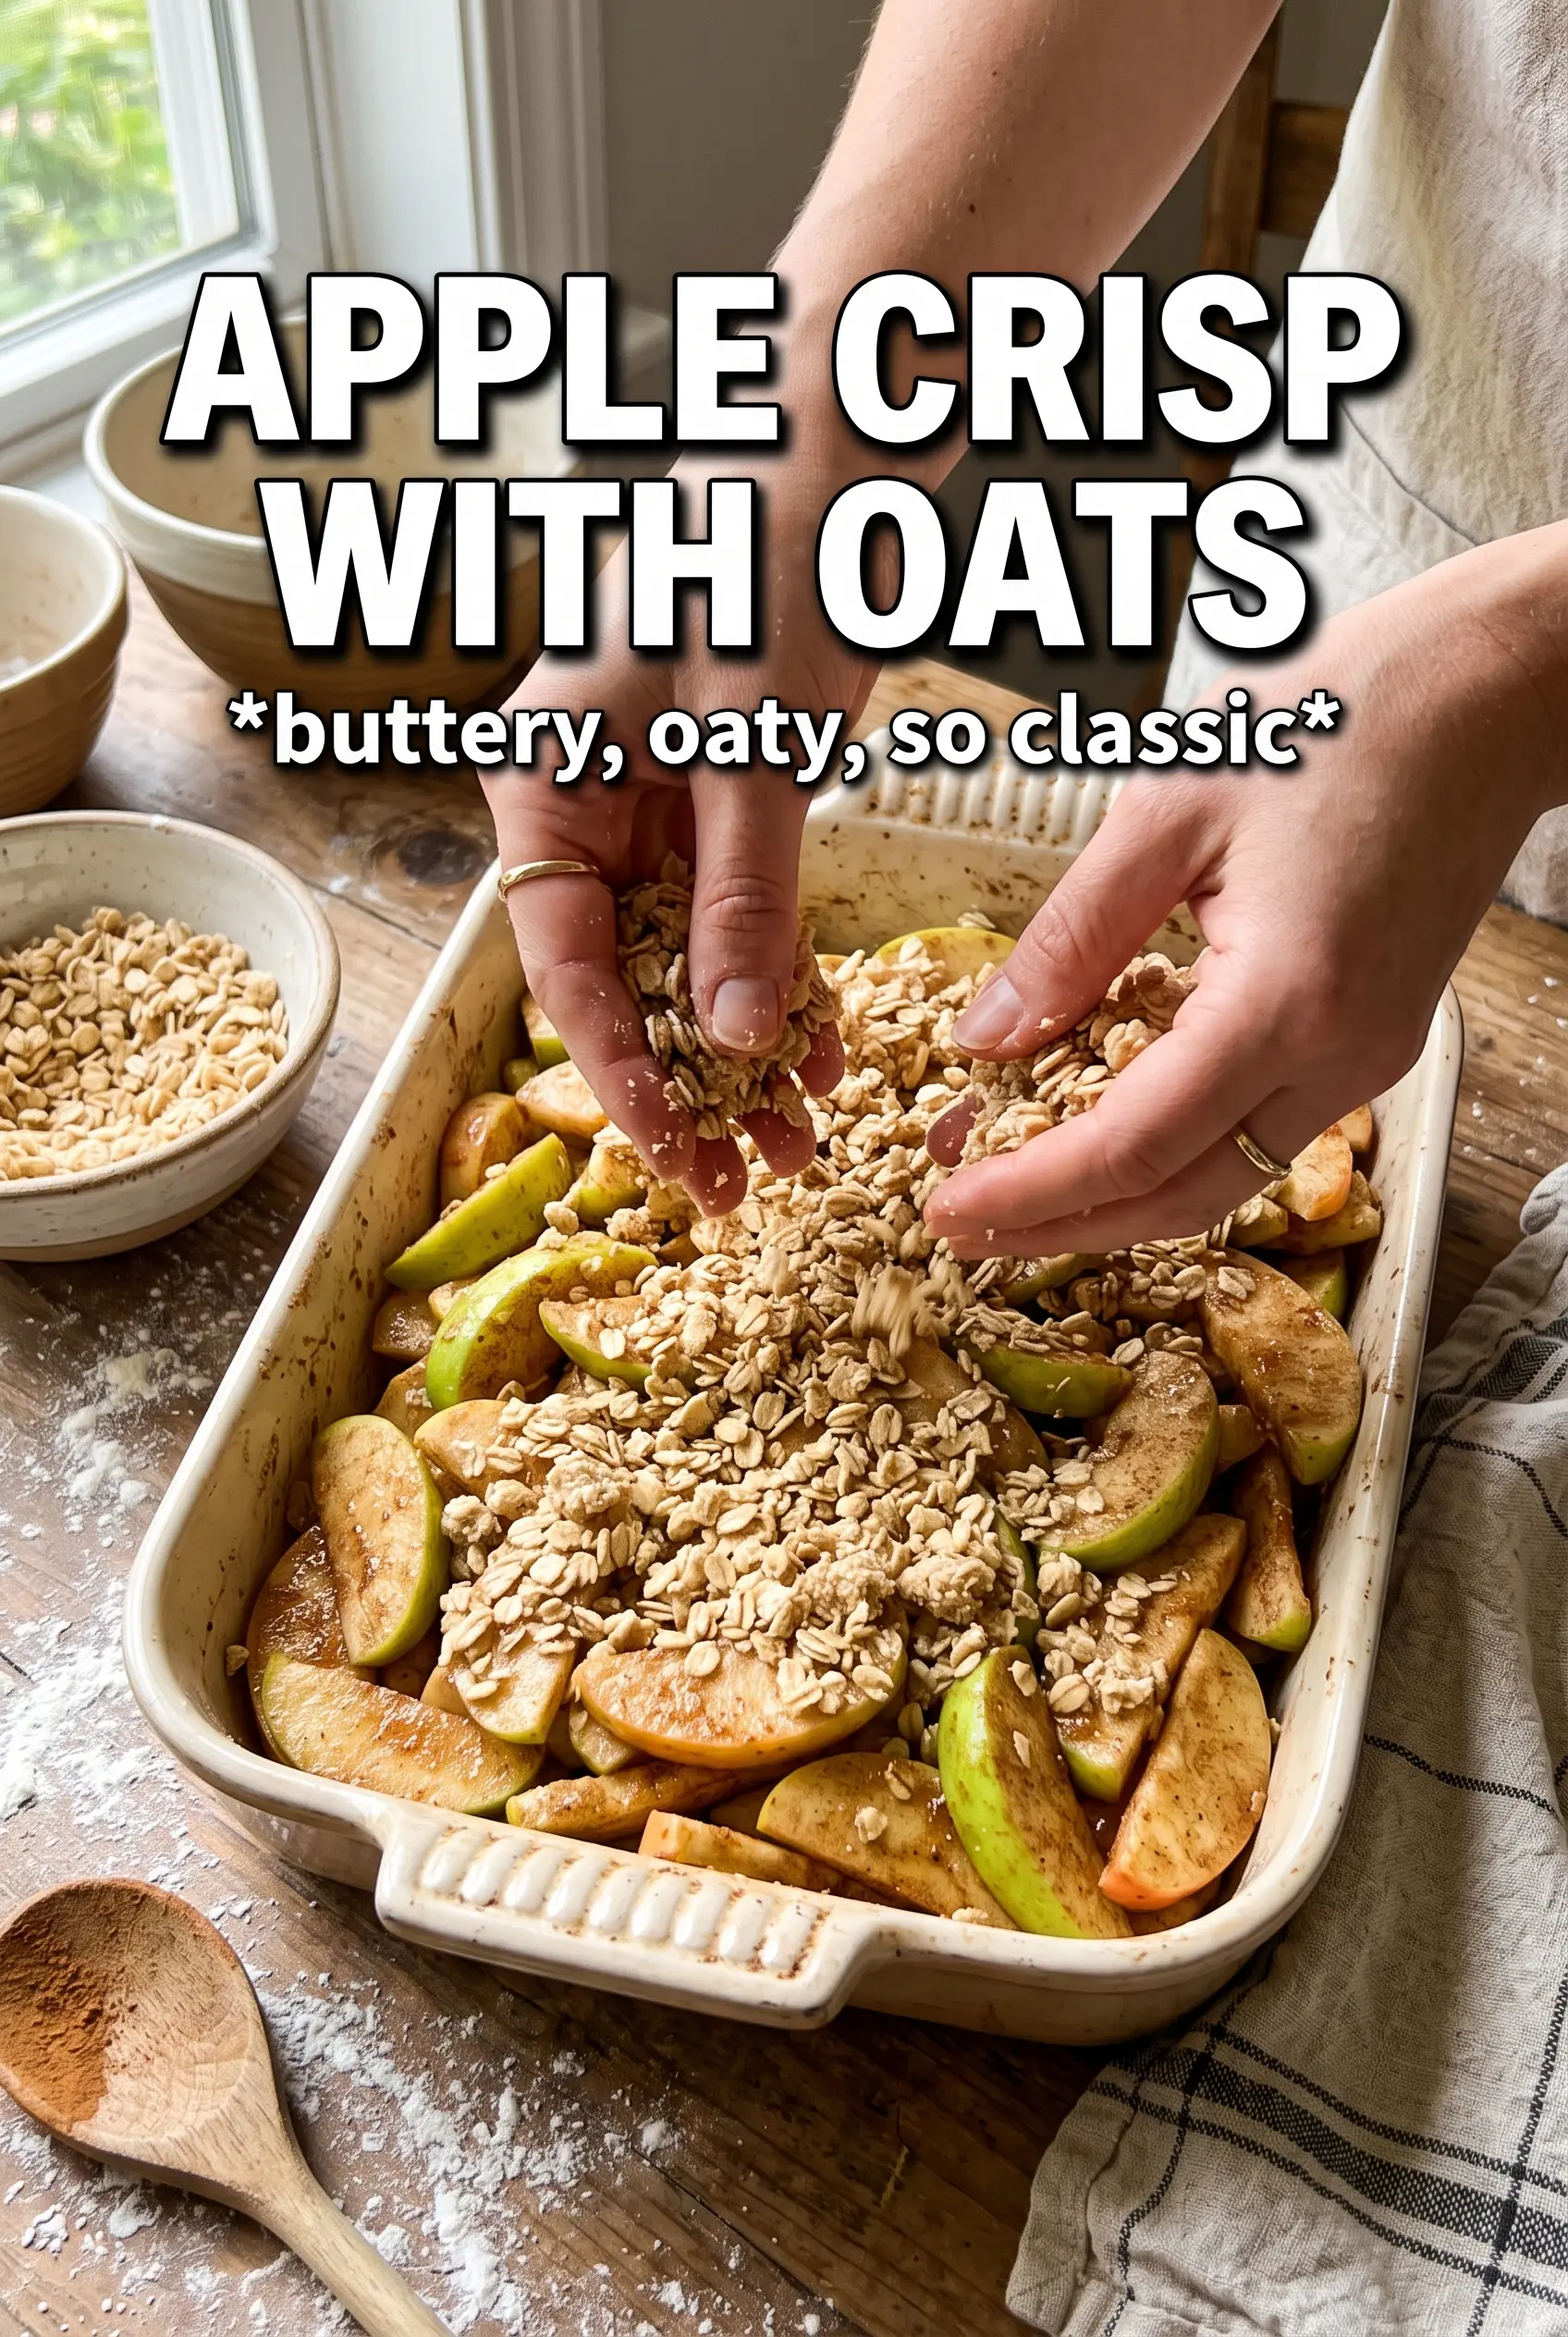
Work the cold butter into the oat mixture with your fingertips until you have a mix of crumbs and larger clumps. Stop before it becomes a smooth dough. If the butter melts from the heat of your hands, chill the bowl for 10 minutes before topping the apples. That short pause is worth it because it keeps the crumble from baking up flat.
Baking Until the Edges Bubble
Scatter the topping all over the apples, then bake until the surface is deeply golden and the filling is visibly bubbling at the corners. That bubbling means the juices underneath are hot enough to thicken. If the top browns before the filling bubbles, tent it loosely with foil and keep baking; underbaked filling is the main reason apple crisp turns watery after cooling.
Letting It Set Before Serving
Give the crisp about 10 minutes to rest before scooping. The filling tightens a little as it cools, which keeps it from running all over the plate. Serve it warm with vanilla ice cream or whipped cream. The contrast between the cold topping and the warm apples is half the point.
How to Change This Crisp Without Losing the Good Part
Make It Gluten-Free
Swap the all-purpose flour for a good 1:1 gluten-free baking blend. The texture stays close to the original, though the topping may be a little more tender and less sandy. Keep the oats certified gluten-free if cross-contamination matters to you.
Use Pears Along with the Apples
Replace up to half the apples with firm pears for a softer, sweeter filling. Pears release more juice, so keep the cornstarch measured exactly as written or add another teaspoon if the fruit is especially ripe. The result is gentler and more fragrant, but still holds the same crisp topping.
Make It Dairy-Free
Use a solid plant-based butter stick instead of regular butter. Avoid soft tub spreads, which tend to melt too fast and don’t give the topping the same crumble. The flavor shifts a little, but the texture can still be crisp and golden.
Add Nuts for More Crunch
Stir 1/2 cup chopped pecans or walnuts into the topping for extra crunch and a deeper toasted flavor. Nuts brown fast, so keep an eye on the last 10 minutes of baking. This is the easiest way to make the crisp feel a little more rustic without changing the base recipe.
Storage and Reheating
- Refrigerator: Store covered for up to 4 days. The topping softens a bit in the fridge, but it still tastes great.
- Freezer: Freeze baked portions tightly wrapped for up to 2 months. Thaw in the refrigerator before reheating so the topping doesn’t go soggy from trapped steam.
- Reheating: Warm in a 350F oven until heated through and the top re-crispens, about 15 to 20 minutes. The microwave will warm the filling, but it softens the crumble, which is the part you’re trying to keep.
Questions I Get Asked About This Apple Crisp
Apple Crisp With Oats
Ingredients
Equipment
Method
- Preheat the oven to 375F and grease a 9x13 baking dish.
- Toss apple slices with granulated sugar, brown sugar, cinnamon, nutmeg, allspice, cornstarch, and lemon juice until the slices are evenly coated, then spread them in the prepared dish.
- Combine old-fashioned rolled oats, all-purpose flour, brown sugar, cinnamon, and salt, then cut in the cold butter with your fingertips until large chunks and clumps form.
- Scatter the crumble evenly over the apples so every surface is covered.
- Bake at 375F for 40-45 minutes, until the oat topping is deeply golden and the apple filling is bubbling at the corners.
- Cool the crisp for 10 minutes, then serve warm with vanilla ice cream or whipped cream.