Apple crisp without oats bakes into a dessert with a thick, syrupy apple filling and a sandy, golden topping that turns crisp at the edges and tender in the middle. You still get all the comfort people expect from a crisp, just without the chewy oat layer that can sometimes take over the texture. What you’re left with is a more cookie-like crumble that lets the apples stay the star.
The trick is in the topping. Cold butter cut into the flour and sugar mixture creates those uneven clumps that bake into crunchy pockets, while a little cornstarch in the filling keeps the juices from turning watery. If the apples are sliced too thin, they can collapse; if they’re too thick, they stay firm in the center, so a medium slice gives you the best balance.
Below you’ll find the small details that matter most: how to tell when the crisp is baked through, which apples hold up best, and how to swap the nuts without changing the structure of the topping.
The topping stayed crisp all the way to the edges, and the filling thickened up instead of running all over the dish. I used Granny Smith apples and the cinnamon flavor was perfect.
Like this oat-free apple crisp? Save it for the nights when you want a crisp, buttery topping and a bubbling cinnamon apple filling.
The Crisp Topping Needs Cold Butter, Not Melted
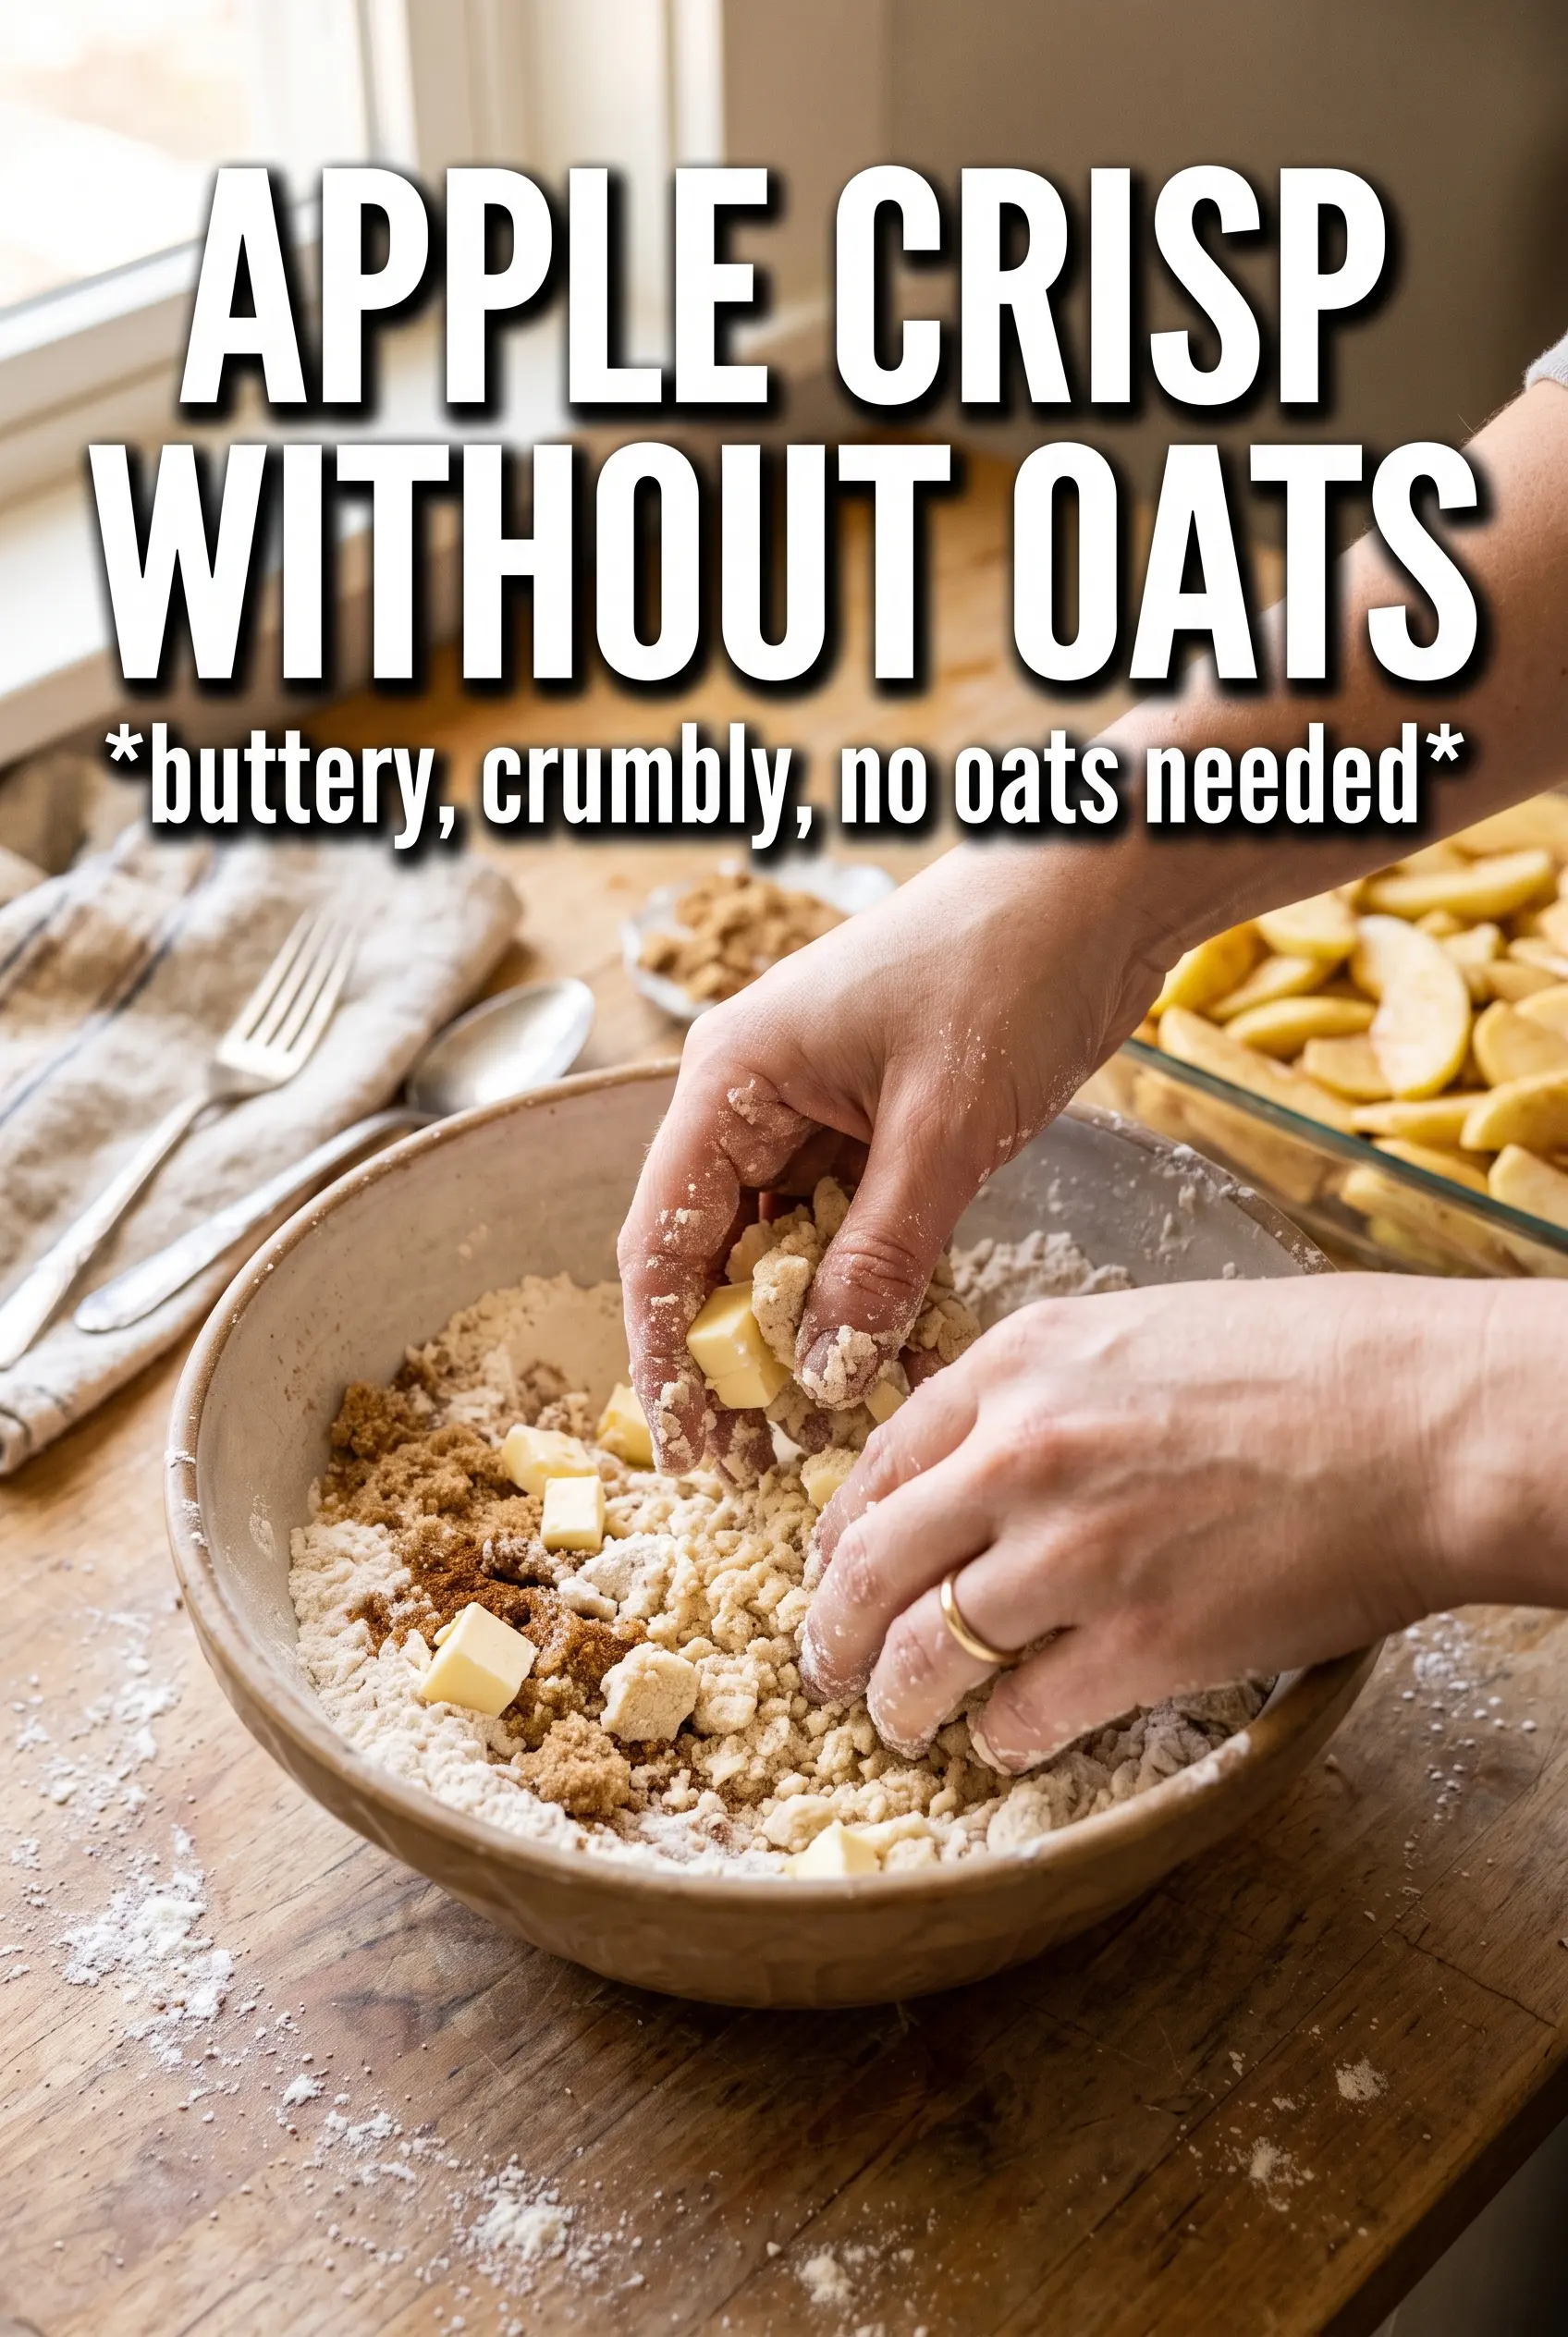
The difference between a crisp topping that bakes into pebbly crumbs and one that turns into paste starts with the butter. Cold butter stays in distinct pieces as you cut it into the flour and sugar, and those pieces melt in the oven to create air pockets and craggy texture. Melted butter blends too evenly and gives you a denser layer that reads more like a cookie slab than a crisp.
The other mistake is overmixing. Stop as soon as the mixture forms clumps that hold together when you squeeze them. If it looks dusty, it needs a little more cutting in; if it looks like damp dough, the butter went too far and the topping will bake up heavy.
What Each Ingredient Is Doing in the Filling and the Crumble
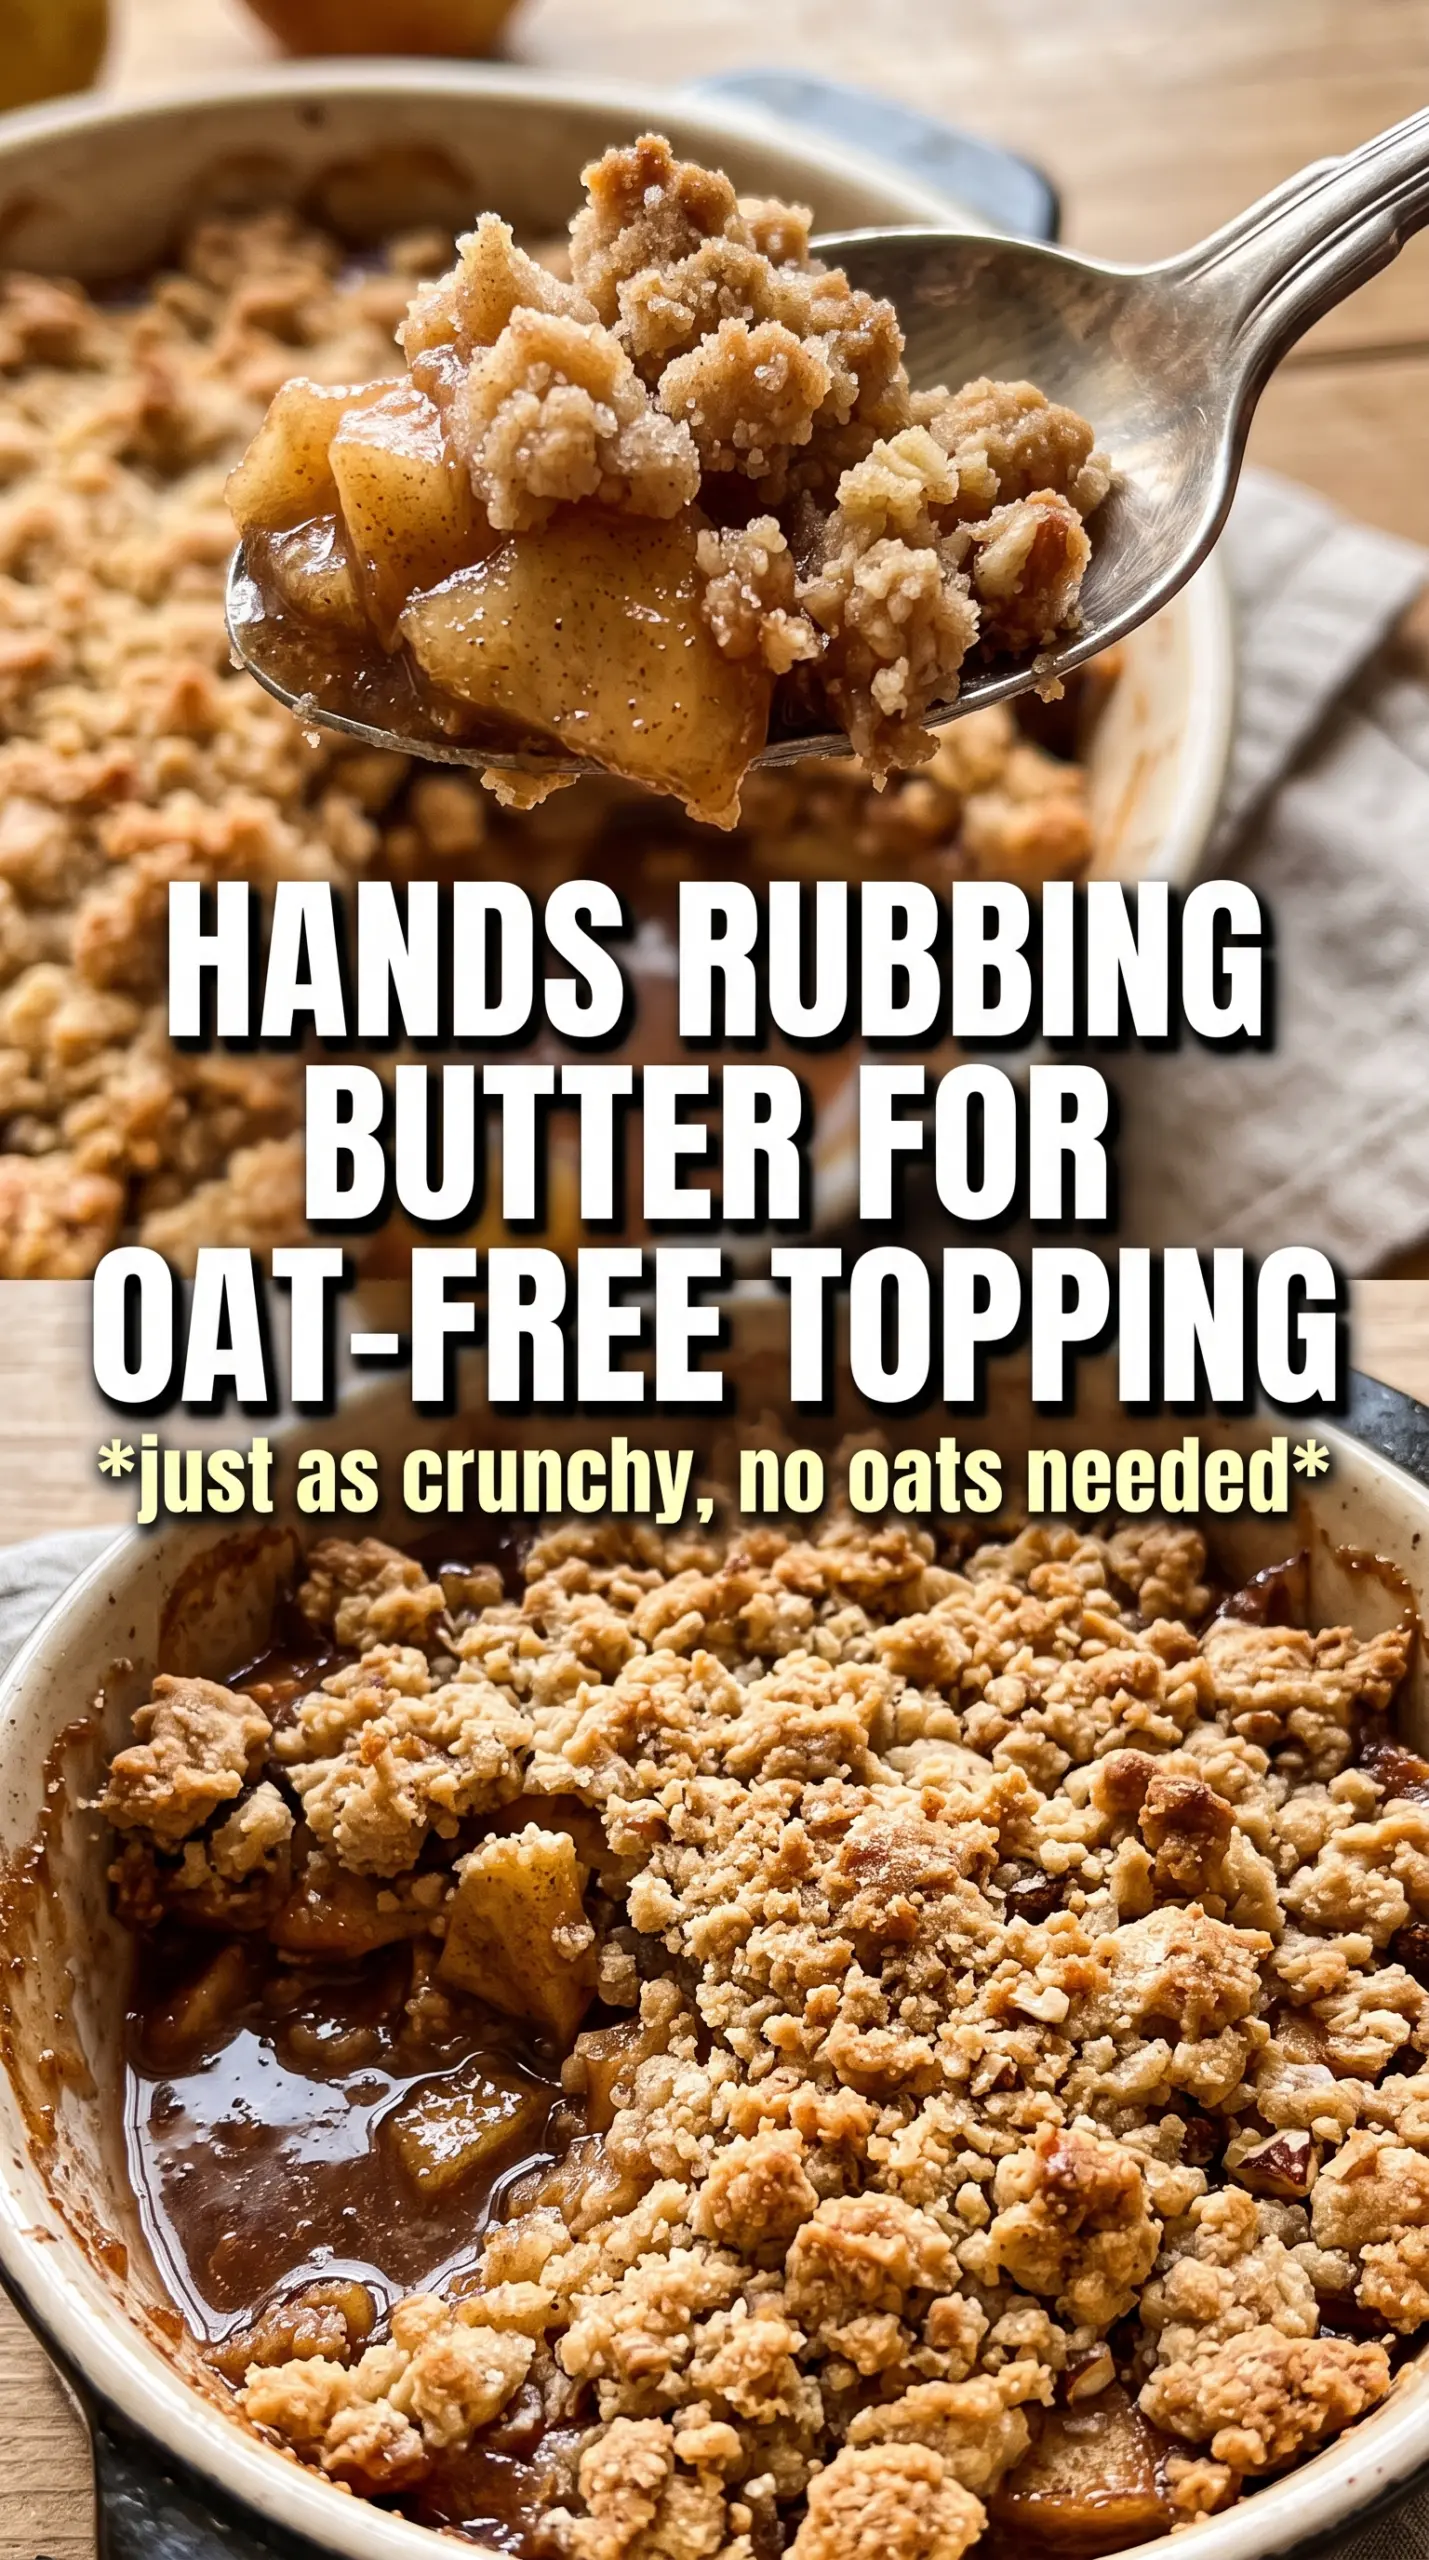
- Apples — Use a mix of tart and sweet apples if you can. Granny Smith gives structure and brightness, while Honeycrisp, Braeburn, or Fuji soften into a sweeter, juicier filling. One soft apple variety alone can turn the filling mushy.
- Cornstarch — This is what thickens the juices into a glossy sauce instead of a thin puddle at the bottom of the dish. Flour can work in a pinch, but cornstarch sets cleaner and faster in the oven.
- Brown sugar — It adds depth and a little molasses note to the topping. If you use all white sugar, the crumble still works, but it loses that richer baked-cookie taste.
- Cold butter — This is non-negotiable for the topping texture. If the butter softens too much before baking, the crumble spreads and loses those sandy clusters.
- Pecans or walnuts — Optional, but they give the topping a nice toasted crunch that plays well with the apples. Chop them roughly so they don’t disappear into the flour mixture.
How to Keep the Apples Tender and the Topping Crisp
Coating the Apples
Toss the sliced apples with sugar, cinnamon, nutmeg, cornstarch, and lemon juice until every slice looks lightly coated. The cornstarch should disappear into the moisture from the fruit and lemon juice without leaving dry clumps behind. Spread the apples into the dish in an even layer so they cook at the same rate. If you pile them too high in the center, the middle can stay underdone while the topping browns.
Building the Crumble
Mix the flour, sugars, spices, and salt first, then cut in the cold butter until you get large, sandy clumps with some finer bits mixed in. Those mixed textures matter; the small crumbs fill gaps and the larger clumps give you the crisp edges people come back for. Stir in the nuts at the end so they stay coated and don’t sink. Scatter the crumble over the apples without pressing it down.
Baking Until It Bubbles
Bake until the top is deeply golden and the filling is bubbling around the edges and through the center. That bubbling is the sign the cornstarch has activated and the juices have thickened. If the topping is browning before the filling bubbles, tent it loosely with foil for the last part of the bake. Pulling it too early leaves you with runny apples underneath a pale crumble.
Letting It Set Before Serving
Give the crisp at least 10 minutes to rest before serving. The filling thickens as it cools, and that short pause keeps the spoonfuls from collapsing into soup on the plate. Serve it warm with vanilla ice cream so the contrast between hot fruit and cold cream stays intact.
How to Adapt This Apple Crisp When You Want a Different Finish
Gluten-Free Version
Swap the all-purpose flour for a good 1:1 gluten-free baking blend. The texture stays close to the original, though it may bake up a little more delicate, so let it cool fully before serving. Don’t replace the flour with almond flour alone; it won’t create the same crumble structure.
Nut-Free Crumble
Leave out the pecans or walnuts and add the topping as written. You’ll lose a little toasted crunch, but the crumble still bakes into a crisp, sandy layer. If you want extra texture without nuts, use a handful of old-fashioned granulated sugar in the topping for a slightly more crackly finish.
Less Sweet Filling
Cut the sugar in the apple layer by a few tablespoons if your apples are already very sweet. Keep the cornstarch and lemon juice the same, since those do the work of thickening and brightening the filling. The crisp will taste a little more tart and apple-forward, which works nicely with vanilla ice cream.
Make-Ahead Storage
Assemble the crisp up to one day ahead, cover, and refrigerate unbaked. If you bake it straight from the fridge, add a few extra minutes so the center heats through and the filling bubbles. Once baked, the topping softens a bit in the fridge, but it still reheats well in the oven.
Storage and Reheating
- Refrigerator: Store covered for up to 4 days. The topping will soften, but the flavor stays good.
- Freezer: Freeze the baked crisp in portions or as a whole dish, tightly wrapped, for up to 2 months. Thaw overnight in the fridge before reheating.
- Reheating: Warm in a 325F oven until heated through and the top crisps back up, about 15 to 20 minutes for a portion, longer for the full dish. The oven is better than the microwave, which turns the crumble soft and the apples watery.
Questions I Get Asked About This Recipe
Apple Crisp Without Oats
Ingredients
Equipment
Method
- Preheat the oven to 375F and grease a 9x13 baking dish.
- Toss the apple slices with granulated sugar, cinnamon, nutmeg, cornstarch, and lemon juice, then spread them evenly in the prepared dish.
- Combine all-purpose flour, both sugars, cinnamon, nutmeg, and salt, then cut in the cold cubed butter until the mixture forms large sandy clumps.
- If using, stir in the roughly chopped pecans or walnuts, then scatter the crumble evenly over the apples.
- Bake for 40-45 minutes at 375F until the topping is golden and the filling is bubbling at the edges.
- Rest for 10 minutes, then serve warm with vanilla ice cream.