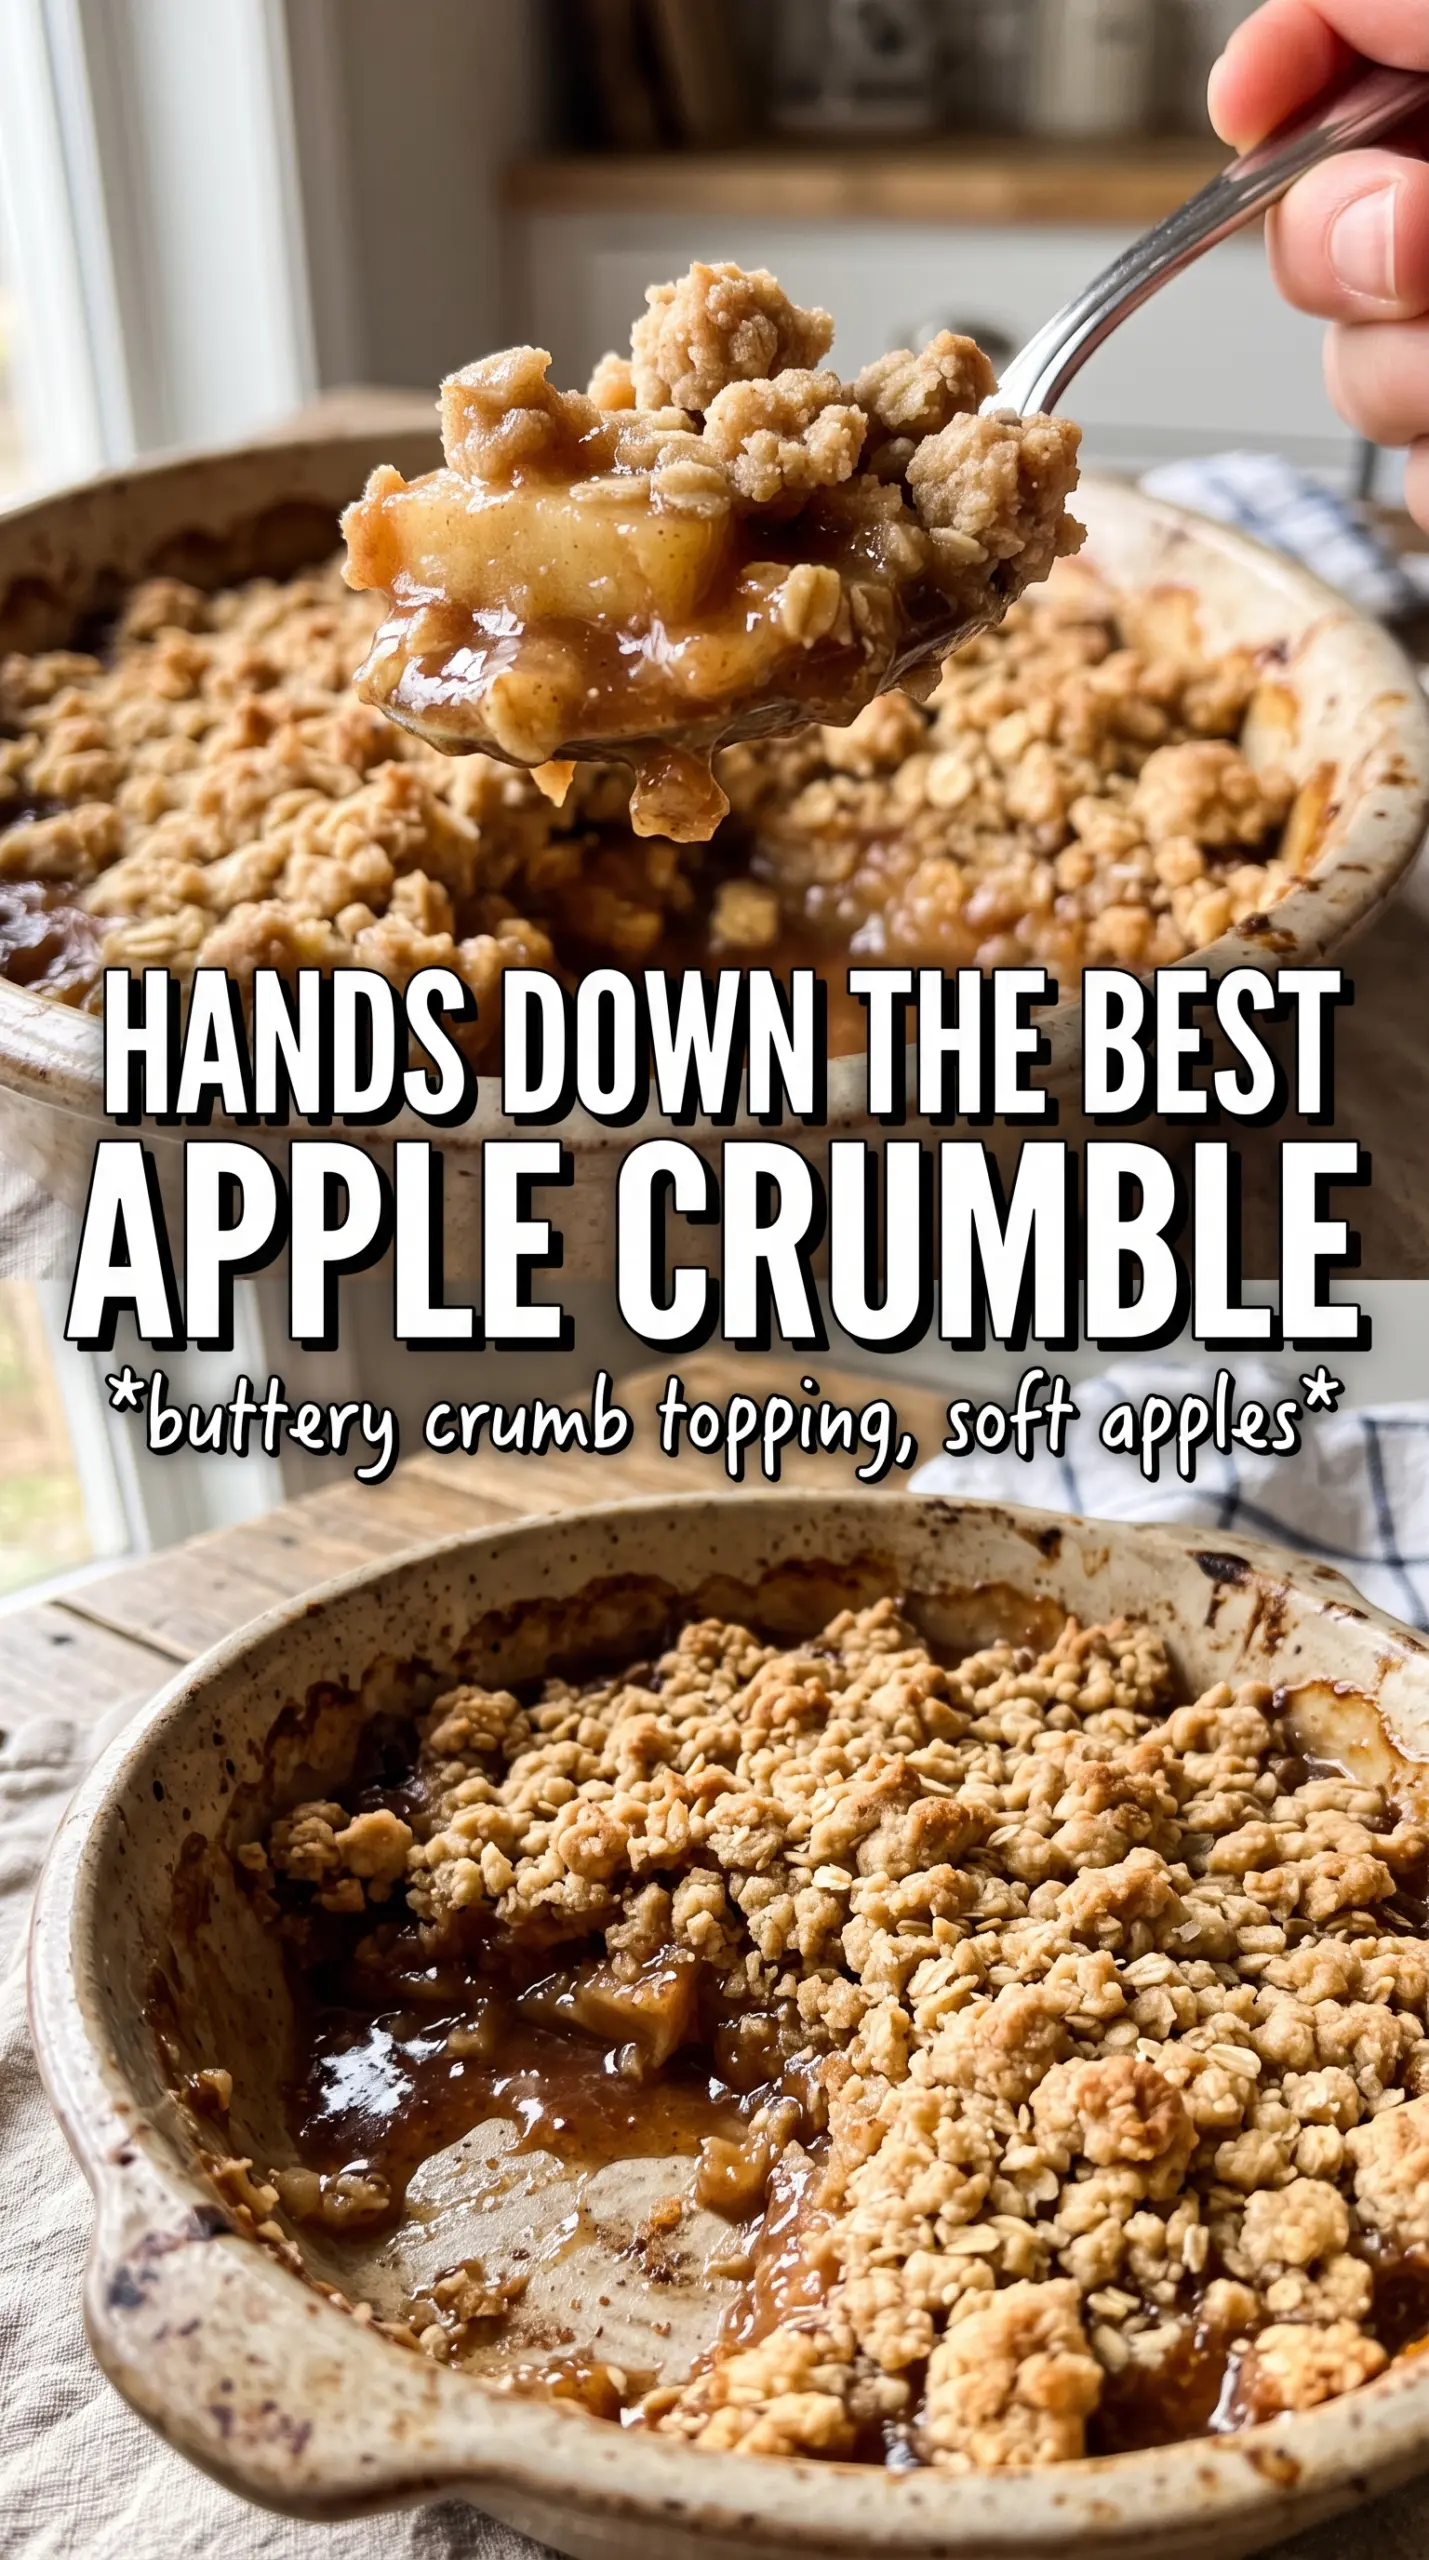
Apple crumble lands best when the topping stays sandy and crisp while the apples underneath turn soft, glossy, and just tart enough to keep each bite from tasting one-note. The contrast is the whole point here: spoonfuls of tender cooked apple under a buttery crumble that stays nubby at the edges instead of melting into the fruit. When it comes out right, the top crackles under the spoon and the filling bubbles up around the sides in those sticky little seams that promise the apples are cooked through.
This version keeps the method straightforward, but a few details matter. Cold butter gives you the crumbly texture you want, not a paste, and the mix of white sugar and light brown sugar adds both sweetness and a deeper, caramel note without making the topping heavy. Lemon juice sharpens the apples and keeps the filling from tasting flat, especially if your fruit leans sweet. The crumble goes on loosely, not pressed down, so the heat can move through it and keep the top from turning dense.
Below, I’ve included the small cues that help with both texture and timing, plus a few ways to adapt the crumble if you need to change the flour, the fruit, or how you want to serve it.
The topping stayed crisp even after sitting for a bit, and the apples bubbled up thick and jammy around the edges. I served it with custard and everyone went back for a second spoonful.
Save this apple crumble for the nights when you want a crisp, buttery topping and soft baked apples with custard.
The Trick to Keeping the Topping Crumbly, Not Pastelike
The biggest mistake with apple crumble is overworking the topping until it turns into a smooth dough. That happens when the butter gets too warm or the flour is rubbed in too long. You want a mix that looks like coarse breadcrumbs with a few larger buttery pieces scattered through it, because those little clumps bake into the crisp, golden bits everyone fights over.
Another place people go wrong is packing the crumble down over the fruit. Leave it loose. The heat needs space to move through the topping, and pressing it down traps steam under the crust, which softens the top instead of browning it. If your apples are very juicy, the filling should still bubble around the edges before you pull it from the oven. That bubbling tells you the fruit has softened and the sugar has thickened into a proper syrup.
What Each Ingredient Is Actually Doing Here
- Cooking apples — These hold their shape better than sweet eating apples and give the filling that soft, spoonable texture without disappearing completely. If you only have a mix, use mostly tart apples and add one sweeter one for balance.
- Lemon juice — This keeps the filling bright and stops the sweetness from taking over. It also helps the apples taste fresher after baking, especially if they’ve been peeled and sliced ahead of time.
- Cold unsalted butter — This is what makes the topping crumbly instead of cakey. Salted butter works in a pinch, but unsalted gives you better control; if you swap it, reduce or skip the added salt in the topping.
- Light brown sugar — This brings a deeper caramel note and helps the crumble bake to a richer color. White sugar alone will still work, but the topping tastes flatter and loses some of that toasty edge.
- Plain flour — Standard all-purpose flour gives the topping enough structure to crisp without turning tough. There’s no need for anything fancy here, but don’t use self-raising flour unless you want a puffy, more biscuit-like result.
Building the Apple Filling and Topping in the Right Order
Start with the apples
Grease the baking dish first, then toss the sliced apples with sugar, cinnamon, and lemon juice until every piece looks lightly coated. Spread them evenly in the dish so they bake at the same rate; a heap in the center leaves the edges undercooked. If your apple slices are cut very thick, the filling will stay firm longer and the crumble on top can overbrown before the fruit softens.
Rub the butter in until it still looks uneven
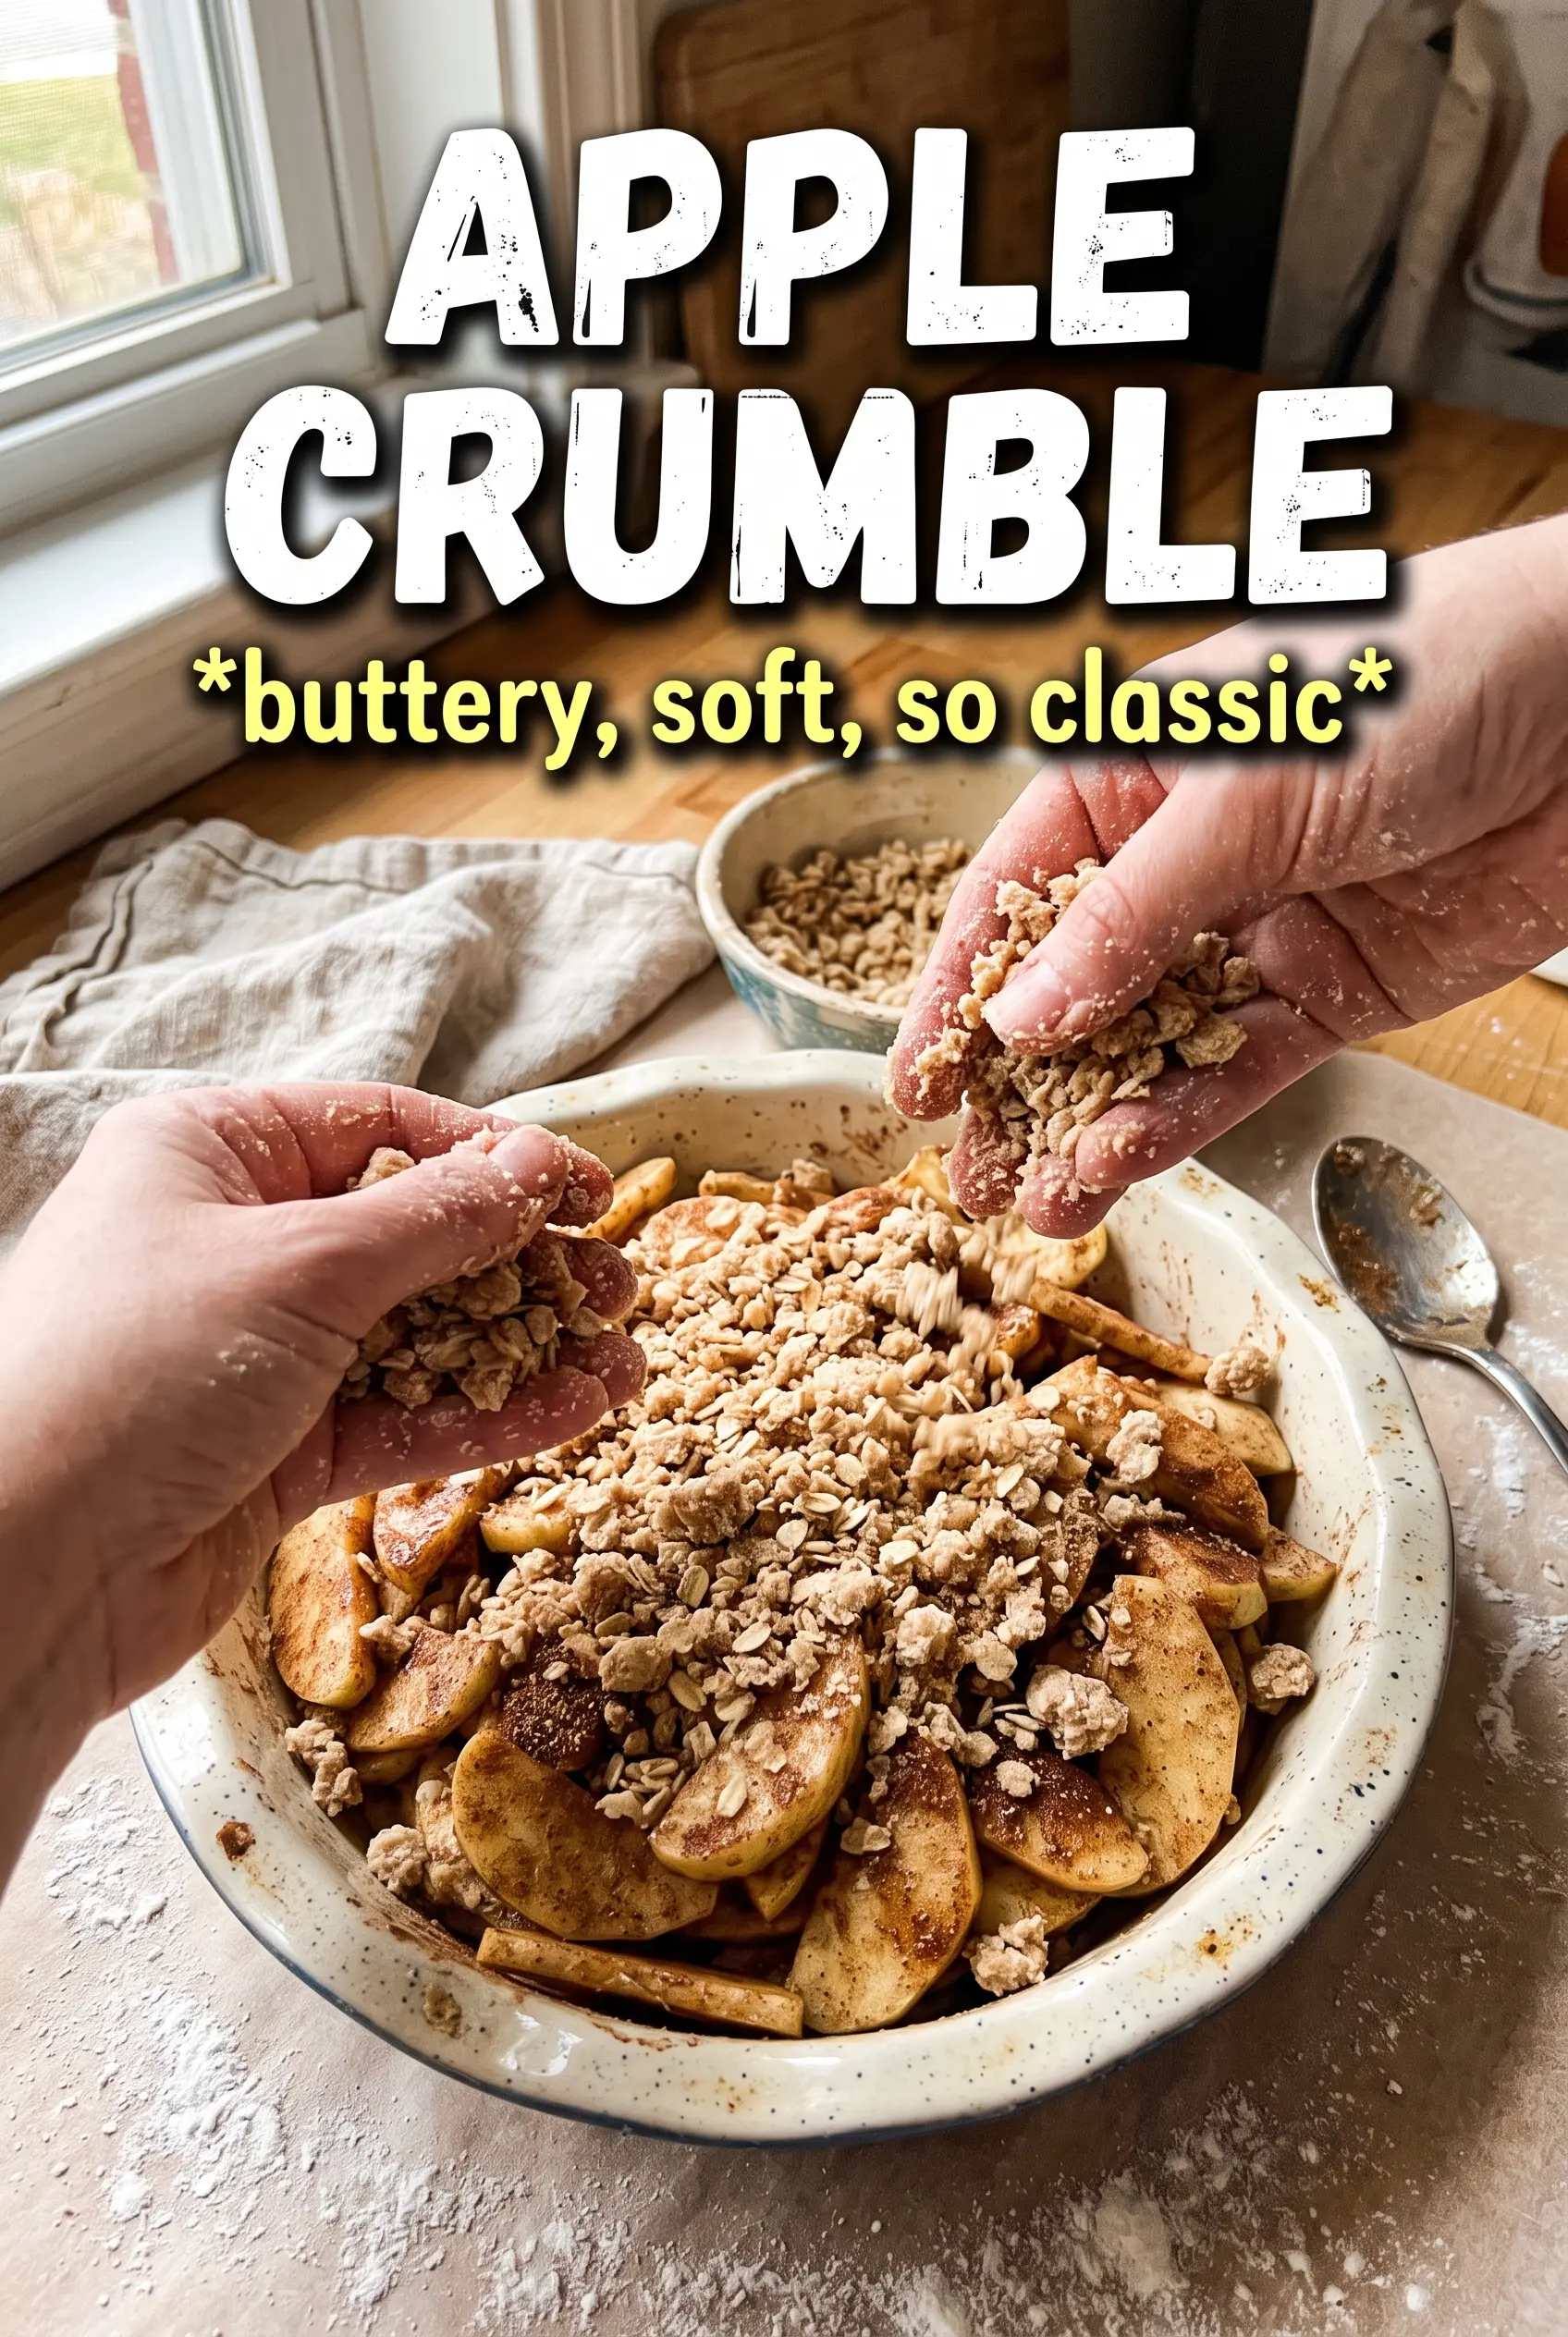
Work the cold butter into the flour with your fingertips until the mixture looks like coarse crumbs with a few pea-sized pieces left behind. Those larger bits matter because they melt into pockets of crispness. If the mixture starts looking greasy or pasty, the butter has warmed too much; chill the bowl for a few minutes before moving on.
Finish the crumble without crushing it
Stir in the sugars, cinnamon, and salt, then scatter the mixture over the apples in an even layer. Don’t press it down. Bake until the top is pale gold with deeper golden patches at the edges and the fruit is bubbling through the sides, which usually takes 35 to 40 minutes. If the top browns too fast before the apples are tender, cover it loosely with foil for the last part of baking.
Make It Gluten-Free With a Simple Flour Swap
Use a good 1:1 gluten-free flour blend in place of the plain flour. The topping will still crisp, though it may bake a little more delicately and brown a shade lighter, so keep an eye on the edges near the end of baking.
Turn It Dairy-Free Without Losing the Crunch
Swap the butter for a firm vegan butter block that bakes well. Soft tub-style spreads can make the crumble greasy instead of sandy, so use the firm kind and keep it cold right up until you rub it into the flour.
Use Pears or Mixed Fruit When Apples Need Company
You can replace up to a third of the apples with pears, or add a handful of berries for a softer, juicier filling. Pears bake down faster, so keep the slices a little thicker if you want the fruit to hold its shape.
How to Make It Ahead for Dessert Later
Assemble the crumble in the dish, cover it, and refrigerate for up to 24 hours before baking. If it goes into the oven cold, add a few extra minutes so the center heats through and the apples soften fully before the topping gets too dark.
Storage and Reheating
- Refrigerator: Store covered for up to 4 days. The topping softens a bit in the fridge, but it still tastes good.
- Freezer: Freeze baked or unbaked. Wrap tightly and freeze for up to 2 months; thaw unbaked crumble overnight in the fridge before baking, or reheat baked portions from frozen in the oven.
- Reheating: Warm in a 180C (350F) oven until the fruit is hot and the top crisps again. The microwave will make the crumble soft, so use it only if you don’t mind losing that texture.
Questions I Get Asked About This Recipe
Apple Crumble
Ingredients
Equipment
Method
- Preheat the oven to 190C (375F) and grease a large baking dish so it’s ready for the filling.
- Toss the apple slices with granulated sugar, cinnamon, and lemon juice, then spread the apples in the prepared dish.
- For the crumble, rub plain all-purpose flour and cold unsalted butter together with your fingertips until it resembles coarse breadcrumbs with some larger pieces.
- Stir in the remaining granulated sugar, light brown sugar, cinnamon, and salt until the crumble looks evenly mixed.
- Spread the crumble evenly over the apples without packing it down, leaving a light, sandy layer on top.
- Bake for 35-40 minutes at 190C (375F) until the topping is pale golden and the apple filling bubbles at the edges.
- Serve warm with custard, double cream, or vanilla ice cream right after baking.