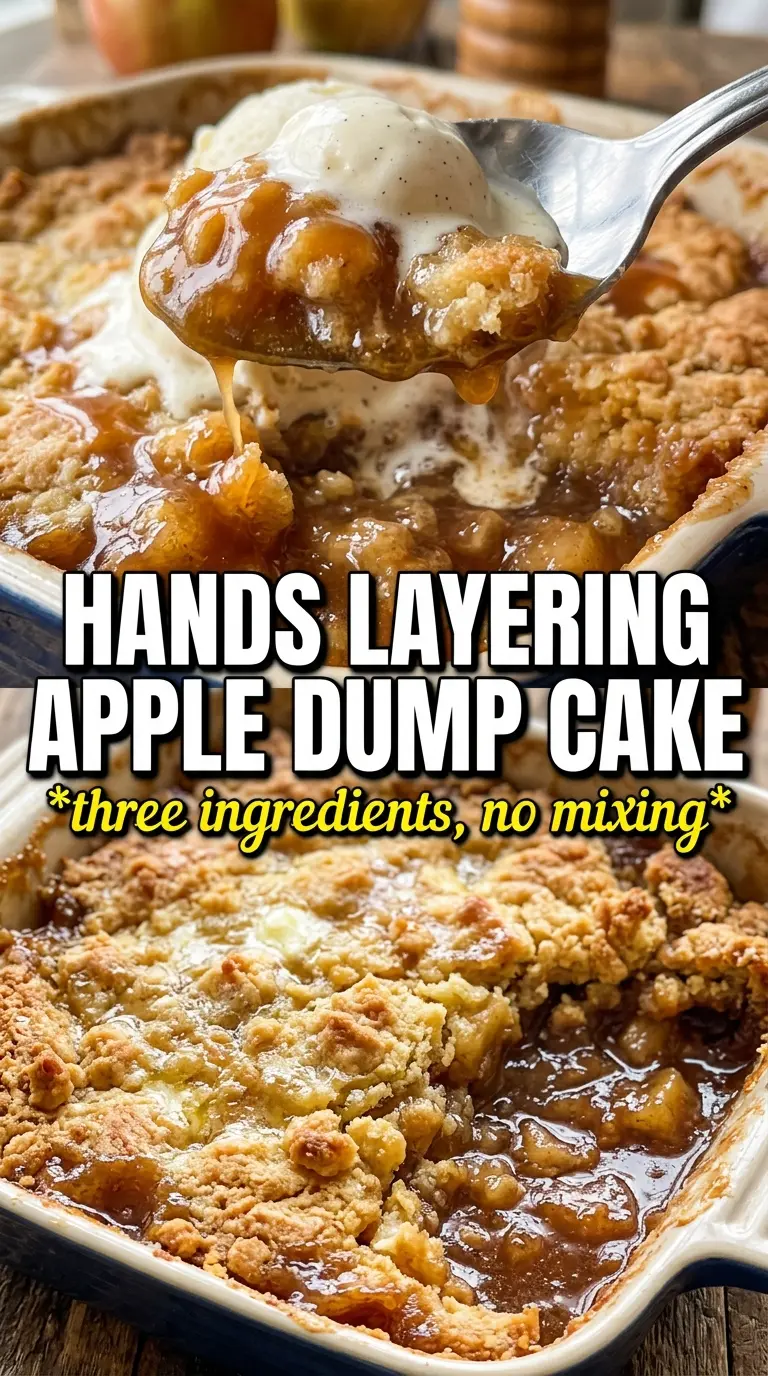
Apple dump cake bakes into one of those low-effort desserts that disappears fast because the top turns crisp and buttery while the filling underneath stays soft, jammy, and fragrant with cinnamon. The contrast is the whole point here: a golden cake-mix crust on top, spoonable apples below, and just enough texture at the edges to keep every bite interesting.
The trick is resisting the urge to stir. The cake mix needs to sit dry on top of the fruit so the butter can soak through it and create those crumbly, browned pockets instead of a dense layer. Thin butter slices work better than melted butter because they cover the surface more evenly and help the top bake into a crisp crust instead of a soggy blanket.
Below, I’ve included the small details that keep the topping from staying powdery, plus a few swaps that make this dessert easier to adapt for what you have in the pantry.
The top came out crisp all the way to the edges, and the apple filling was bubbling underneath like a cobbler. I used the spice cake mix and it smelled incredible after about 20 minutes.
Like this apple dump cake? Save it for the nights when you want a crisp buttery topping, tender spiced apples, and almost no cleanup.
The Butter Pattern That Gives You a Crisp Topping Instead of Dry Patches
Dump cake looks forgiving, and it is, but there’s one place people get tripped up: the topping. If the butter doesn’t cover most of the dry cake mix, you’ll end up with dusty, pale spots that never quite bake through. Thin slices are the easiest fix because they melt slowly and spread as the cake bakes, which gives the whole top a better chance of turning evenly golden.
The other mistake is stirring the cake mix into the apples. That turns this into a heavy, gummy dessert instead of a layered bake with a crisp top and soft filling. Keep the layers separate and let the oven do the work.
- Cake mix — Yellow cake mix gives you a classic buttery topping, while spice cake mix pushes the cinnamon and apple flavor a little deeper. Either one works; just use the dry mix straight from the box.
- Apple pie filling — Canned filling keeps this fast and gives you that soft, baked apple texture without extra prep. If yours is very thick, spread it in an even layer so the cake mix bakes uniformly on top.
- Butter — This is the ingredient that turns dry mix into a crust. Salted butter works in a pinch, but unsalted gives you a cleaner sweet finish.
- Pecans or walnuts — Optional, but they add a toasty crunch that plays well with the soft fruit. Skip them if you want a smoother top or if you’re serving anyone with nut allergies.
What Each Ingredient Is Actually Doing in This Recipe
- Primary ingredient (the star) — Quality matters most. Choose the best you can find.
- Cooking medium (oil, butter, or broth) — This carries flavors and prevents dryness.
- Seasonings (salt, pepper, spices, herbs) — Layer flavors so nothing overpowers. Build depth gradually.
- Aromatics (garlic, onion, herbs) — Cook with fat to bloom flavors. Become the foundation.
- Supporting ingredients — Complement the main ingredient without overpowering it.
- Sauce or liquid (if applicable) — Brings flavors together. Balance richness with acid.
- Acid (lemon, vinegar, wine, or other) — Brightens and prevents flat-tasting results.
- Final finish (garnish, glaze, or sauce) — Prevents one-dimensional taste and adds visual appeal.
Building the Layers So the Oven Can Do the Work
Start with the Fruit Base
Spread the apple pie filling into a greased 9×13 dish and stir in the cinnamon and nutmeg right there in the pan. That keeps the spices evenly distributed without dirtying another bowl, and it lets the fruit layer stay flat so the topping bakes at the same rate. If the apples are mounded too high in the center, the middle topping can stay pale while the edges brown.
Leave the Cake Mix Dry
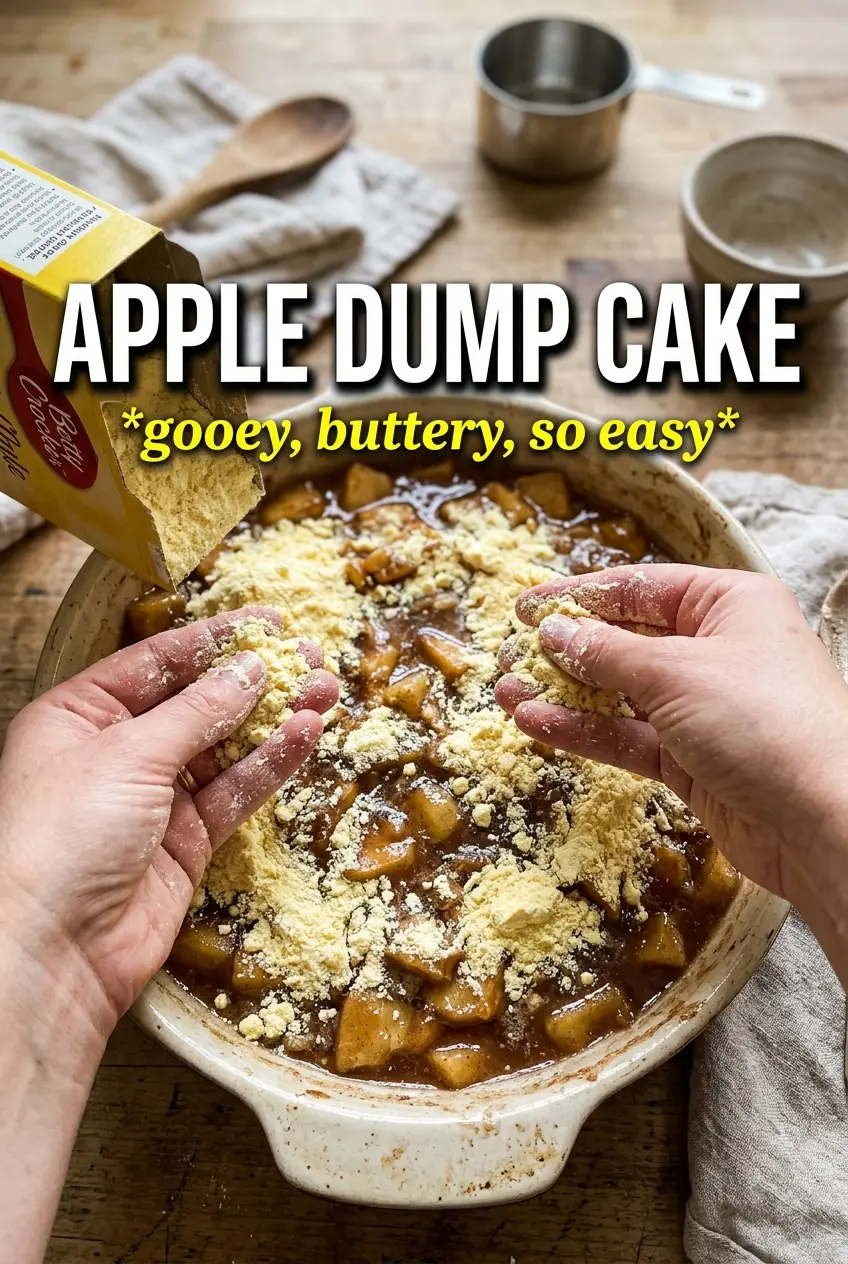
Scatter the dry cake mix evenly over the apples and stop there. No stirring. No pressing it down. The mix needs to sit loose so the butter can seep through it and create that crumbly, cake-like crust instead of a paste. If you see thick bare patches, just nudge a little more mix into those spots with a spoon.
Cover Every Inch with Butter
Lay the butter slices across the entire surface, overlapping slightly so there aren’t any dry islands left behind. The butter should melt into the mix as the cake bakes, and the top will look sandy at first before it turns into a deep golden crust. If you leave gaps, those spots can stay powdery even after the rest of the cake is done.
Watch for Bubbling Edges and Deep Color
Bake until the top is deeply golden and the apple filling is bubbling around the edges, about 40 to 45 minutes. Bubbling matters here; it tells you the filling is hot all the way through and the topping has had time to set. If the top looks pale but the edges are bubbling, give it a few more minutes and keep going until the color looks toasted, not just tan.
How to Adapt It When You Need a Different Pan, Flavor, or Diet
Use spice cake mix for a deeper apple pie flavor
Spice cake mix makes the dessert taste a little warmer and more bakery-like, with extra cinnamon and clove notes built in. It’s the easiest swap if you want more fall spice without adding more seasoning.
Make it gluten-free with a gluten-free cake mix
A good gluten-free yellow or vanilla cake mix works here because the dessert doesn’t depend on gluten for structure. The top may bake a touch more crumbly, but the buttery crust and apple filling still come together the same way.
Add nuts for a more textured topping
Pecans give the cleanest buttery crunch, while walnuts taste a little earthier. Sprinkle them on top after the butter so they toast in the oven instead of sinking into the filling.
Storage and Reheating
- Refrigerator: Store covered for up to 4 days. The topping softens a little as it sits, but the flavor stays good.
- Freezer: It freezes best in portions, tightly wrapped. The topping loses some crispness after thawing, but the texture is still good enough for a second round.
- Reheating: Warm leftovers in a 325°F oven until hot, uncovered if you want to bring back some texture on top. The microwave works, but it softens the crust and makes the edges go a little slack.
Answers to the Questions Worth Asking
Apple Dump Cake
Ingredients
Equipment
Method
- Preheat the oven to 350°F and grease a 9x13 baking dish.
- Spread the apple pie filling across the bottom of the dish, then stir in the cinnamon and nutmeg until evenly distributed.
- Dump the dry cake mix evenly over the apple filling; do not stir.
- Arrange the thinly sliced unsalted butter in a single layer over the entire surface of the dry cake mix, covering every inch so no dry spots show.
- Scatter the chopped pecans or walnuts over the top if using, leaving them to sit on the surface.
- Bake for 40-45 minutes at 350°F until the top is deeply golden and crispy and the apple filling is bubbling around the edges, with a visual browned crumble layer.
- Serve warm with vanilla ice cream so the ice cream melts over the crispy topping.