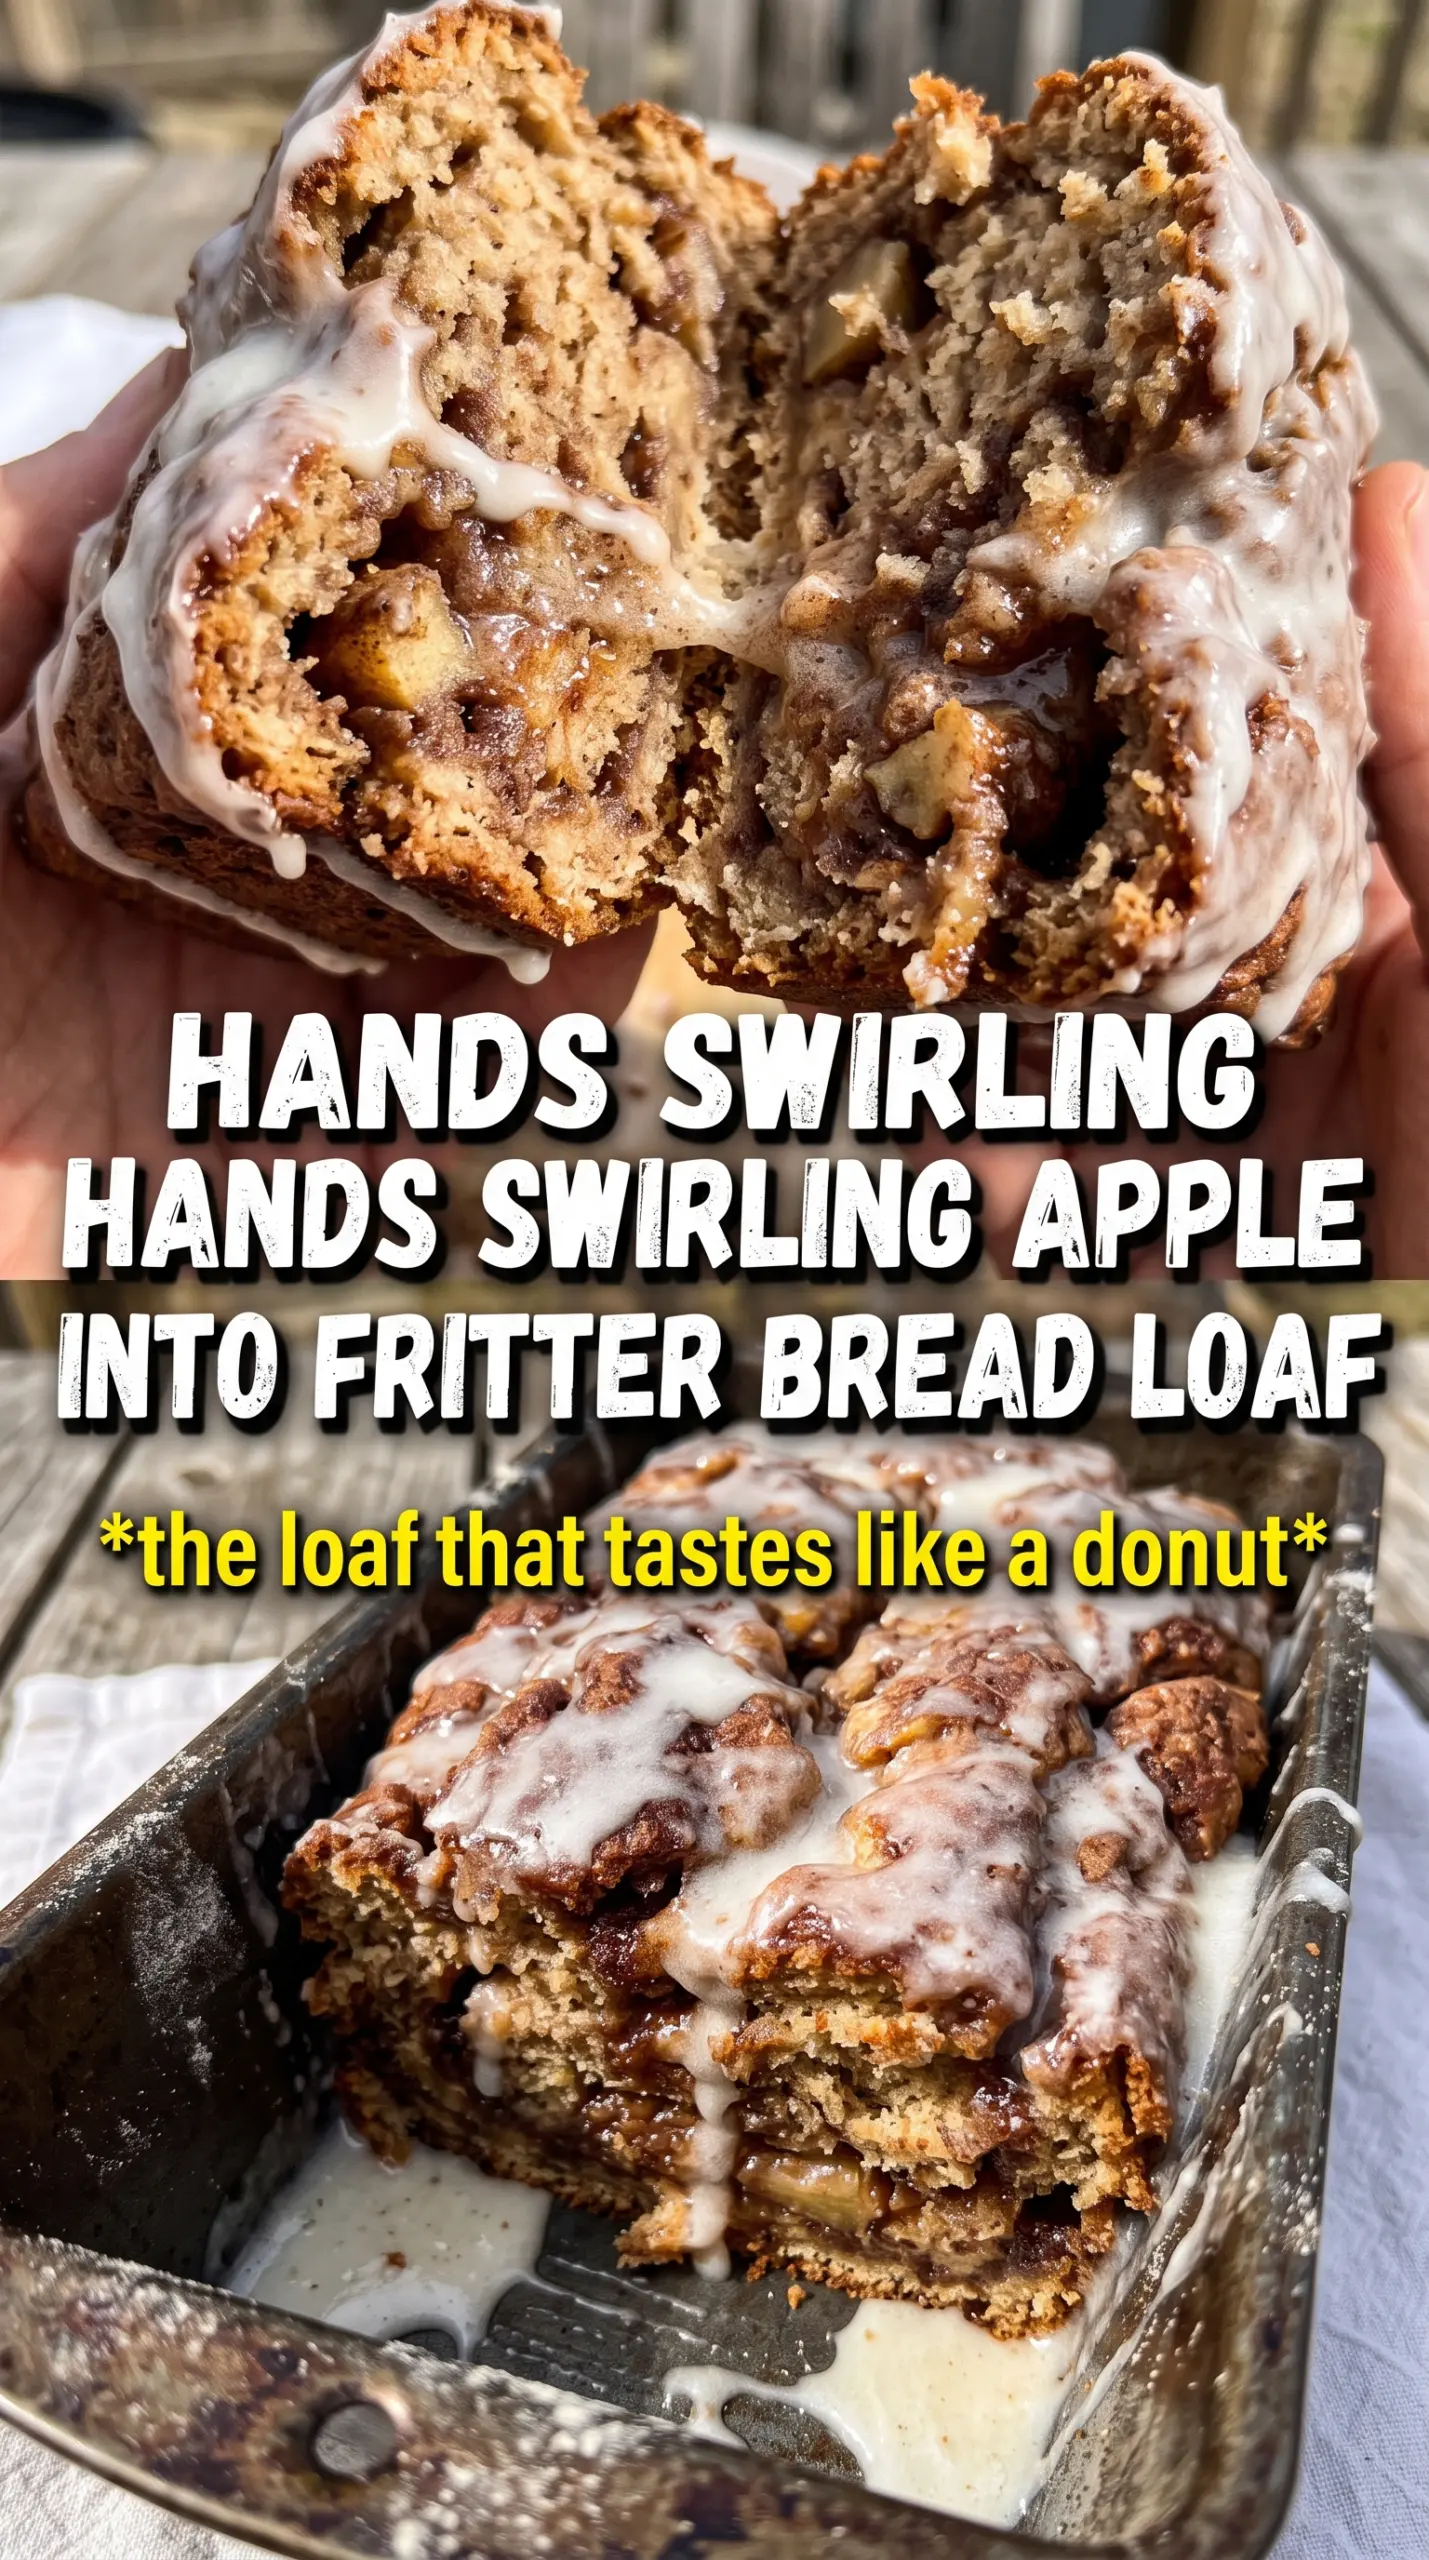
Apple fritter bread bakes up with the same cozy pull as a bakery fritter, but in a loaf you can slice cleanly for breakfast or a midafternoon snack. The crumb stays tender and buttery, the apples soften into little pockets of cinnamon-sugar, and the vanilla glaze soaks into the top just enough to give every slice that glossy, bakery-style finish.
What makes this version work is that the apples are cooked first. That extra five minutes on the stove pulls out some moisture and concentrates the cinnamon filling, so the loaf doesn’t end up wet or gummy in the middle. The batter is built with both baking powder and baking soda, which gives the bread enough lift to stay light even with all those apples tucked inside.
Below, I’ll show you how to keep the swirl distinct, what kind of apples bake best here, and how to tell when the loaf is done without drying it out.
The apple layer stayed tucked into the middle instead of sinking, and the glaze set up with that thin crackly top I was hoping for. My kitchen smelled like a cider donut shop for hours.
Save this apple fritter bread for the mornings when you want a cinnamon-apple loaf with a soft crumb and that glossy vanilla glaze.
The Trick That Keeps the Apple Layer in the Middle
The most common mistake with apple fritter bread is treating the filling like a loose add-in. If the apples go in raw, they release too much moisture while the loaf bakes, and the center turns heavy before the top has a chance to set. Cooking them first solves that problem. The sugars melt, the cinnamon blooms, and the mixture thickens into a spoonable filling that stays where you place it.
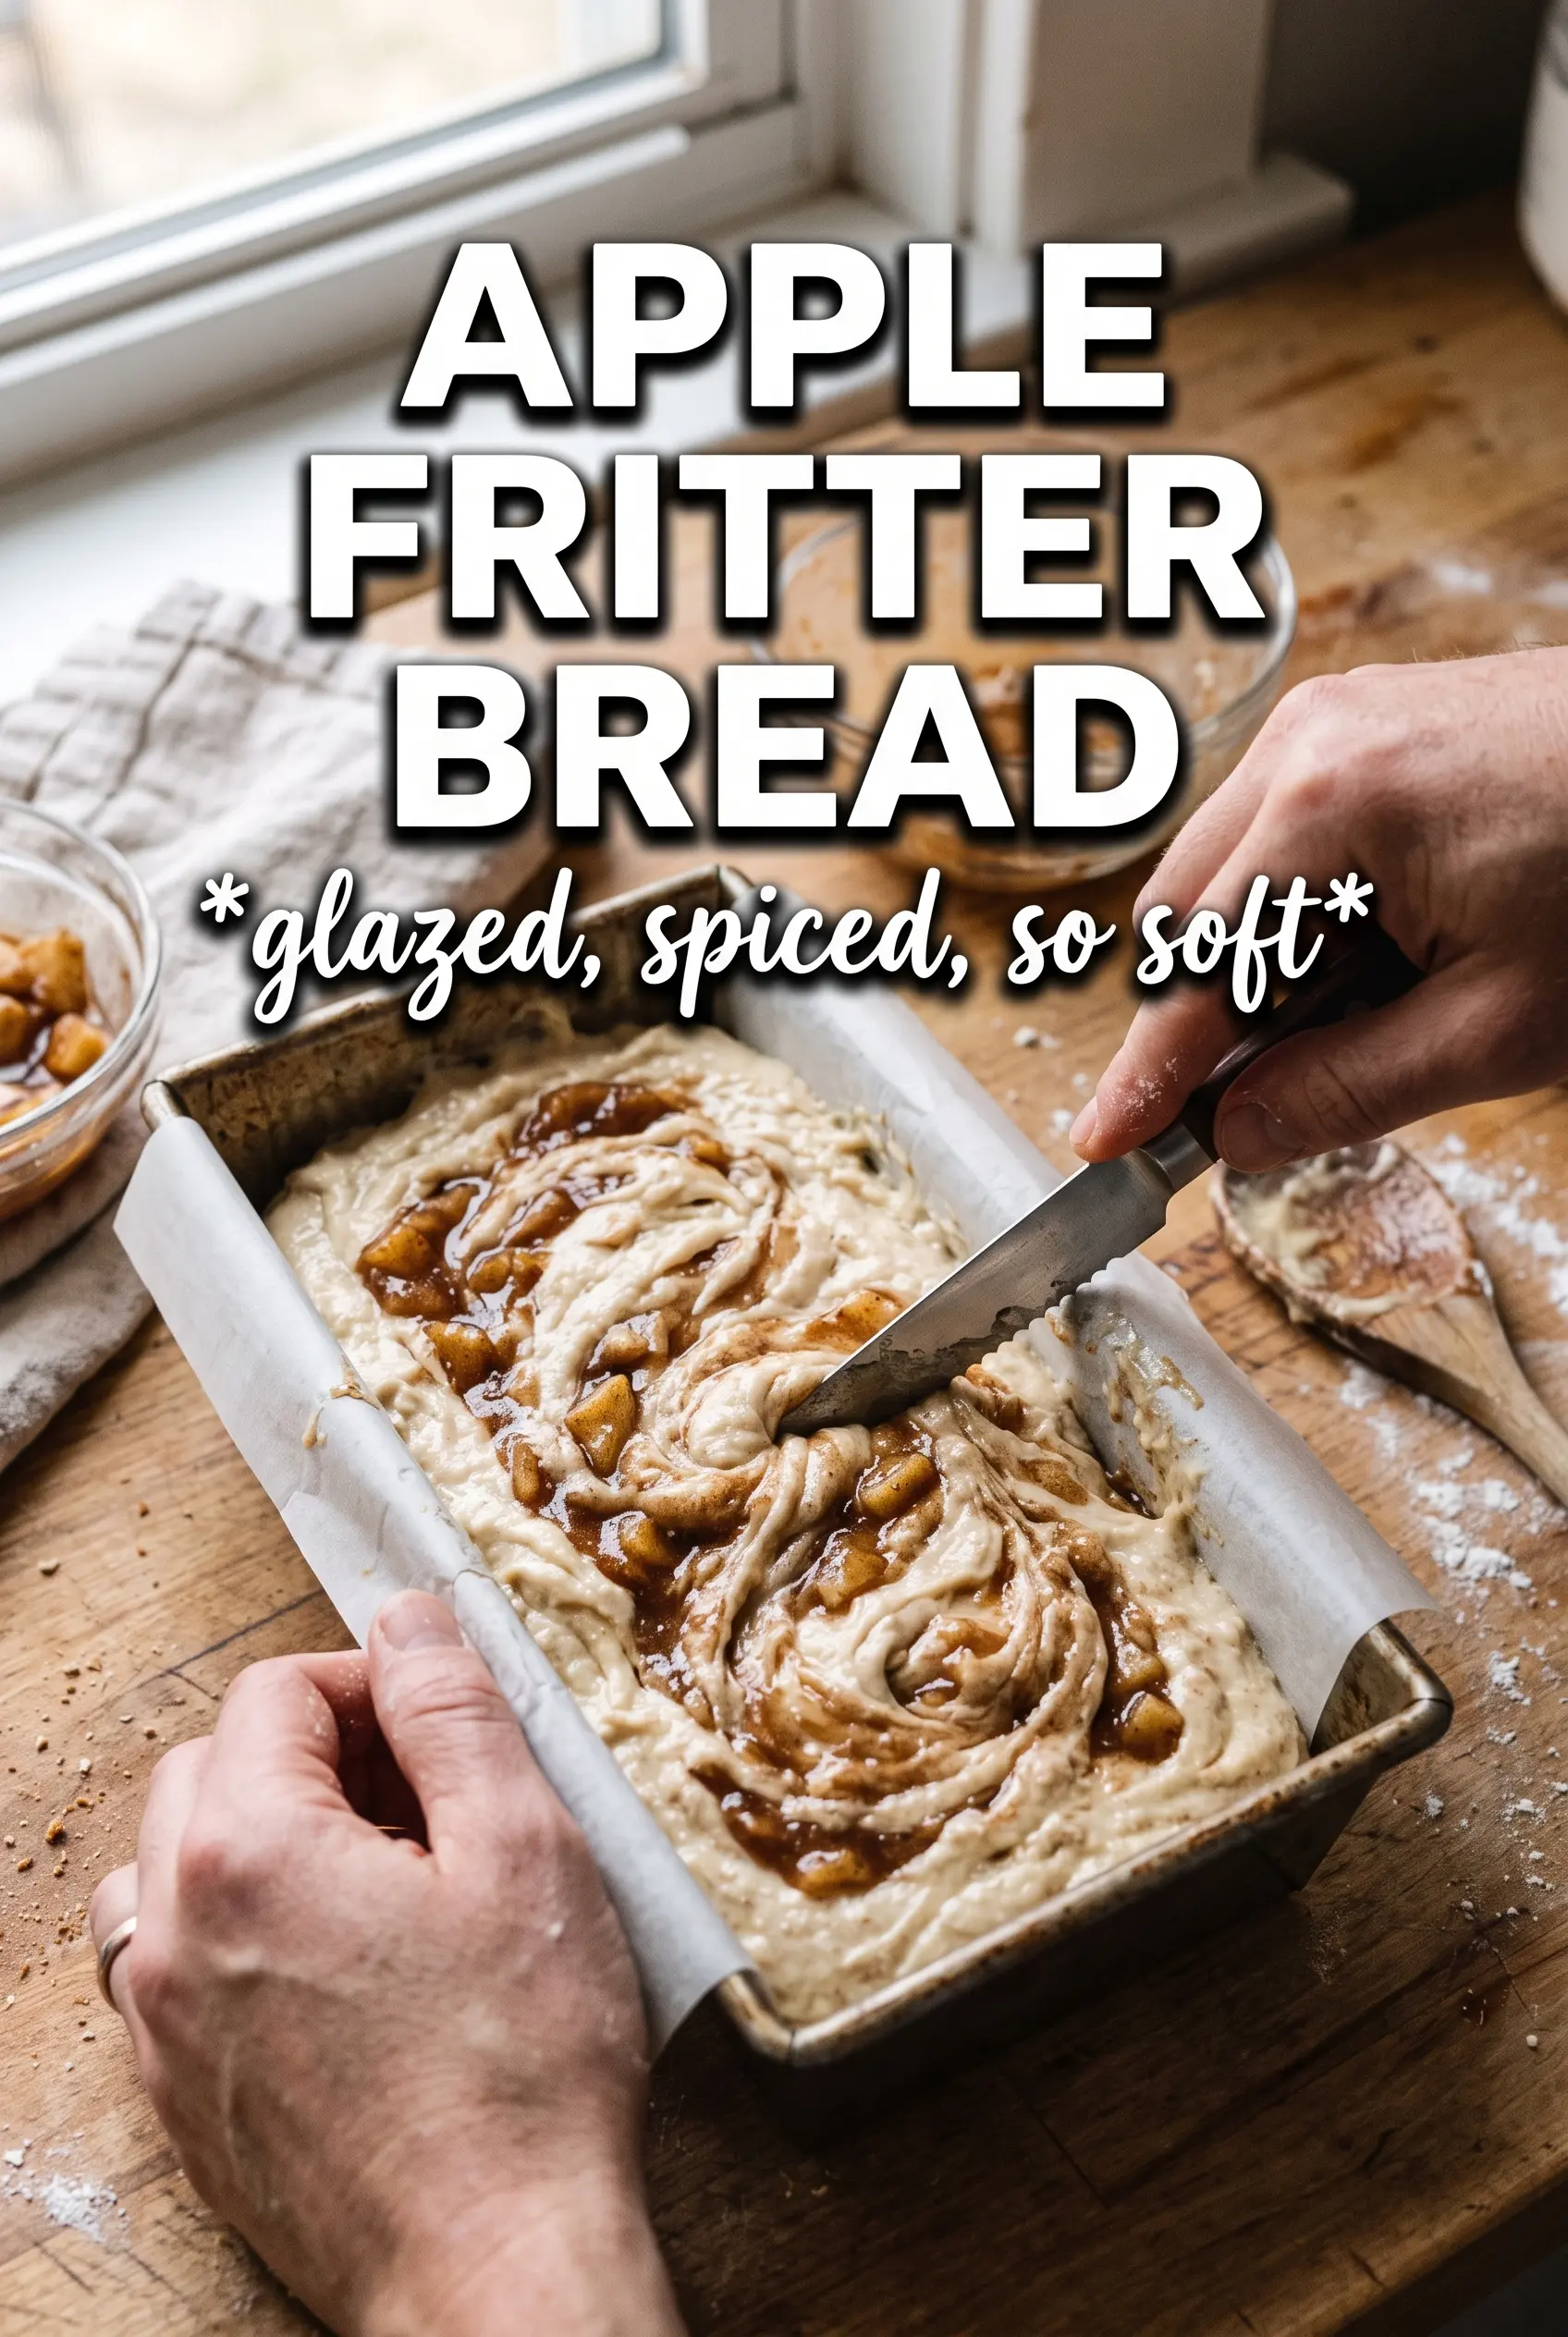
Swirling matters less than people think. You want distinct layers, not a fully mixed batter, because overworking the loaf smears the apple mixture through the crumb and flattens the texture. A few gentle passes with a knife are enough to create those ribboned pockets without sinking the filling.
What Each Ingredient Is Actually Doing in This Loaf
- Apples — Use a firm baking apple like Honeycrisp, Granny Smith, or Pink Lady. They keep their shape after the quick cook, which gives you little tender chunks instead of applesauce. Softer apples can work, but they’ll break down faster and make the filling looser.
- Brown sugar and cinnamon — This is the flavor engine of the filling. Brown sugar adds a little molasses depth and helps the mixture thicken as it cooks, while cinnamon brings the fritter-shop warmth that makes the loaf taste familiar in the best way.
- Butter — In the batter, softened butter gives the loaf its rich, tender crumb. In the filling, that tablespoon helps coat the apples and carry the spice. Don’t swap in oil here unless you have to; oil gives moisture, but it won’t give you the same bakery-style texture.
- Whole milk — The milk loosens the batter without thinning it too much. Whole milk is worth using if you have it, because the extra fat keeps the loaf soft after baking. Lower-fat milk works in a pinch, but the crumb won’t be quite as plush.
- Powdered sugar glaze — The glaze isn’t just decoration. It seals in some moisture on top and gives the loaf that classic fritter finish. Start with less milk than you think you need so it stays thick enough to drizzle instead of disappearing into the crust.
Building the Batter and Swirl Without Overmixing
Cooking the Apples First
Start by cooking the diced apples with butter, brown sugar, and cinnamon until they soften and the liquid in the pan turns syrupy. You’re not trying to cook them to mush; they should still have some shape so the filling reads as fruit, not jam. Let them cool completely before layering, or they’ll melt into the batter and throw off the texture.
Mixing the Batter
Cream the butter and sugar until the mixture looks pale and fluffy, then add the eggs and vanilla. Alternate the dry ingredients with the milk so the batter stays smooth and doesn’t curdle or break. Stop mixing as soon as the flour disappears. If you beat it past that point, the loaf turns tight and chewy instead of tender.
Layering and Swirling
Spread half the batter into the pan, add the cooled apple mixture, then finish with the rest of the batter. Use a knife to make just a few gentle figure-eight passes through the loaf. If you keep swirling, the filling disappears into the crumb and you lose the streaked look that makes this bread feel like a fritter.
Baking Until the Center Sets
Bake until the top is deep golden and a toothpick comes out clean or with just a few moist crumbs. The loaf should spring back lightly when you press the center. If the top browns too fast before the middle is done, tent it loosely with foil for the last 15 minutes so the crumb can finish baking without scorching.
Make It Less Sweet
Cut the glaze in half or drizzle it lightly just over the top. You’ll get more of the baked apple and cinnamon flavor and less of the dessert-like finish. The loaf itself already carries enough sweetness from the filling, so a lighter hand still tastes complete.
Dairy-Free Version
Use plant-based butter and an unsweetened milk like almond or oat milk. Oat milk gives the closest texture because it has a little more body than almond milk, but either one works. The loaf will still bake up tender, though the flavor will be a touch less rich.
Make It Gluten-Free
Use a cup-for-cup gluten-free flour blend that includes xanthan gum. The batter should look like a standard quick bread batter, not runny, so don’t add extra milk unless it seems overly thick. The texture will be a little more delicate, but the apple filling still carries the loaf.
Storage and Reheating
- Refrigerator: Store tightly covered for up to 4 days. The glaze will soften into the top a bit, which is normal.
- Freezer: Freeze the loaf without glaze, wrapped well, for up to 2 months. Thaw overnight in the refrigerator before glazing so the topping stays clean and smooth.
- Reheating: Warm slices in the microwave for 10 to 15 seconds or in a low oven until just heated through. Don’t blast it on high heat or the crumb dries out before the center warms.
Questions I Get Asked About This Recipe
Apple Fritter Bread
Ingredients
Equipment
Method
- Preheat the oven to 350F and grease a 9x5 loaf pan so the loaf releases easily.
- Cook the diced apples with butter, brown sugar, and cinnamon in a skillet for 5 minutes until softened.
- Transfer the cinnamon apples to a bowl and cool completely before assembling the batter.
- Beat the softened butter and granulated sugar until fluffy, then add the eggs and vanilla extract and mix until smooth.
- Whisk the all-purpose flour, baking powder, baking soda, salt, and cinnamon together, then alternate adding the dry mixture and whole milk to the butter mixture until just combined.
- Pour half the batter into the prepared pan and spread evenly.
- Layer all the cinnamon-apple mixture over the batter.
- Top with the remaining batter and swirl gently with a knife to distribute the filling.
- Bake for 55–60 minutes at 350F, until a toothpick comes out clean.
- Cool the loaf for 15 minutes in the pan before glazing.
- Whisk powdered sugar with 2–3 tablespoons milk and vanilla, then drizzle generously over the warm loaf to form a thick glaze layer.