Deeply golden apple fritters hit that sweet spot between crisp edges and a soft, cakey middle. The diced apples stay tender instead of melting away, and the vanilla glaze settles into the ridges while the fritters are still warm, giving every bite a little crackle before it turns silky. They’re the kind of breakfast treat that disappears fast off the cooling rack, which is exactly why I keep this version in rotation.
What makes these work is the batter: it stays thick enough to hold the apples in place, but it’s not overloaded with flour, so the centers cook through without turning bready. The oil temperature matters just as much. Too cool and the fritters soak up grease; too hot and the outside browns before the middle sets. A steady 375°F gives you that deep color and a clean fry.
Below, I’ll walk through the parts that matter most: how to keep the batter from getting tough, how to judge the oil without guessing, and how to glaze the fritters so it clings instead of sliding off.
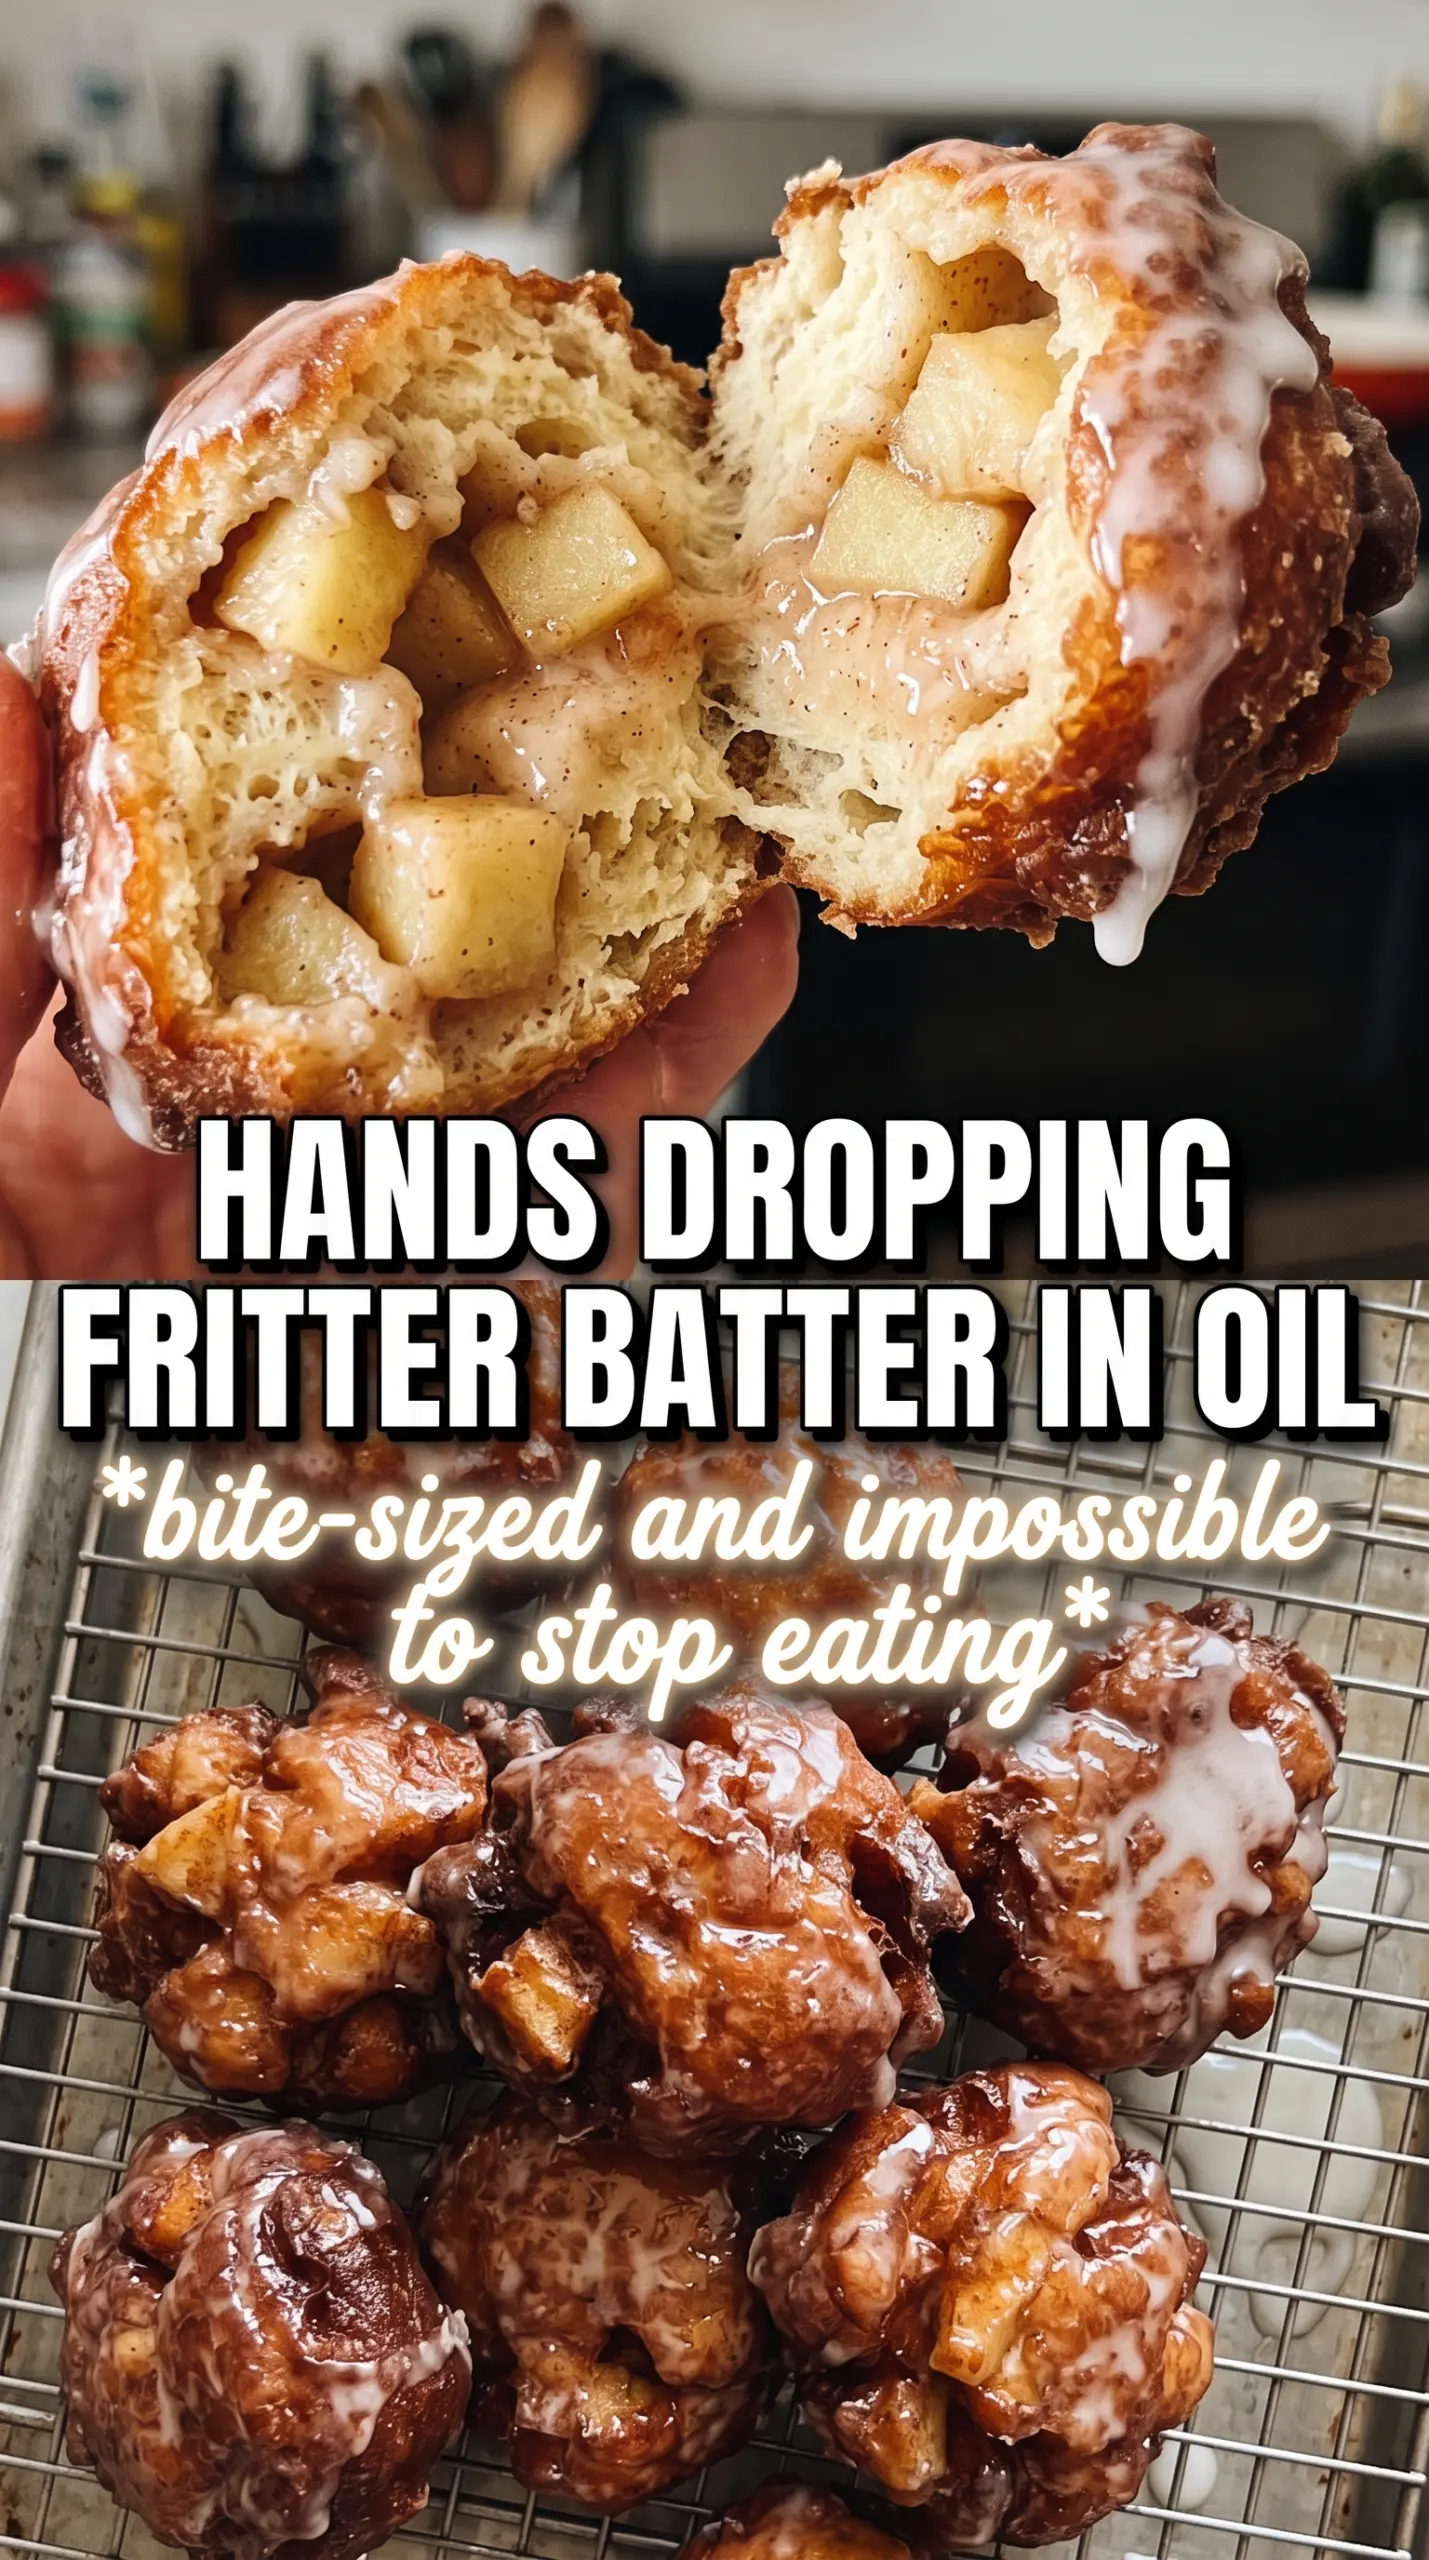
The batter stayed thick enough to scoop, and the fritters fried up with crisp edges and a soft center. I glazed them while they were still warm, and the vanilla icing set perfectly without getting runny.
Like these apple fritters? Save them to Pinterest for the mornings when you want crisp fried edges, tender apple pockets, and a warm vanilla glaze.
The Trick to Apple Fritters That Cook Through Without Greasing Out
The biggest mistake with fritters is treating the batter like dough. It should be thick, but it still needs enough moisture to puff around the apples and cook all the way through before the exterior gets too dark. If the batter looks loose enough to pour, it’s too thin for this style and the apples will sink while the fritters spread into flat, oily pancakes.
Two things keep this batch on track: not overmixing, and keeping the oil steady. Stir only until the flour disappears, because extra mixing builds gluten and makes the fritters tough. Then watch the oil like it matters, because it does. A thermometer takes the guesswork out, and it’s the difference between a crisp shell and a heavy, greasy center.
- Thick batter — This is what gives the fritters their irregular shape and tender middle. Thin batter runs out in the oil and won’t hold the apple pieces.
- Finely diced apples — Small pieces soften quickly and distribute evenly. Big chunks can stay firm while the outside overbrowns.
- Baking powder — This gives lift fast. If yours is old, the fritters will fry up dense instead of light.
What Each Ingredient Is Actually Doing in These Fritters
- All-purpose flour — This gives the fritters structure without making them heavy. Bread flour is too strong here and can make them chewy.
- Whole milk — The fat in whole milk helps the batter stay tender. Low-fat milk works in a pinch, but the texture is a little less rich.
- Melted butter — This adds flavor and helps the crumb stay soft. Let it cool for a minute before mixing so it doesn’t scramble the eggs.
- Apples — Use a firm, tart-sweet apple that holds its shape, like Honeycrisp or Granny Smith. Very soft apples can turn mushy in the batter.
- Powdered sugar glaze — This is thin enough to drip over the fritters while still setting into a shiny coat. If you want a thicker finish, whisk in a little extra powdered sugar.
From Thick Batter to Crisp Edges: The Part That Matters Most
Mix the Batter Just Until It Comes Together
Whisk the dry ingredients first so the baking powder and spices are evenly distributed, then add the wet mixture and stir only until you no longer see dry flour. The batter should look shaggy and thick. If you beat it smooth, the fritters turn firm instead of tender, and the apples won’t have room to stay suspended.
Fold in the Apples at the End
Add the diced apples after the batter is mixed so they stay evenly coated instead of getting mashed down. The batter will look lumpy, and that’s exactly what you want. If it seems impossibly thick, resist thinning it out; that thickness is what keeps the fritters mounded in the oil.
Fry in Steady Oil, Not Hot Panic
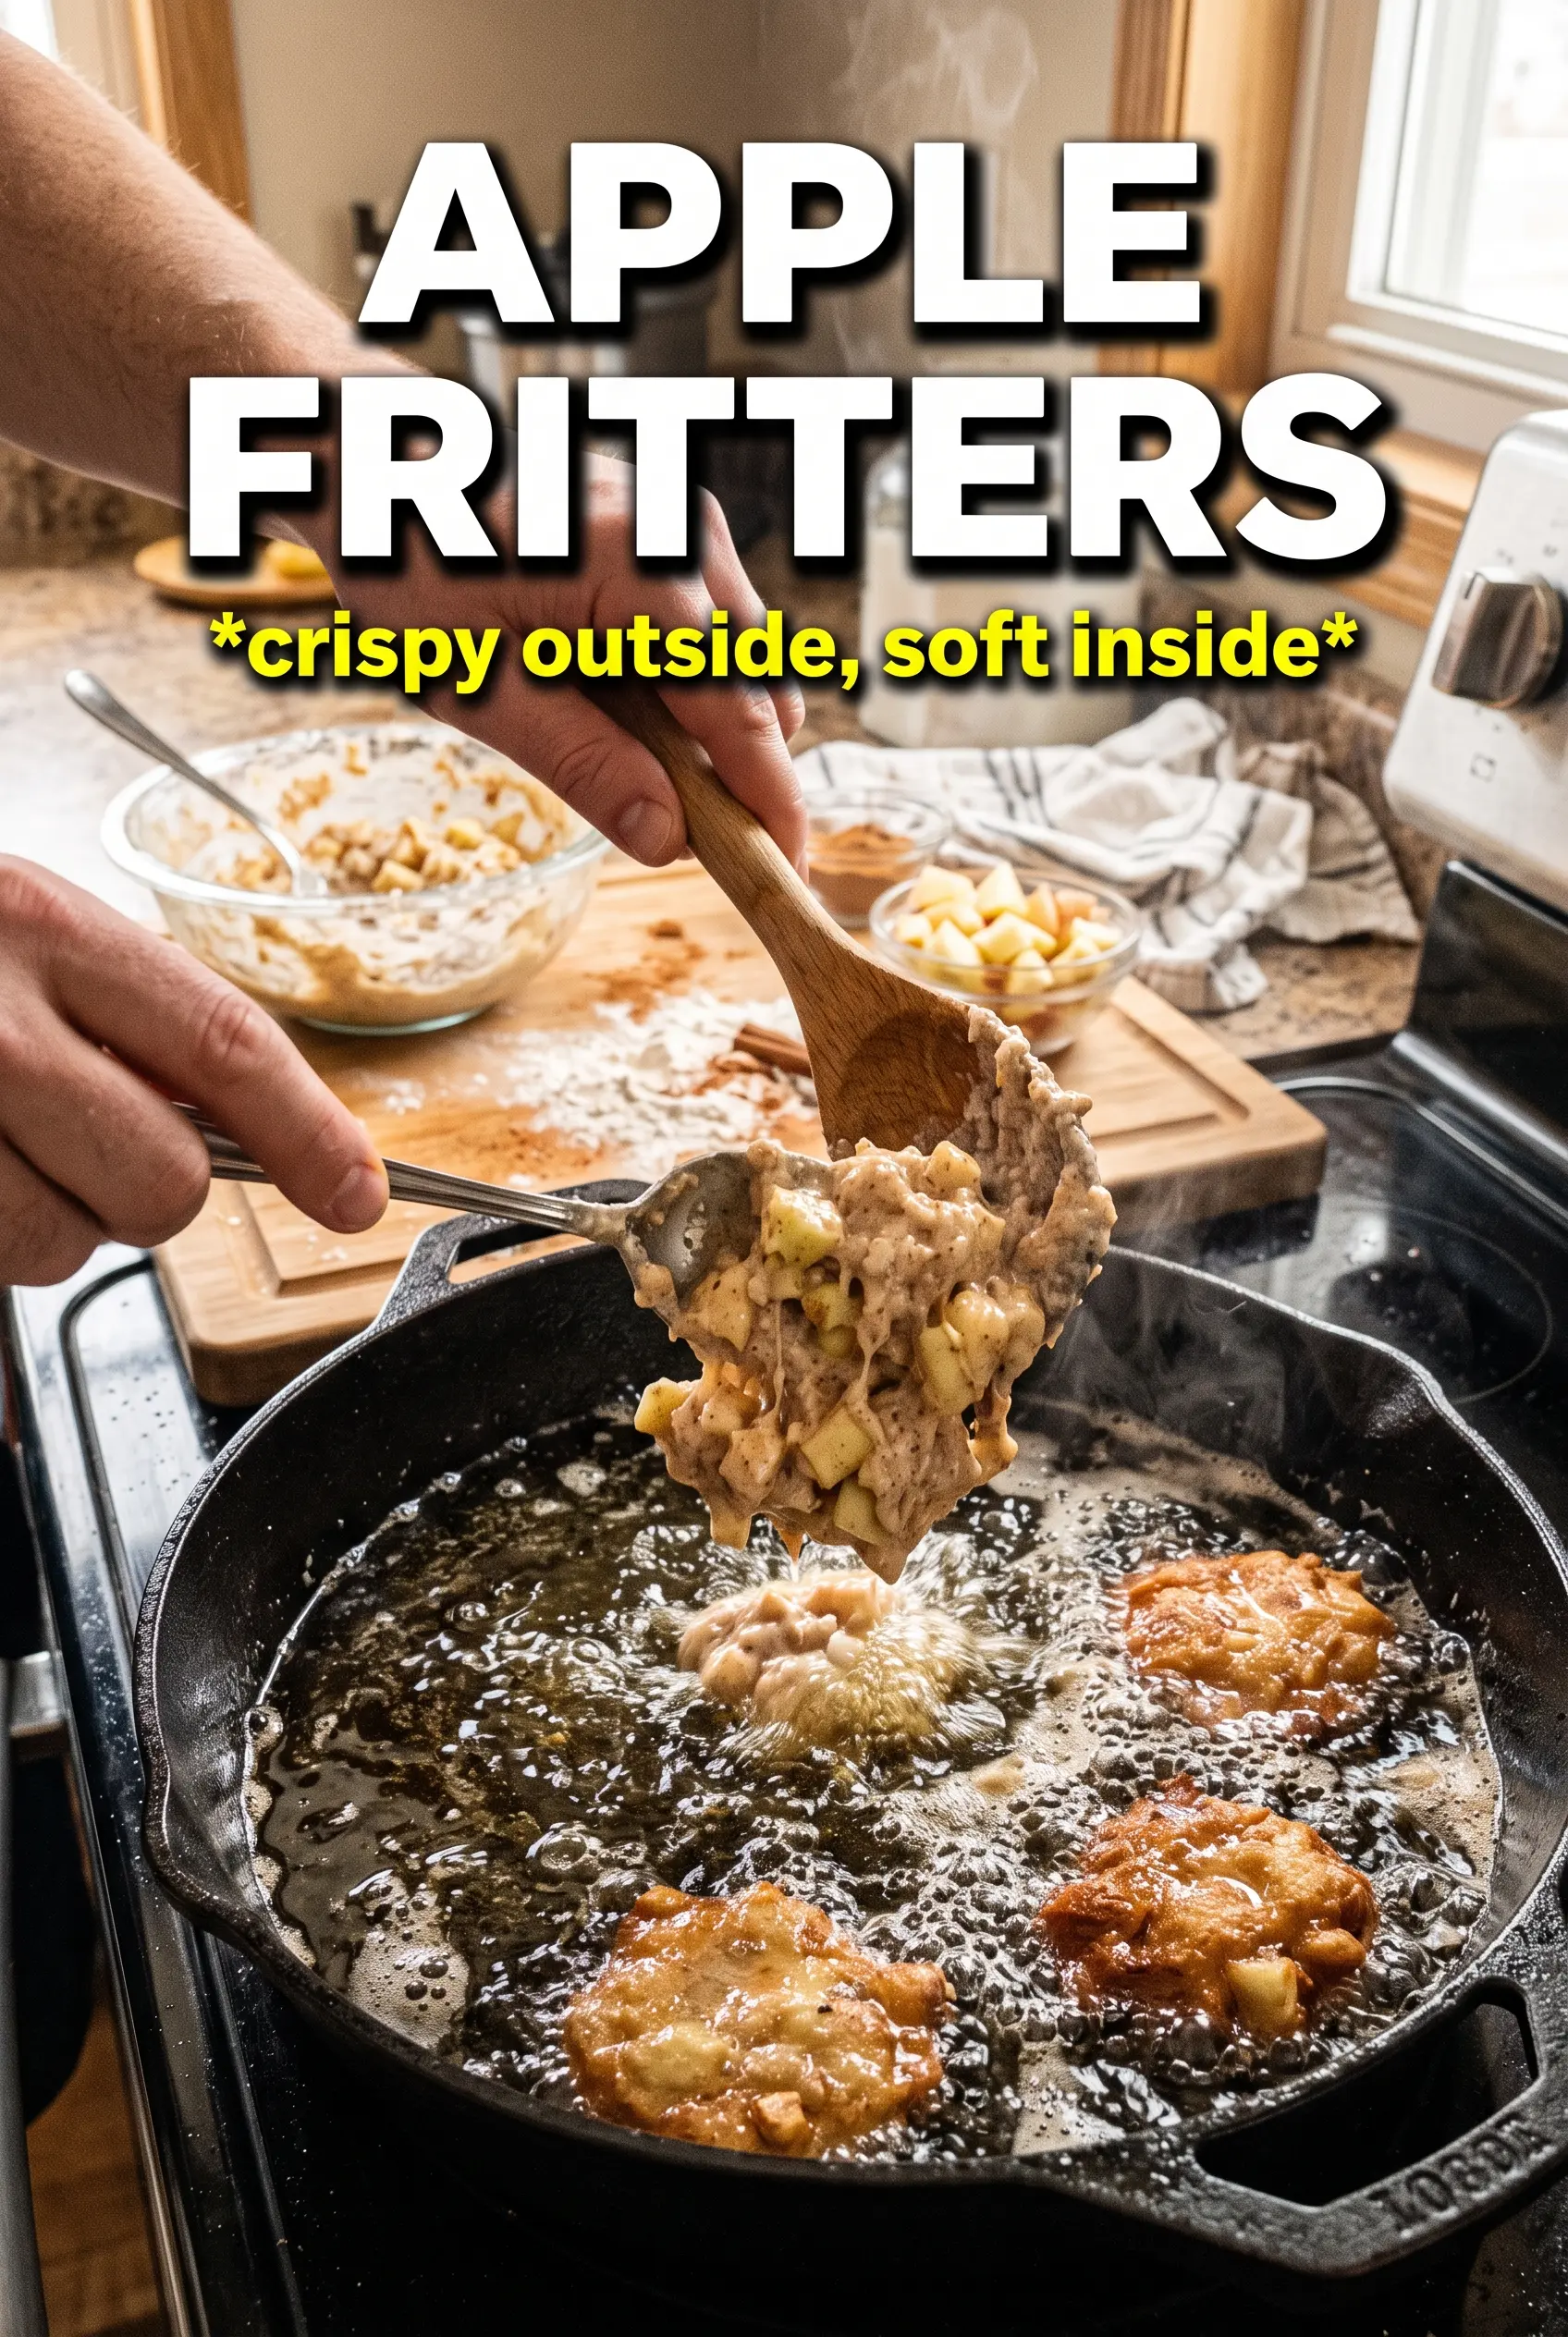
Heat the oil to 375°F and keep it there between batches. Drop in about 1/4 cup of batter, then gently flatten each mound a little so the center cooks at the same pace as the edges. If the fritters brown too fast, the oil is too hot; if they take forever and look pale, it’s too cool and they’ll absorb grease.
Glaze While Warm
Whisk the glaze until smooth and drizzle it over fritters that are still warm, not piping hot. Warm fritters help the glaze cling and soften just slightly on the surface. If you wait until they’re completely cool, the glaze sits on top instead of soaking into the craggy edges.
Three Ways to Adapt These Apple Fritters Without Losing the Good Part
Gluten-Free Apple Fritters
Use a 1:1 gluten-free flour blend that includes xanthan gum. The batter may need to sit for 5 minutes before frying so the flour can hydrate, and the fritters may be a touch more delicate when you flip them, but the flavor and glaze stay right on target.
Dairy-Free Version
Swap the milk for an unsweetened non-dairy milk and use melted coconut oil or dairy-free butter in place of the butter. The fritters still fry up crisp, but the glaze will taste a little cleaner and less rich unless you use a plant milk with some body, like oat milk.
Use Pears Instead of Apples
Firm pears work well if that’s what you have, but they soften faster than apples and the fritters will taste a little more floral. Keep the dice small and fry them promptly after mixing so the fruit doesn’t weep into the batter.
Storage and Reheating
- Refrigerator: Store in an airtight container for up to 2 days. The glaze will soften the crust a bit, so they won’t stay crisp for long.
- Freezer: Freeze unglazed fritters on a baking sheet, then transfer to a freezer bag for up to 2 months. Glaze after reheating for the best texture.
- Reheating: Warm in a 350°F oven for 8 to 10 minutes or in an air fryer for a few minutes until heated through. The microwave makes them soft and steamy, which is the fastest way to lose the crisp edges.
Answers to the Questions Worth Asking
Apple Fritters
Ingredients
Equipment
Method
- Whisk all-purpose flour, granulated sugar, baking powder, cinnamon, nutmeg, and salt until evenly combined, with no visible powdery streaks.
- In a separate bowl, whisk eggs, whole milk, melted butter, and vanilla extract until smooth, then pour into the dry ingredients.
- Fold the wet mixture into the dry ingredients until just combined; the batter should look thick and slightly lumpy.
- Fold in the diced apples so they are evenly distributed throughout the thick batter.
- Heat 2–3 inches of vegetable oil to 375F in a heavy pot or Dutch oven, maintaining a steady bubble at the surface.
- Drop about 1/4 cup portions of batter into the hot oil and gently flatten slightly so they fry into irregular rounds.
- Fry for 2-3 minutes per side until deeply golden, then transfer to paper towels to drain with the fritters looking crisp at the edges.
- Whisk powdered sugar, milk, and vanilla until smooth and pourable; it should ribbon off the whisk without lumps.
- Drizzle generously over warm fritters so the glaze melts slightly and sets into a glossy coating.