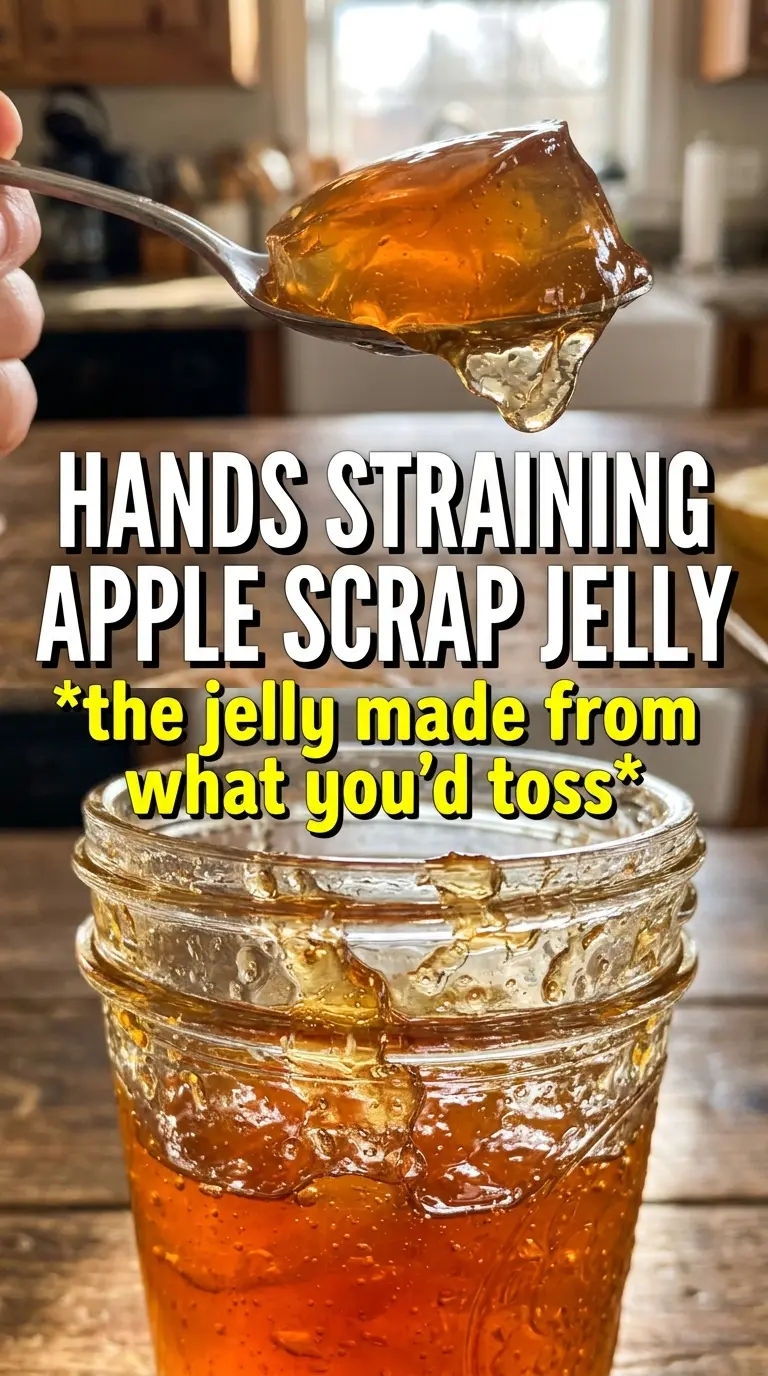
Apple scrap jelly turns a pile of peels and cores into a clear, jewel-toned spread that tastes like concentrated apples with a clean, bright finish. It’s one of those recipes that feels a little old-fashioned in the best way: the flavor is delicate, the color glows amber in the jar, and the set can be beautifully smooth when the juice is handled with care.
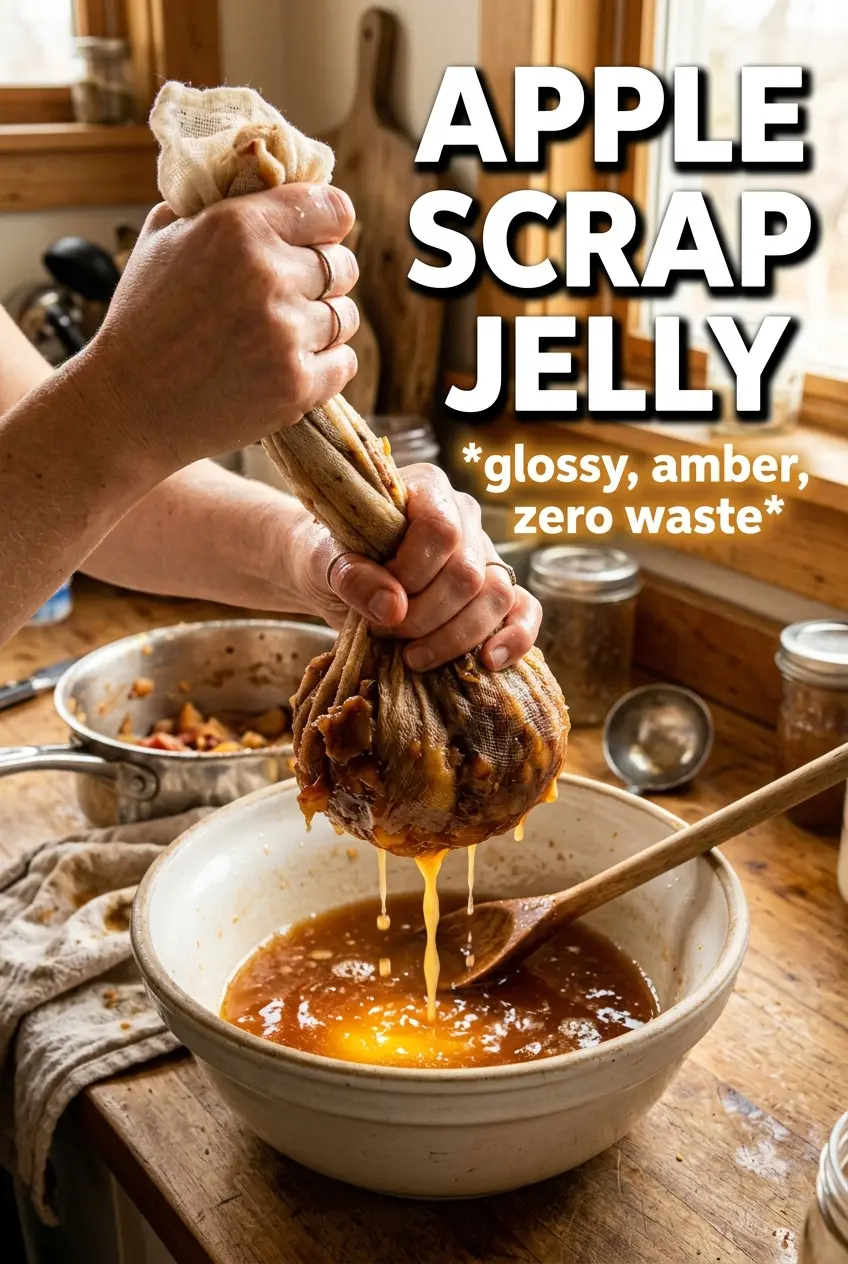
The part that makes this version work is patience at the straining stage. Pressing the cooked apple scraps squeezes cloudiness and extra pulp into the juice, which muddies the jelly and can make the texture less elegant. Letting it drip on its own gives you the clarity that makes apple jelly look as good as it tastes. The sugar is measured after the juice is strained, too, so you’re matching the sweetness to the amount of liquid you actually have instead of guessing.
Below you’ll find the trick for getting a clean set, the ingredient details that matter most, and a few useful swaps if you want to lean into spice or keep the jelly as pure and simple as possible.
I used scraps from making applesauce, and the jelly set up with that perfect spoonable wobble after about 18 minutes. Straining without pressing made it come out so clear, and the cinnamon at the end gave it just enough warmth without taking over.
Like this apple scrap jelly? Save it for the next time you’ve got a bowl of peels and cores and want a clear, golden jelly instead of tossing them.
The Part That Keeps Apple Scrap Jelly Clear Instead of Cloudy
The biggest mistake in apple scrap jelly is squeezing the cooked scraps after they’ve softened. It feels efficient, but it pushes fine solids into the juice and gives you a cloudy set with a slightly grainy finish. Let gravity do the work instead. A slow drip through cheesecloth or a fine sieve is what makes the jelly look polished and clean in the jar.
The other part that matters is the boil after the sugar goes in. You want a vigorous boil, not a lazy simmer, because the jelly needs enough heat to reach its setting point and evaporate moisture evenly. If you stop too soon, it stays syrupy. If you boil it too hard for too long, the flavor gets dull and the jelly can turn thick instead of tender-set.
- Apple scraps — Use peels and cores from fresh apples, but skip the seeds. The cores bring pectin, which helps the jelly set, and the peels add flavor and color.
- Lemon juice — This sharpens the flavor and helps the pectin do its job. Bottled lemon juice works fine here because consistency matters more than fresh-squeezed perfume.
- Sugar — Measure it after you strain the juice. The ratio depends on how much liquid you actually end up with, and that’s the difference between a jelly that sets properly and one that never firms up.
- Cinnamon — Optional, but useful if you want a warmer, more autumn-leaning jelly. Add it at the end so it stays fragrant instead of tasting flat and cooked.
What Each Ingredient Is Actually Doing in This Recipe
- Primary ingredient (the star) — Quality matters most. Choose the best you can find.
- Cooking medium (oil, butter, or broth) — This carries flavors and prevents dryness.
- Seasonings (salt, pepper, spices, herbs) — Layer flavors so nothing overpowers. Build depth gradually.
- Aromatics (garlic, onion, herbs) — Cook with fat to bloom flavors. Become the foundation.
- Supporting ingredients — Complement the main ingredient without overpowering it.
- Sauce or liquid (if applicable) — Brings flavors together. Balance richness with acid.
- Acid (lemon, vinegar, wine, or other) — Brightens and prevents flat-tasting results.
- Final finish (garnish, glaze, or sauce) — Prevents one-dimensional taste and adds visual appeal.
What the Juice Does Before the Sugar Ever Goes In
Softening the Apple Scraps
Put the peels and cores in a large pot and cover them with water just until submerged. Bring the pot to a boil, then lower it to a steady simmer until the scraps are completely soft and faded in color, usually 30 to 40 minutes. You’re not trying to make applesauce here; you’re pulling pectin and flavor into the water. If the liquid drops too low, add a little more hot water so the scraps stay covered.
Letting the Juice Drip Clean
Strain the cooked mixture through a fine mesh sieve or cheesecloth and leave it alone for about 30 minutes. Don’t press on the solids. Pressing gives you more liquid fast, but it also clouds the juice and can throw off the finished texture. The clear, pale amber liquid that drips through is what you want.
Cooking the Jelly to Set
Measure the strained juice, then add 3/4 cup sugar for every 1 cup juice along with the lemon juice. Bring it to a full boil and keep it there, stirring often so it doesn’t catch on the bottom. After 15 to 20 minutes, check for 220°F or test a spoonful on a cold plate; the jelly should wrinkle slightly when pushed with a fingertip. If it’s still loose, keep boiling and test again in short intervals.
Jarring the Finished Jelly
Stir in cinnamon if you’re using it, then ladle the jelly into sterilized jars. The mixture will still look a little loose when it’s hot, and that’s normal. It tightens as it cools. If you’re refrigerating it, let the jars cool on the counter before moving them. If you’re processing for shelf storage, follow safe canning procedures for your jar size and altitude.
How to Change the Flavor Without Losing the Set
Make It Plain and Bright
Leave out the cinnamon and let the apple flavor stay front and center. This is the cleanest version, and it works especially well if you want a jelly that tastes sharp, light, and classic on toast or with cheese.
Add Warm Spices
A small pinch of cinnamon is enough to give the jelly a softer, warmer finish. You can also infuse the strained juice with a strip of lemon peel or a clove while it cooks, but remove it before the sugar goes in so the spice doesn’t take over.
Make It Vegan, Naturally
This recipe is already naturally vegan and gluten-free, which makes it an easy pantry project for almost any kitchen. The only thing that changes the outcome is how cleanly you strain the juice and how accurately you measure the sugar.
Scale It Up for a Bigger Batch
You can double the scraps and water if you’ve been peeling apples for pies or applesauce. Just cook the liquid in a wider pot so it can boil down evenly. A crowded, narrow pot takes longer and makes it harder to judge when the jelly has reached its set.
Storage and Reheating
- Refrigerator: Keeps for about 3 weeks once sealed and chilled. The texture may firm up a little more after the first day.
- Freezer: Freezes well in freezer-safe jars or containers with headspace left at the top. Thaw in the refrigerator overnight so the gel doesn’t break.
- Reheating: Jelly is usually served cold or at room temperature, so there’s no reheating needed. If you warm it for glazing, do it gently over low heat; boiling it again can make it too thick or sticky.
Answers to the Questions Worth Asking
Apple Scrap Jelly
Ingredients
Equipment
Method
- Place apple peels and cores in a large pot and cover with water. Bring to a boil over high heat.
- Simmer the apple scraps for 30-40 minutes until they are very soft. Keep the pot at a steady simmer for easy extraction of pectin.
- Strain the mixture through a fine mesh sieve or cheesecloth without pressing. Let the juice drip for 30 minutes.
- Measure the strained apple juice and add granulated sugar at a ratio of 3/4 cup sugar for every 1 cup juice. Stir to combine.
- Combine the apple juice, granulated sugar, and lemon juice in a saucepan and bring to a boil. Once boiling, keep it at a vigorous boil.
- Boil vigorously, stirring frequently, for 15-20 minutes until the jelly reaches 220°F or sets on a cold plate. Keep an eye on the temperature so it doesn’t overcook.
- Stir in cinnamon if using. Ladle the hot jelly into sterilized jars and refrigerate or process.