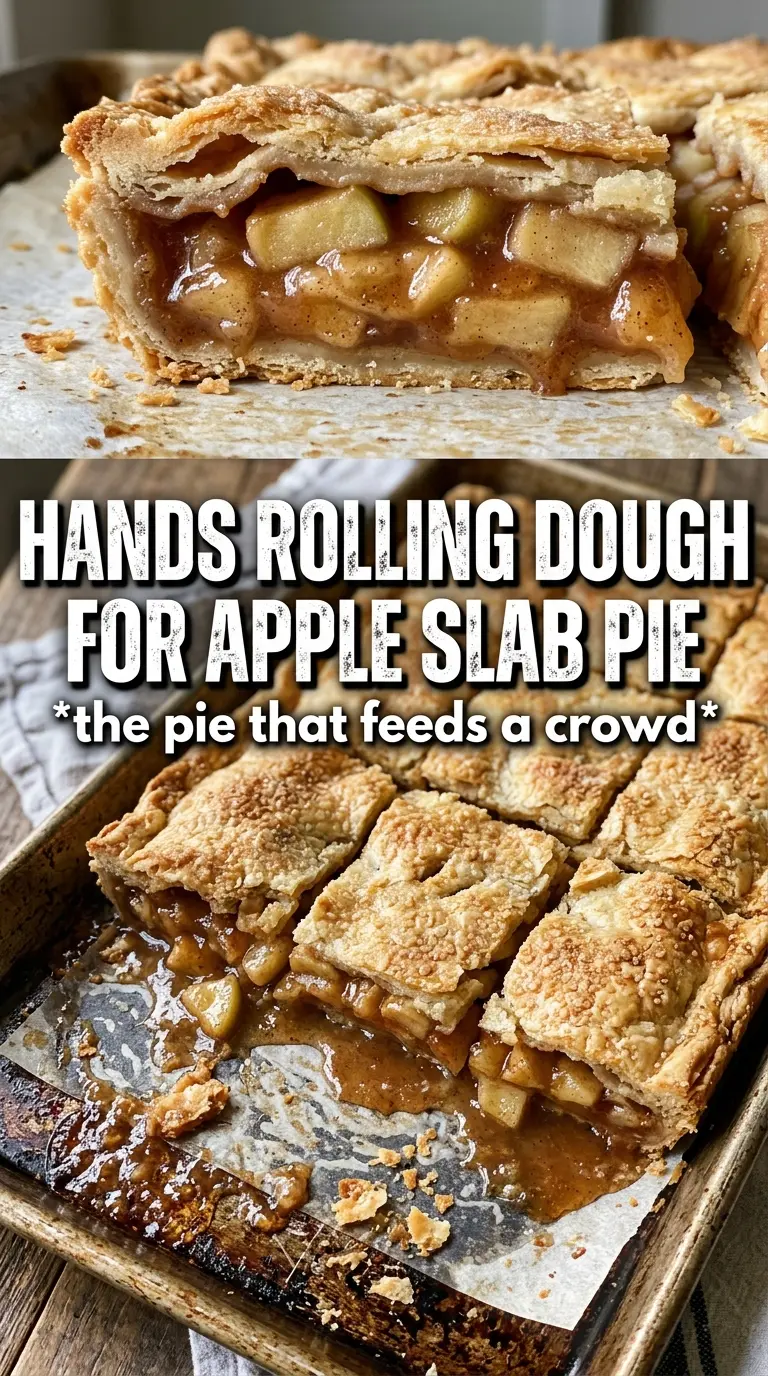
Apple slab pie bakes up with everything people want from a classic apple pie, just in a format that feeds a crowd without the fuss of rolling and fitting a double crust into a deep pie plate. The filling turns jammy and spiced, the crust stays flaky at the edges, and every slice comes out neat enough to serve on a plate without falling apart. It’s the kind of dessert that disappears fast at potlucks, holiday tables, and Sunday dinners.
What makes this version work is the balance between structure and moisture. The apples are sliced thin so they soften evenly, and the cornstarch catches the juices before they turn runny. Pressing the crusts together in a rimmed sheet pan gives you a sturdy base, and the steam vents on top keep the pastry from puffing unevenly while the filling bubbles underneath. A little glaze at the end adds just enough sweetness without hiding the apple flavor.
Below, I’ll walk through the one part that matters most for a slab pie that slices cleanly, plus the swaps that still keep the crust crisp and the filling set.
The filling set up perfectly and the bottom crust stayed crisp, even after sitting out for dessert. I used the full 45 minutes and the edges turned golden without burning.
Save this apple slab pie for the next time you need a flaky, crowd-sized dessert with a bubbling cinnamon apple filling.
The Secret to a Slab Pie That Slices Cleanly
The most common problem with slab pie is a filling that runs before the pastry has a chance to set. That usually happens when the apples are cut too thick, the pan is overfilled, or the cornstarch never gets a chance to do its job. Thin slices matter here because they soften at the same pace, which keeps the whole sheet from collapsing into a pile of juice in the center.
There’s another detail that matters more than people think: the bottom crust needs those fork pricks before the filling goes in. Without them, trapped steam can make the base buckle and lift in spots instead of baking flat. You also want the pie to look deeply golden and hear an active bubble from the filling before you pull it from the oven. That bubbling is the cornstarch thickening the juices, and it’s the signal that the pie will hold once it cools.
- Thin apple slices — These bake through before the crust overbrowns. If you slice them too thick, the filling stays crunchy while the crust finishes first.
- Cornstarch — This is what turns the apple juices into a sliceable filling. Flour can work in a pinch, but it won’t give you the same clean set.
- Rimmed baking sheet — Don’t use a flat pan. The edges of the crust need room to contain the filling, and the rim catches any bubbling juice before it burns on the oven floor.
What Each Ingredient Is Doing in This Apple Slab Pie
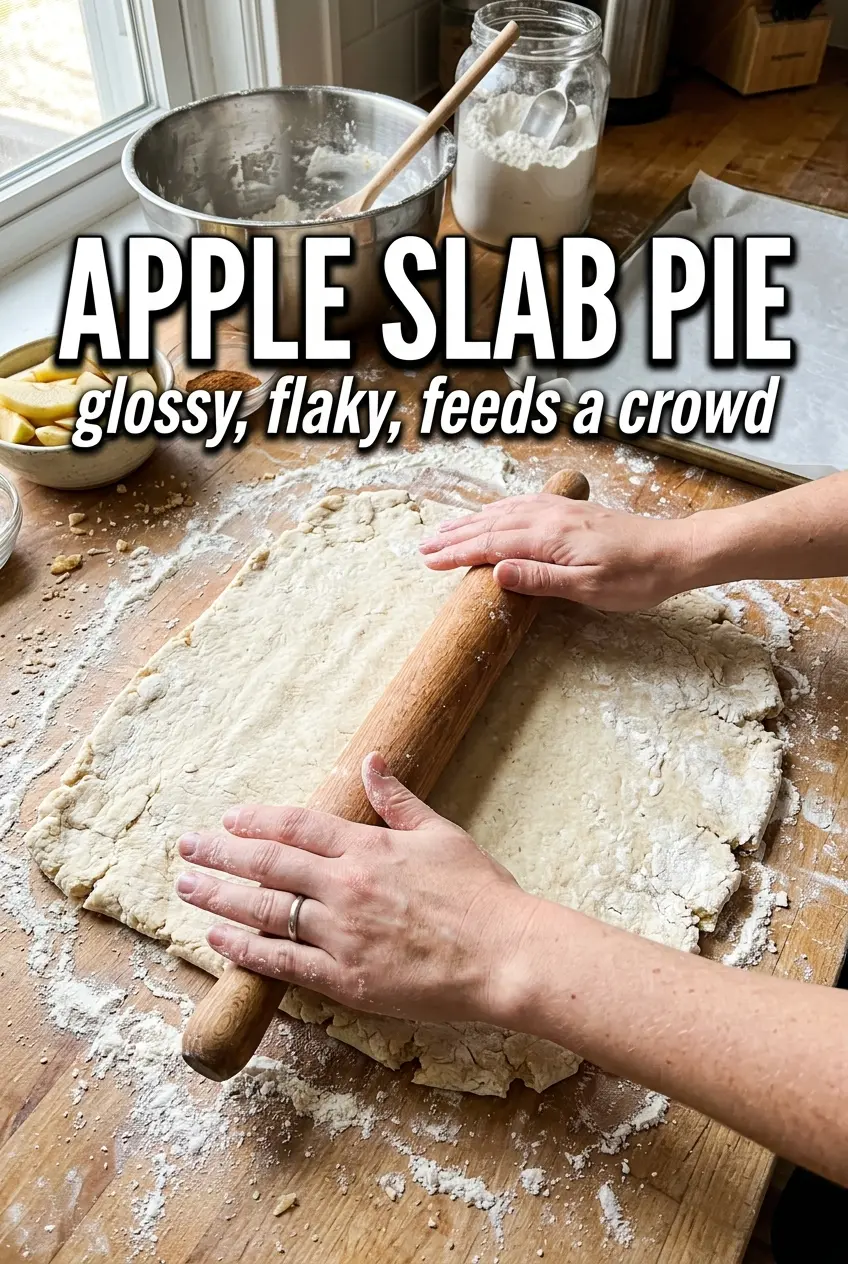
- Refrigerated pie crusts — These keep the recipe fast and dependable. Homemade crust works too, but it needs to be rolled evenly so one side doesn’t bake faster than the other in the sheet pan.
- Apples — Use firm baking apples that hold shape, like Granny Smith, Honeycrisp, or a mix. Soft apples break down too fast and turn the filling mushy.
- Granulated sugar and brown sugar — The white sugar sweetens cleanly, while the brown sugar adds a deeper caramel note that works beautifully with the apples. If you only have white sugar, the pie will still work; it just tastes a little brighter and less round.
- Cinnamon, nutmeg, and allspice — Cinnamon carries the flavor, while the other two make the filling taste like pie instead of apples in syrup. The spices should support the fruit, not bury it.
- Lemon juice — This keeps the apples from tasting flat and helps balance the sweetness. Fresh lemon is best, but bottled works fine here.
- Butter — The little pieces melt into the filling and give it a richer finish. Don’t skip them if you want that old-school bakery taste.
- Egg wash and cinnamon sugar — The egg helps the top crust turn glossy and browned, while the sugar adds a thin crackly finish. That extra texture matters on a large pie where the top is such a big part of each slice.
- Powdered sugar glaze — This is optional, but it gives the pie a sweet finish that looks finished and tastes balanced with the tart apples. Add the liquid slowly so it stays pourable instead of turning thin and runny.
Building the Filling and Top Crust Without a Soggy Center
Pressing the crust into the pan
Lay two crusts into the greased 15×10 rimmed baking sheet and press the seam where they meet so it acts like one continuous base. Work the dough gently into the corners without stretching it hard, because stretched crust shrinks back in the oven. Prick the bottom all over with a fork so steam can escape instead of puffing the base into uneven bubbles.
Coating the apples evenly
Toss the sliced apples with both sugars, spices, cornstarch, and lemon juice until every piece looks lightly coated. The cornstarch should cling to the fruit, not sit in clumps at the bottom of the bowl. If you see dry pockets, keep tossing for another few seconds; those pockets turn into gummy spots after baking.
Baking until the juices bubble
Once the filling is spread in the crust and dotted with butter, top it with the remaining crusts, seal the edges, and cut steam vents. Brush with egg wash, add the cinnamon sugar, and bake until the whole top is deep golden and the filling is actively bubbling through the vents. If the crust is browning too fast before the filling bubbles, tent it loosely with foil and keep going until the center is done.
Finishing with glaze
Let the pie cool before you drizzle on the powdered sugar glaze so it stays visible instead of melting straight into the crust. A cooler pie also slices cleaner. If you glaze it while it’s hot, the topping will slide off and the cut edges won’t look as neat.
Make It With Pears Instead of All Apples
Swap up to half the apples for firm pears if that’s what you have. Pears soften faster, so keep the slices thick enough to hold shape and bake the pie until the filling bubbles steadily through the vents.
Gluten-Free Crust Swap
Use your favorite gluten-free pie crust, but keep an eye on the edges because some versions brown faster than standard dough. Handle it while cold, and don’t stretch it when you press it into the pan or it can crack as it bakes.
Lower-Sugar Version
Cut the granulated sugar back a little and lean on tart apples like Granny Smith for balance. The filling will be less syrupy and a touch more tart, but the cornstarch still gives you enough structure for neat slices.
Storage and Reheating
- Refrigerator: Store covered for up to 4 days. The crust softens a little as it sits, but the filling stays nicely set.
- Freezer: Freeze baked slices well wrapped for up to 2 months. Thaw in the refrigerator so the crust doesn’t get soggy from quick condensation.
- Reheating: Warm slices in a 300F oven until heated through. The microwave makes the crust limp, so use the oven if you want the pastry to crisp back up.
Questions I Get Asked About This Apple Slab Pie
Apple Slab Pie
Ingredients
Equipment
Method
- Preheat oven to 400F and set a rack in the middle position.
- Press two pie crusts together into a lightly greased 15x10 rimmed baking sheet, then prick the bottom with a fork.
- Toss apple slices with granulated sugar, brown sugar, cinnamon, nutmeg, allspice, cornstarch, and lemon juice until coated.
- Spread the apple filling over the crust and dot the top with diced butter.
- Top with the remaining two pie crusts pressed together, then crimp the edges to seal around the slab.
- Brush the surface with egg wash, sprinkle with cinnamon sugar, and cut steam vents through the top crust.
- Bake for 40-45 minutes at 400F until golden and bubbling, with visible filling bubbling through the vents.
- Let the slab cool completely before glazing to prevent the drizzle from melting away.
- Stir powdered sugar with cider or milk to form a drizzle, then drizzle over the cooled pie.