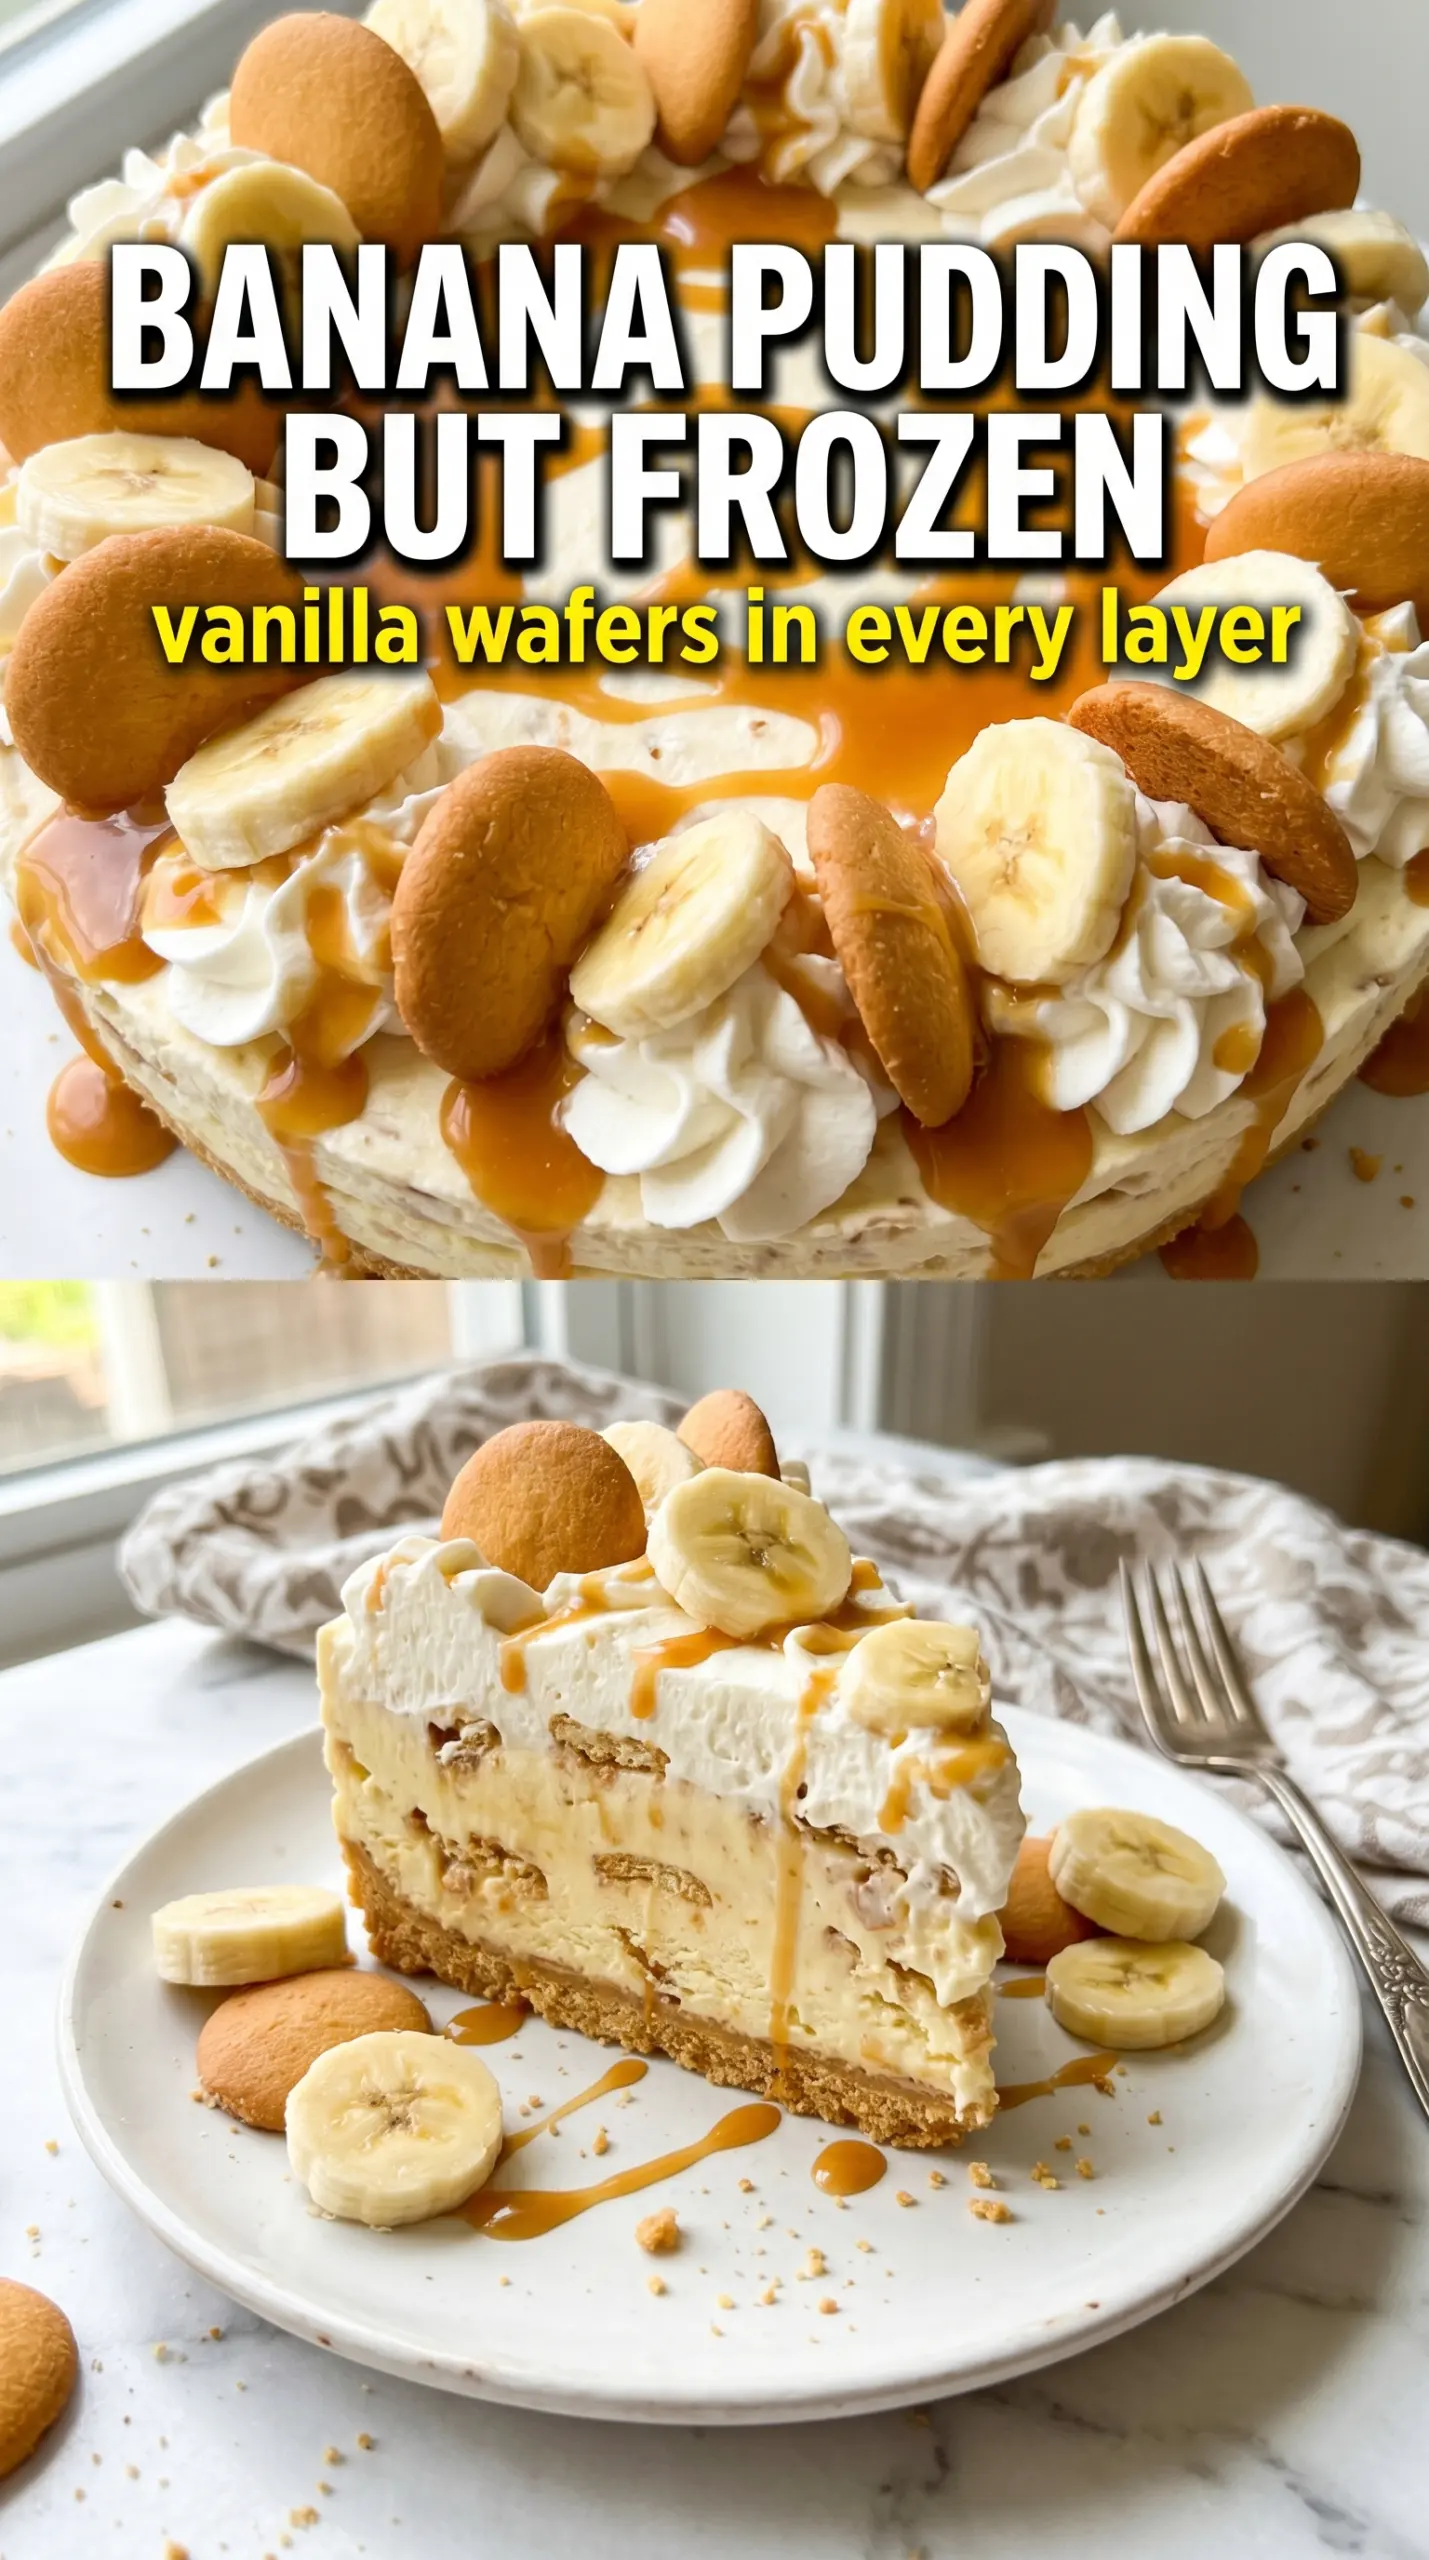
Banana pudding ice cream cake lands in that sweet spot between nostalgic and impressive. You get a firm Nilla wafer crust, cold layers of banana ice cream and pudding, and a whipped top that slices cleanly instead of collapsing into a puddle on the plate. The first bite tastes like banana pudding that took a turn into a summer party dessert, with enough crunch from the crust and cookie garnish to keep every forkful interesting.
The trick is balancing softness and structure. The ice cream needs to be softened just enough to spread, not melted into soup, and the crust has to chill before the filling goes in so the butter can set up again. I also like putting the banana slices between the ice cream and pudding layers, where they stay tucked in and don’t brown as fast as they would on top. Use ripe bananas with some freckles for the best flavor, but don’t go all the way to mushy.
Below, I’ll walk through the small timing details that keep the layers neat, plus a few swaps if you want to work with banana ice cream, vanilla ice cream, or a different pan size.
The crust set up perfectly after the 15-minute freeze, and the layers stayed neat when I sliced it. My daughter said it tastes like banana pudding turned into ice cream cake.
Like this banana pudding ice cream cake? Save it to Pinterest for the nights when you want a no-bake frozen dessert with clean layers and a crunchy Nilla wafer crust.
The Part That Keeps the Layers from Slipping
The biggest mistake with a frozen layer cake like this is rushing the base. If the crust goes in soft, it turns sandy instead of holding together, and the first scoop pulls the whole bottom apart. A short freeze after pressing in the Nilla wafer mixture gives the butter time to firm up, which is what turns crumbs into a sliceable crust.
The other thing that matters is the order of the fillings. Banana slices go under the pudding layer, not on top, so the whipped topping has something smooth and stable to sit on. That keeps the dessert from looking messy after a full freeze, and it also protects the bananas from drying out at the surface.
- Nilla wafers — These are the backbone of the crust and the garnish. They bring the classic banana pudding flavor that plain vanilla cookies just don’t match quite as well.
- Unsalted butter — Butter binds the crumbs and helps the crust hold its shape once chilled. Salted butter works in a pinch, but it can push the dessert a little more savory than you want here.
- Banana or vanilla ice cream — Banana ice cream gives the strongest banana flavor, while vanilla lets the pudding and fresh fruit do more of the work. Either one needs to be softened on the counter until spreadable, not melty.
- Instant banana pudding — Instant pudding sets fast and stays smooth in the freezer. Cooked pudding is too loose for this format and can turn grainy after freezing.
- Whipped topping — This gives you a clean, stable top layer that freezes well. Fresh whipped cream tastes great, but it softens faster and won’t hold the same tidy finish after a long freeze.
What Each Ingredient Is Actually Doing in This Ice Cream Cake
- Base layer (cookies, cake, or graham cracker) — This provides structure and stability. Crushed and mixed with butter creates a firm foundation.
- Ice cream (the main star) — Use quality ice cream or make homemade. Softness matters for layering.
- Sauce or topping between layers (fudge, caramel, or fruit) — This adds moisture, flavor, and prevents dryness. Don’t skip this layer.
- Frosting or whipped cream (optional outer layer) — This prevents freezer burn and adds creaminess. Stabilized whipped cream works best.
- Freezing time (at least 4-6 hours) — This sets the layers so cake slices cleanly. Longer freezing prevents melting during serving.
- Room temperature before serving (5-10 minutes) — This softens the cake slightly for better texture. Serve immediately after thawing.
- Toppings (chocolate, nuts, cookies, or sprinkles) — These add visual appeal and texture. Add right before serving.
- Storage (in freezer at 0°F or below) — This prevents ice crystal formation and maintains quality. Cover with plastic wrap.
Building the Frozen Layers So the Cake Slices Cleanly
Pressing the Crust
Crush the Nilla wafers until they look like fine crumbs with a few small pieces left for texture. Mix them with the melted butter until every crumb looks damp, then press them firmly into the bottom of the pan in an even layer. Use the bottom of a measuring cup to compact the crust so it doesn’t crumble at serving time. Freeze it for 15 minutes before moving on; that step is what keeps the crust from blending into the ice cream layer.
Spreading the Ice Cream
Scoop the softened ice cream over the chilled crust and work it into an even layer with an offset spatula or the back of a spoon. If the ice cream is too hard, it will tear up the crust. If it’s too soft, it will melt into the pudding layer and blur the stripes. You want it spreadable but still thick enough to hold a clean edge.
Layering the Bananas and Pudding
Lay the banana slices over the ice cream in a single layer, then spread the prepared pudding on top. Keep the banana slices fairly even so each piece gets fruit in every bite. Spread the pudding gently instead of dragging it back and forth, which can mix the layers and pull up the bananas underneath. A smooth pudding layer here is what gives the cake its neat cross-section.
Finishing and Freezing
Spread the whipped topping over the pudding and smooth it to the edges. Add the remaining Nilla wafers and fresh banana slices on top just before the long freeze, or right before serving if you want the bananas to look their best. Freeze the cake at least 6 hours, and overnight is even better if you want firm slices. When it’s time to cut, run a knife under hot water and wipe it dry between slices for the cleanest edges.
How to Adapt It Without Losing the Banana Pudding Feel
Use vanilla ice cream for a lighter banana flavor
Vanilla ice cream makes the banana pudding layer stand out more and gives the finished cake a gentler, more classic pudding flavor. You’ll lose some banana intensity, but you gain a cleaner contrast between the fruit, pudding, and cookie crust.
Make it gluten-free with certified gluten-free vanilla wafers
The structure works the same as long as you use a cookie that crushes into a sandy crumb and holds together with butter. The taste will shift a little depending on the cookie brand, but the frozen layer cake format stays intact.
Swap in dairy-free ingredients
Use dairy-free ice cream, a plant-based whipped topping, and a pudding mix made with the milk substitute listed on the package. The texture will be a little softer after thawing, so keep the cake frozen until the moment you’re ready to slice.
Build it in a 9-inch springform pan for a taller look
A springform pan gives you a taller, more dramatic cake and cleaner sides when you release it. The layers will look sharper, but you may need to trim the bananas to fit neatly and press the crust a little higher up the sides.
Storage and Reheating
- Refrigerator: This cake isn’t a good fridge dessert; it softens fast and the layers start to slump within a couple of hours.
- Freezer: Freeze covered for up to 2 weeks. The banana slices on top are best within the first few days, but the cake itself stays sliceable longer than that.
- Reheating: Don’t reheat it. Let slices sit at room temperature for 8 to 10 minutes before serving so the crust cuts cleanly without turning mushy.
Answers to the Questions Worth Asking
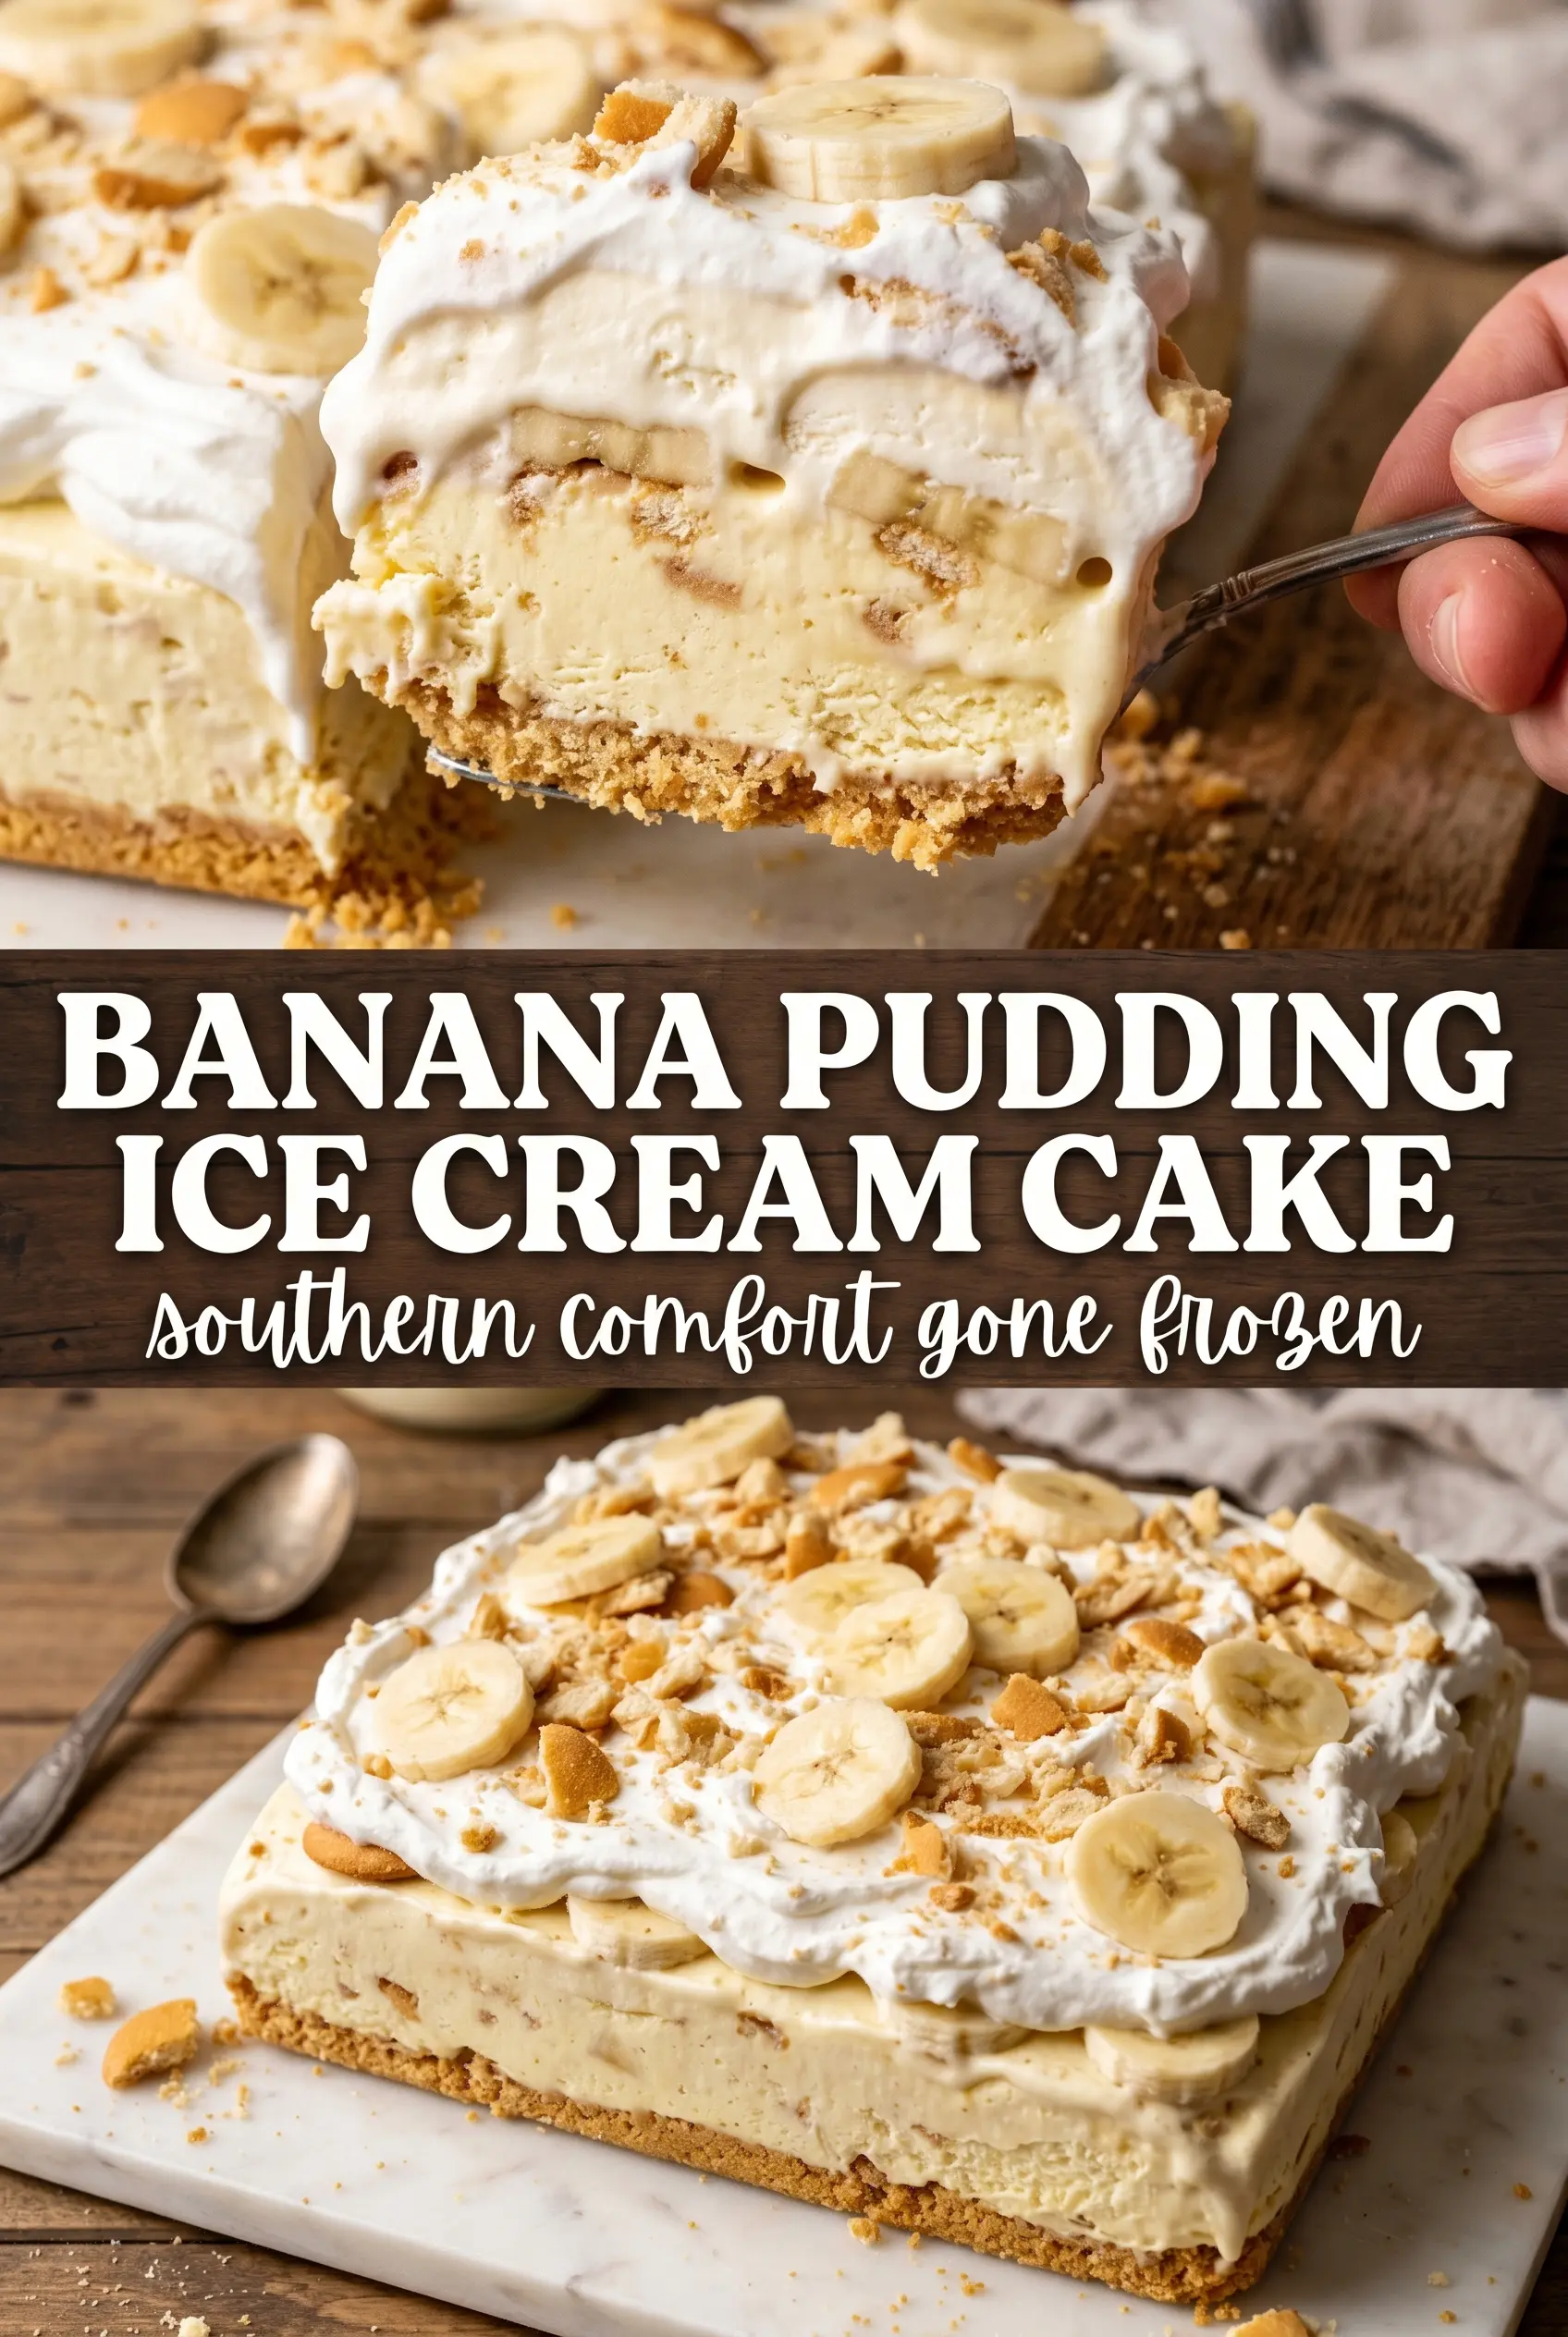
Banana Pudding Ice Cream Cake
Ingredients
Equipment
Method
- Crush 40 Nilla wafers and combine with melted unsalted butter, then press firmly into the bottom of a 9x13 pan. Freeze for 15 minutes until the crust looks set and holds together when touched.
- Spread softened vanilla or banana ice cream over the crust in an even layer. Chill in the freezer for 10 minutes so the surface firms up slightly before adding the next layer.
- Layer sliced ripe bananas over the ice cream in an even coat. Stop when the surface is fully covered and looks neatly layered.
- Spread prepared instant banana pudding over the banana slices, smoothing to the edges. Make sure there are no gaps so the pudding stays contained during freezing.
- Top with whipped topping and smooth the surface with a spatula until level. Decorate by adding remaining Nilla wafers and fresh banana slices so the top has visible crunch and color.
- Freeze at least 6 hours before serving. When ready, slice with clean cuts and look for distinct layers of wafer crust, banana ice cream, pudding, and whipped topping.