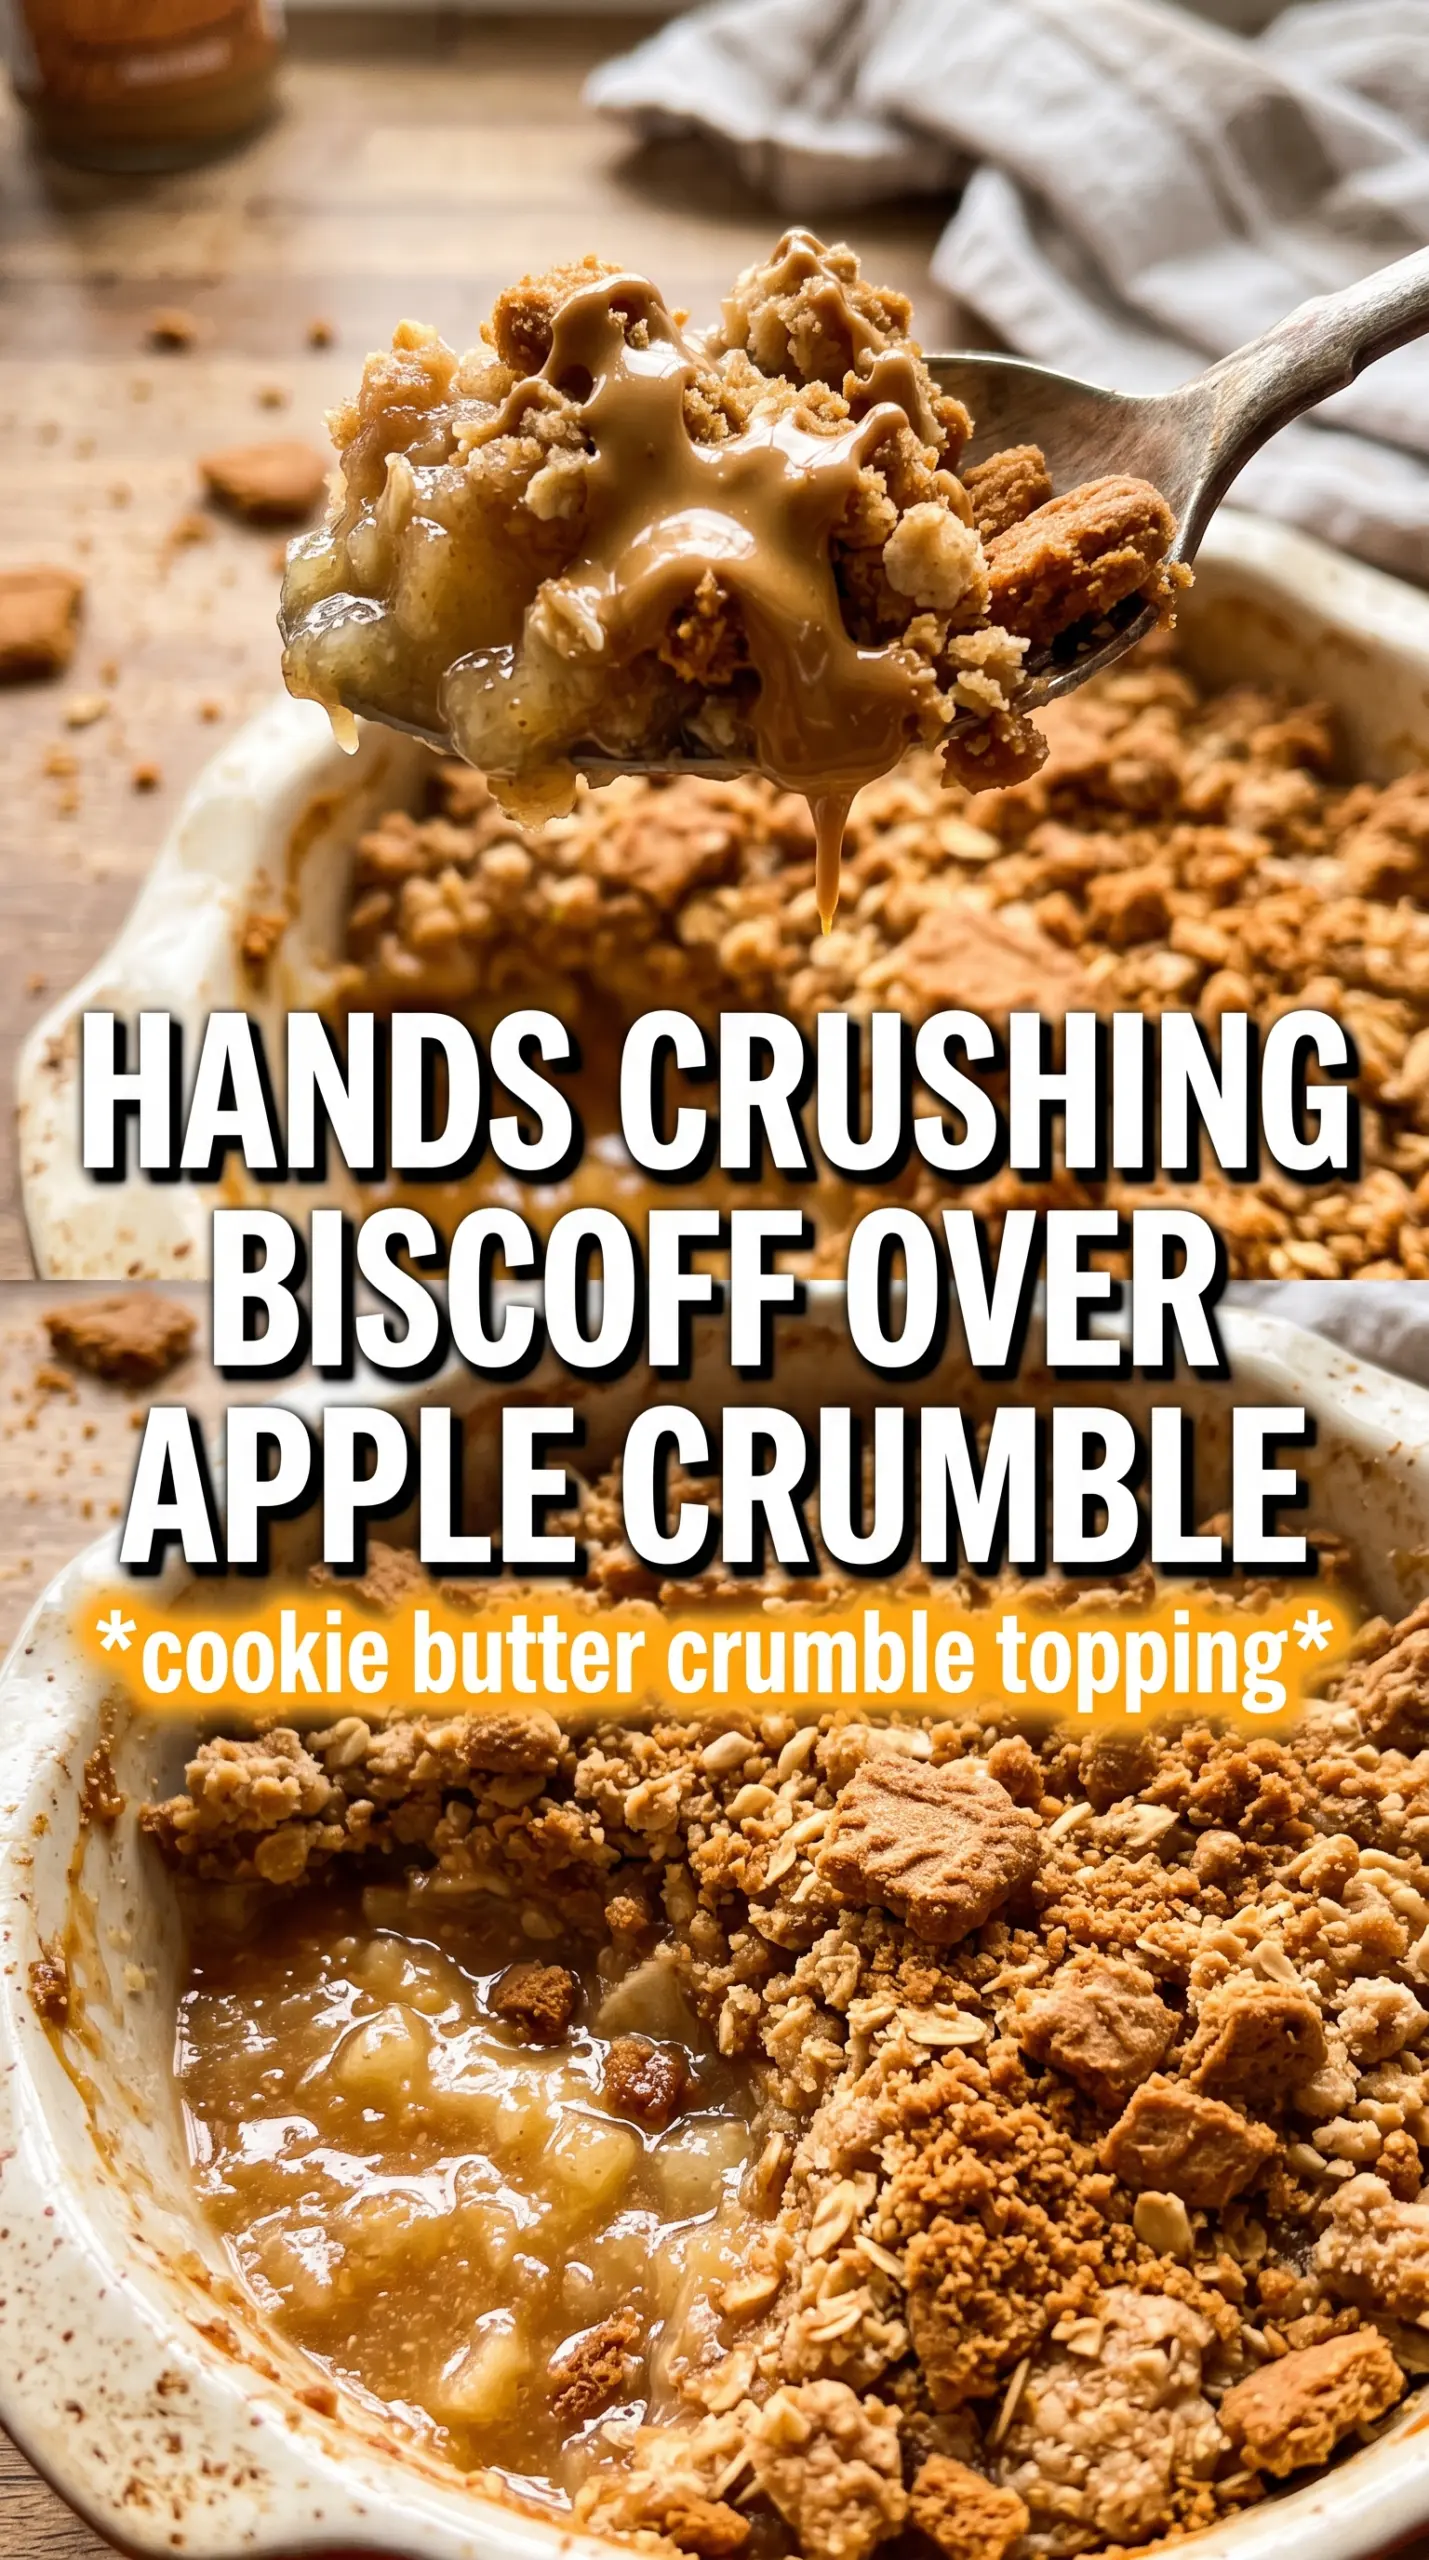
Biscoff apple crumble comes out with a soft, bubbling fruit layer under a topping that bakes into crisp, caramel-edged clusters. The cookie butter threads through the apples and the crumble topping, so every bite tastes like spiced apples and deep brown sugar with that unmistakable Biscoff note. It’s the kind of dessert that disappears fast because it lands somewhere between classic apple crumble and something a little more special without asking for extra work.
The trick here is keeping the apples juicy but not watery. Cornstarch thickens the filling as it bakes, and the lemon juice keeps the apples tasting bright instead of flat. On the topping side, cold butter matters. It creates those nubby crumbles that stay crisp on top instead of turning sandy or greasy. The melted Biscoff spread drizzled over the crumb adds a little extra caramel flavor and helps the topping bake into bigger golden clusters.
Below, I’ve included the one detail that keeps the topping crisp, plus a few swaps that still give you a proper crumble when you’re short on ingredients.
The apples baked up soft without turning mushy, and the Biscoff topping stayed crisp on top even after sitting for a bit. I served it warm with vanilla ice cream and my husband went back for a second bowl before dinner was over.
Warm Biscoff apple crumble with crisp cookie topping and melting vanilla ice cream is one to pin for dessert night.
The Reason the Crumble Stays Crisp Instead of Turning Pasty
The topping on an apple crumble usually fails for one of two reasons: the butter melts too early, or the mix gets packed down before it hits the oven. Cold butter gives you structure, and the drizzle of melted Biscoff spread adds flavor without flooding the crumbs. That balance matters here because the crushed cookies already bring sweetness and fat. If you add too much extra moisture, the topping bakes into a soft layer instead of that craggy, crisp finish you want.
The other thing worth paying attention to is the apples themselves. Once they start softening in the oven, they release juice, and that juice needs something to thicken against or the bottom turns soupy. Cornstarch handles that job cleanly. The filling should look glossy and bubbling around the edges when it’s done, not dry or stiff.
What Each Ingredient Is Doing in the Dish
- Apples — Use a mix that holds its shape, like Granny Smith, Honeycrisp, or Fuji. Softer apples can work, but the filling gets mushier and loses that layered bite. Peel them so the texture stays tender instead of chewy.
- Biscoff cookie butter — This is the flavor anchor. It gives the apples a caramel-spice note and helps the topping form those darker, sticky clusters. If you’re swapping it, use another cookie butter; peanut butter will change the flavor and won’t give you the same result.
- Cornstarch — This thickens the apple juices as they bake. Flour can do the job in a pinch, but the sauce won’t look as glossy and may taste a little heavier.
- Crushed Biscoff cookies — These bring the signature flavor and a dry, sandy sweetness that bakes up crisp. Crush them into fine crumbs with a few larger pieces for better texture.
- Cold butter — Cut it in cold, not softened. That’s what creates the clumps that hold their shape in the oven. Soft butter melts too fast and the topping goes flat.
- Rolled oats — They add chew and help the crumble stay rugged instead of turning into a cookie layer. Quick oats work if needed, but the topping will be finer and less textured.
Building the Filling and Topping in the Right Order
Seasoning the Apples First
Toss the sliced apples with sugar, cinnamon, nutmeg, cornstarch, lemon juice, and the Biscoff cookie butter until every slice looks coated. The filling should look a little pasty before baking; that’s normal and it means the thickener is already distributed. Spread it into a greased 9×13 dish in an even layer so the apples cook at the same pace. If the apples are piled too high in the middle, the center stays underdone while the edges overcook.
Cutting the Butter Into the Crumble
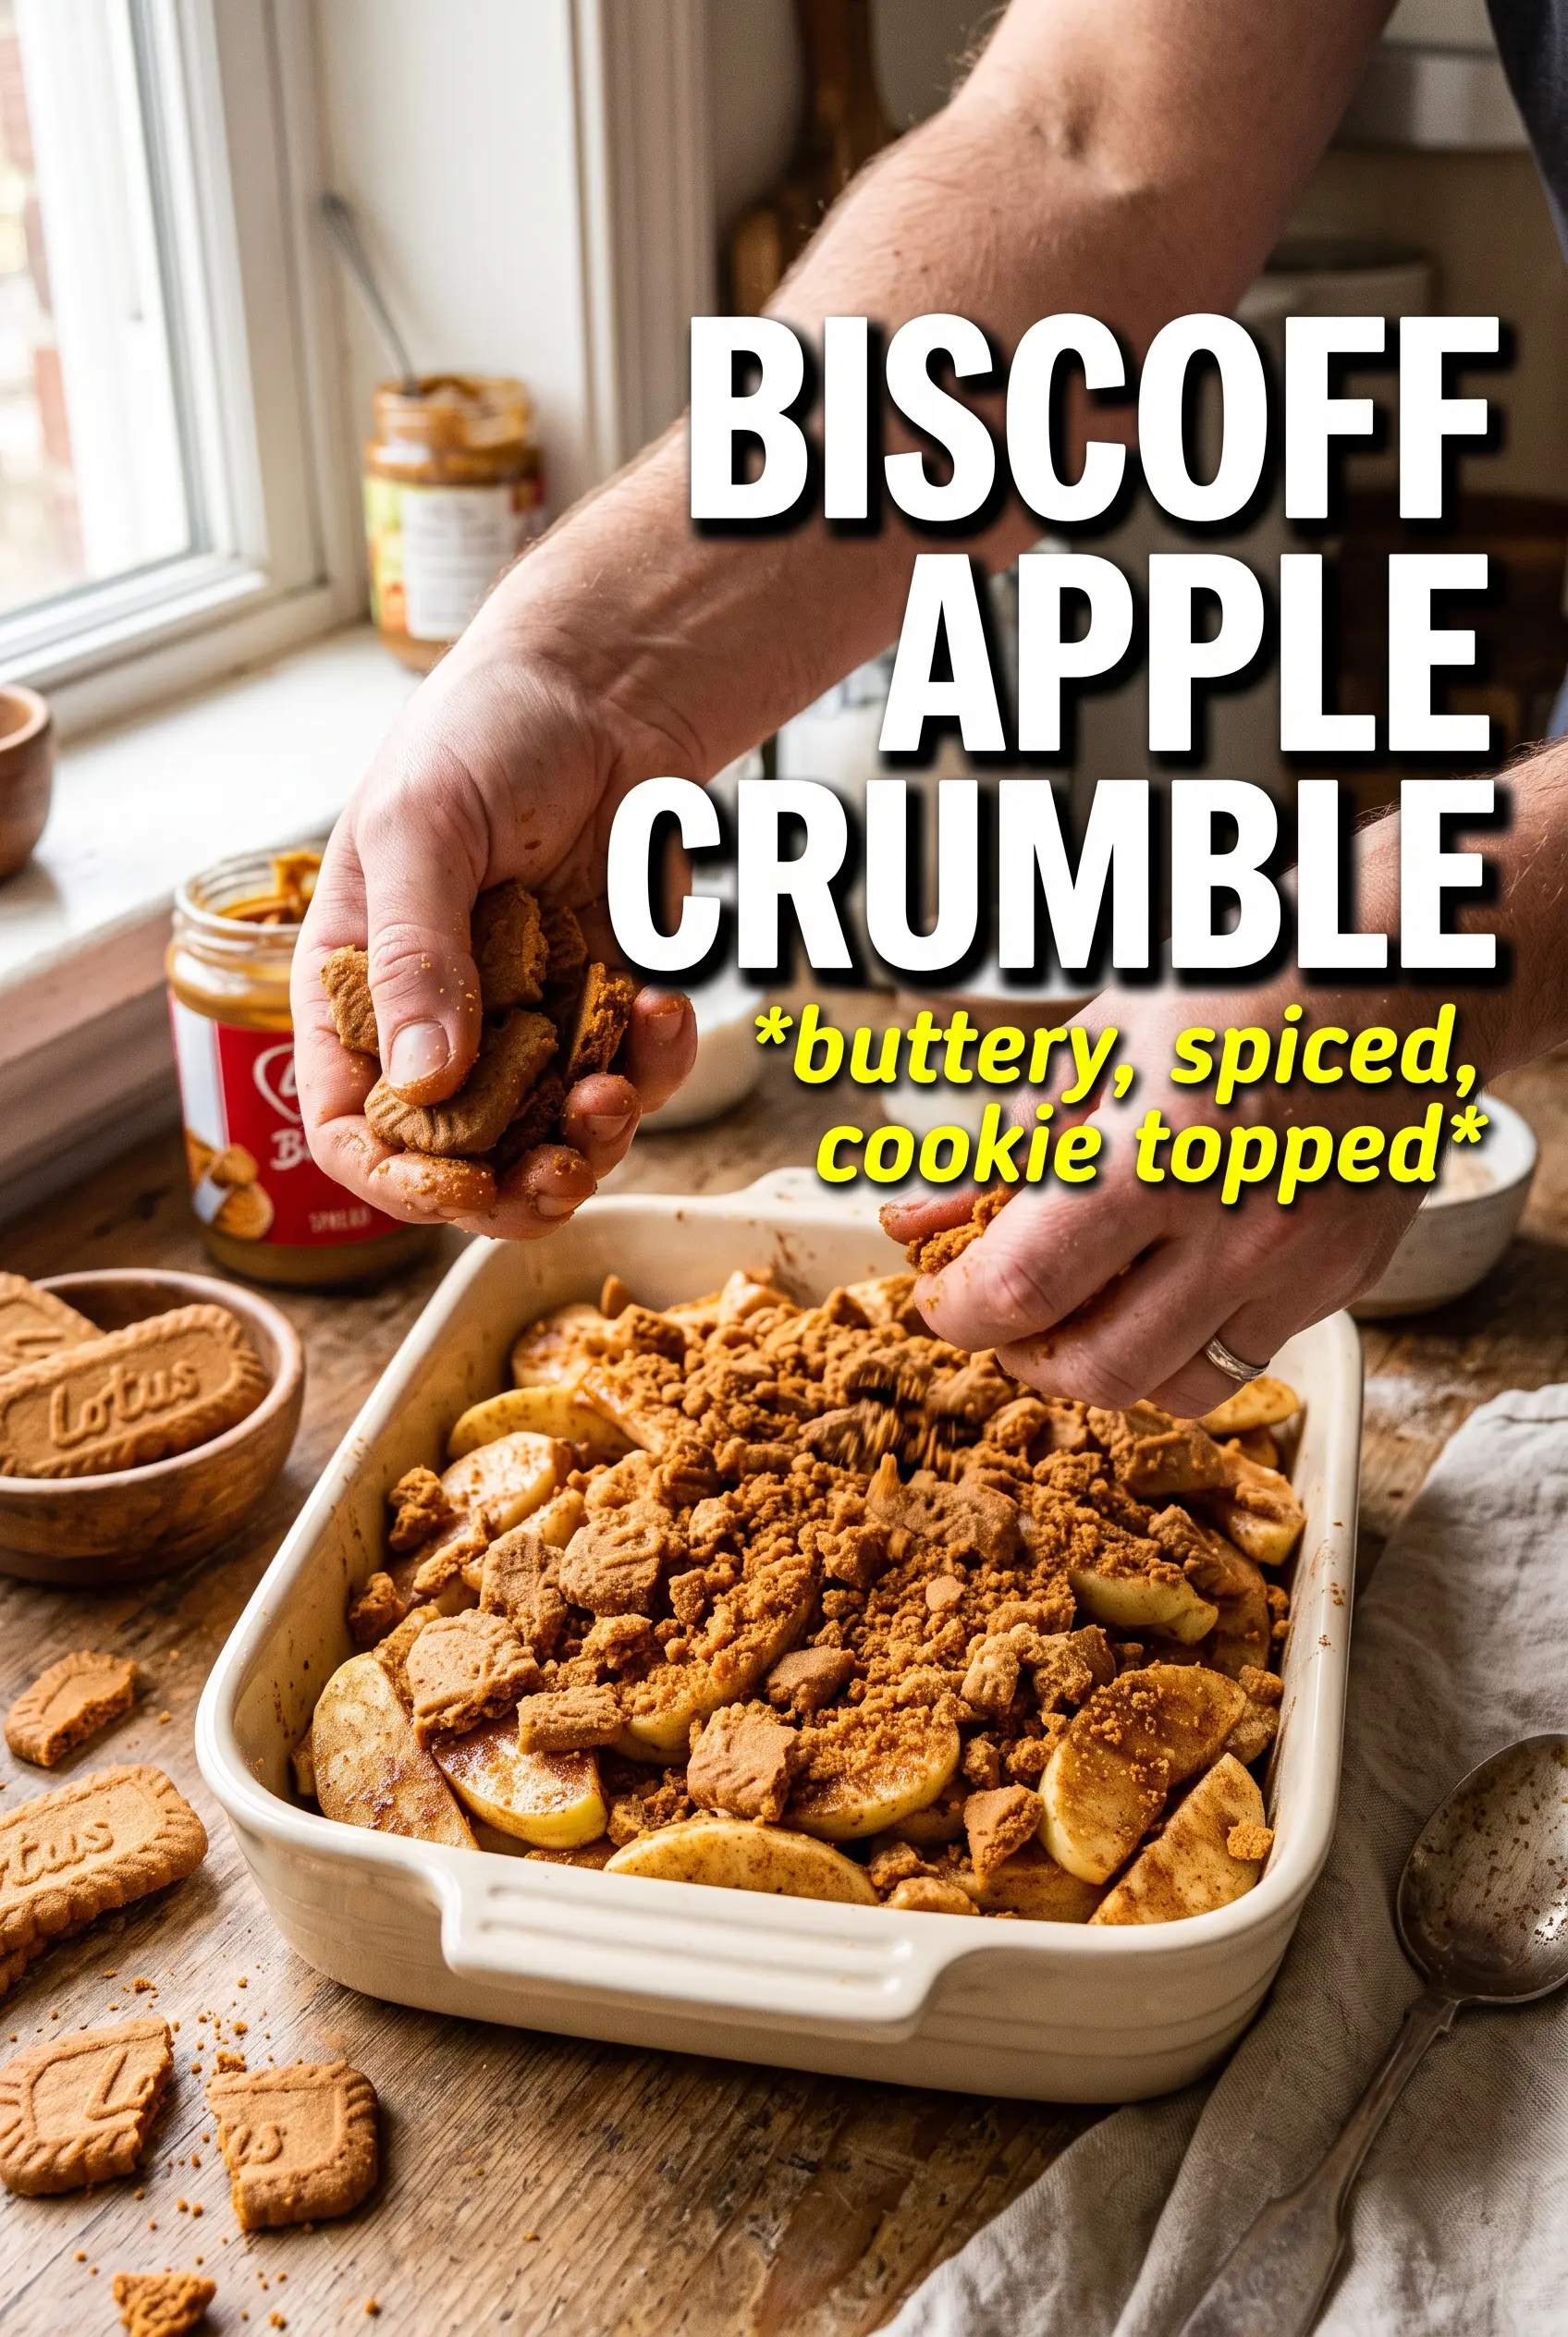
Mix the crushed cookies, flour, oats, brown sugar, and cinnamon, then work in the cold butter until the mixture forms clumps that hold together when squeezed. You want a mix of small crumbs and a few bigger chunks, not a uniform sand texture. Those bigger bits are what turn crunchy in the oven. If the butter starts warming and smearing, stop and chill the bowl for a few minutes before continuing.
Adding the Melted Biscoff and Baking Through
Drizzle the melted Biscoff over the crumble and toss it briefly so it coats in streaks instead of dissolving the mixture. Then scatter it over the apples without pressing it down. Bake until the top is deeply golden and the fruit is bubbling around the edges, usually 35 to 40 minutes. If the top browns before the filling bubbles, cover it loosely with foil for the last part of baking.
How to Adapt This Biscoff Apple Crumble for Different Needs
Make It Gluten-Free
Use a certified gluten-free flour blend in place of the all-purpose flour and swap in gluten-free cookies with a similar spiced caramel flavor. The texture stays close to the original, but the crumble may be a little more delicate. Keep the oats certified gluten-free too if cross-contact matters.
Dairy-Free Version
Replace the butter with a firm dairy-free baking stick, not a soft tub spread. You want a fat that stays cold and cuts into crumbs, or the topping loses structure. The flavor stays rich, though the topping will taste slightly less buttery.
Use What Apples You Have
Tart apples give the best contrast, but if yours are sweeter, cut the sugar back by a few tablespoons. If they’re very firm, slice them a little thinner so they soften fully in the bake time. Mixed apples work well here and give the filling more dimension.
Storage and Reheating
- Refrigerator: Store covered for up to 4 days. The topping softens a bit, but the flavor stays strong.
- Freezer: Freeze after baking and cooling completely. Wrap tightly and freeze for up to 2 months; the topping won’t stay as crisp, but the crumble still reheats well.
- Reheating: Warm in a 325°F oven until heated through, about 15 to 20 minutes for a portion or longer for the whole dish. The oven keeps the topping from turning soggy, which happens fast in the microwave.
Questions I Get Asked About This Biscoff Apple Crumble
Biscoff Apple Crumble
Ingredients
Equipment
Method
- Preheat the oven to 375F, then grease a 9x13 baking dish.
- Peel and slice the apples, keeping the slices evenly sized so they bake to a tender but not mushy texture.
- Toss the apple slices with granulated sugar, cinnamon, nutmeg, cornstarch, lemon juice, and Biscoff cookie butter until evenly coated, then spread them in the prepared dish.
- Combine the crushed Biscoff cookies, all-purpose flour, rolled oats, brown sugar, and cinnamon, then cut in the cold cubed butter until clumpy.
- Drizzle the melted Biscoff spread over the crumble and toss briefly to distribute.
- Scatter the crumble over the apples in an even layer, covering as much surface as possible.
- Bake for 35-40 minutes at 375F until the topping is golden and the filling is bubbling.
- Let the crumble rest briefly, then serve warm with vanilla ice cream.