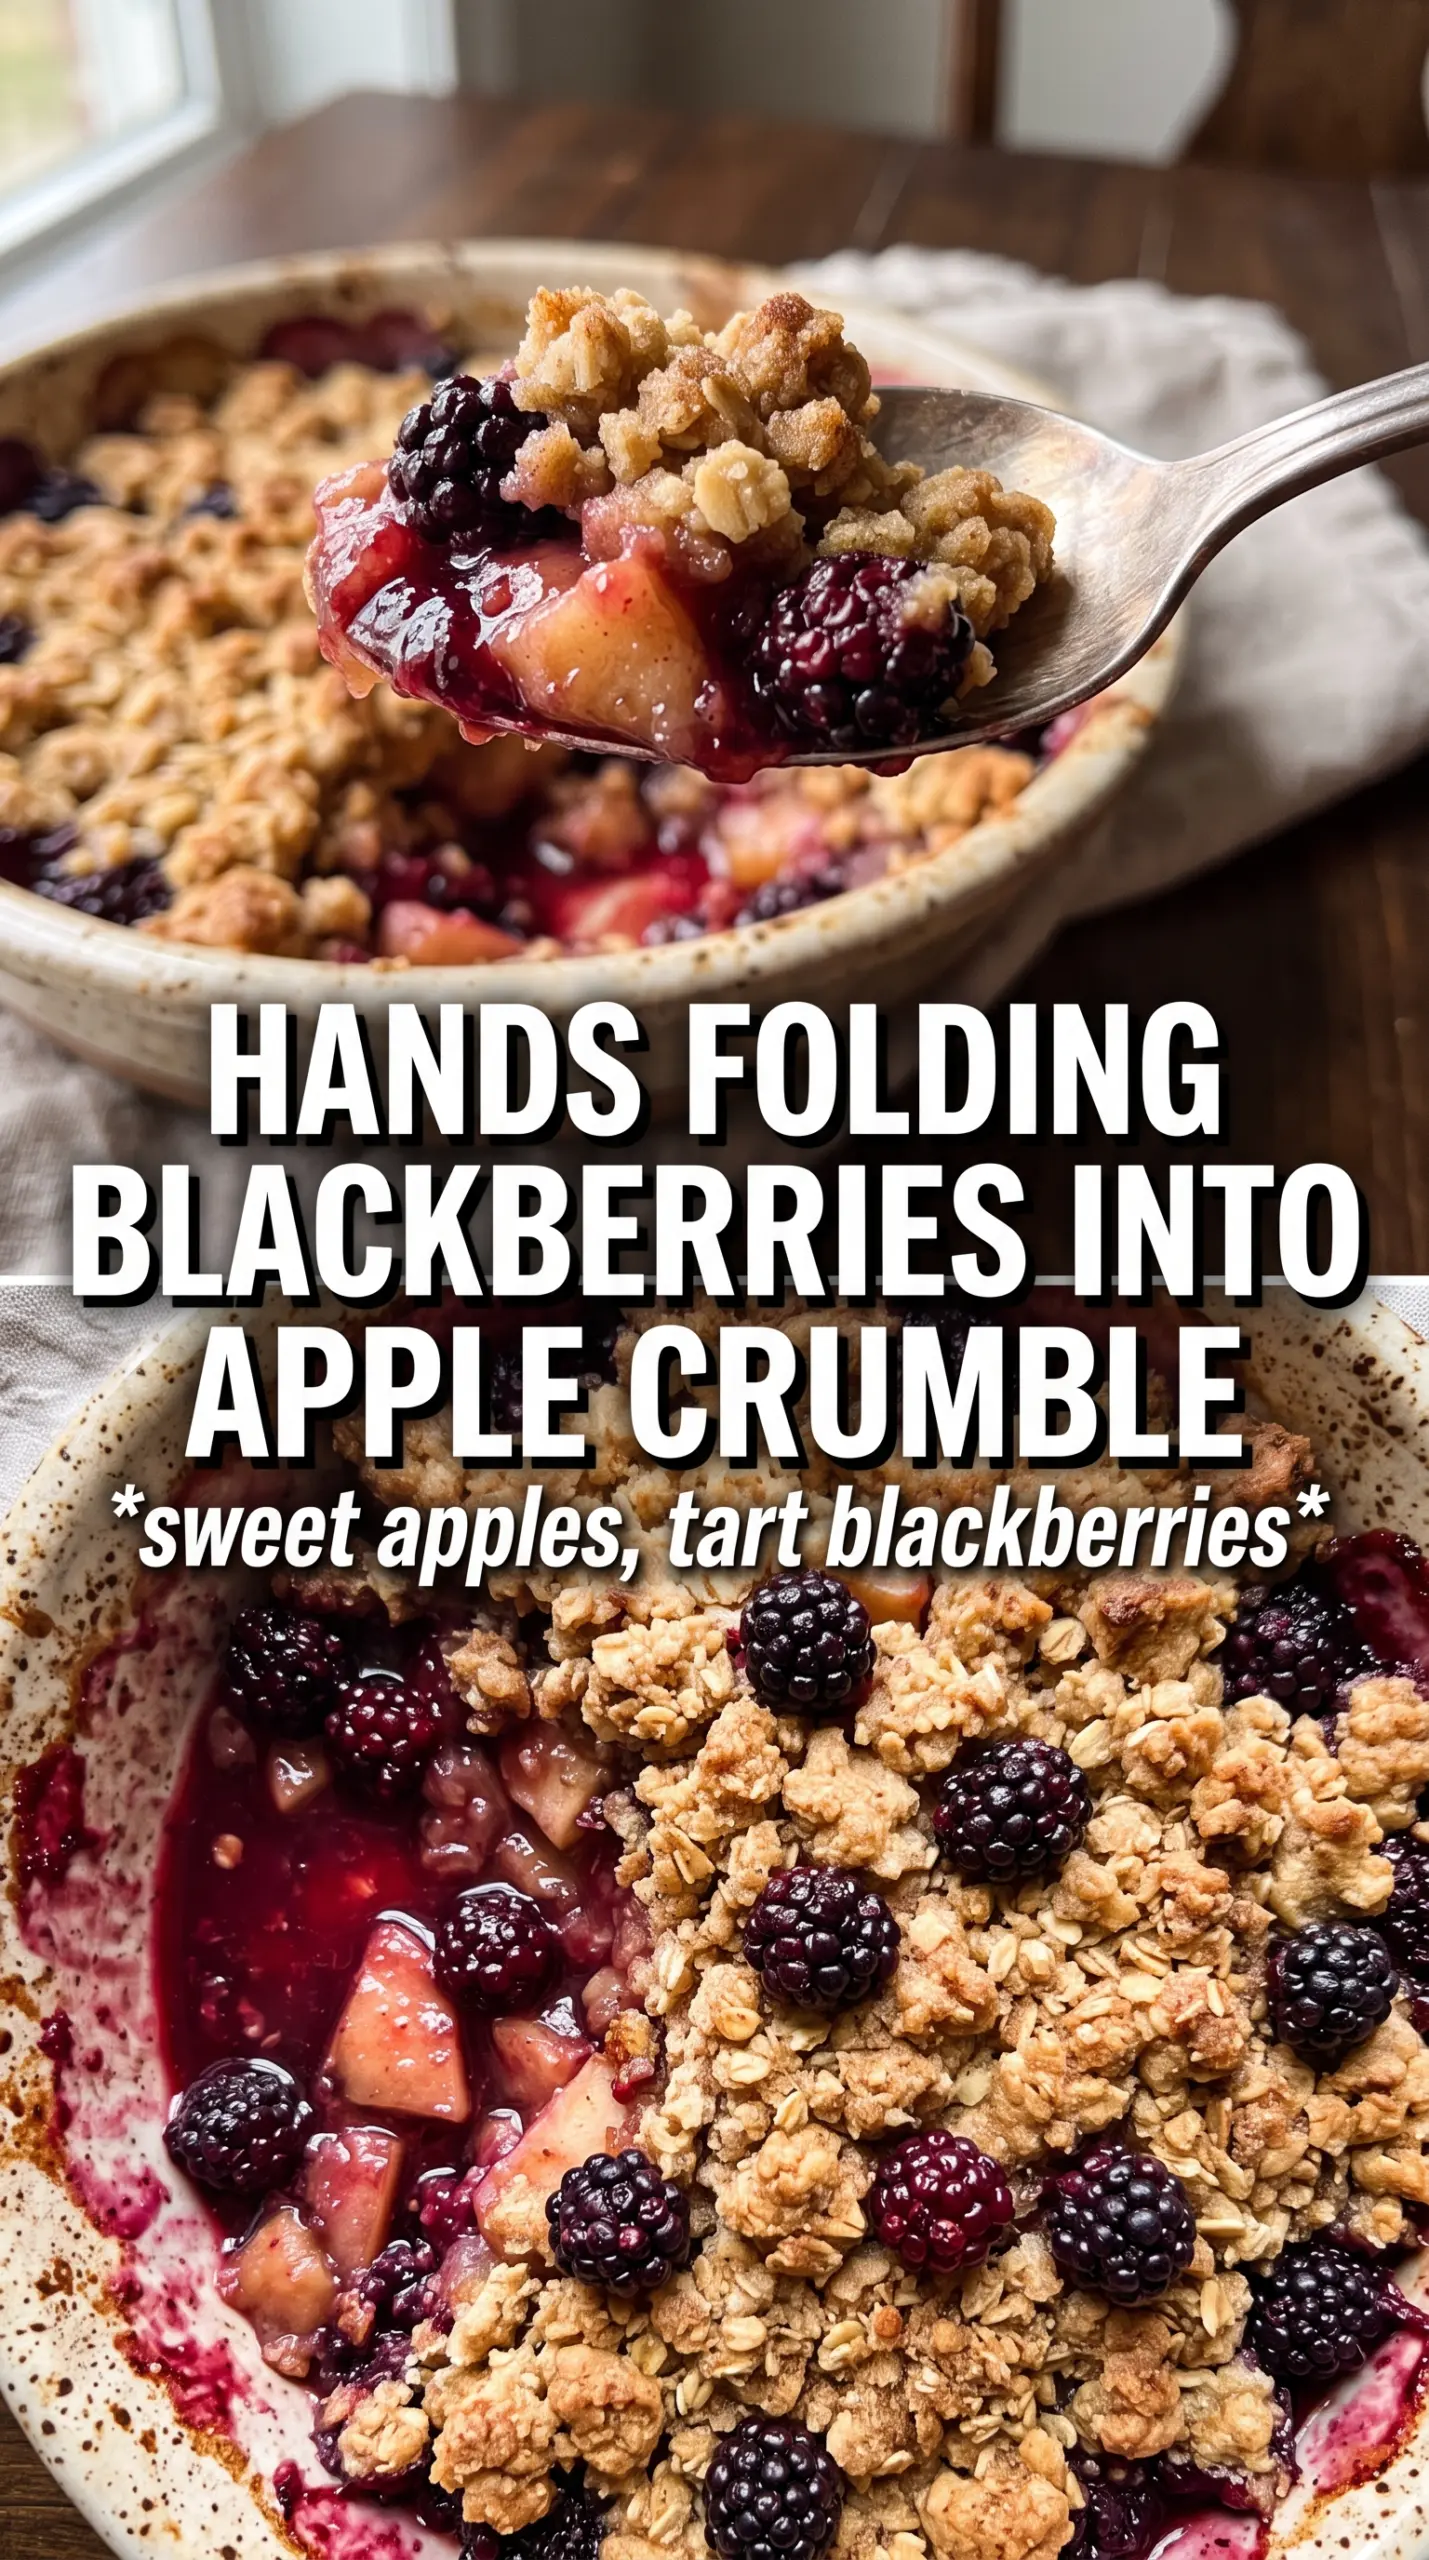
Golden, crisp crumble over bubbling blackberry-apple filling is the kind of dessert that disappears fast because every bite has contrast: tart fruit, soft baked apples, and a topping that stays sandy and crunchy instead of turning heavy. The blackberries bring a deep, jammy color and just enough sharpness to keep the whole dish from tasting one-note, while the apples hold their shape and give the filling body.
The trick is keeping the topping cold and cutting the butter in until you’ve got uneven clumps, not a smooth dough. Those clumps bake into the best part of the crumble: nubby, toasted bits that soak up a little fruit juice without going soggy. Cornstarch matters here too, because blackberry juices can go loose and thin in the oven if you skip that little bit of structure.
Below, I’ve laid out the parts that matter most — how to keep the fruit from turning watery, why the topping texture works, and the few swaps that still give you a proper crumble instead of a baked fruit pan with crumbs on top.
The filling bubbled up around the edges and thickened just enough after resting, and the topping stayed crunchy even under a spoonful of cream.
Like this blackberry apple crumble? Save it to Pinterest for a fruit dessert with a crisp oat topping and bubbling jammy filling.
The Reason the Filling Stays Jammy Instead of Watery
Most crumbles fail when the fruit releases more juice than the topping can handle. Apples alone can get soft without much drama, but blackberries leak fast, and that juice turns thin if there’s nothing to bind it. Cornstarch gives the filling enough body to thicken as it bakes, and the lemon juice keeps the fruit tasting bright instead of flat under all that sugar.
The other mistake is slicing the apples too thin. Thin slices can break down before the topping finishes browning, which leaves you with mush under crumbs. Aim for slices that hold their shape, and don’t pack the dish down too tightly; the fruit needs a little space so steam can move through it and the juices can bubble instead of trapping themselves at the bottom.
- Blackberries — Fresh berries hold their shape a little better, but frozen berries work well here too. Use them straight from the freezer so they don’t bleed into a purple puddle before the crumble goes in the oven.
- Apples — A firm baking apple is worth using. Softer apples turn to sauce too quickly, while a sturdy apple gives you those tender slices that still read as fruit.
- Cornstarch — This is what gives the filling that glossy, spoonable finish. Flour can work in a pinch, but it tends to look cloudier and needs more baking time to lose its raw edge.
- Lemon juice — A small amount sharpens the fruit and keeps the apples from tasting dull. Don’t skip it if your berries are especially sweet.
What the Butter, Oats, and Brown Sugar Are Really Doing
- Cold butter — This is the texture maker. When the butter stays cold and gets cut into the dry ingredients, it leaves little pockets that melt in the oven and create crunch instead of a paste.
- Rolled oats — Oats give the topping a rough, craggy texture and help it stay crisp against the fruit juices. Quick oats can work, but the topping will be finer and a little less rustic.
- Brown sugar — Brown sugar adds a light caramel note and helps the topping brown evenly. Packed brown sugar is the right choice here because it brings moisture and helps form those clumps you want.
- Flour — Flour holds the crumble together, but too much turns it cakey. If you want a gluten-free version, a good 1:1 gluten-free baking blend works better than trying to swap in only oat flour.
Building the Crumble So It Bakes Up Crisp, Not Pasty
Mix the fruit before the topping goes on
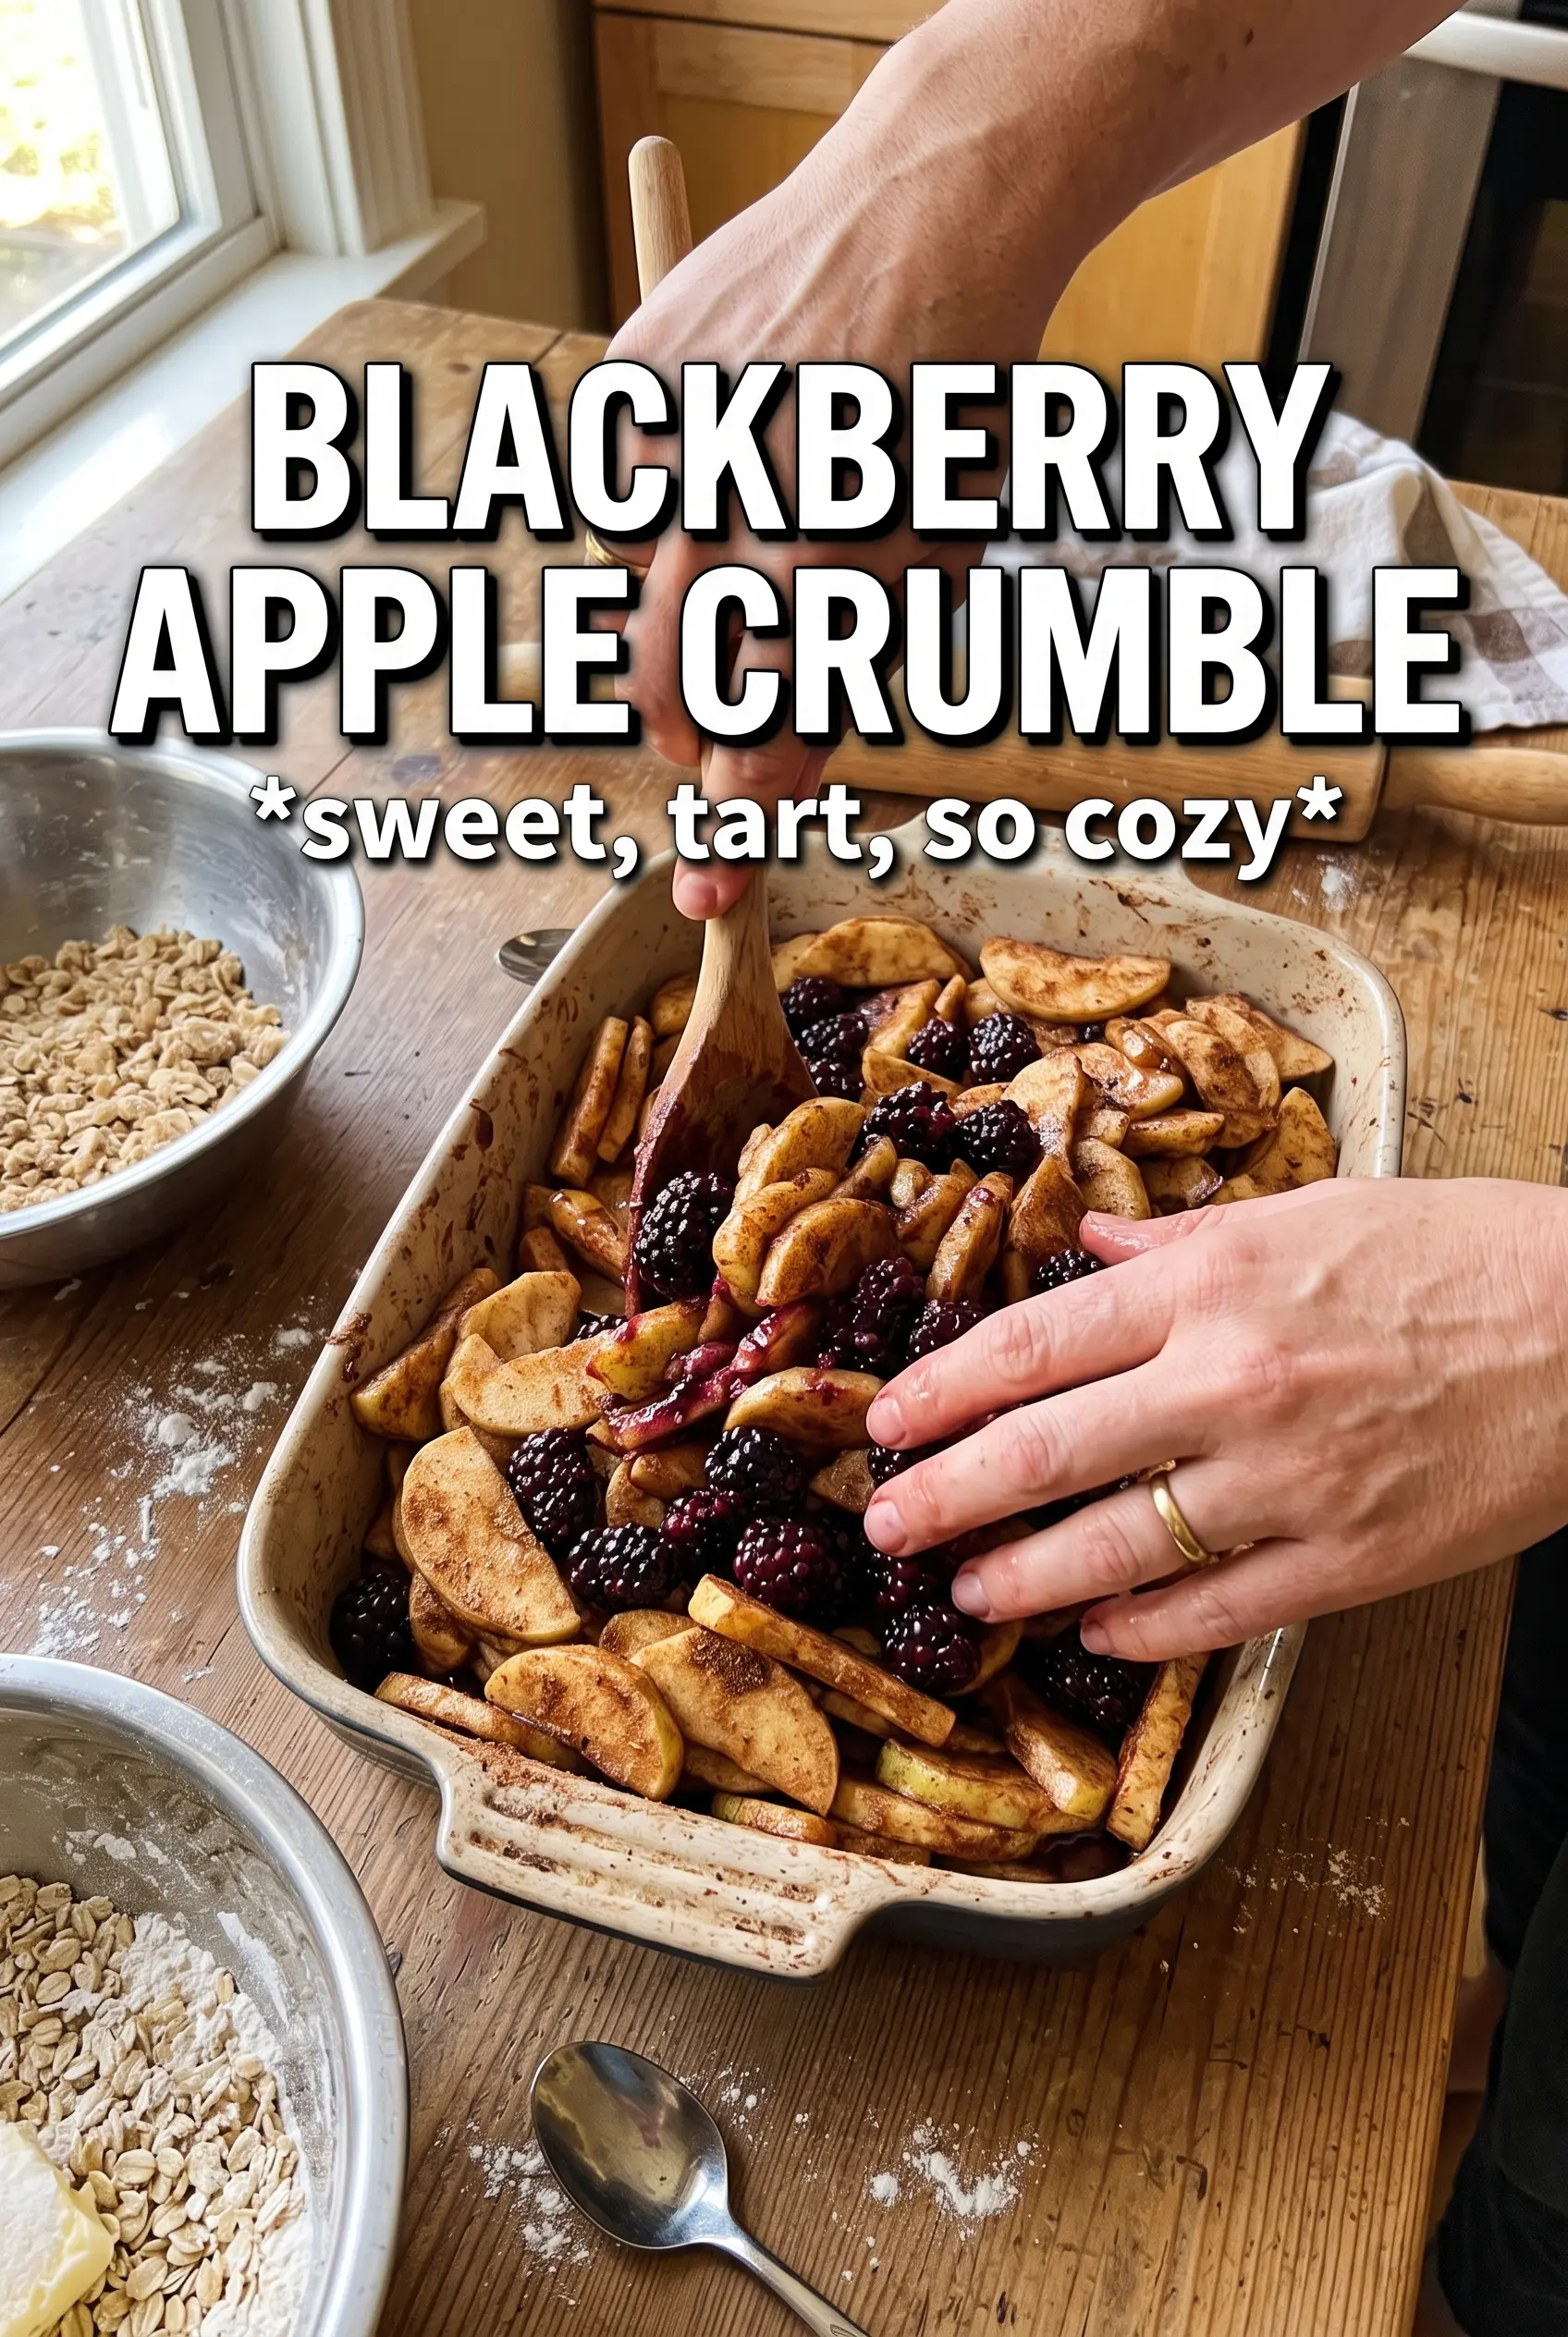
Toss the apples and blackberries with sugar, cornstarch, lemon juice, and cinnamon until the fruit looks evenly coated. You want the cornstarch distributed before the dish goes into the oven, because dry pockets of starch can clump and leave chalky spots. Spread the mixture in the baking dish in an even layer so the heat reaches the whole pan at the same rate.
Cut the butter in until the topping looks rough
Combine the flour, oats, brown sugar, cinnamon, and salt, then work in the cold butter until the mixture looks like damp gravel with a few bigger clumps. Those bigger clumps are important; they bake into the best crunchy bits. If the topping starts to look like cookie dough, the butter has warmed too much and the texture will turn dense instead of crumbly.
Bake until the fruit is visibly bubbling
Scatter the topping over the fruit without pressing it down. Bake until the topping is deeply golden and the juices are actively bubbling around the edges and through the center, not just steaming. That bubbling tells you the cornstarch has had enough heat to thicken the filling; if you pull it too early, the fruit will look set on top but stay loose underneath.
Let it rest before serving
Give the crumble at least 10 minutes to settle after it comes out of the oven. The filling thickens as it cools, and that pause keeps the juices from running all over the plate. Serve it warm with double cream or vanilla ice cream while the topping still has a little crunch.
Use All Apples When Blackberries Aren’t on Hand
You can make the base with only apples, but the result will be milder and less juicy. Add an extra pinch of cinnamon and a little more lemon juice to keep the filling lively, and expect a less dramatic color without the berries.
Make It Gluten-Free Without Losing the Crunch
Swap the all-purpose flour for a good 1:1 gluten-free baking blend. Keep the oats certified gluten-free if cross-contamination matters, and don’t reduce the butter, since the topping needs enough fat to hold together and crisp properly.
Make It Dairy-Free
Use a plant-based butter that comes in sticks and stays firm when cold. Soft tub spreads don’t cut in cleanly and can leave the topping greasy instead of crisp.
Baking Ahead for a Dinner Party
You can assemble the crumble a few hours ahead and keep it in the fridge before baking. If the dish goes into the oven cold, add a few extra minutes so the center has time to bubble fully. That bubbling is what tells you the filling has thickened properly.
Storage and Reheating
- Refrigerator: Store covered for up to 4 days. The topping softens a little, but the fruit keeps its flavor well.
- Freezer: Freeze baked crumble tightly wrapped for up to 2 months, or freeze the unbaked assembled dish and bake from cold. The topping won’t stay as crisp after freezing, but it still works.
- Reheating: Warm in a 325F oven until the center is hot and the topping has re-crisped, usually 15 to 20 minutes. The microwave will soften the crumble and make the topping leathery.
Questions I Get Asked About This Recipe
Blackberry Apple Crumble
Ingredients
Equipment
Method
- Preheat the oven to 375F and grease a 9x13 baking dish with a light coating of grease.
- Spread the apple and blackberry mixture evenly in the prepared dish so it bakes uniformly at the edges.
- Toss apple slices and blackberries with granulated sugar, cornstarch, lemon juice, and cinnamon until the fruit looks evenly coated.
- Arrange the coated fruit in the baking dish and keep it level for even bubbling.
- Combine flour, oats, brown sugar, cinnamon, and salt, then add cold butter cubes and cut until the mixture forms clumpy crumbs.
- Scatter the crumble over the fruit in an even layer so the topping covers most of the surface.
- Bake for 35-40 minutes at 375F until the topping is golden and the fruit is bubbling at the edges with visible syrup.
- Rest the crumble for 10 minutes after baking so the juices thicken slightly for cleaner scoops.
- Serve warm with double cream or vanilla ice cream drizzled or spooned over each portion.