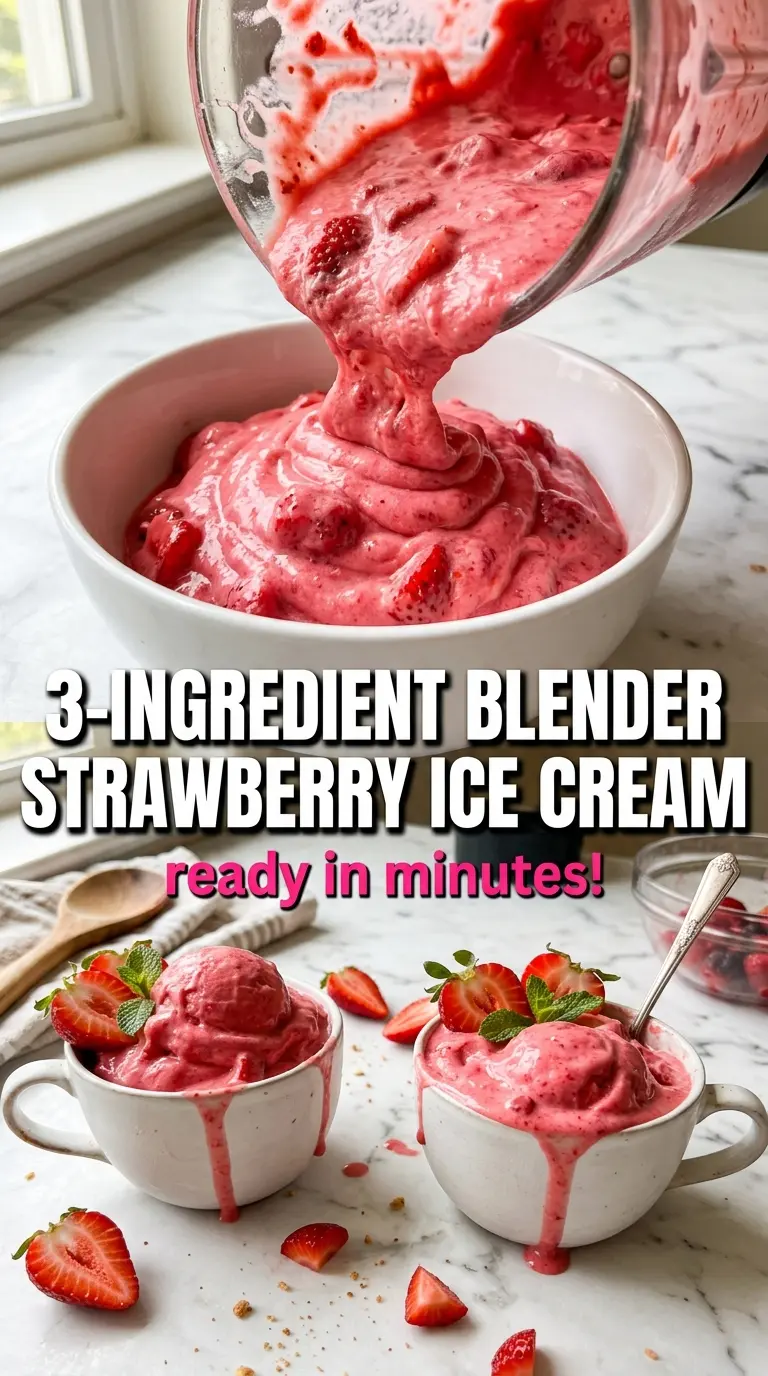
Blender strawberry ice cream lands in that sweet spot between a quick frozen treat and a bowl that eats like the real thing. The texture comes out smooth and creamy, with the bright strawberry flavor staying front and center instead of getting buried under a heavy dairy base. When the fruit is frozen properly and the blender does the work fast, you get a soft, scoopable dessert that feels much more intentional than a last-minute blend-up.
The banana earns its place here because it adds body and helps the mixture turn silky without an ice cream machine. A little cream keeps the blend rich, while honey or maple syrup rounds out the tart berries and keeps the fruit tasting vivid instead of flat. The small amount of salt matters more than it looks like it should; it sharpens the strawberry flavor and keeps the finished ice cream from tasting one-note.
Below, I’ll walk through the best way to blend this without turning it soupy, plus a few swaps that still keep the texture on track if you want a dairy-free version or a slightly lighter bowl.
I was skeptical about the banana, but it made the ice cream silky instead of icy. Mine blended up in about two minutes and held its shape great after a short freeze.
Save this blender strawberry ice cream for the days when you want a frozen dessert that blends silky, tastes bright, and doesn’t need an ice cream machine.
The Part That Keeps Frozen Fruit Creamy Instead of Grainy
The biggest mistake with blender ice cream is treating it like a smoothie. Frozen fruit needs just enough liquid to move through the blades, not enough to turn everything thin. If the blender struggles, stop and scrape the sides, then let it run again in short bursts so the fruit stays dense and cold.
The banana matters here because it gives the mixture enough starch and natural sweetness to taste like dessert instead of fruit slush. Without it, the strawberries can blend up a little sharp and airy. The other thing that keeps this from breaking down is using a high-powered blender; a weak machine will leave chunks behind and tempt you to add more liquid, which is how the whole texture gets lost.
- Frozen strawberries — These need to be frozen solid for that thick, soft-serve texture. Fresh berries won’t give the same body unless you freeze them first.
- Frozen banana — This is the ingredient that makes the mixture creamy without an ice cream maker. If you skip it, the result will be more icy and less scoopable.
- Heavy cream or coconut cream — Heavy cream gives the richest texture, but coconut cream works well for a dairy-free version with a faint tropical note. Use the thick part from a chilled can, not the watery liquid.
- Honey or maple syrup — Either sweetener works, but honey tastes a little rounder and maple gives a slightly deeper finish. Taste your berries first; very ripe fruit needs less.
- Vanilla extract — It softens the sharp edge of the strawberries and makes the whole bowl taste fuller.
- Salt — Just a pinch, but don’t skip it. It wakes up the fruit flavor and keeps the ice cream from tasting flat.
What Each Ingredient Is Actually Doing in This Ice Cream
- Base ingredient (cream, milk, or custard) — This provides the foundation and richness. Quality matters.
- Sweetener (sugar, honey, or condensed milk) — This sweetens and prevents ice crystals. The ratio is critical.
- Flavor element (vanilla, fruit, chocolate, coffee, or other) — This defines the ice cream personality. Use quality ingredients.
- Egg yolks (if making custard base) — These create richness and silky texture. Optional but elevates ice cream.
- Churning (if using ice cream maker) — This incorporates air and prevents ice crystals. Critical for smooth texture.
- Freezing temperature and time — Proper freezing prevents rock-hard texture. Store at 0°F or below.
- Mix-ins (chocolate, cookies, fruit, or swirls) — These add texture and prevent one-dimensional flavor. Add near end of churning.
- Serving temperature (slightly soft, not rock hard) — This provides creamy mouthfeel. Remove from freezer 5 minutes before serving.
How to Blend It So It Stays Thick and Smooth
Softening the Frozen Fruit Just Enough
Let the strawberries and banana sit out for about 5 minutes before blending. That tiny bit of thawing helps the blades catch without forcing you to add extra liquid. If the fruit is rock hard, the blender will stall and warm the mixture while you keep stopping and starting it. You want the fruit cold, not frozen into a solid block.
Getting the Blade Moving Without Watering It Down
Add the fruit first, then the cream, sweetener, vanilla, and salt on top. Start the blender on high and stop to scrape down the sides as needed, since frozen fruit likes to pack around the blade. If the mixture barely moves, use the tamper if your blender has one; if not, pause and stir from the top instead of pouring in more cream. Extra liquid is the fastest way to lose that ice cream texture.
Stopping at the Right Texture
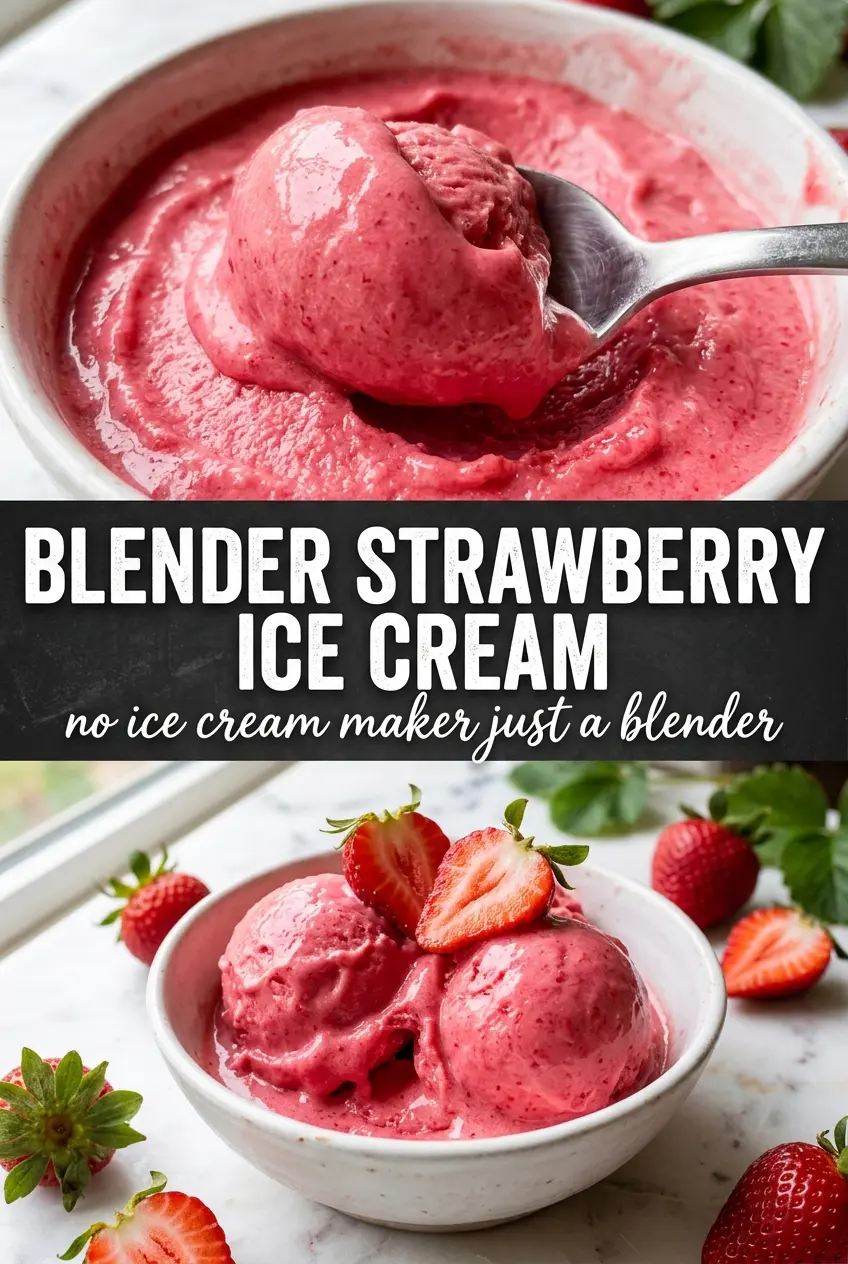
Blend until the mixture looks completely smooth, glossy, and thick enough to mound in the blender. It should sound like the machine is working, not swirling in a thin liquid. Serve it right away for soft serve, or pack it into a container and freeze it for 1 to 2 hours if you want something closer to scoopable ice cream. If you freeze it longer, let it sit on the counter for a few minutes before scooping so it doesn’t turn icy at the edges.
How to Change the Bowl Without Losing the Creamy Texture
Dairy-Free Coconut Version
Use coconut cream instead of heavy cream and keep the rest the same. You’ll get a richer finish with a light coconut note, and the texture stays thick because coconut cream has enough fat to support the frozen fruit. Chill the can first and spoon only the thick top portion into the blender.
Lower-Sugar Version
Cut the honey or maple syrup in half if your strawberries are very ripe. The banana already brings sweetness, so you can reduce the added sugar without losing the dessert feel. Don’t remove it entirely unless your berries are exceptionally sweet, or the finished ice cream can taste flat.
Extra-Creamy, More Scooping-Friendly Texture
After blending, freeze the ice cream for 1 to 2 hours in a shallow container. That short rest firms it up without turning it hard, especially if you plan to serve it in bowls rather than as soft serve. Press parchment or plastic wrap directly on the surface if you’re holding it longer so the top doesn’t icy over.
Storage and Reheating
- Refrigerator: This isn’t a fridge dessert; it softens fast and turns loose, so don’t store it there.
- Freezer: Freeze in an airtight container for up to 1 week. The texture gets firmer and a little icier with time, but it still scoops well after a short rest on the counter.
- Reheating: Not applicable, but if it freezes too hard, let it sit at room temperature for 5 to 10 minutes before scooping. Microwaving will melt the edges before the center softens.
Questions I Get Asked About This Recipe
Blender Strawberry Ice Cream
Ingredients
Equipment
Method
- Let frozen strawberries and banana sit at room temperature for 5 minutes to soften slightly, so the blender can puree faster.
- Add strawberries, banana, cream, honey, vanilla extract, and salt to a high-powered blender.
- Blend on high, stopping to scrape down the sides as needed, until completely smooth and creamy—about 2 minutes, with a vivid pink, thick texture.
- Serve immediately as soft serve for a spoonable, freshly blended texture.
- For a scoopable texture, transfer to a freezer container and freeze for 1–2 hours, until firm enough to scoop.